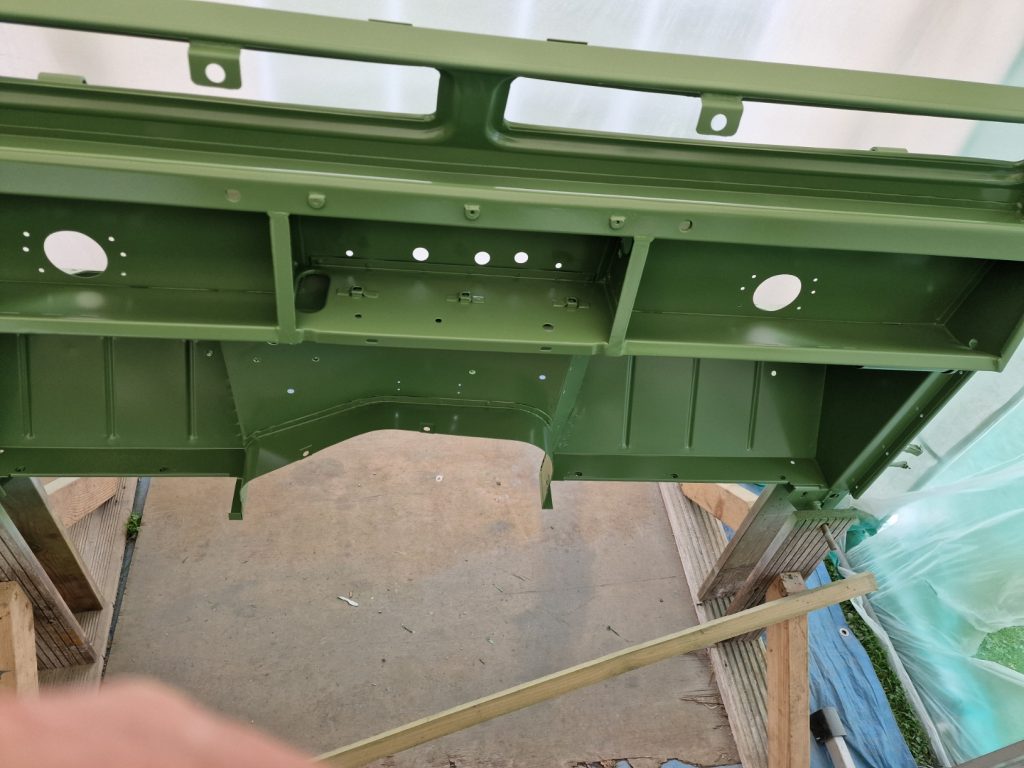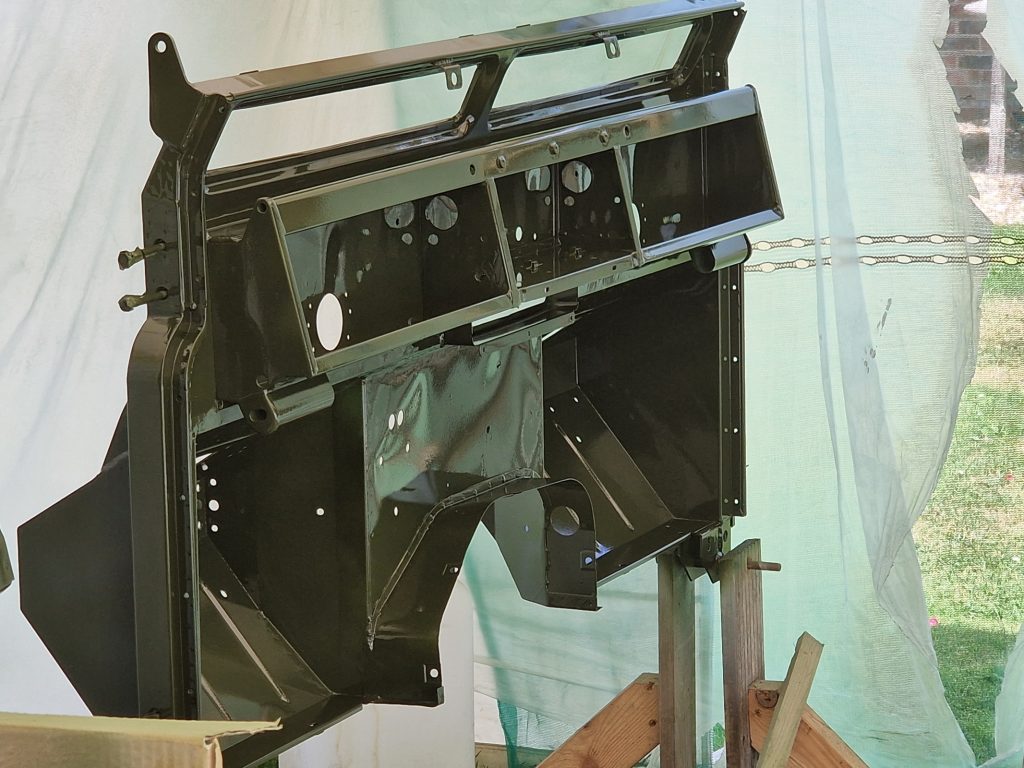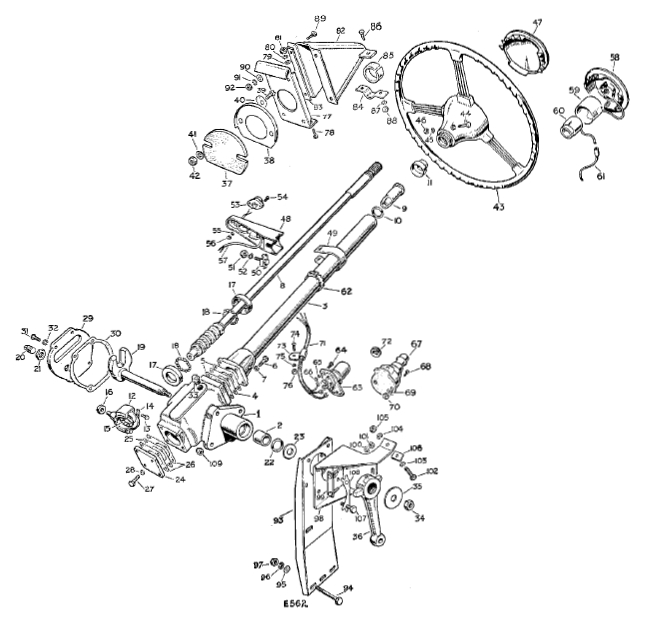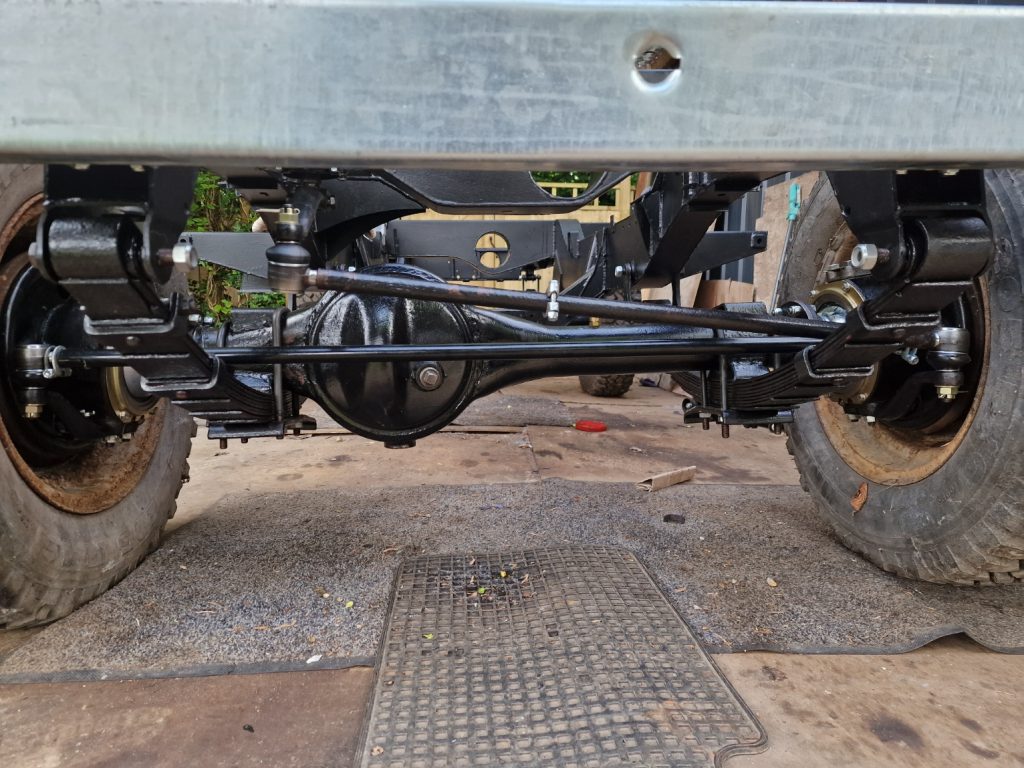
Transfer Box & Front Output Shaft Housing(Part 1)
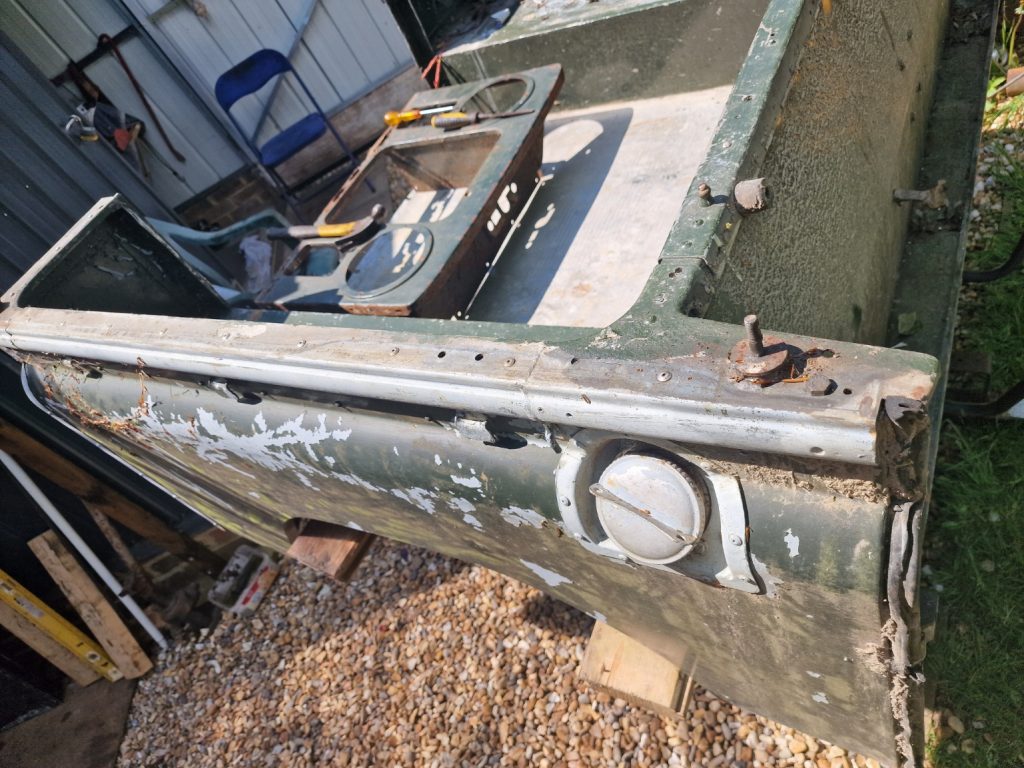
After being distracted by other bits and pieces recently, finally got back to the Gearbox. As with all things, it all starts by stripping it down. The whole gearbox assembly is basically in 3 parts, Main Gearbox, Transfer Box, which houses the Low/High selector and transfers the Gearbox output to the Front Output Shaft Housing, , which contains the mechanism to select between 2 and 4 wheel drive.
First decision for me was whats the goal of doing this? I’m no Gearbox expert, in fact I have never stripped down, let alone re-built a gearbox before, Oh, apart from one on a RC car, not the same I think. All I want to achieve is firstly clean it all up, make sure all the gears and internal workings look in good condition and bearings have no excess play. The only parts I plan on replacing are the Gaskets and Seals, that is unless other issues become obvious. The other thing to do will be to check the various tolerances, end float, pre-load etc. Will cover that when I put it all back together.
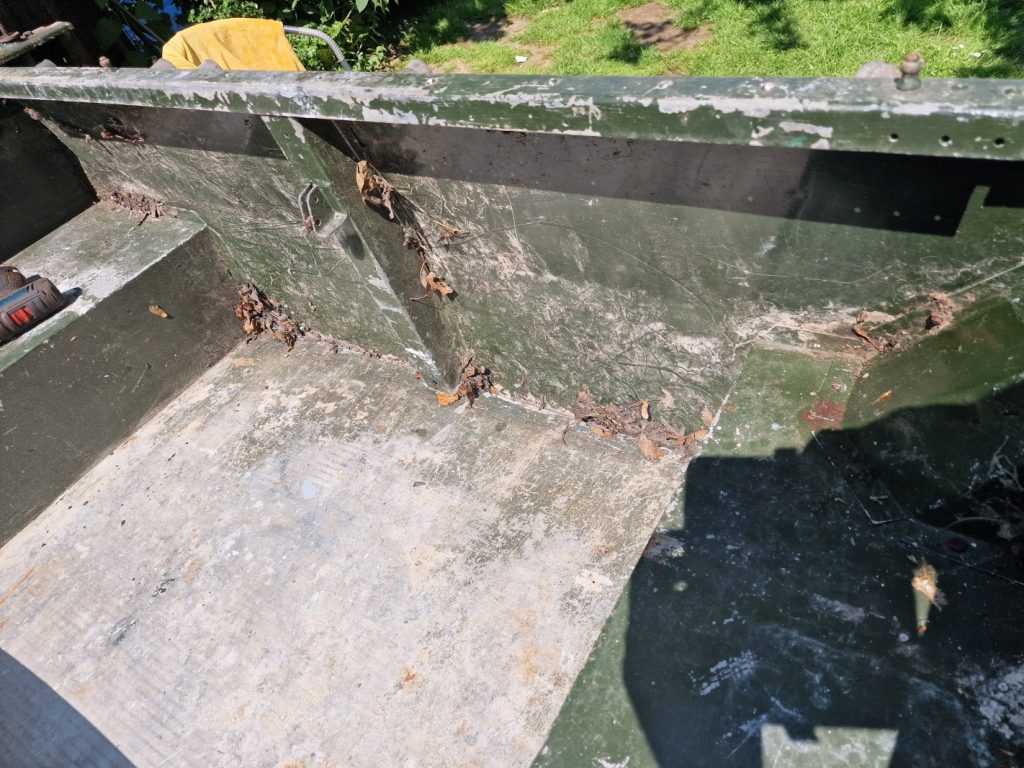
First job is to separate the Main Gearbox from the Transfer Box. To do this, there are a number of bolts on the outside, but also 3 I think, inside the Transfer Box. To get to these, remove the bottom plate (after emptying the Oil), and remove the pin that holds the Intermediate gear in-place. (thats the gear in the picture on the left, in the middle of the box). The inside bolts can now be undone.
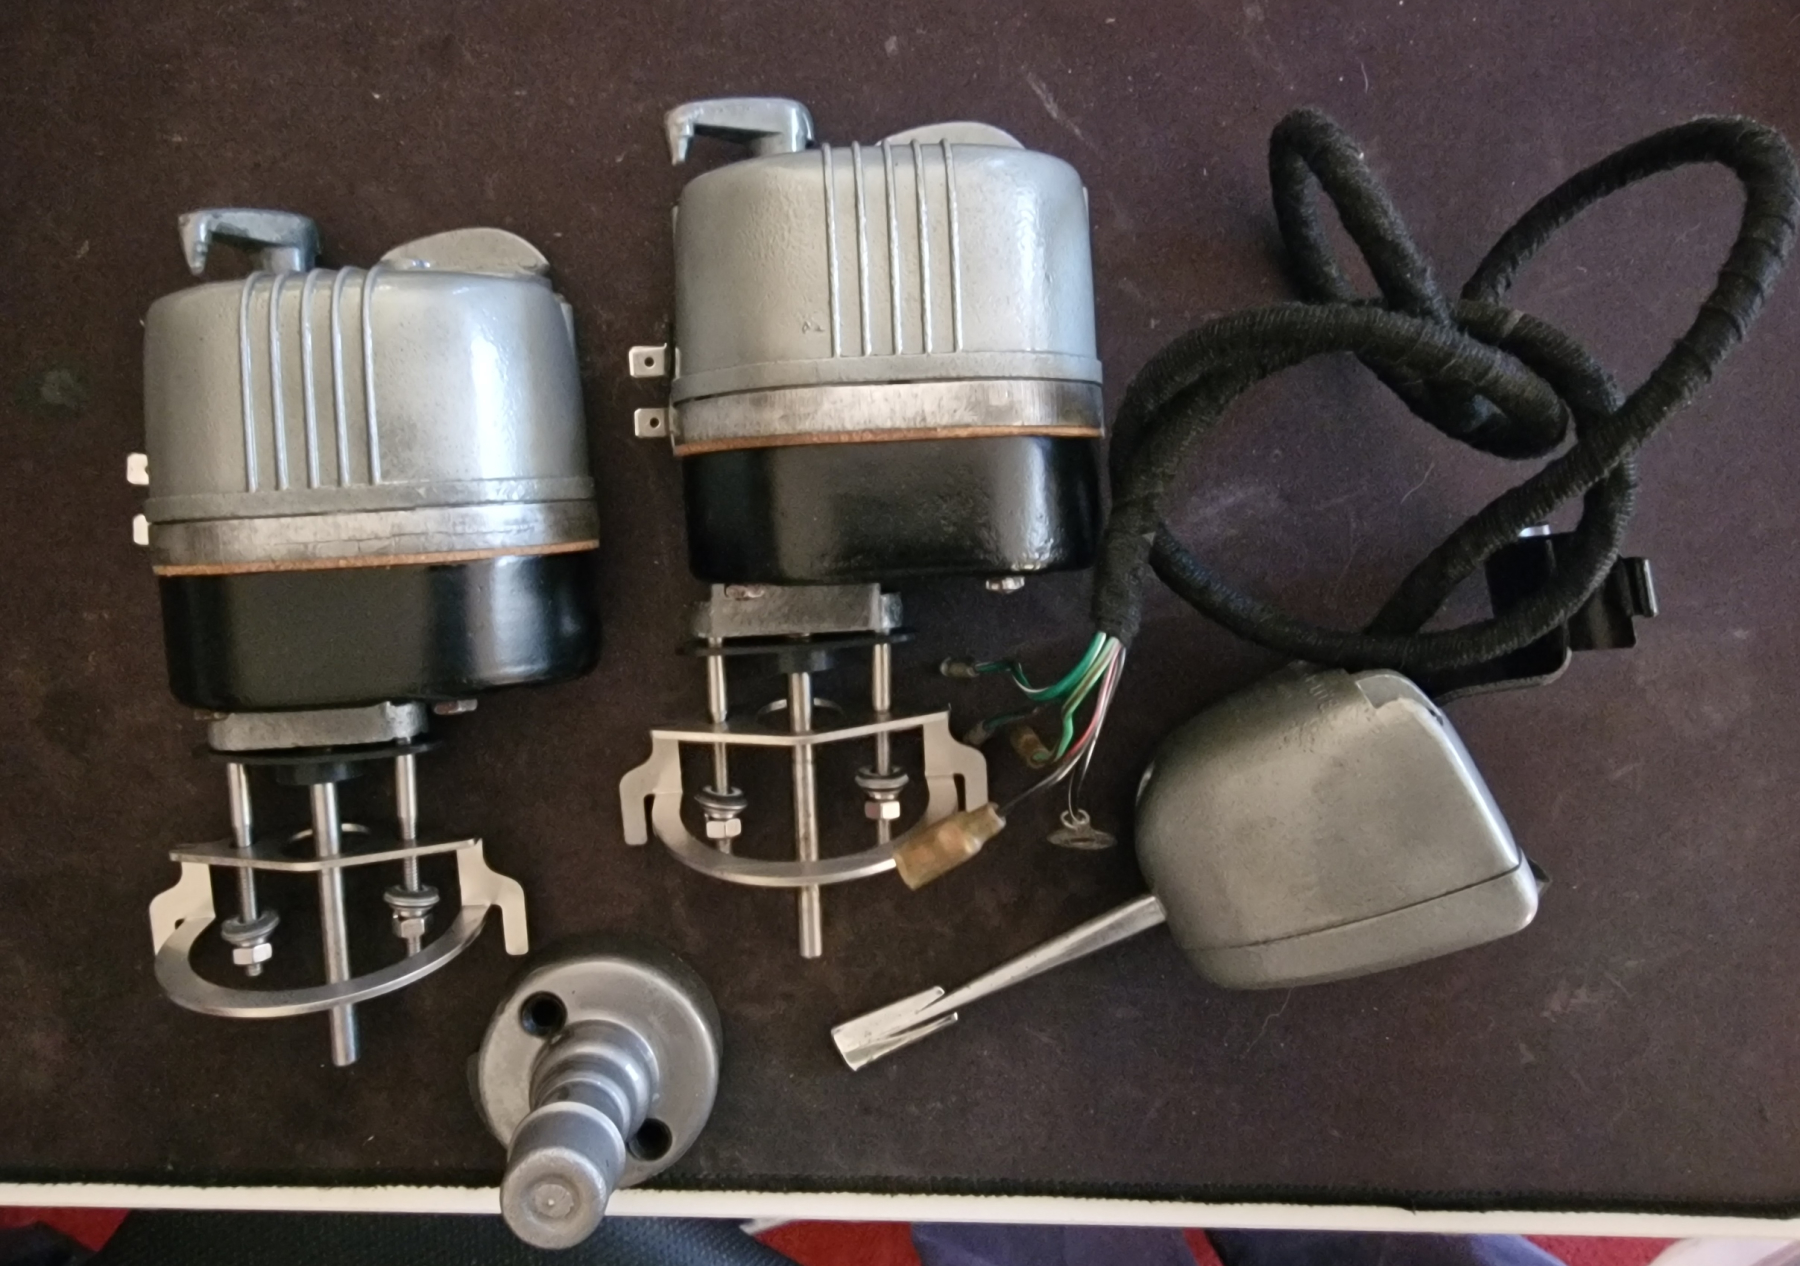
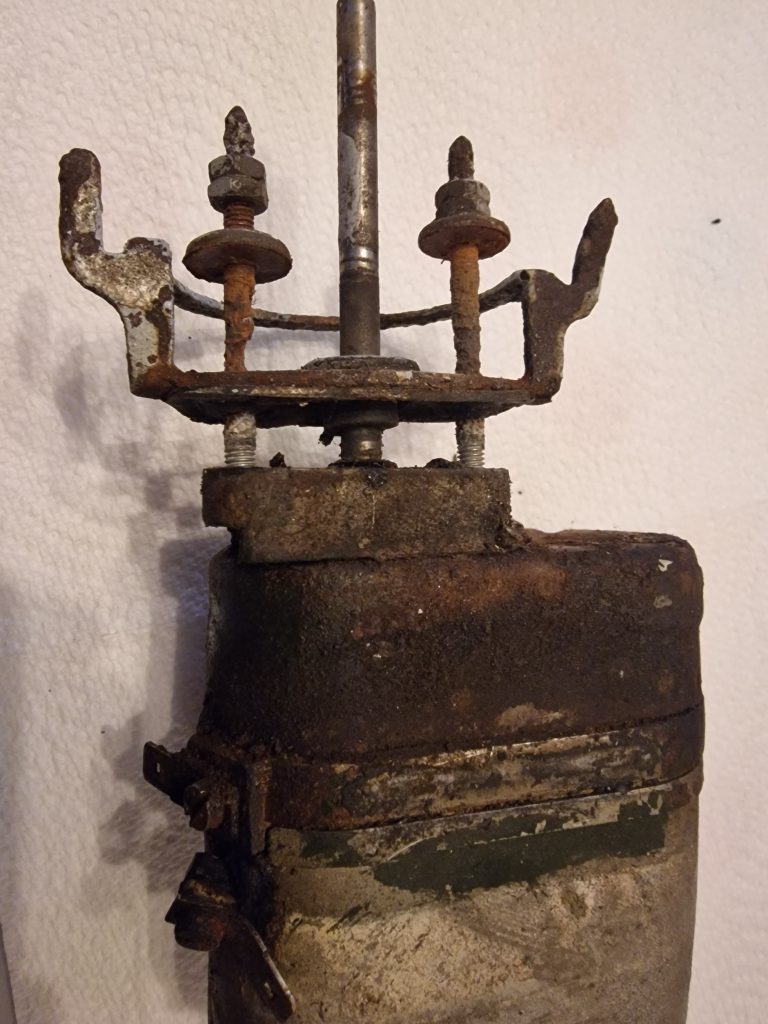
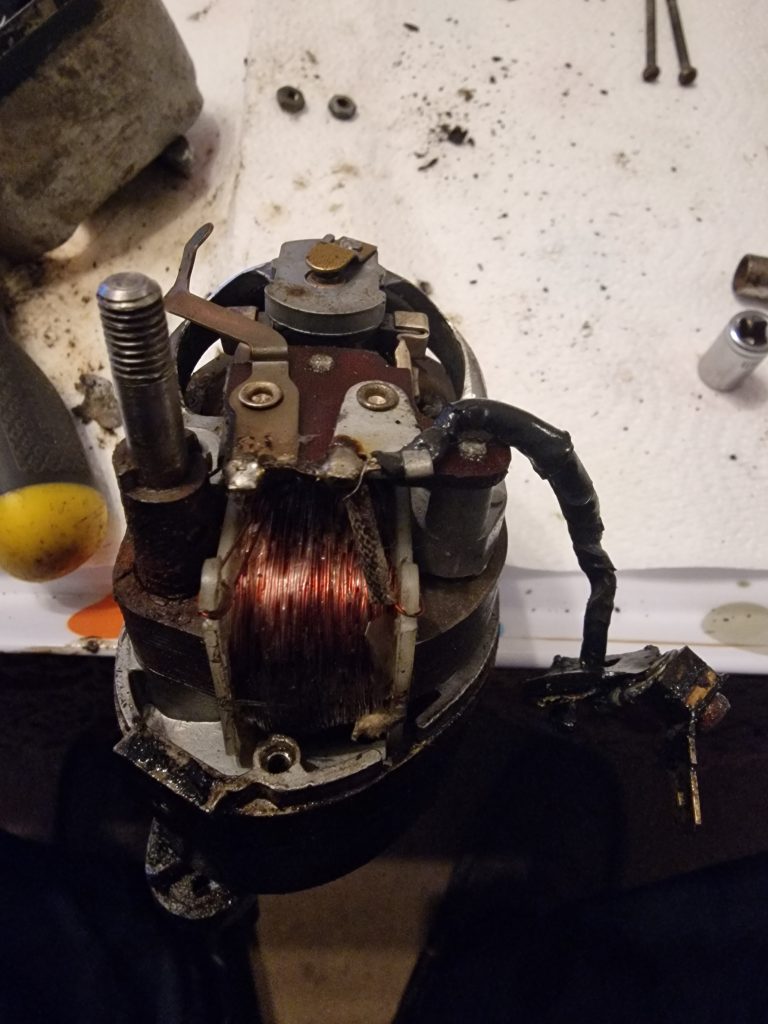
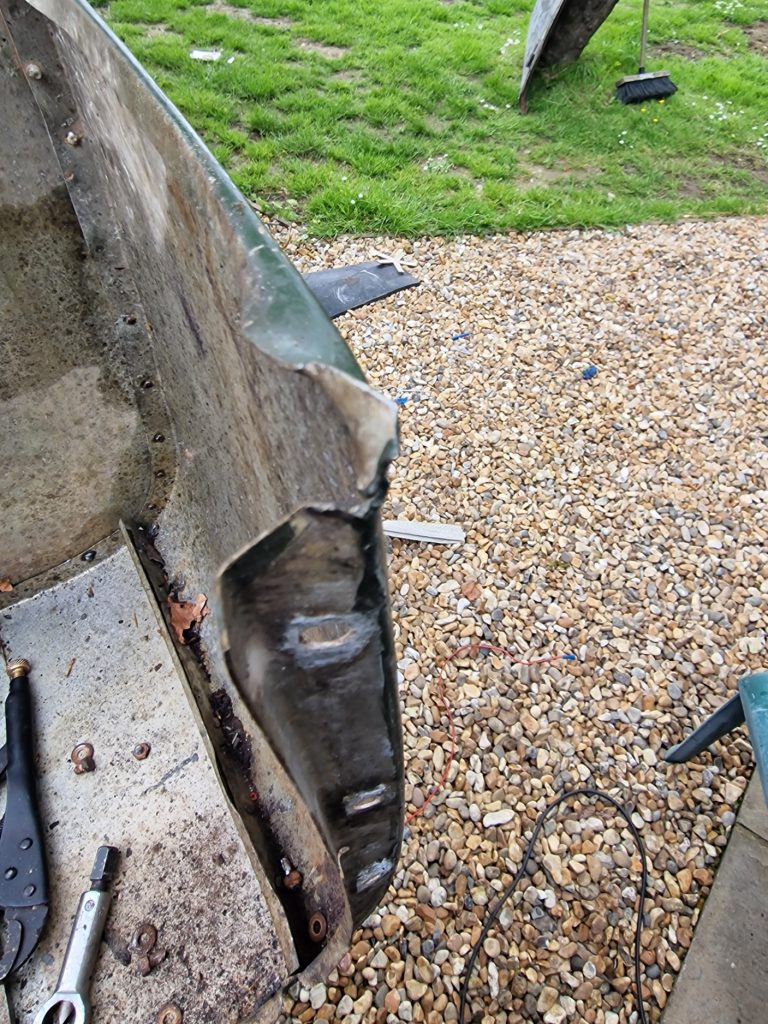
I jumped ahead a little in this write up, in fact I jumped ahead a little in the strip down. The Picture on the right, the rear of the Transfer Box, and shows the Handbrake mechanism. This all has to come off, and the bolt in the middle is tight and attached to a shaft that rotates. Afterwards I read that the best way to undo this is to lock up the gearbox by manually selecting 2 gears at the same time. I didn’t do this, I ended putting a bar on the other end wedged between the prop shaft bolts while I got this bolt loose. Not ideal, but it worked ok. No more pictures of this part, I was getting frustrated and irritated. Also behind the handbrake, is the speedo casing, no pictures of that either at this stage.
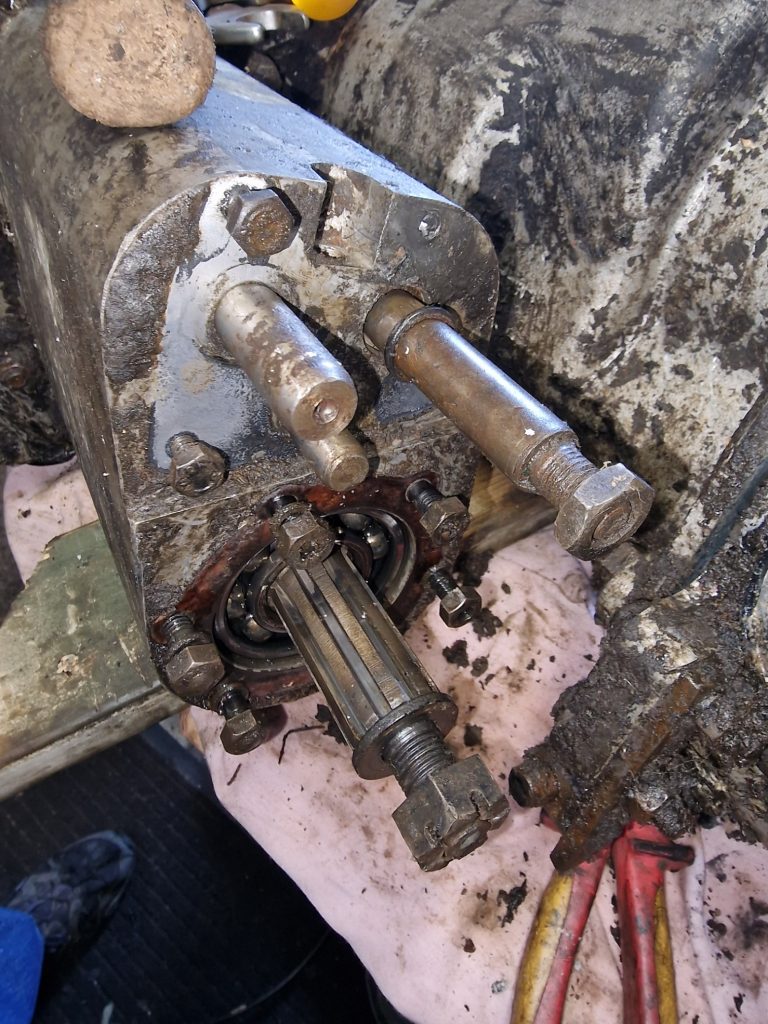
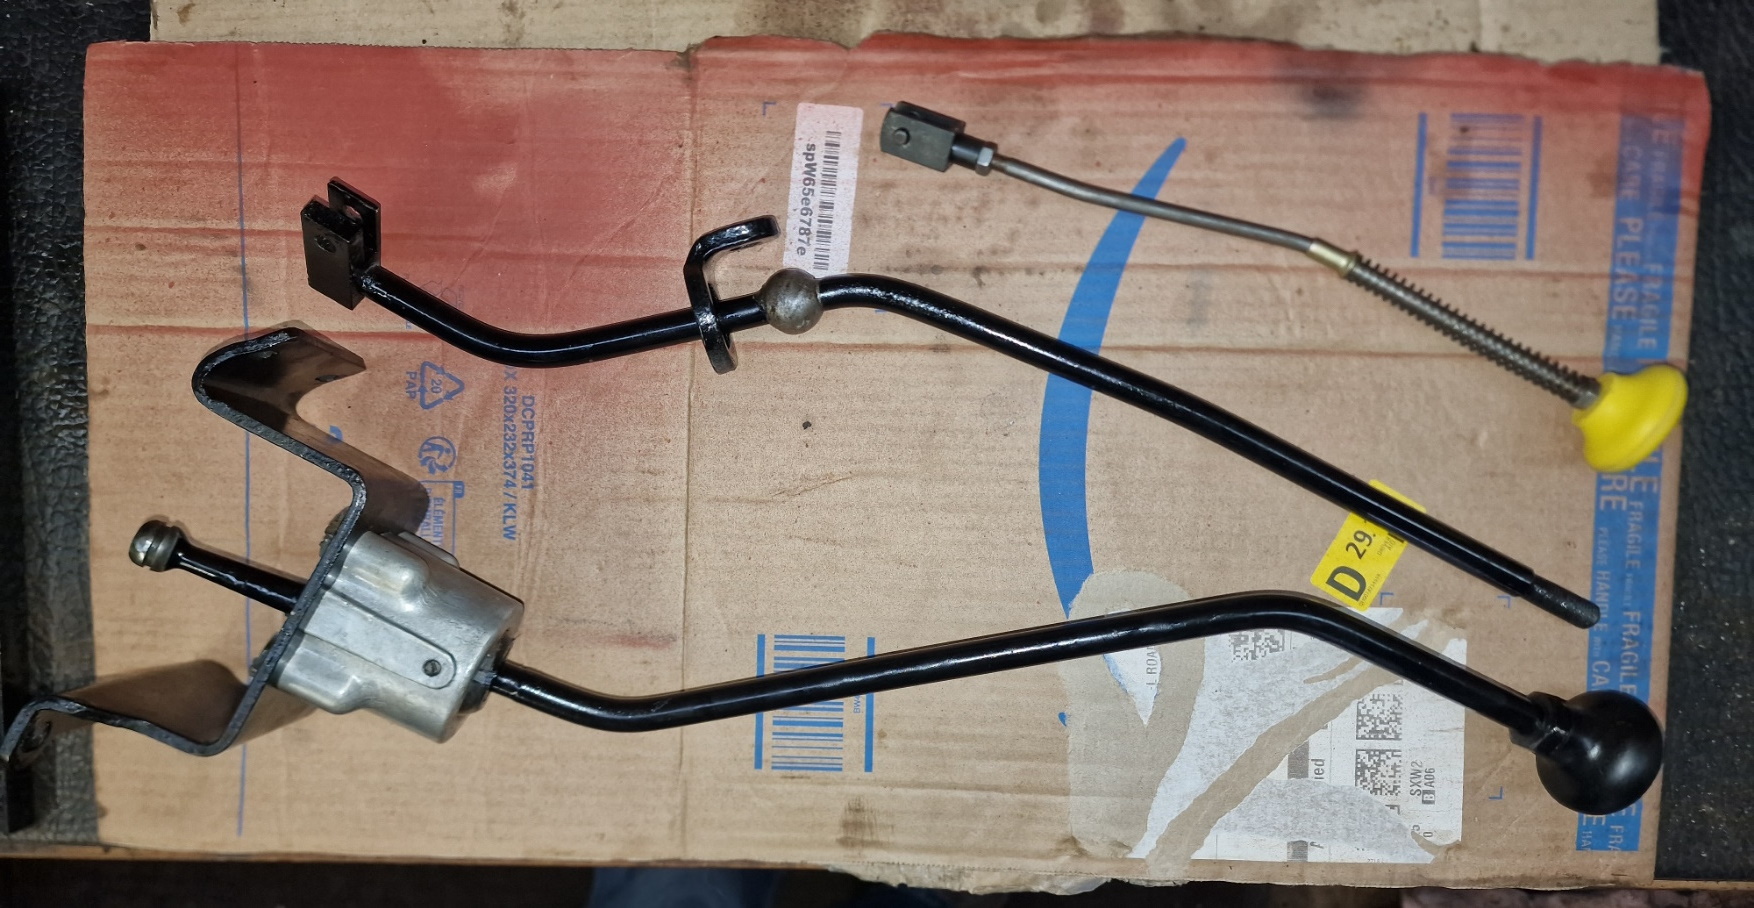
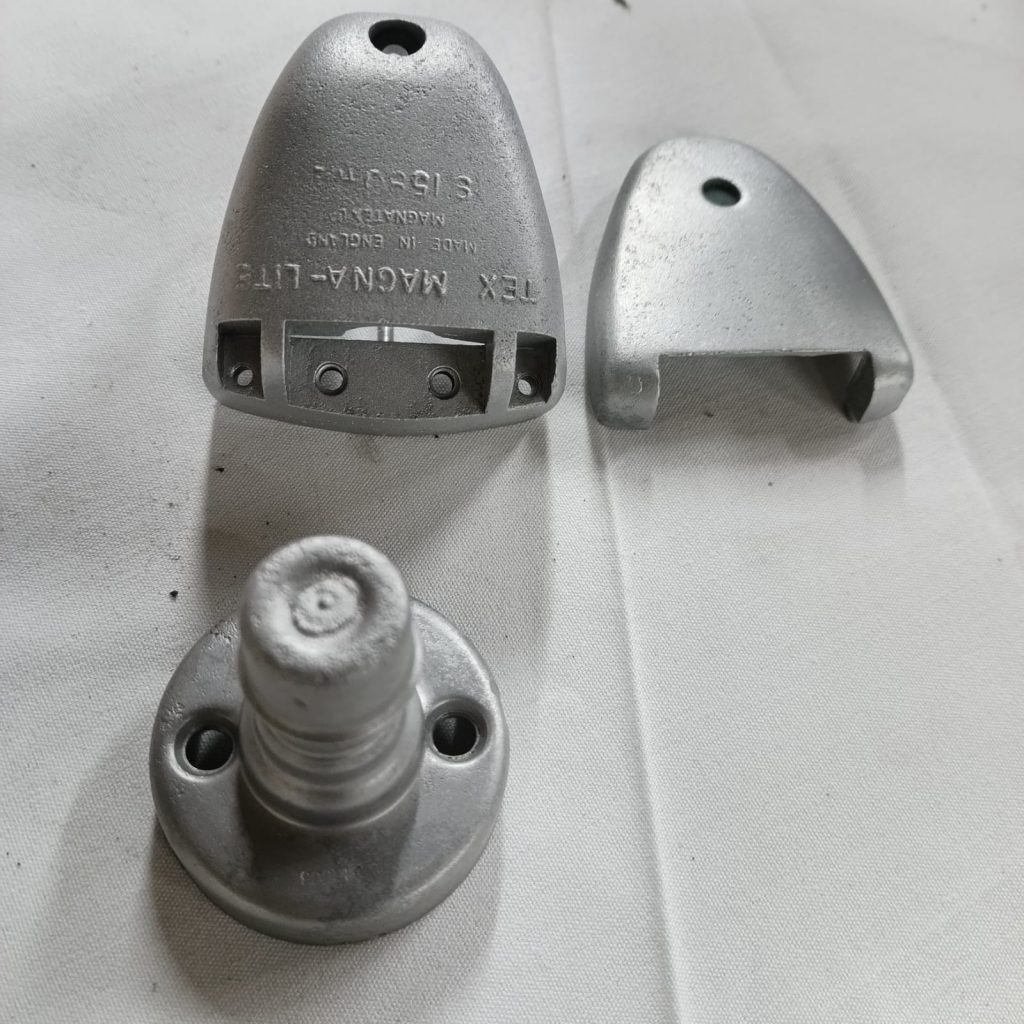
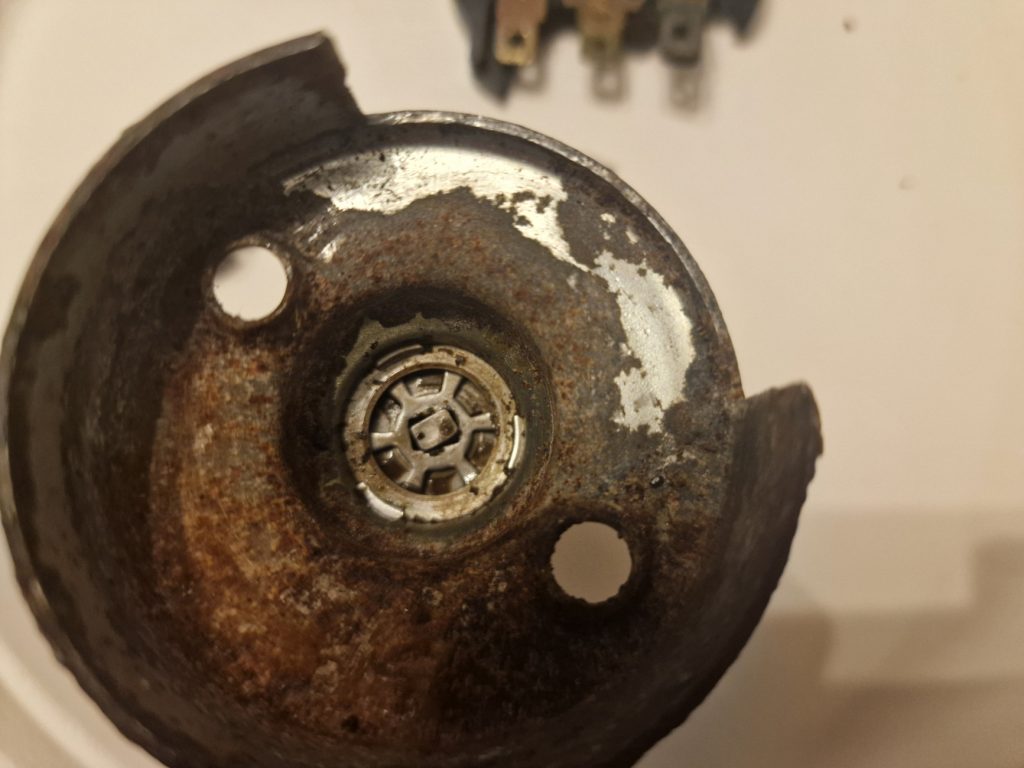
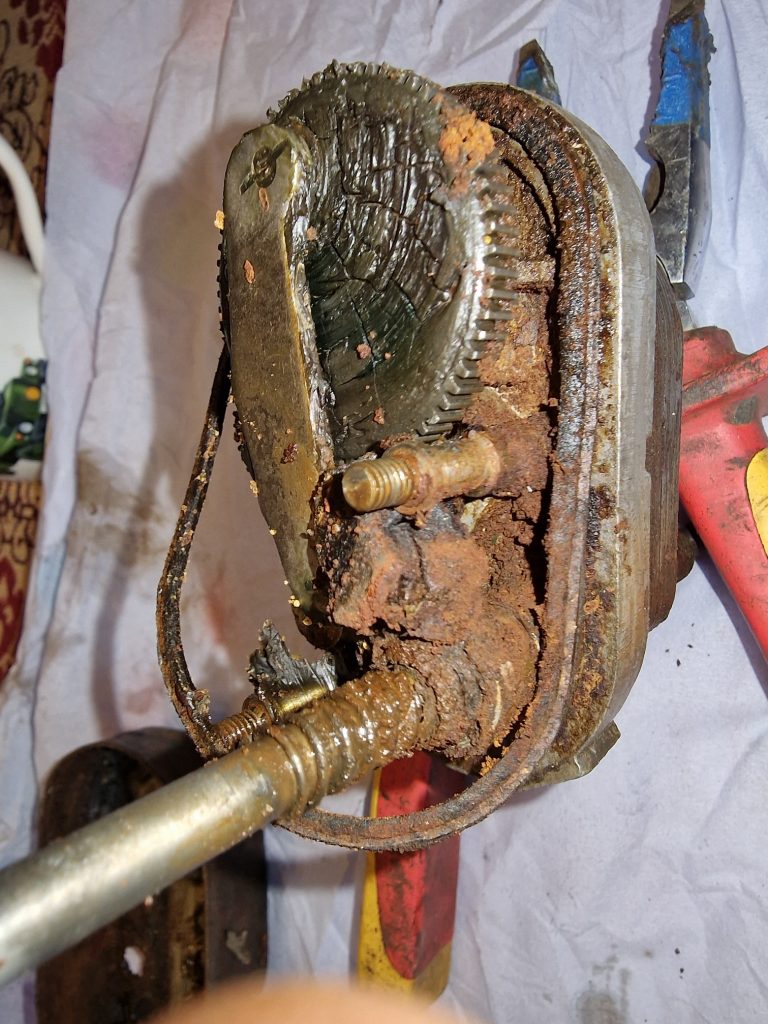
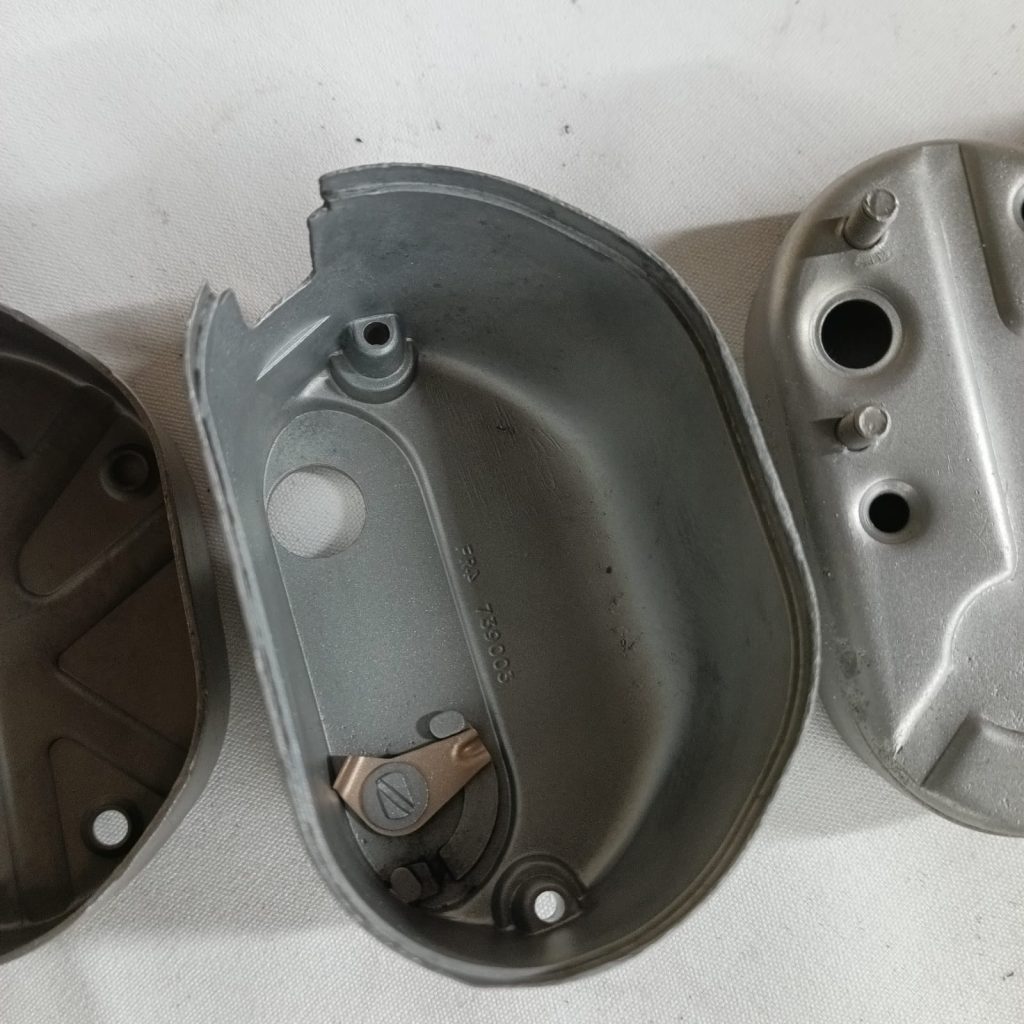
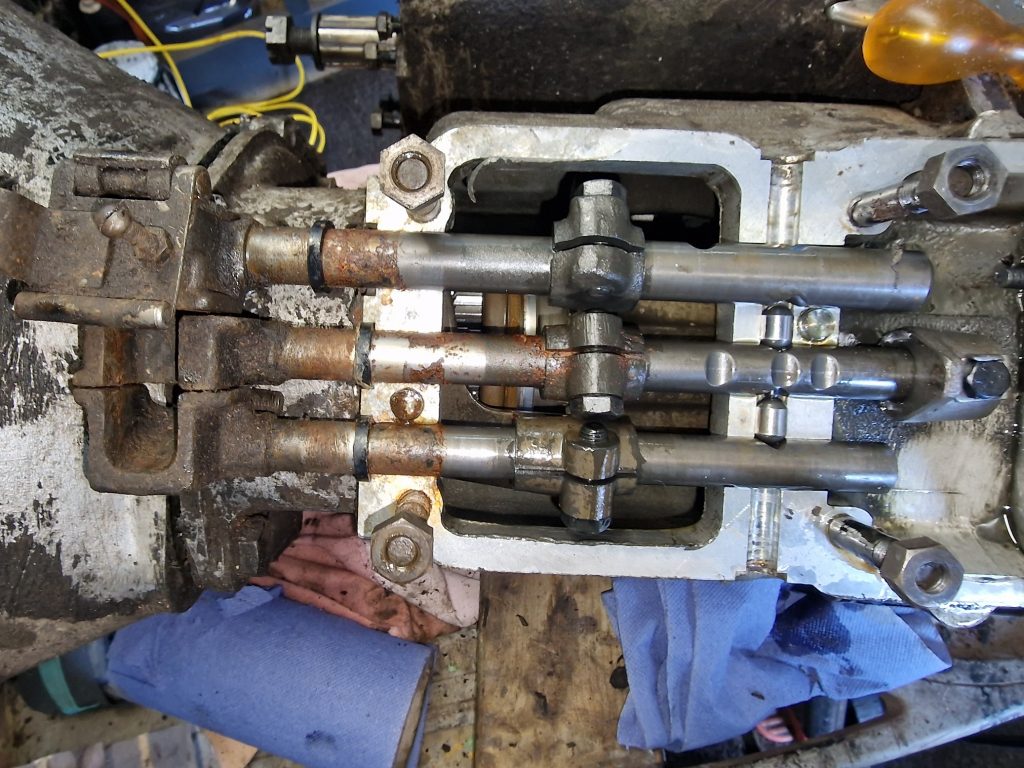
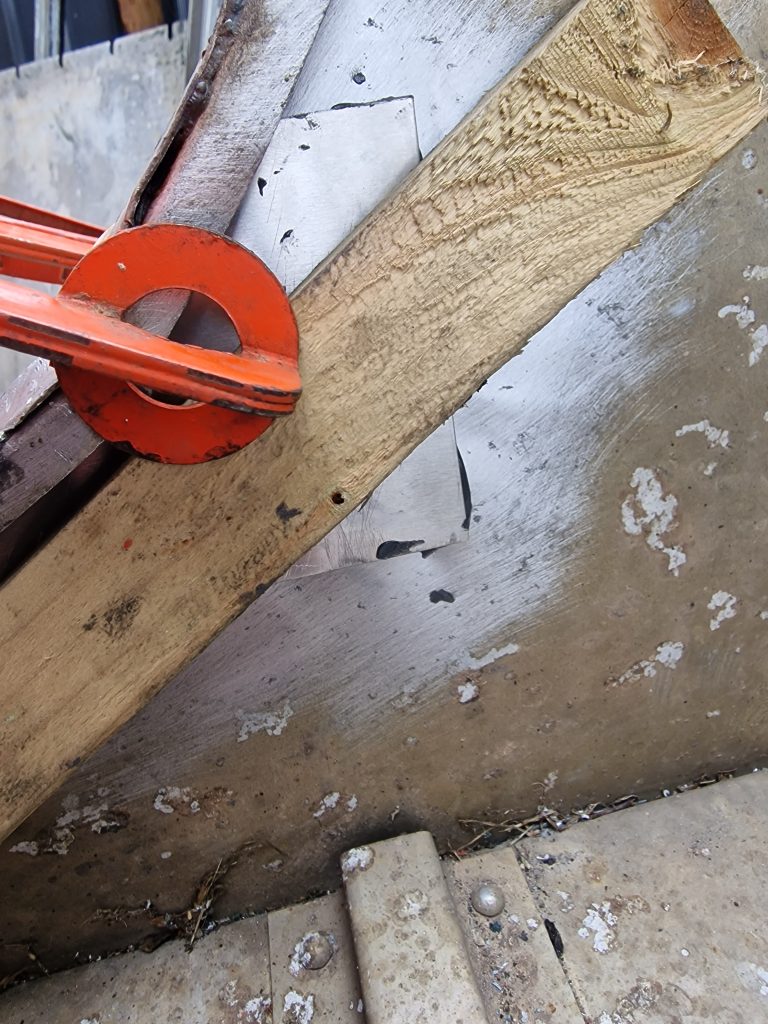
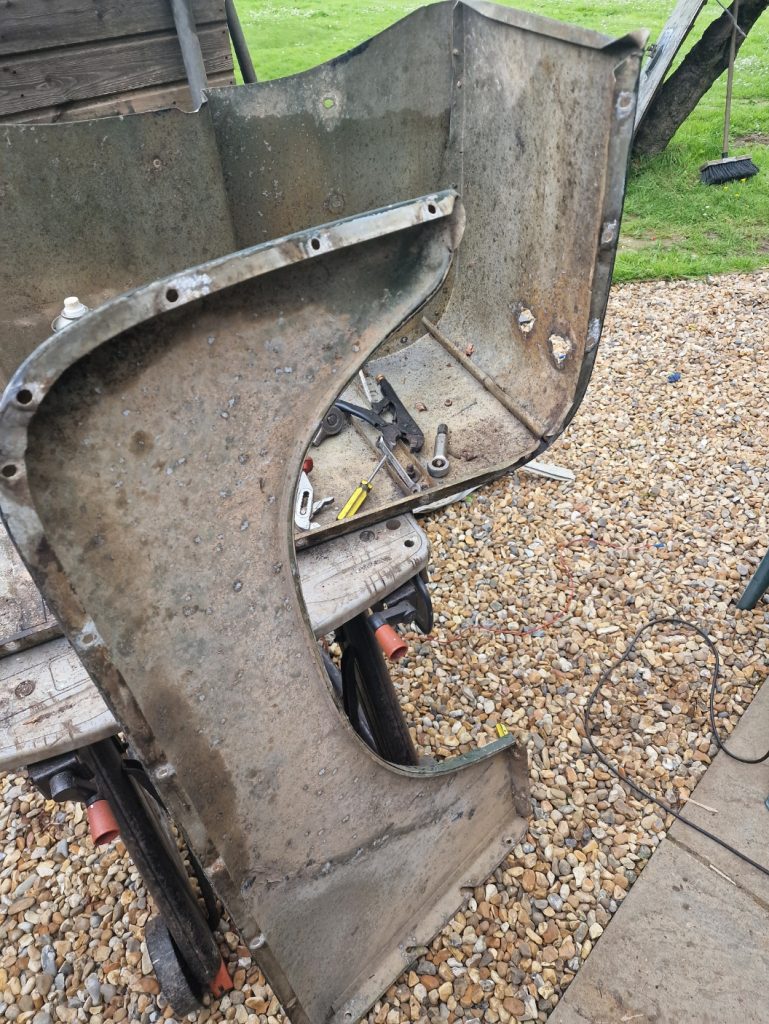
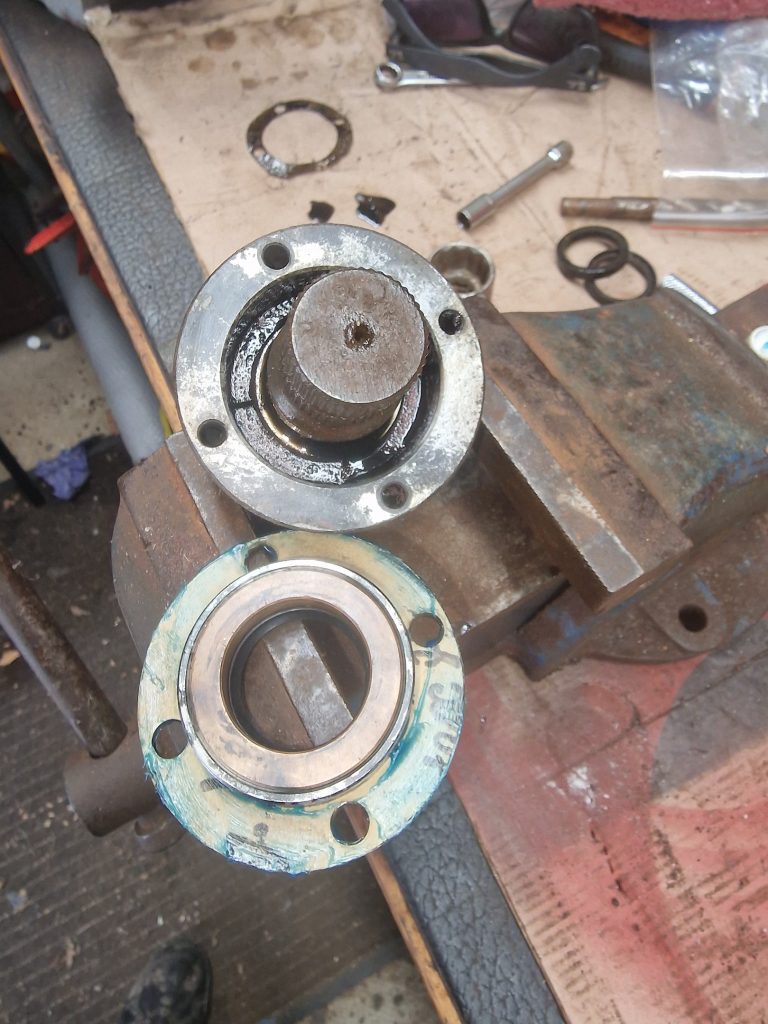
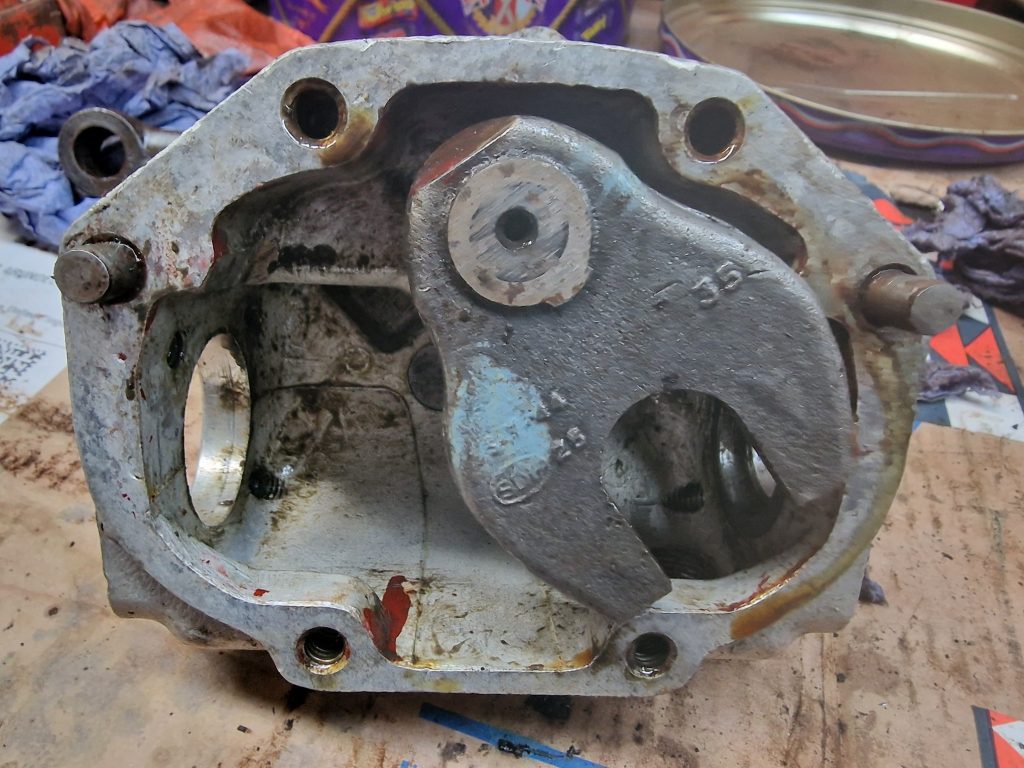
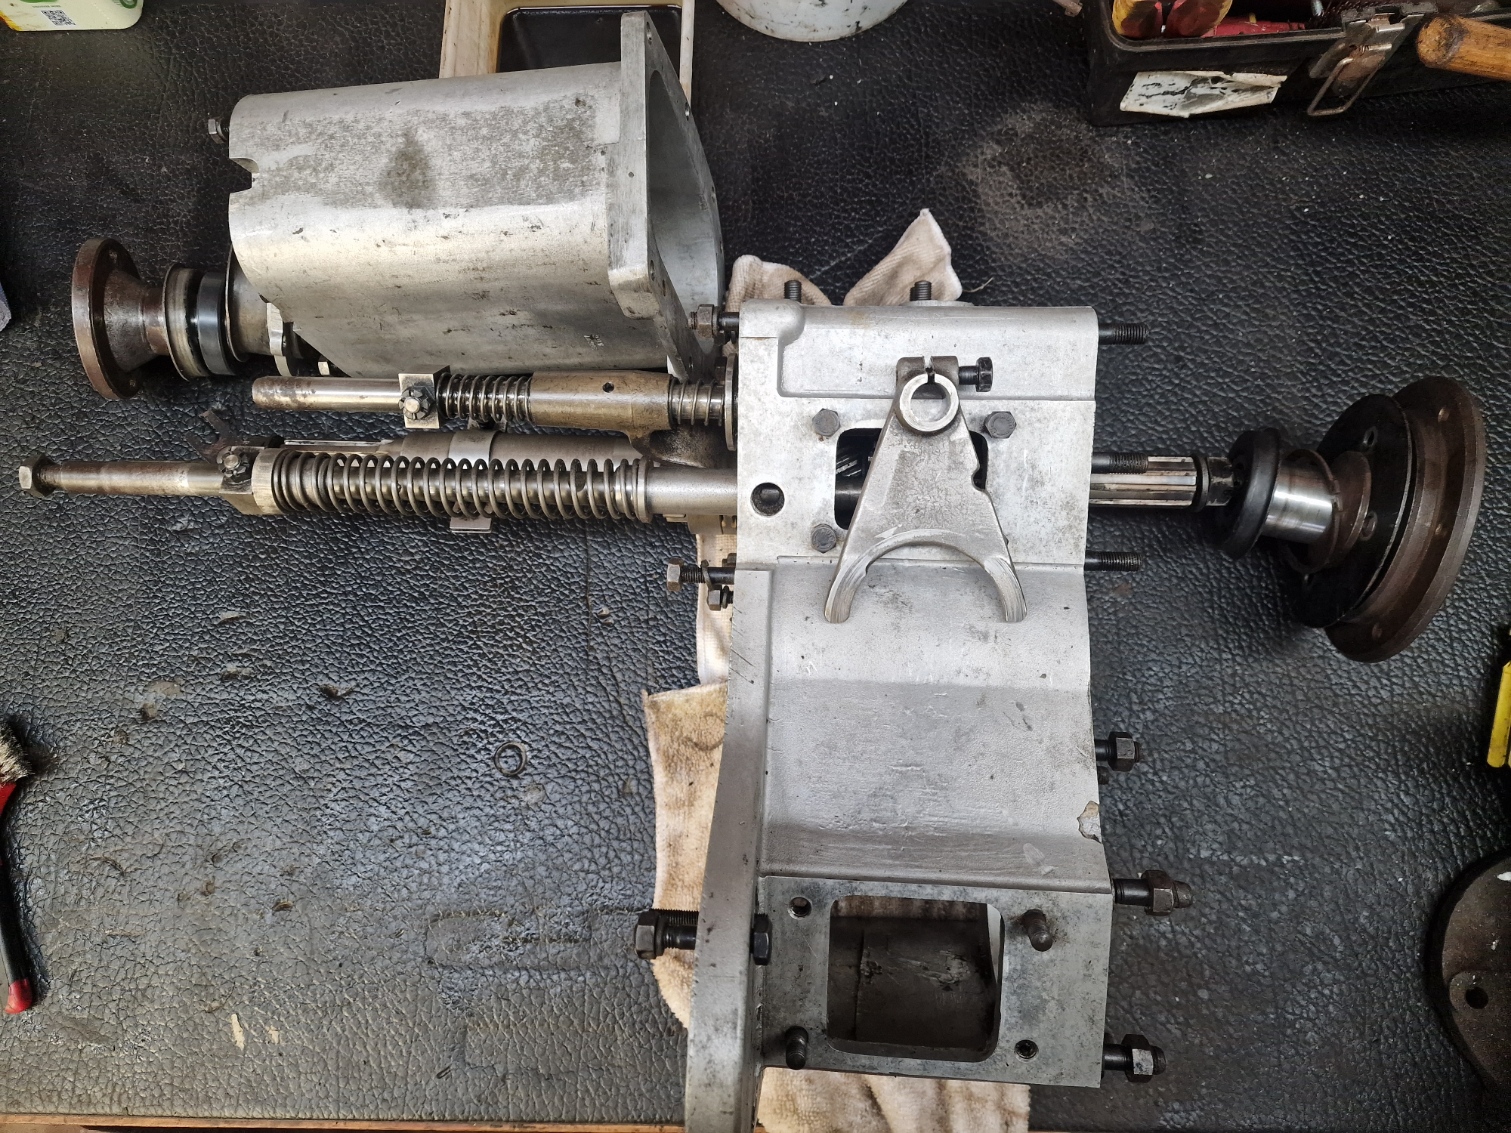
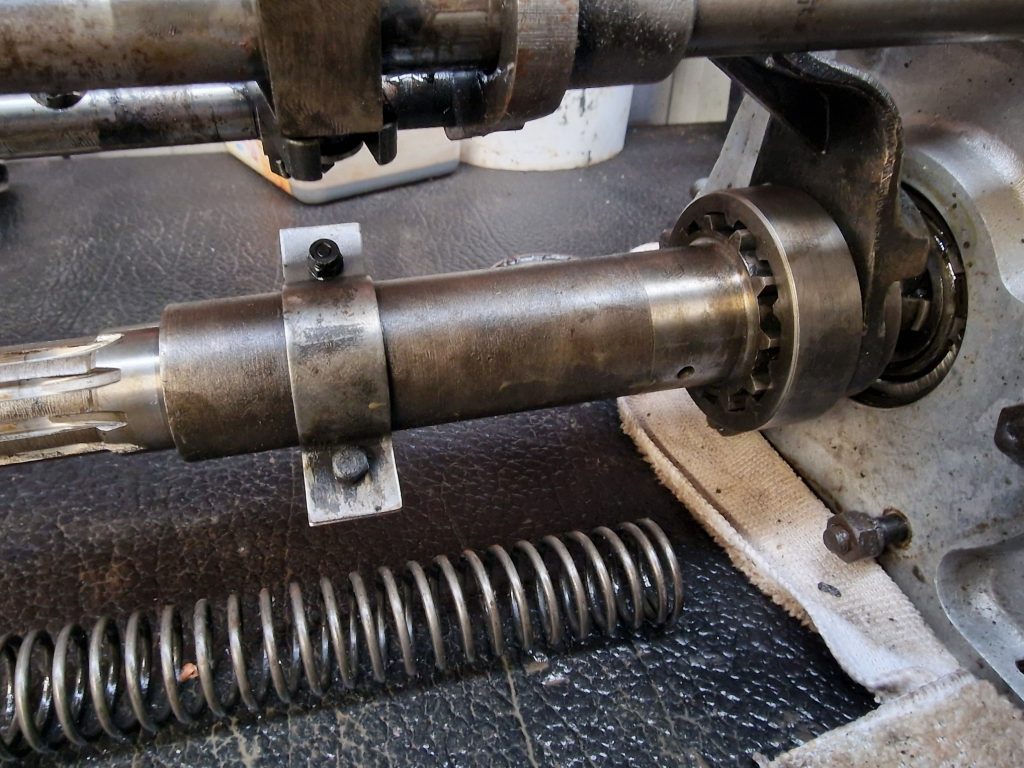
This is the other end of the Front Output Shaft Housing, and you can see the 4 shafts, one is the Low/High selector (top one with the bolt on) the two to the left of that are for the 2/4 wheel drive selector shafts.
The bottom one, is the front wheel drive shaft.
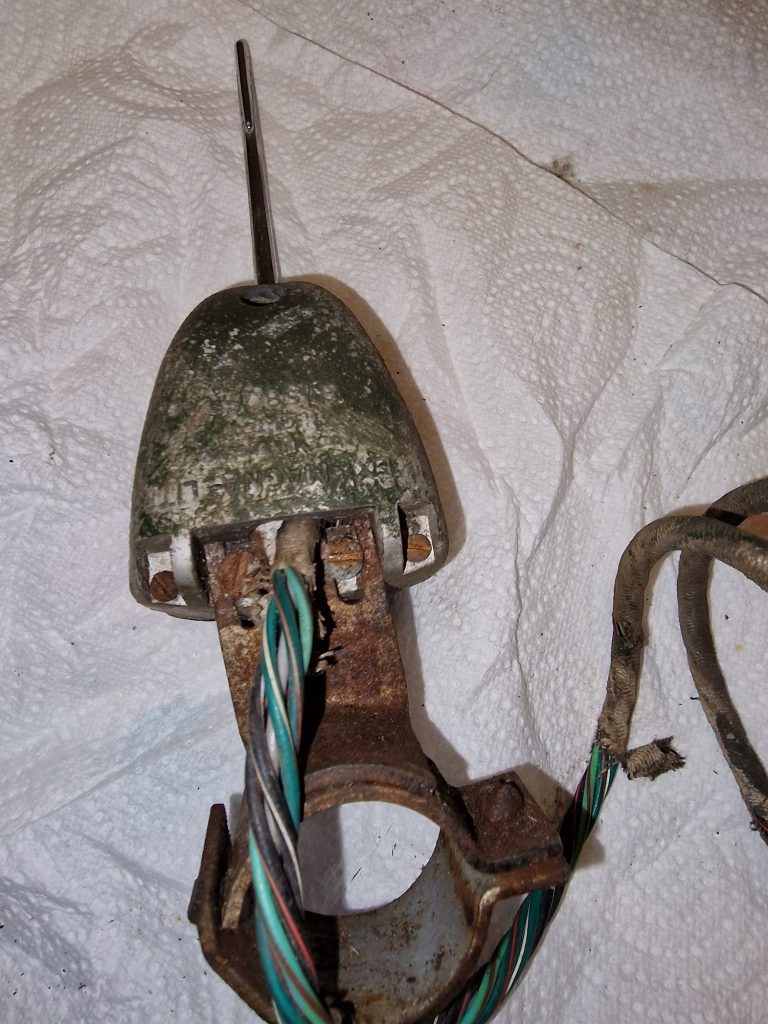
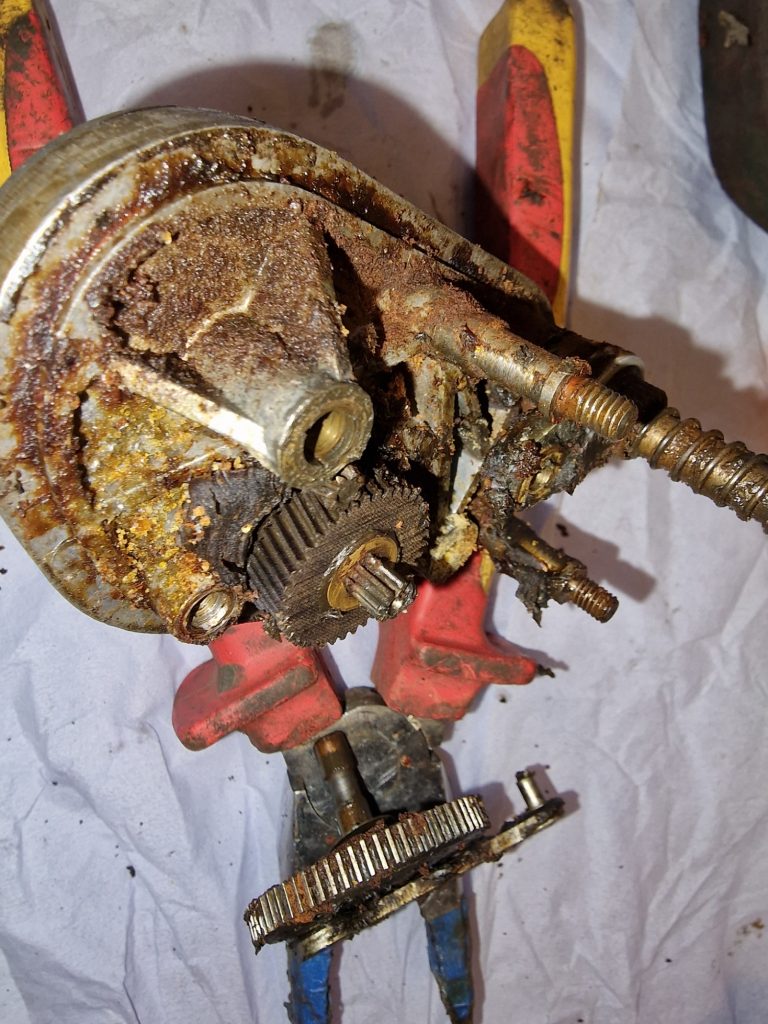
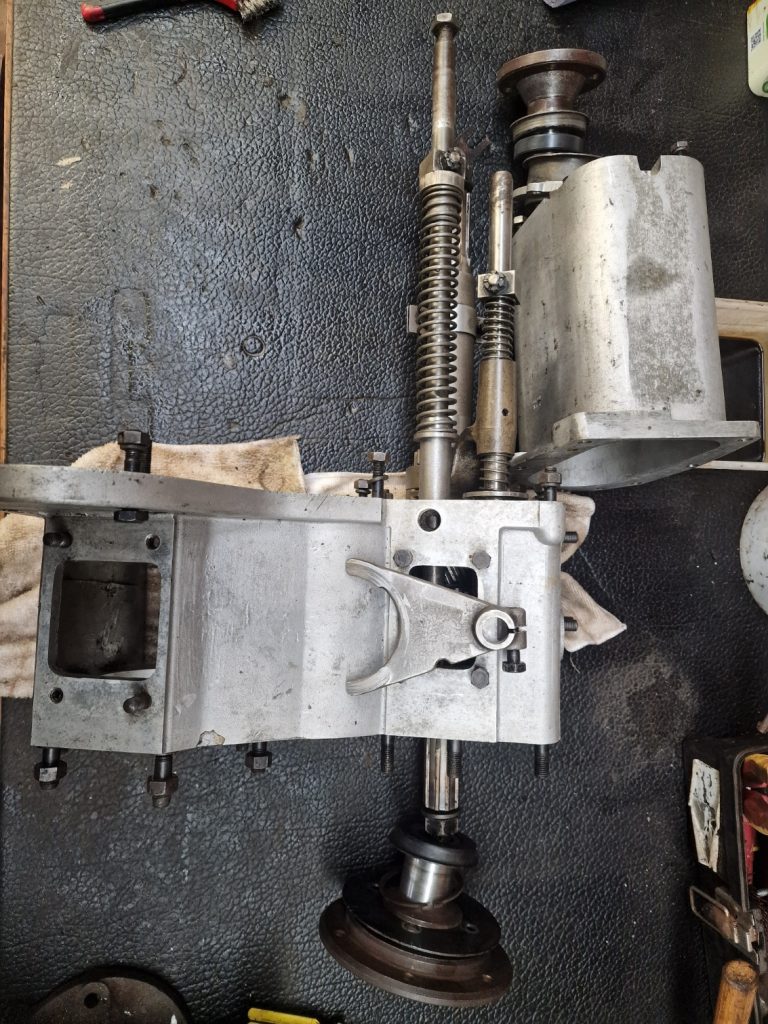
This was all separated from the transfer box, allowing all the inner workings to drop out, well nearly, a couple of other bits from the top of the transfer box had to be removed first (the bolt holding the selector fork and a plunger for transfer selector shaft, sorry, no pics of those either, will get some when they get put back together).
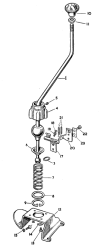
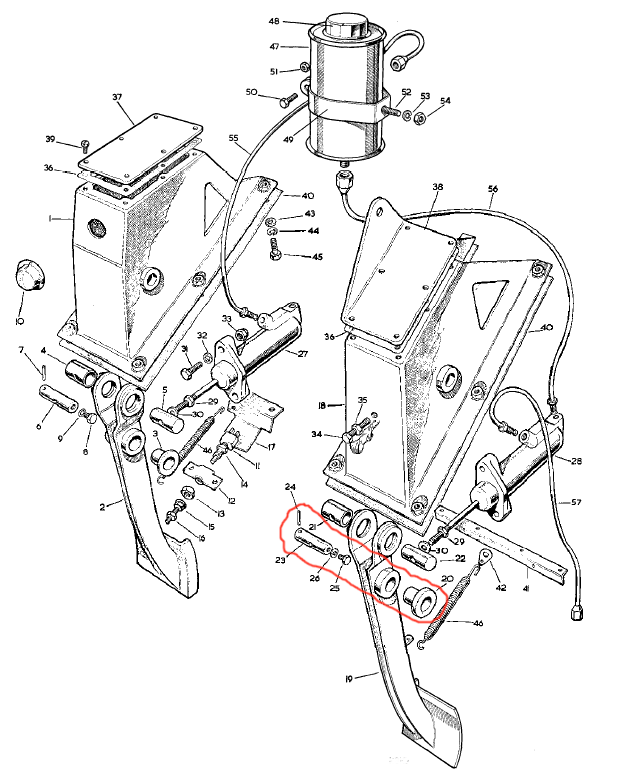
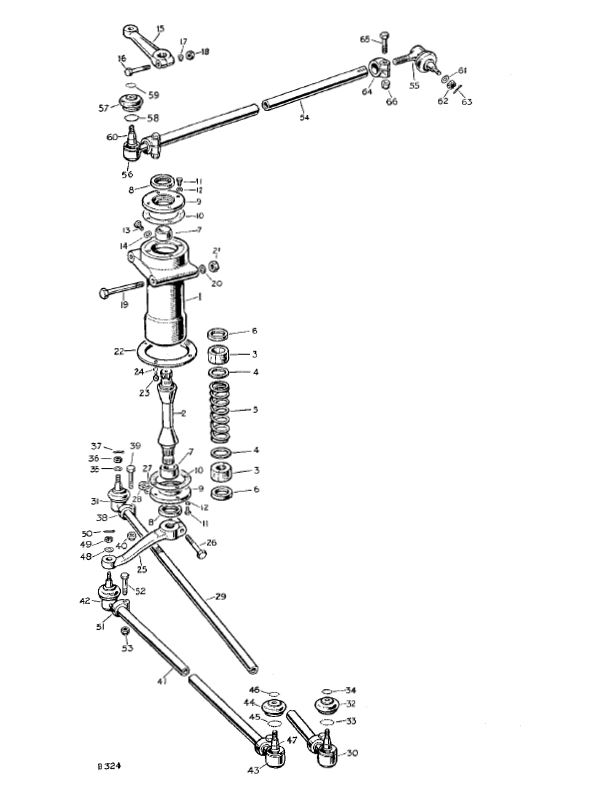
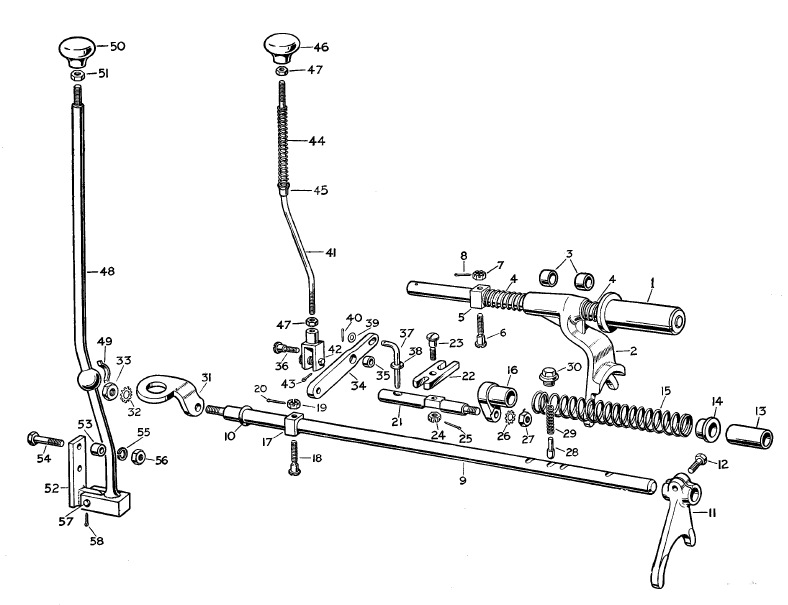
To get a better idea of whats inside this box, here is the inner workings from the parts catalogue.
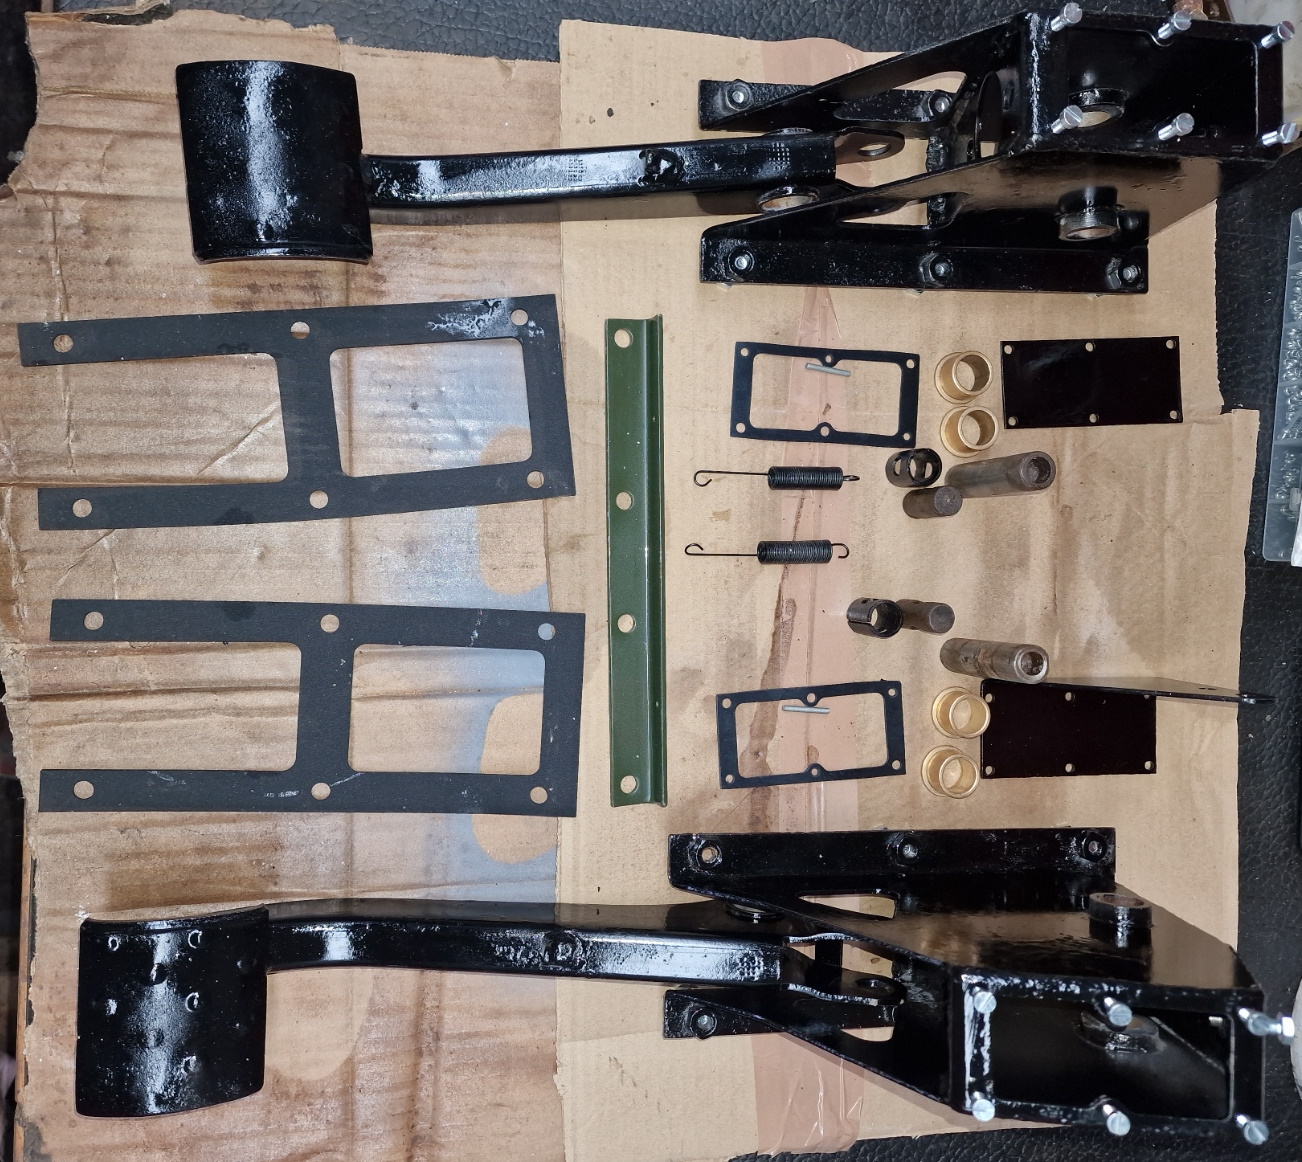
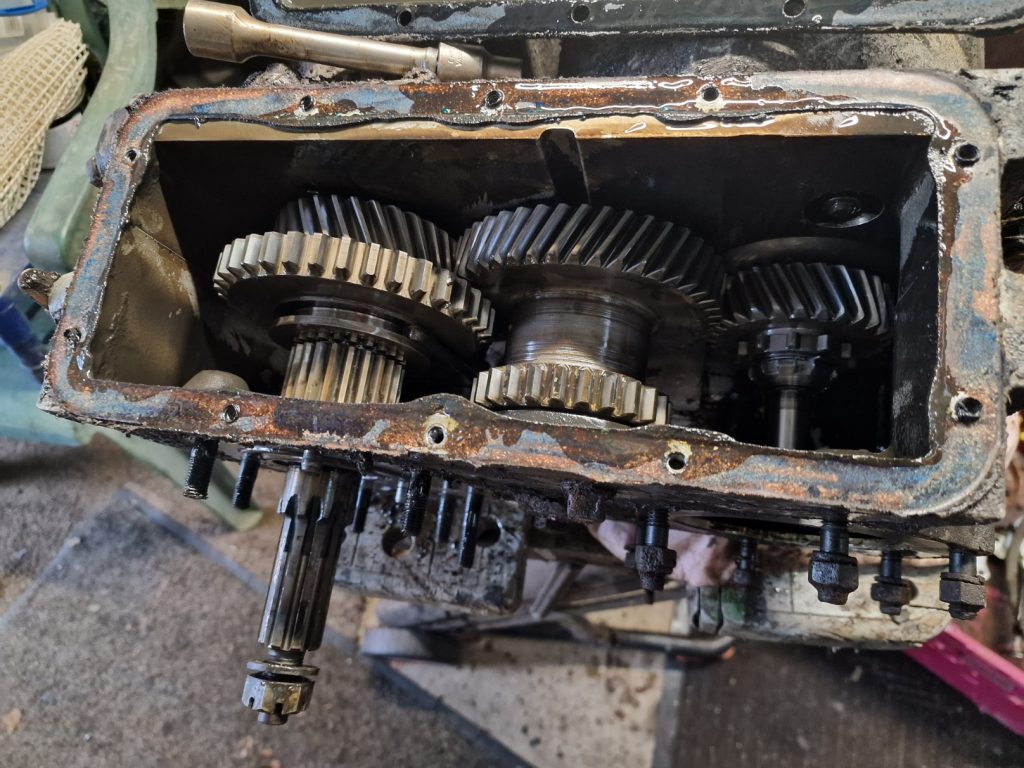
Next job was to inspect all the gears that came out (not shown above) and bearings, which seem to all be pretty good, no play in the bearings, now obvious signs of wear on the gears or bearings. So set about cleaning up the cases and a creating a list of all the bits I will replace.

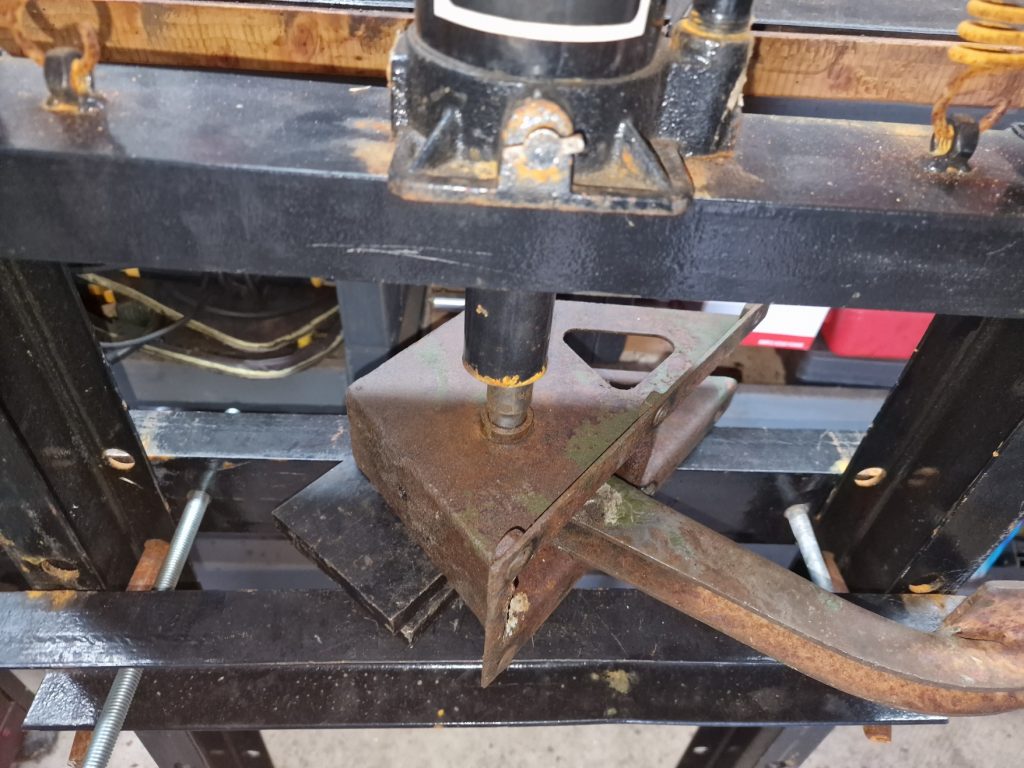
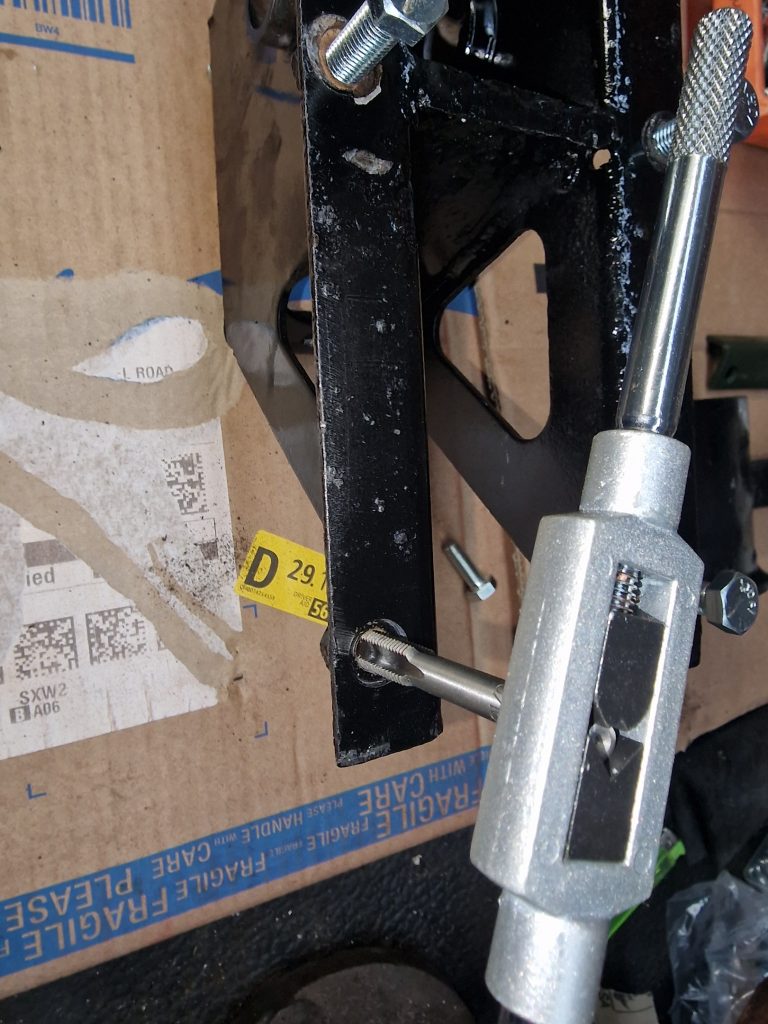
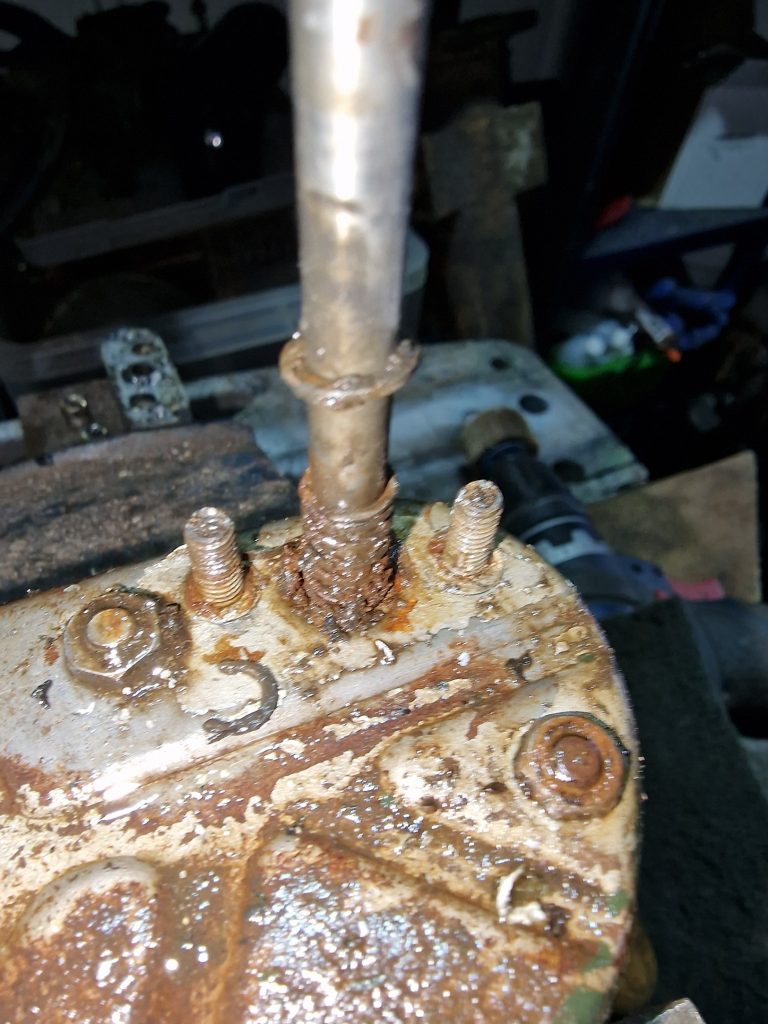
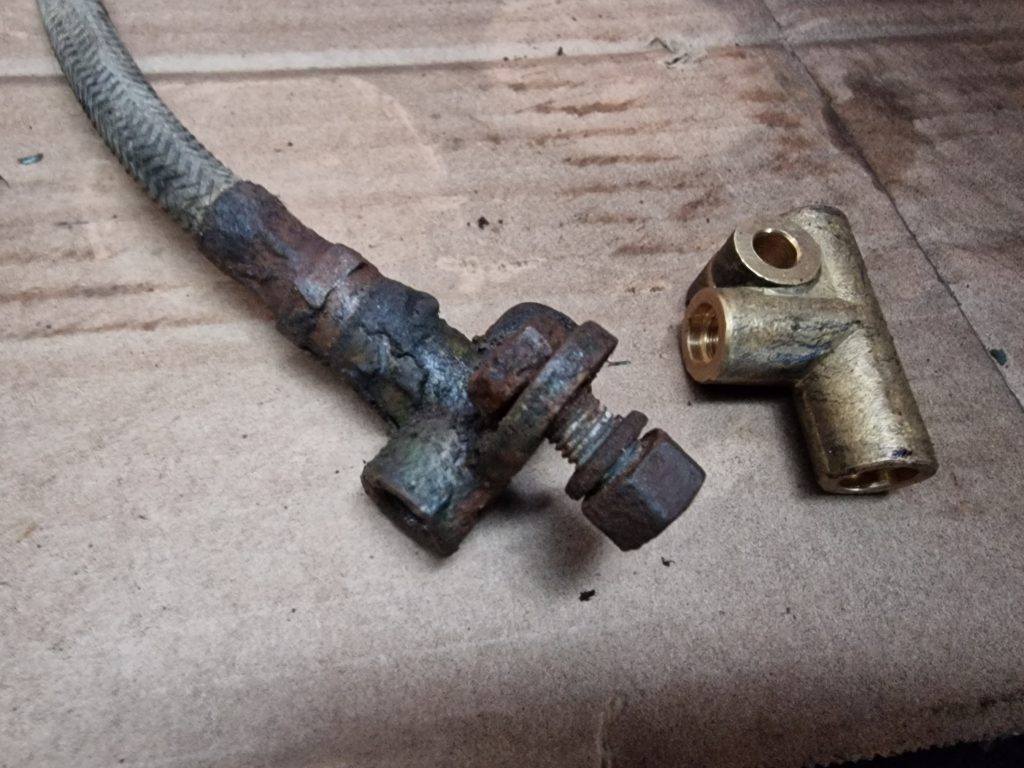
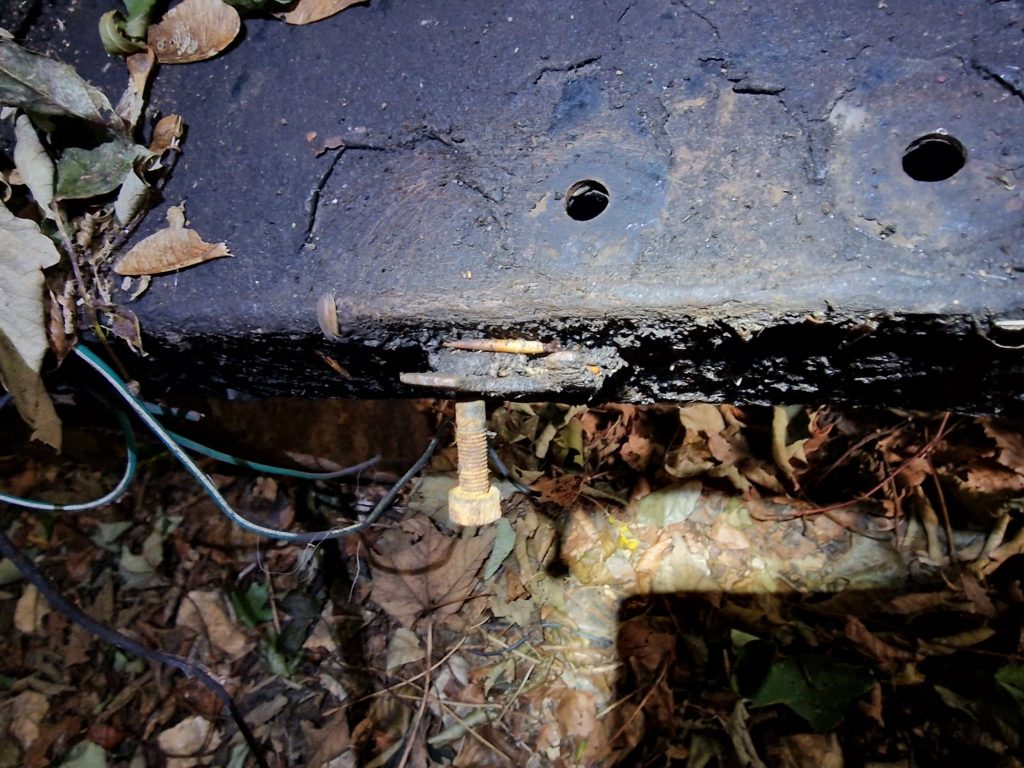
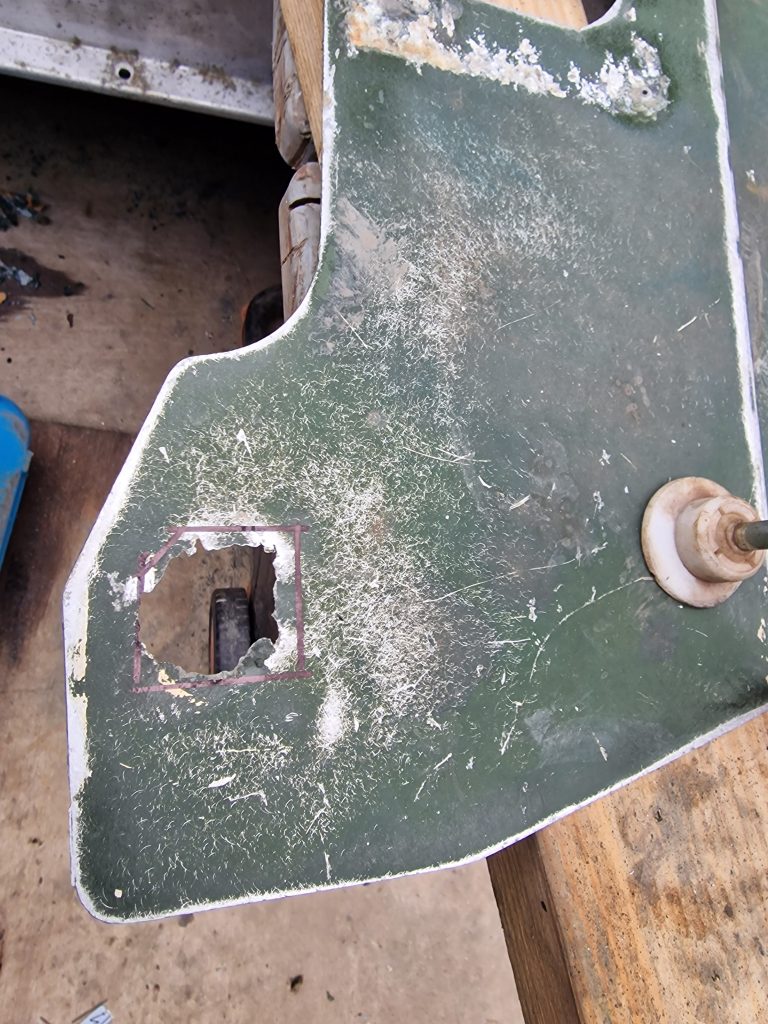
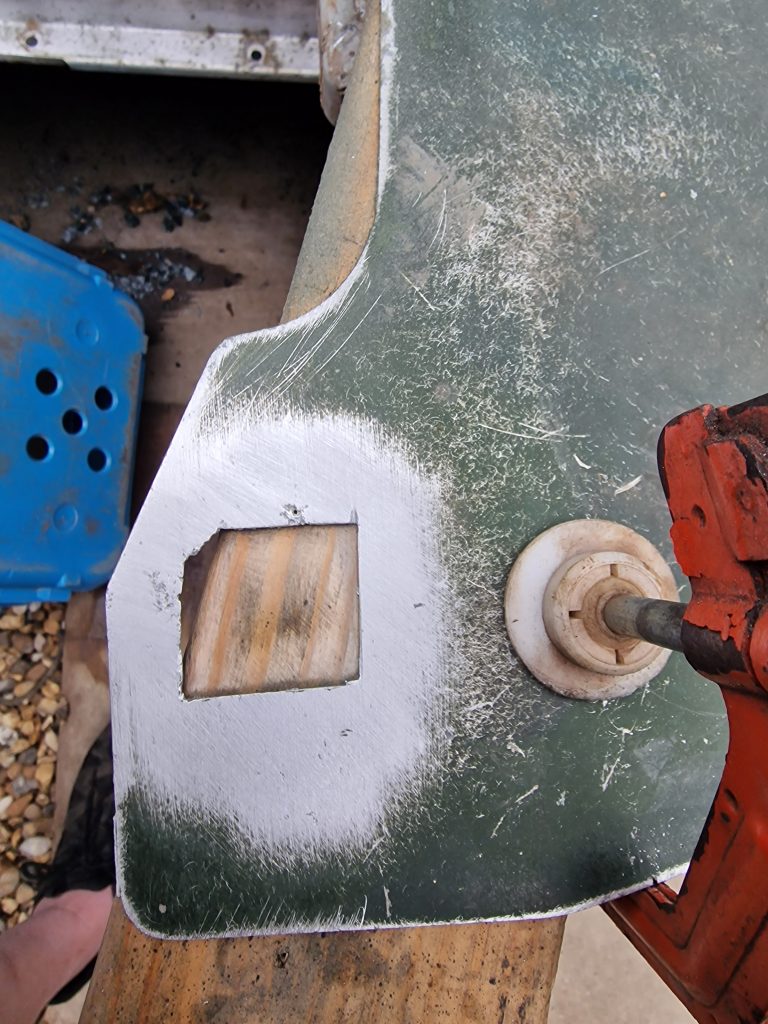
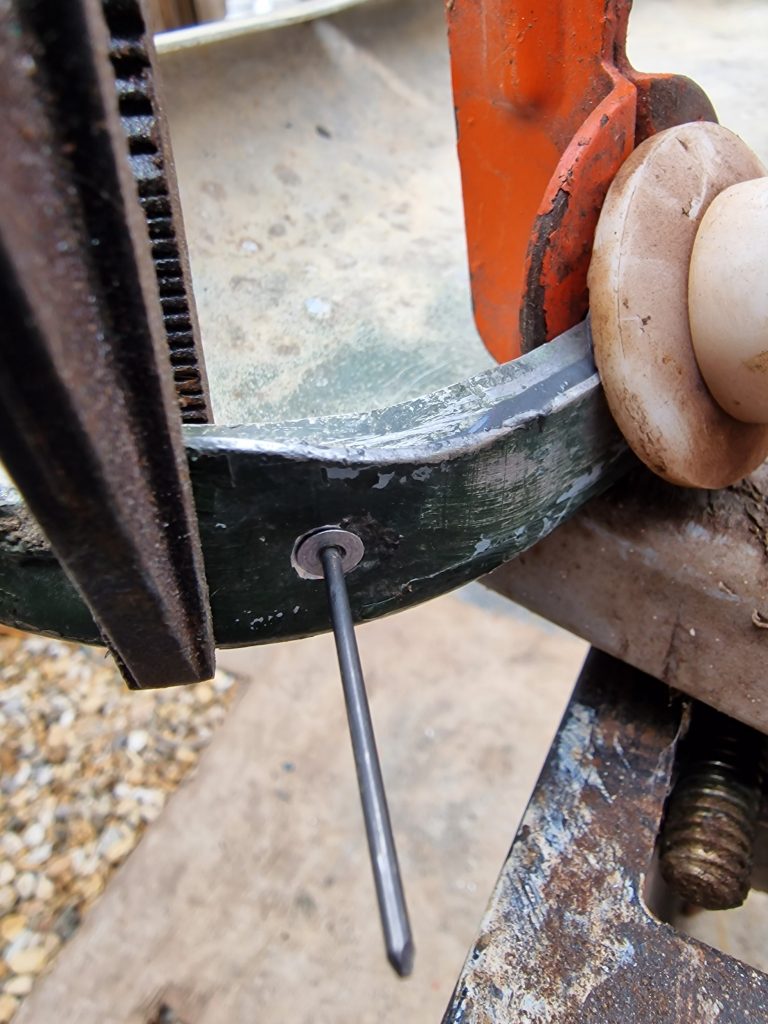
Before that however, I have one problem to sort out. When stripping down and recklessly removing bolts, without paying much attention, one of them snapped.
You can see it just under the drill bit, and the remains of the bolt towards the bottom of the picture.
This is a special bolt thats supports the 4WD selector leaver, so it has to be fixed.
I drilled a small pilot hole, and tried to wind in a bolt extractor to un-screw it. Didn’t have the right size drill, so will need to finish this when I get some new drill bits. Will drill a hole in the bolt remains, and with a bit of heat and an extractor try and wind it out. If that doesn’t work, will have to try and drill all the bolt out and re-tap the hole, but I think this is a whitworth bolt, so that will need the purchase of a whitworth Tap.
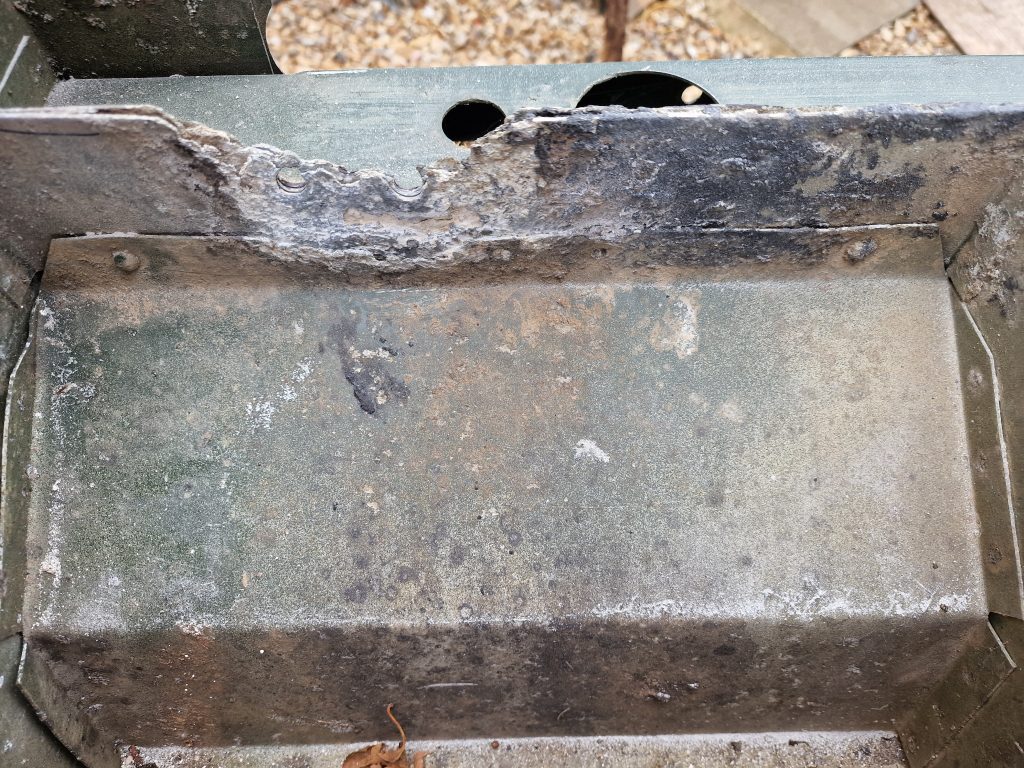
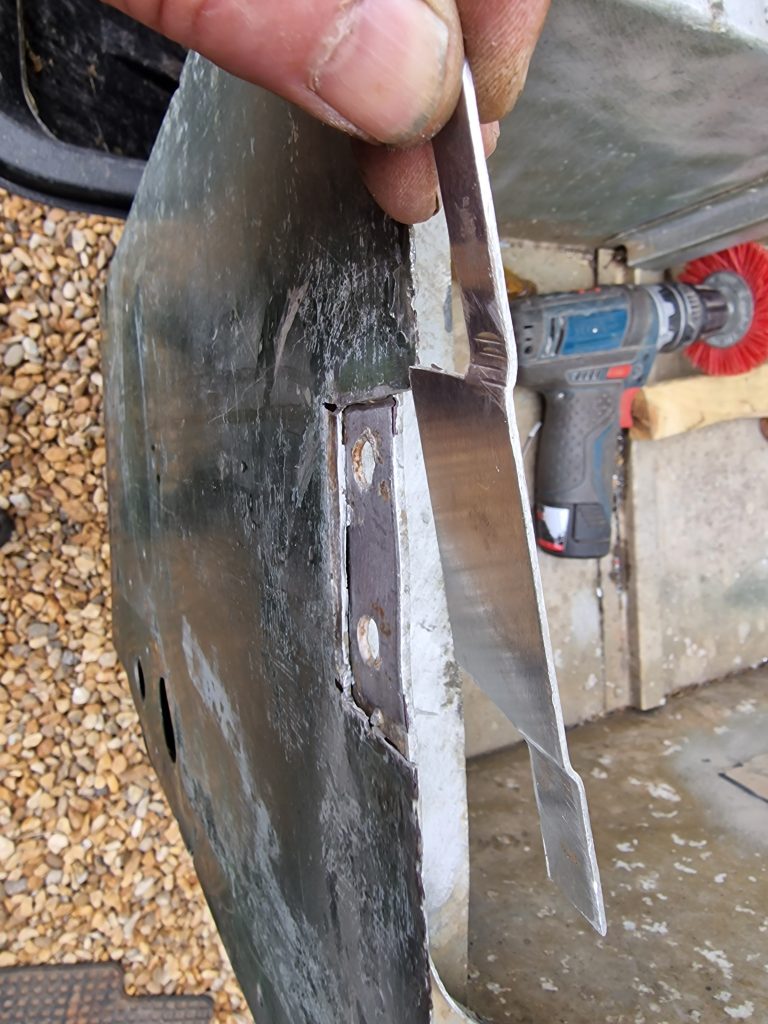
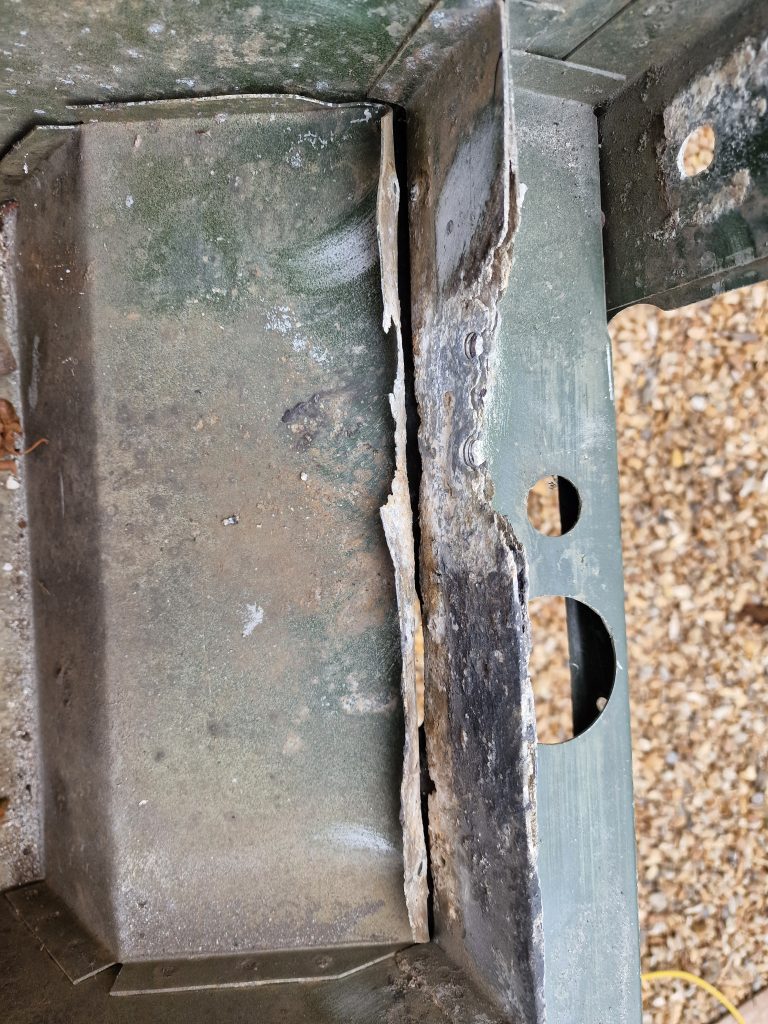
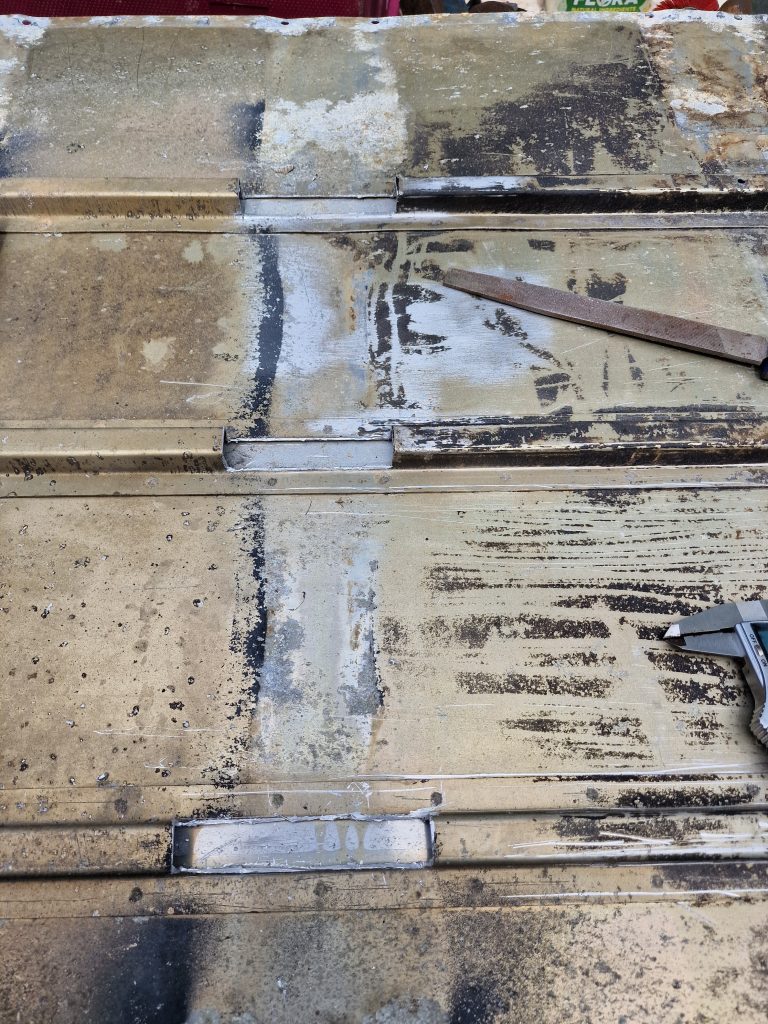
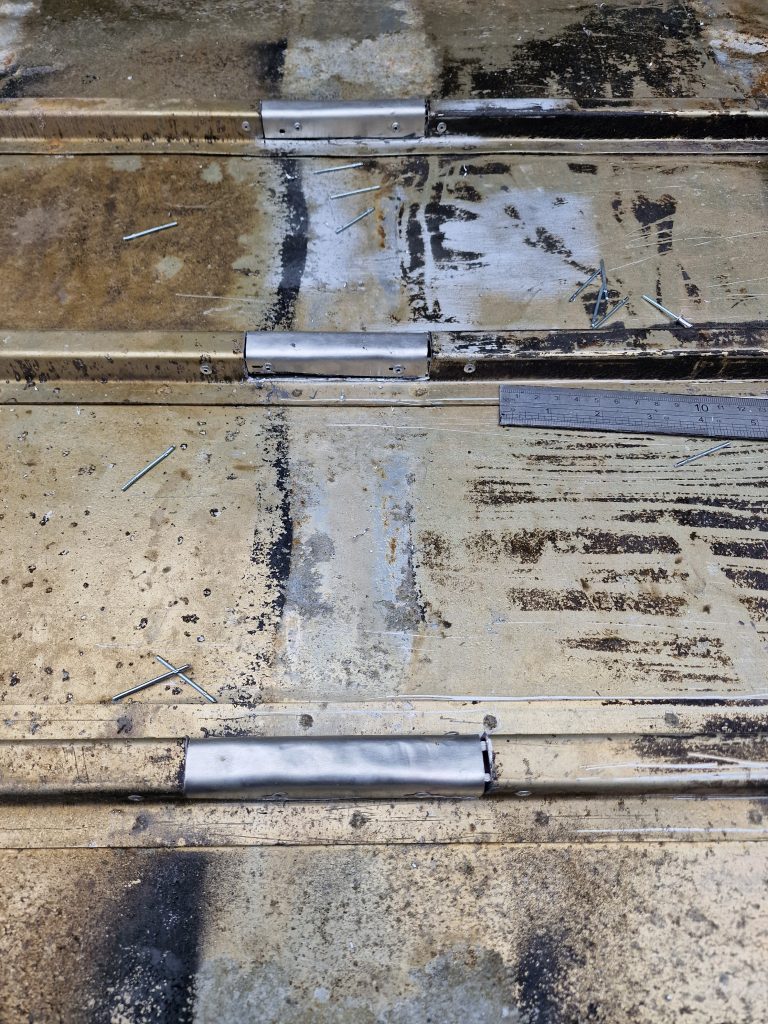
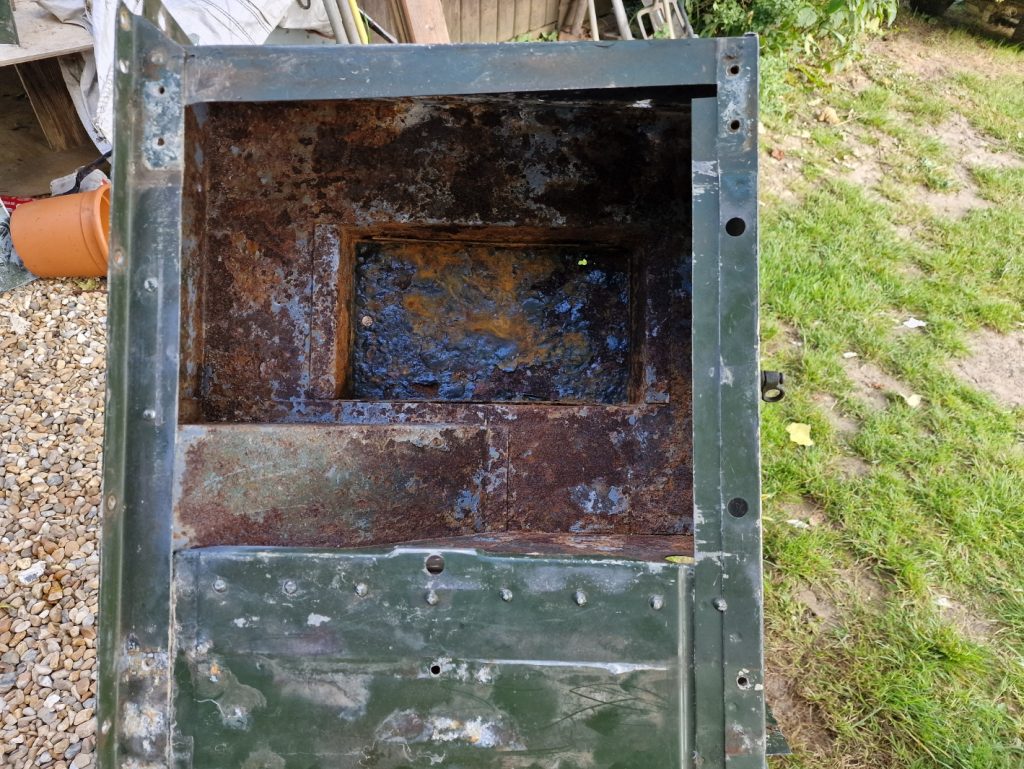
Onto the clean, this took a while, the cases were covered in caked on old solidified oil, grease and muck.
Wire brushes, soft brushes, de-greaser and elbow grease got them looking pretty good.
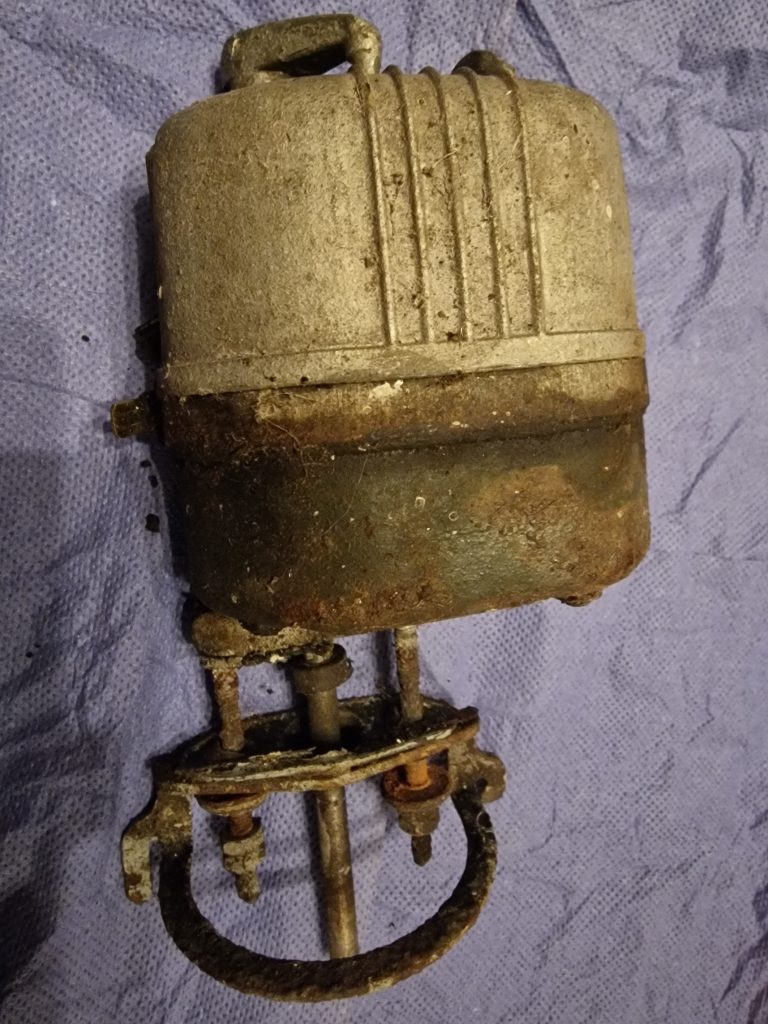
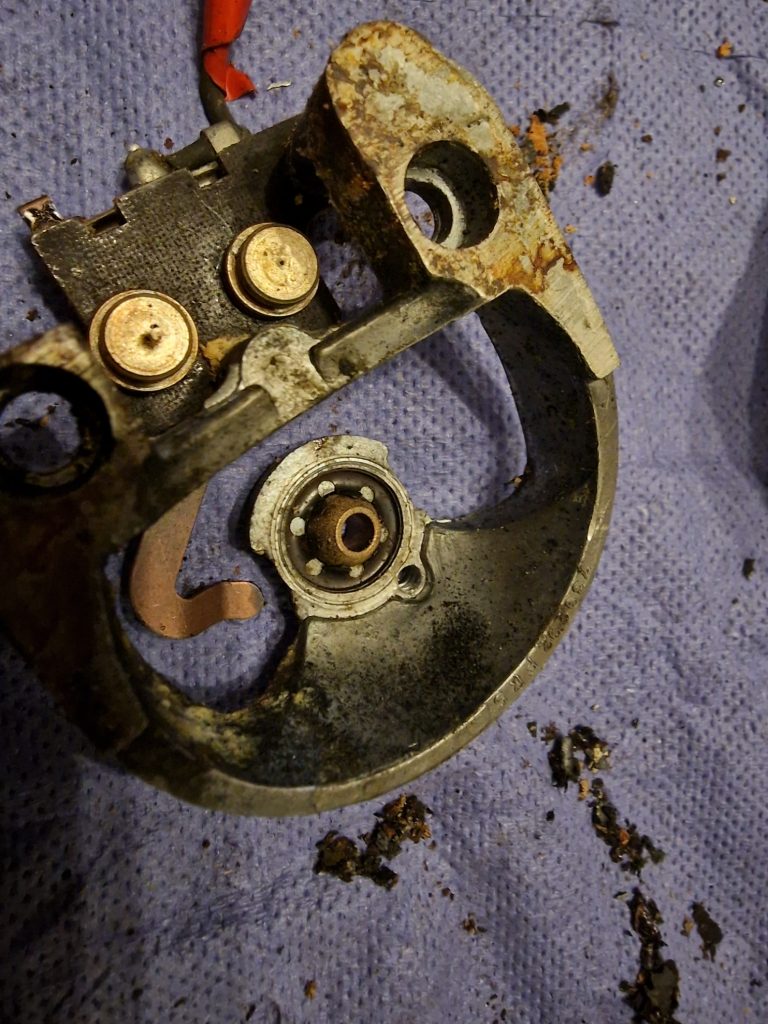
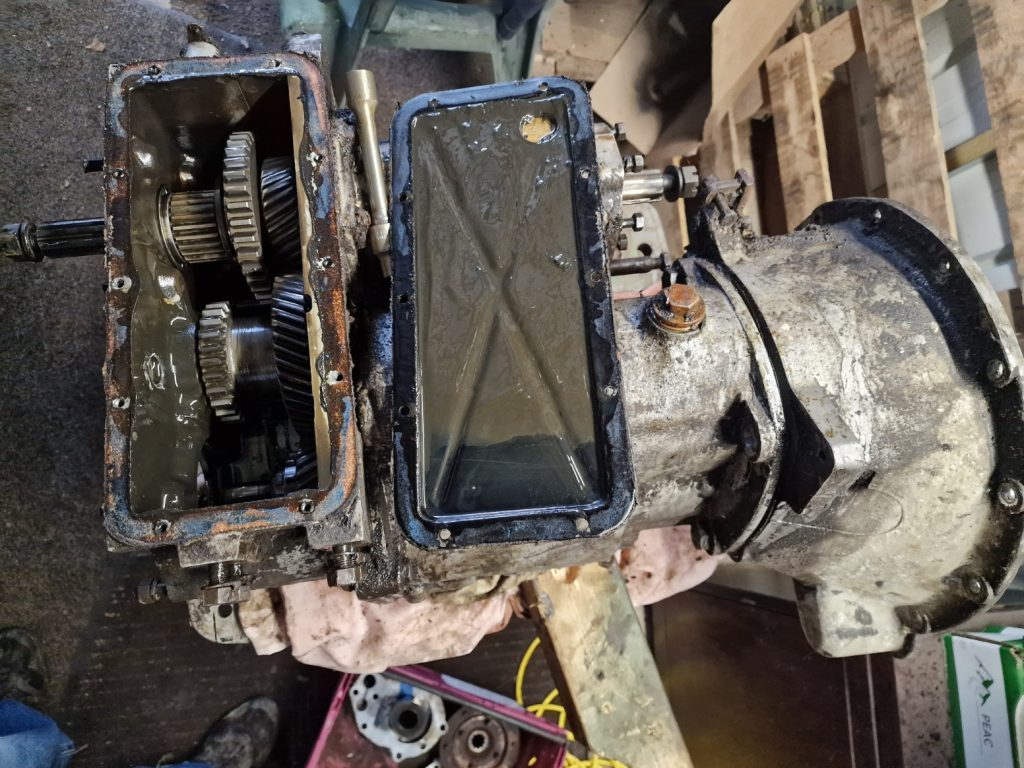
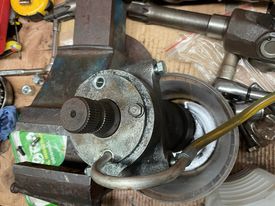
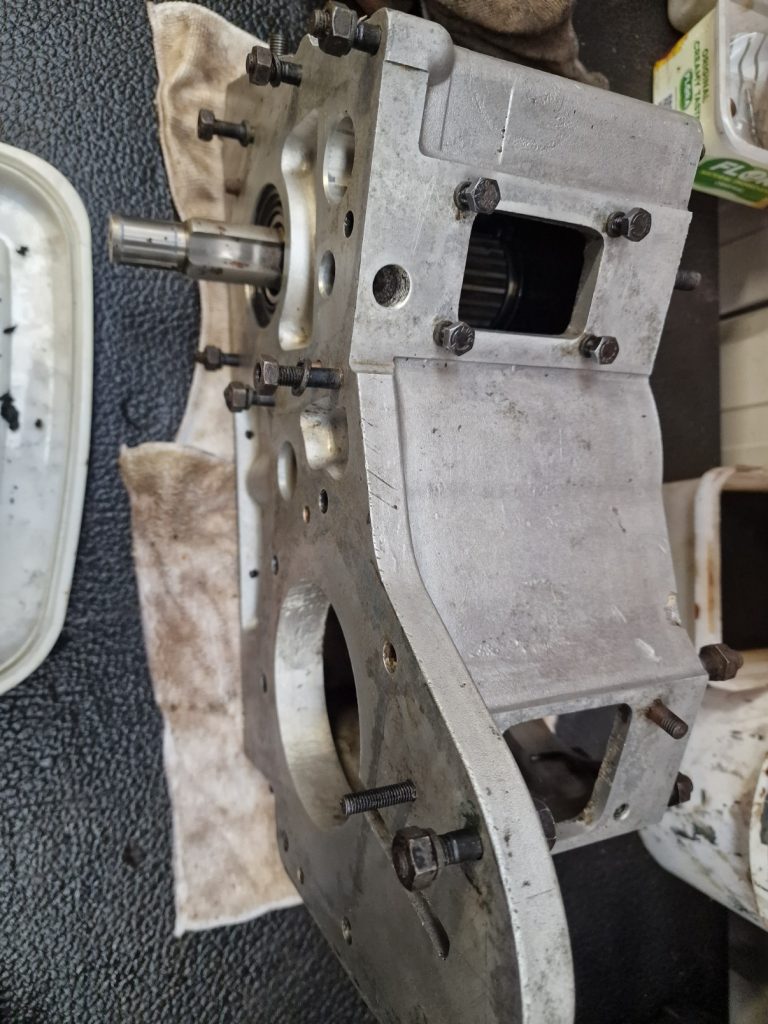
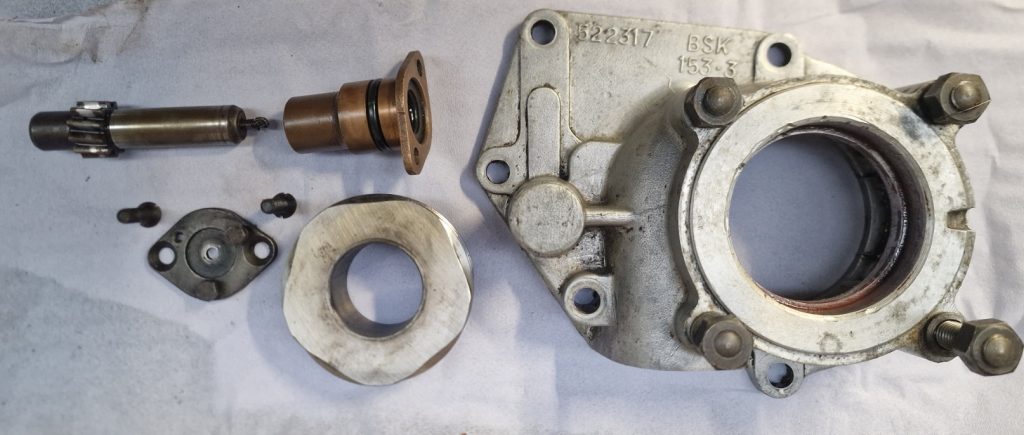
The part in the image is the Transfer Case and as you can clearly see I didn’t take it completely apart, didn’t feel the need, as mentioned before, bearings all felt really solid so no need to make work for something that will go back exactly as it came out.
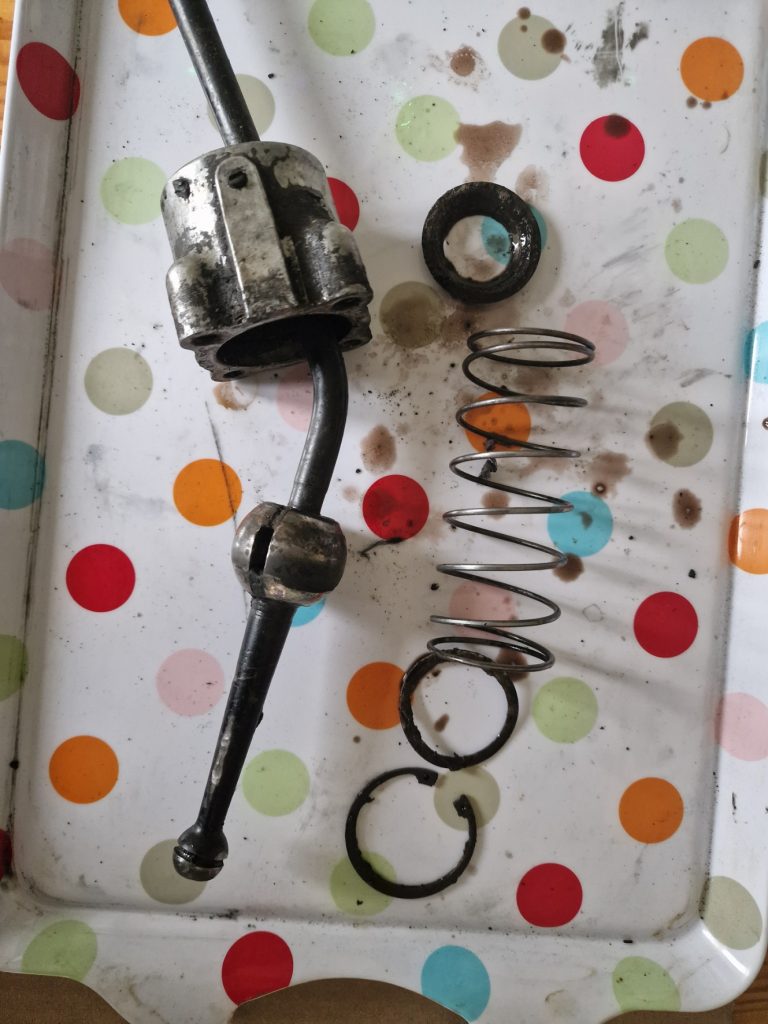
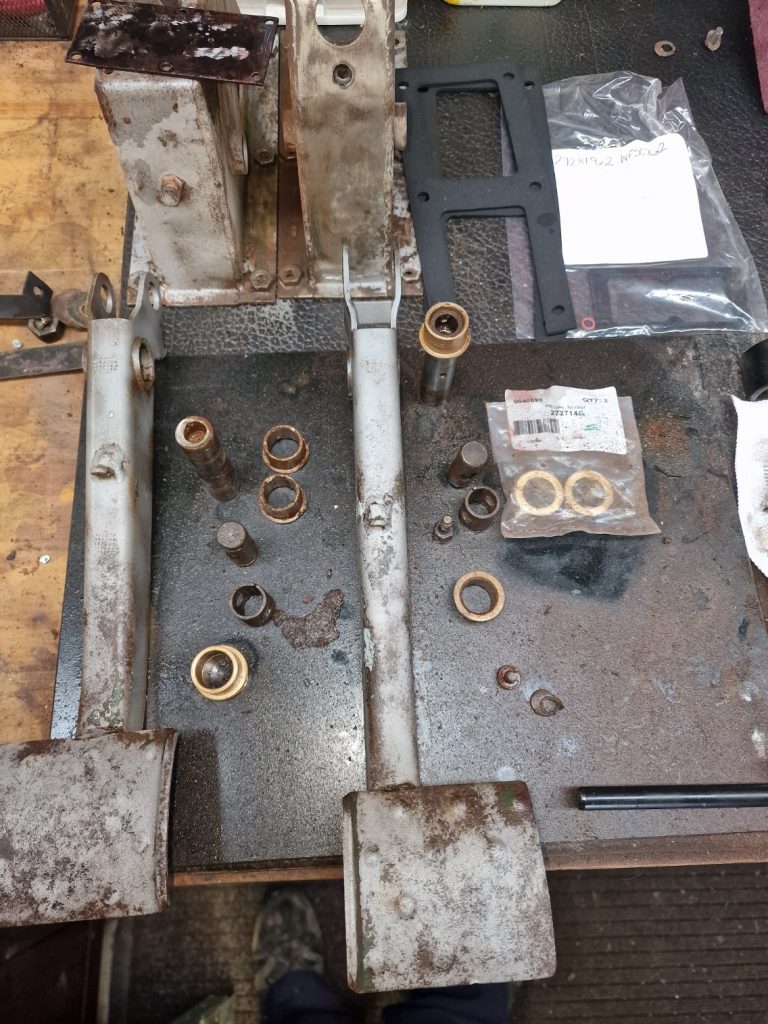
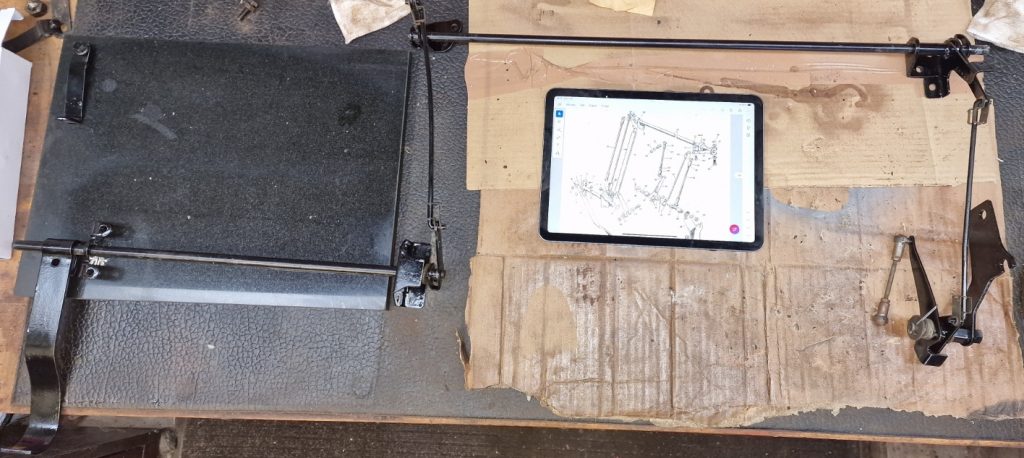
Before the whole thing get put back together, I tried the shafts, just to make sure they were all ok, and more importantly, make sure I understand exactly where they need to go.
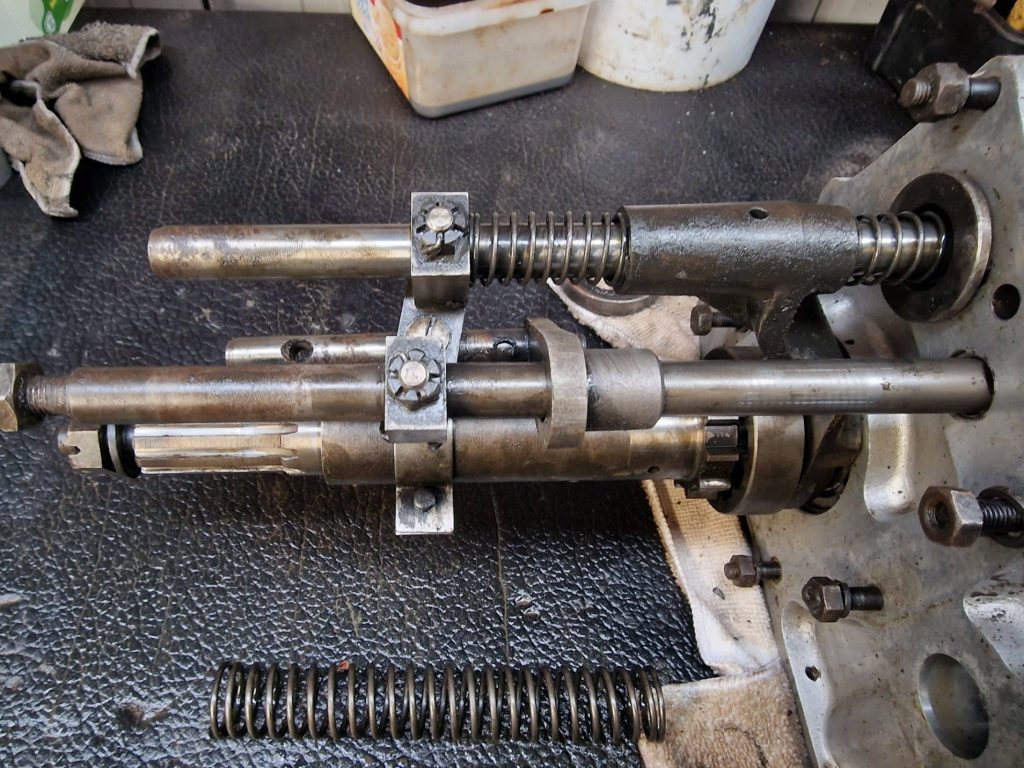

Its all pretty simple really, on the images above the middle on, you can just see the selector is off the splines, this allows the rear output shaft to turn without the font turning. In the last picture, you can see the shuttle has been pulled over the splines, hence locking the front output shaft to the rear, i.e. 4 WD. simples! The Low High, is actually in the transfer box part and cant be seen. Will get some pics of that when it goes back together.
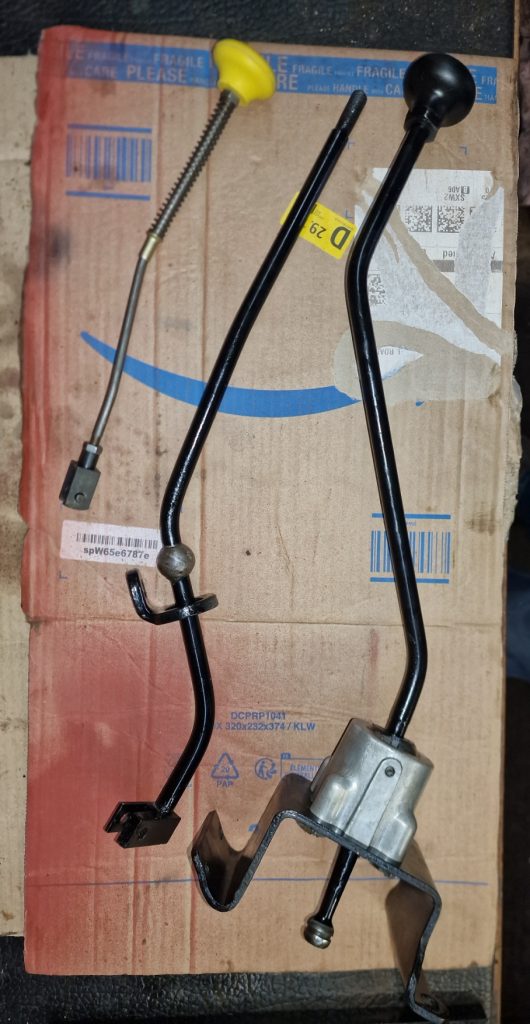
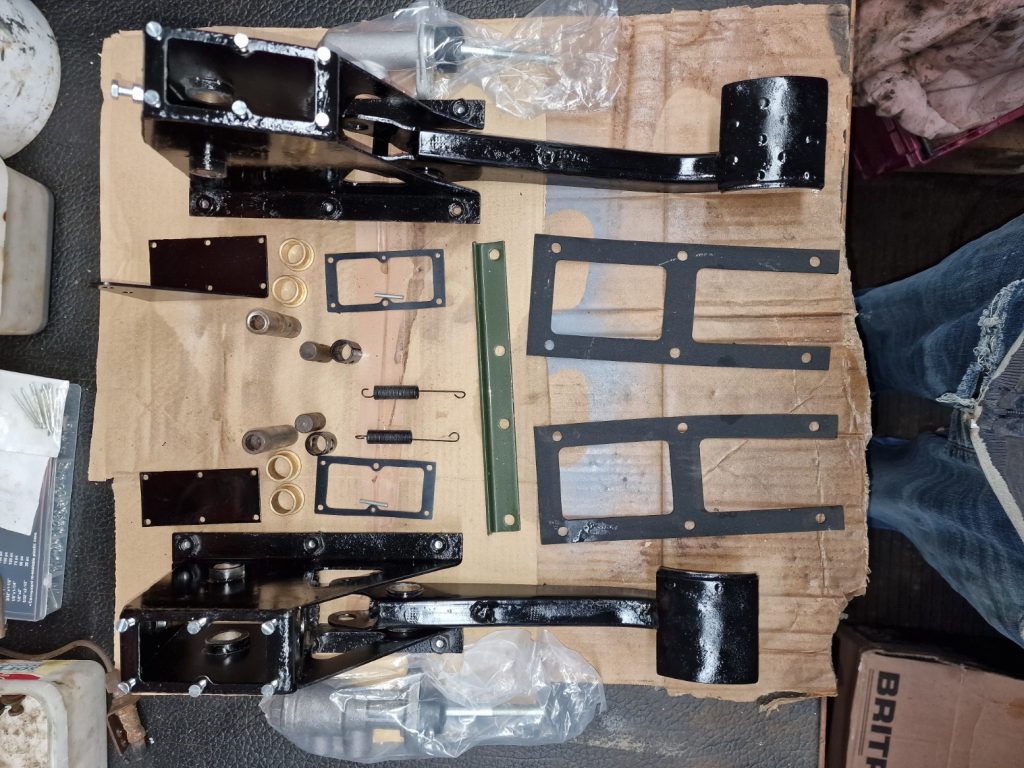
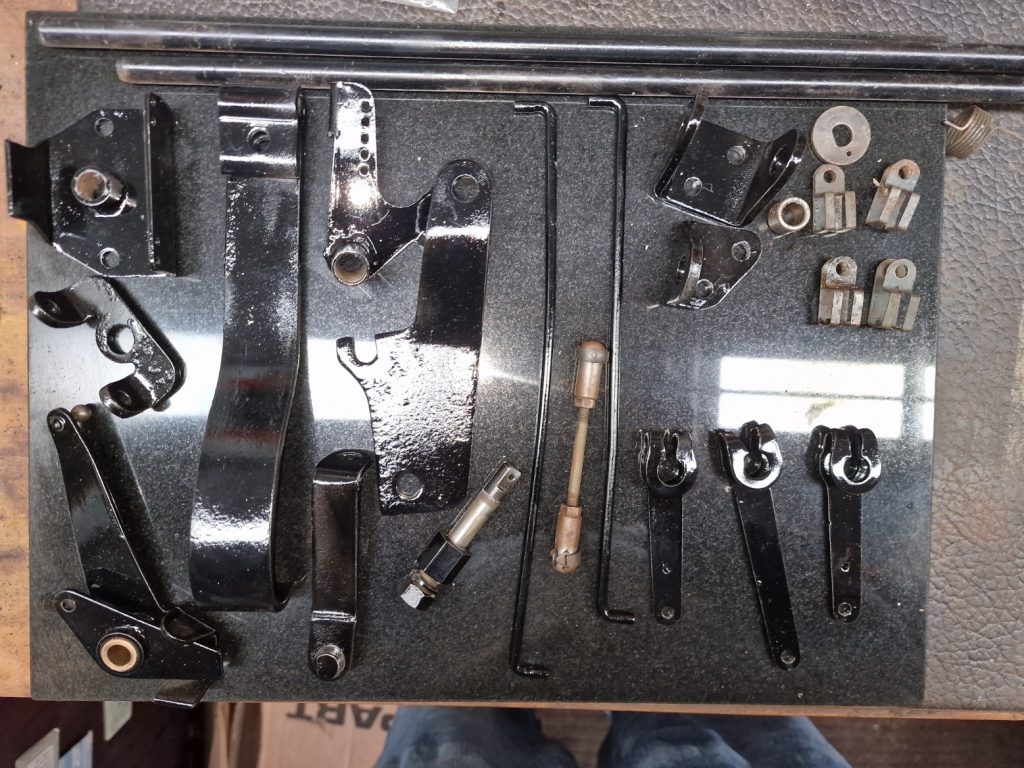
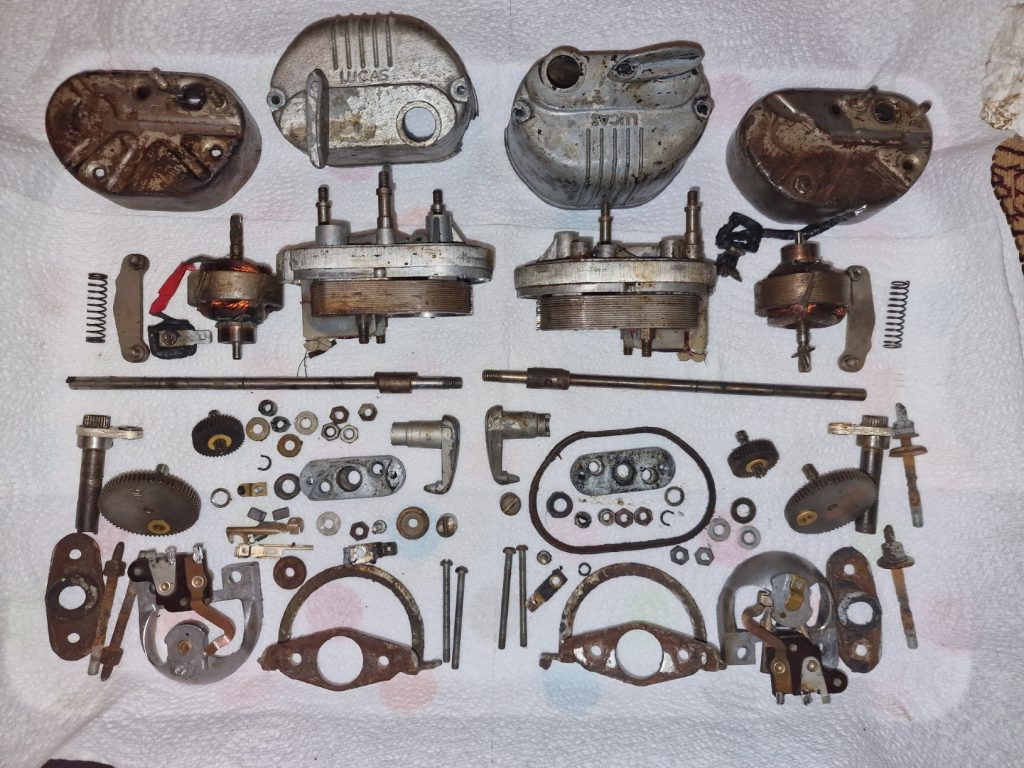
All the parts, cleaned, sorted ready to go when I get my latest parts order, which consists of some special bolts, replacement ‘O’ rings and seals.
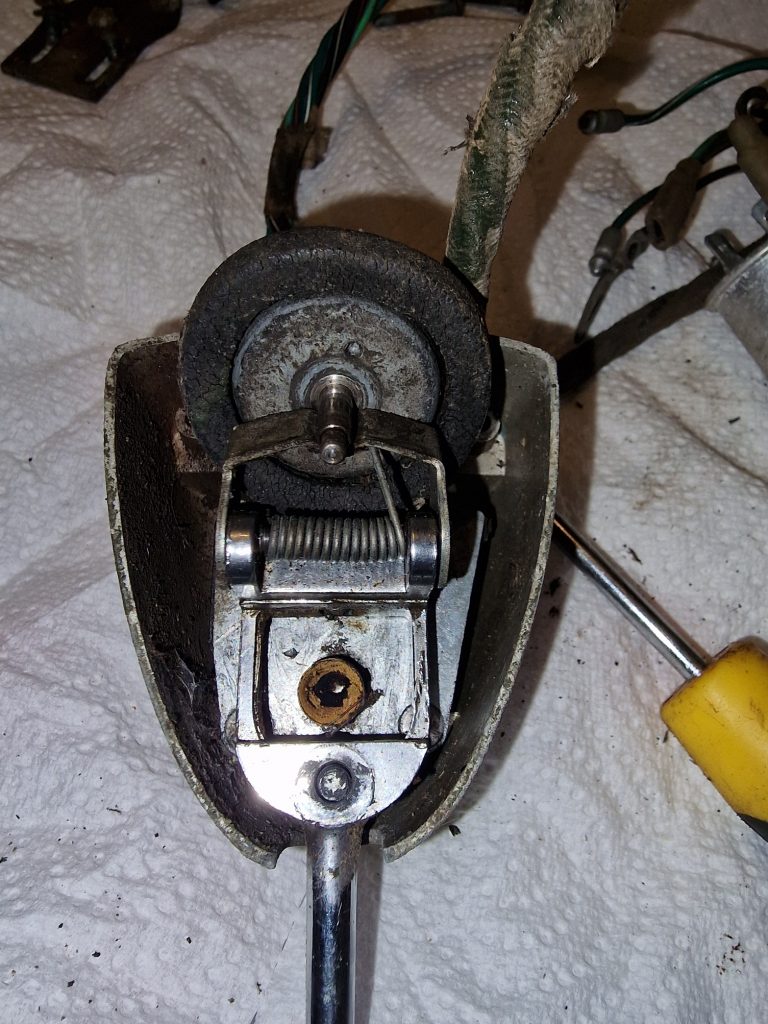
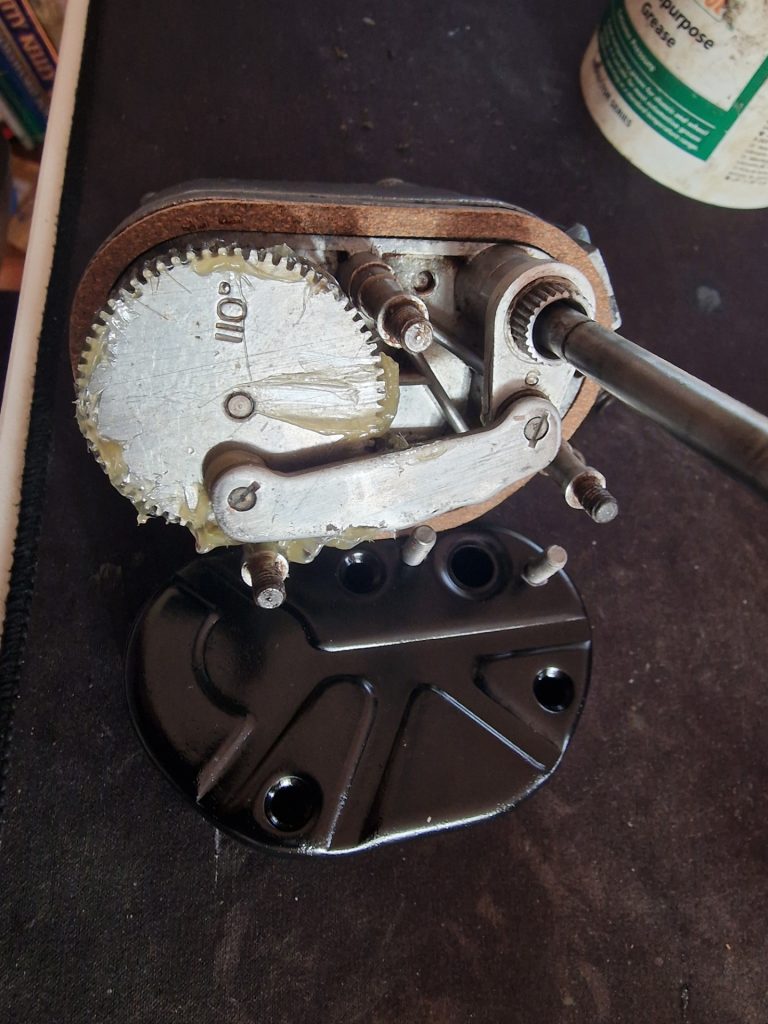
You can see the fork (Sitting on top) for the Low/High selector, which goes in that space in the hole underneath it, and bolts onto the low/high selector shaft.
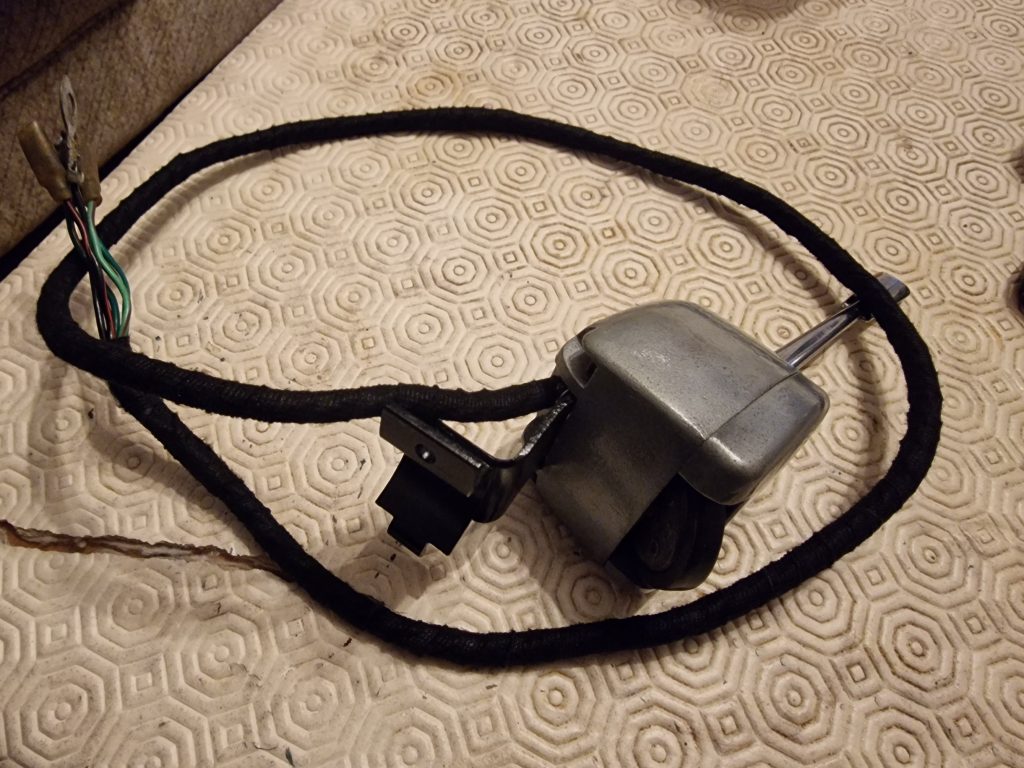
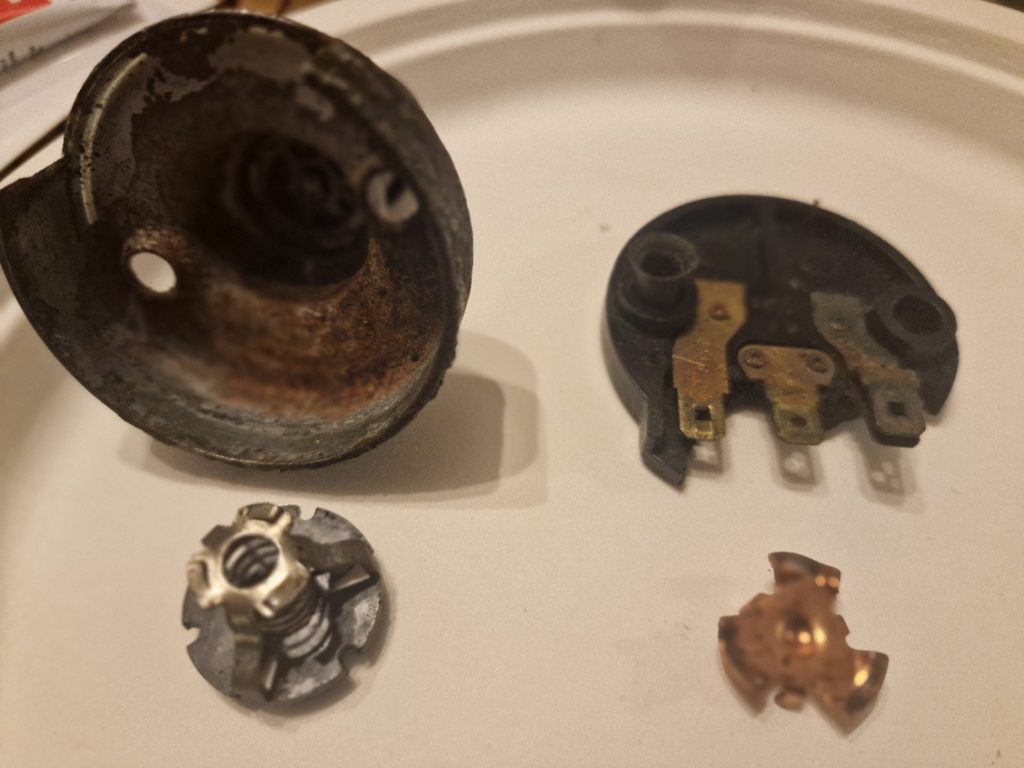
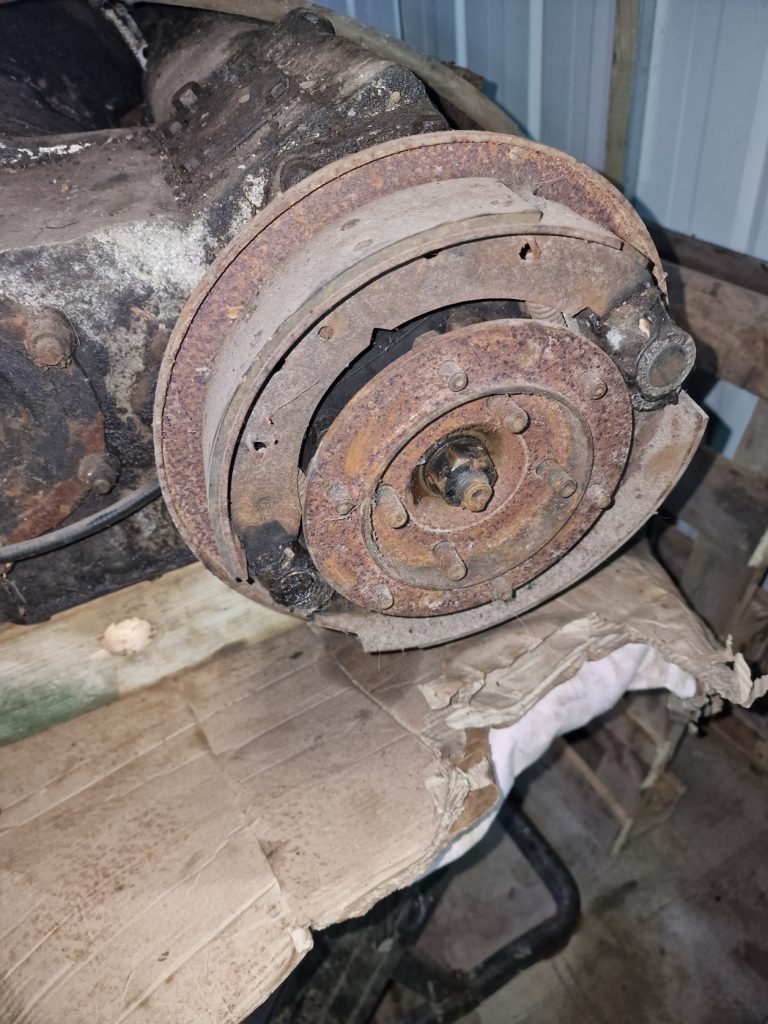
The final part, is the Speedo housing and components, which also got a bit of a clean up and a list of bits needed.
The next step is to put it all back together, after fixing the broken bolt, checking tolerances, get a few covers and levers painted and after my parts orders arrive, hopefully during the week ready for the weekend. (Yes orders! couldn’t get all I wanted from one place, so had to bite the bullet on shipping charges, really annoying and not helping the budget at all).
Thats it for now, hopefully next update next weekend if all goes to plan, But! based on previous experience, that is highly unlikely, but no harm in trying.
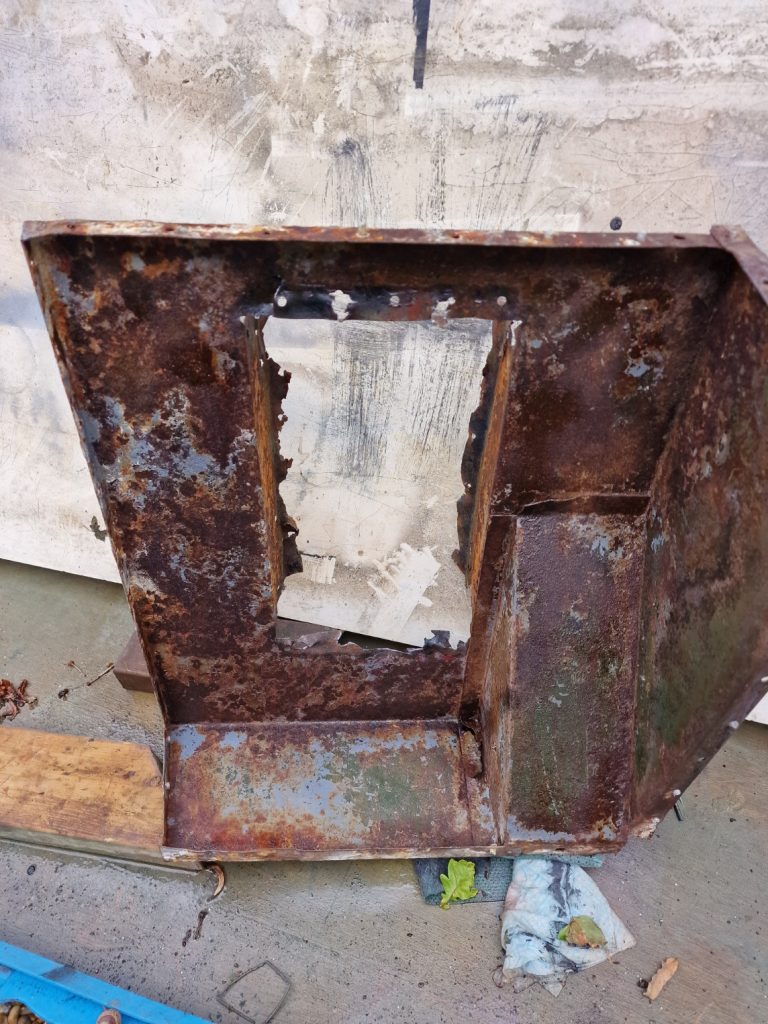
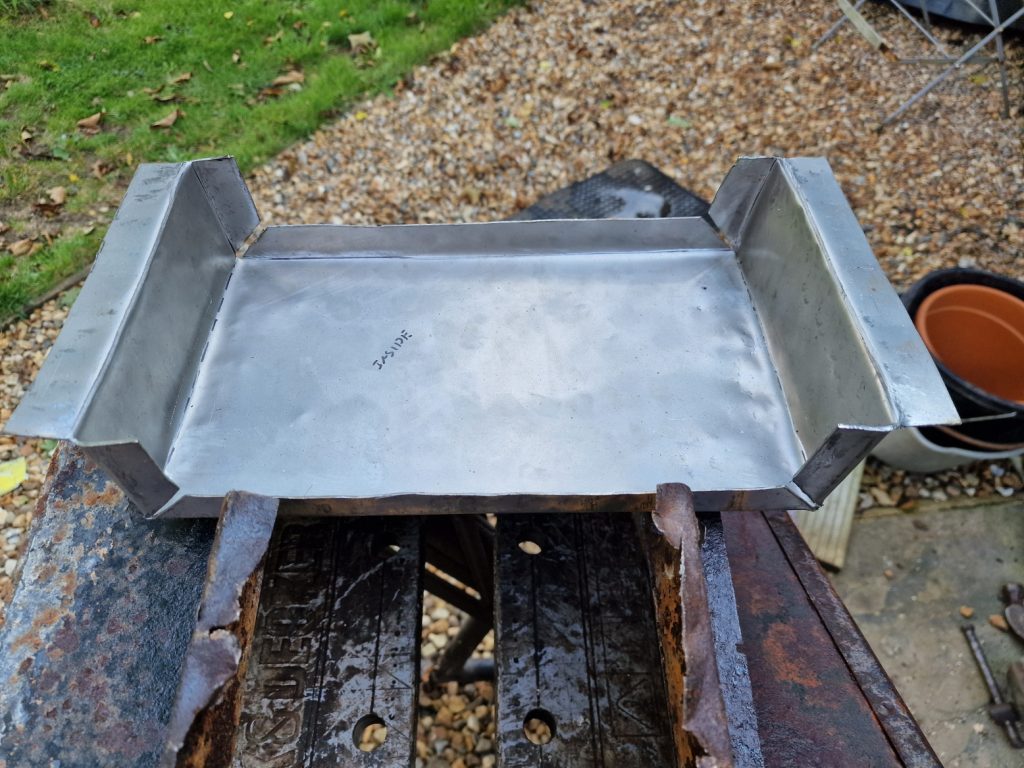
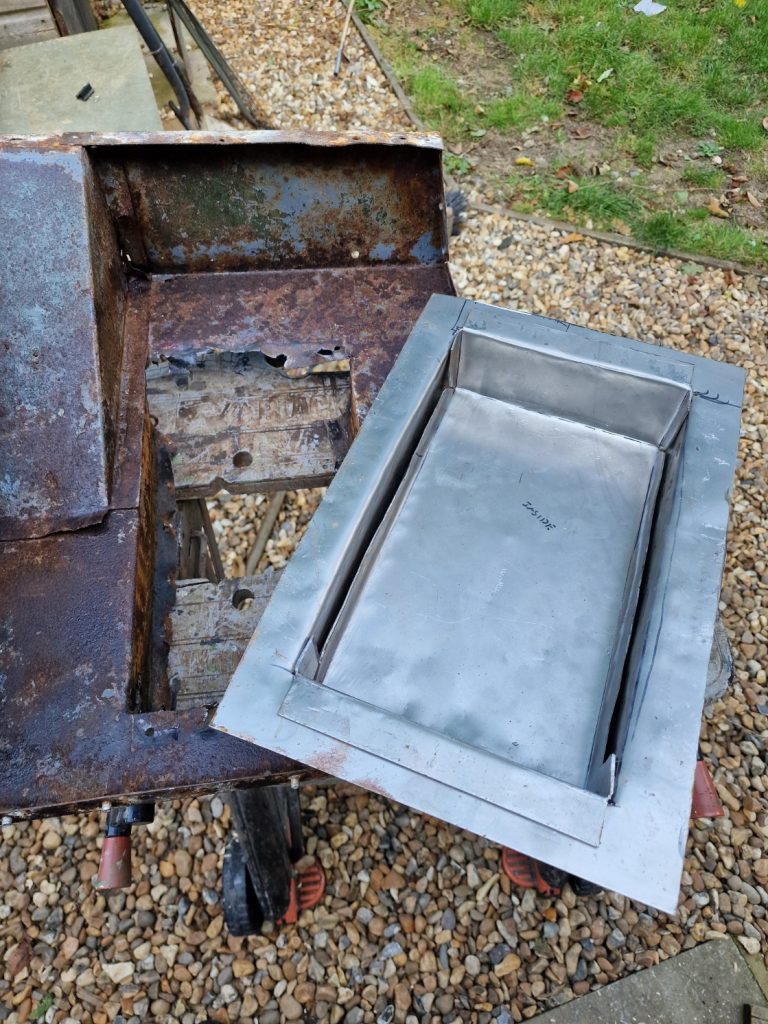
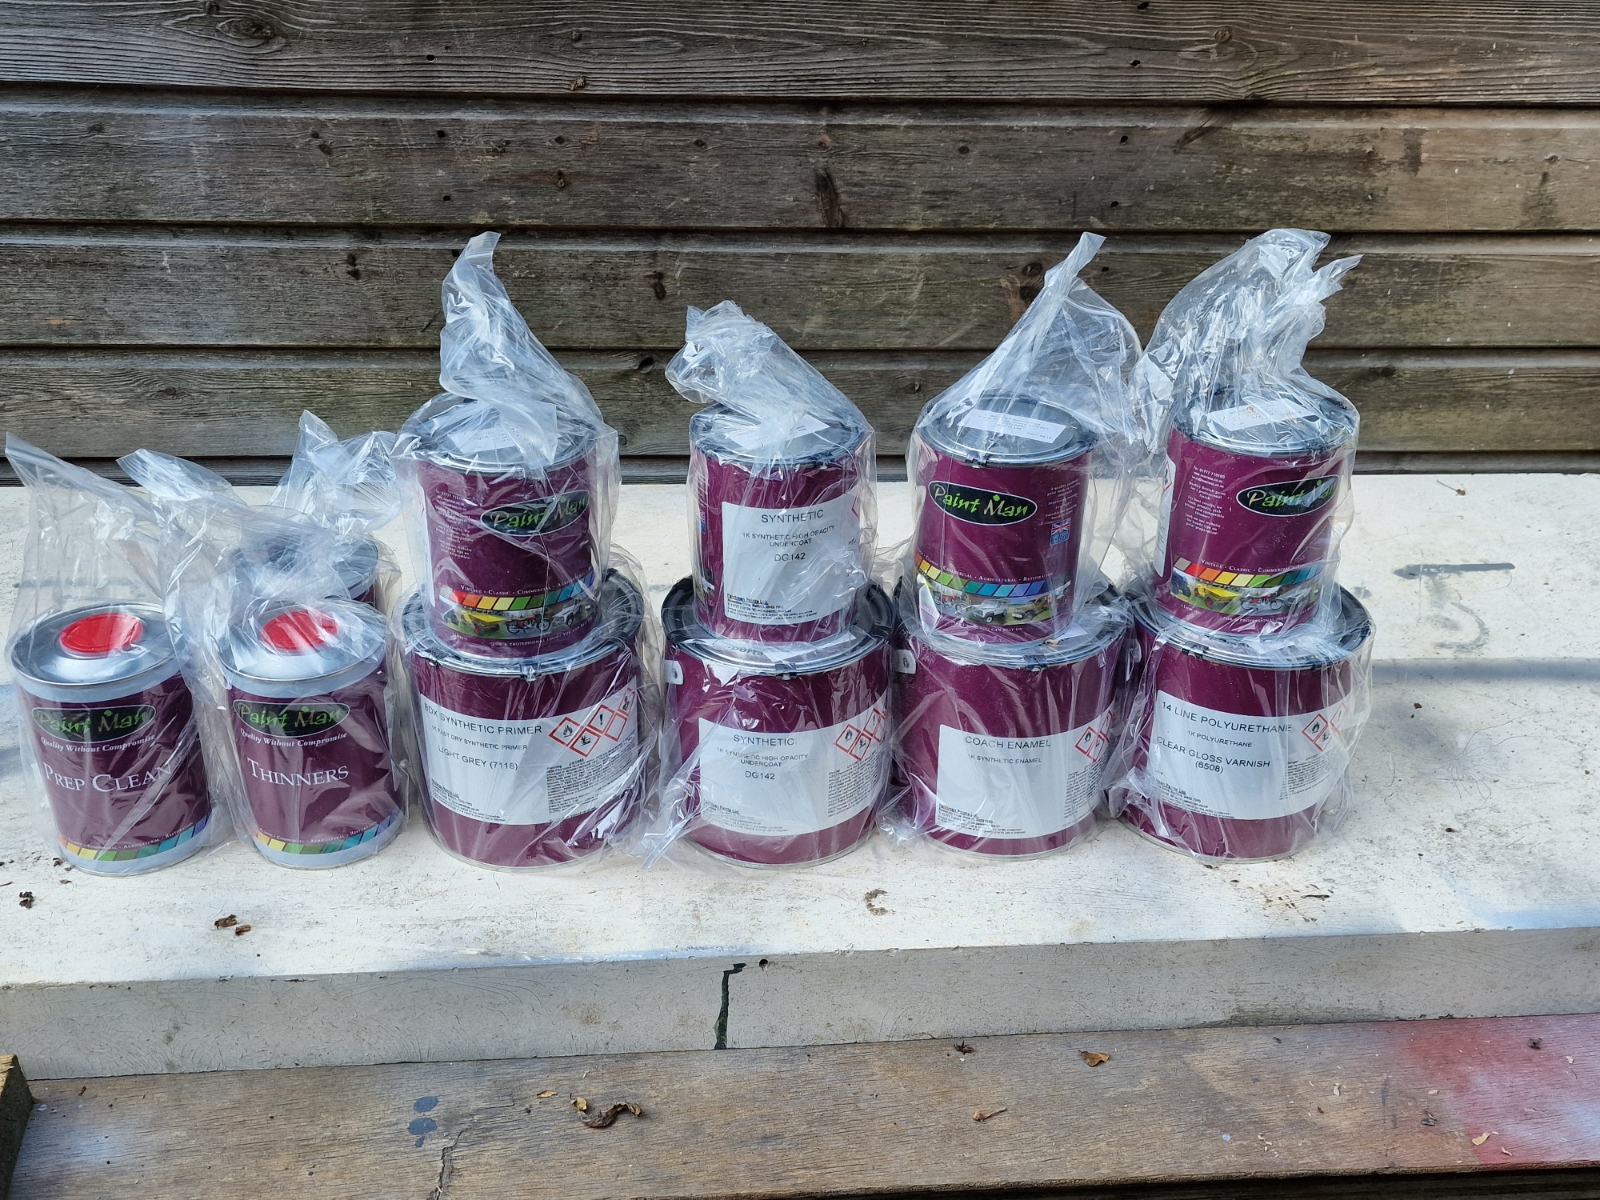
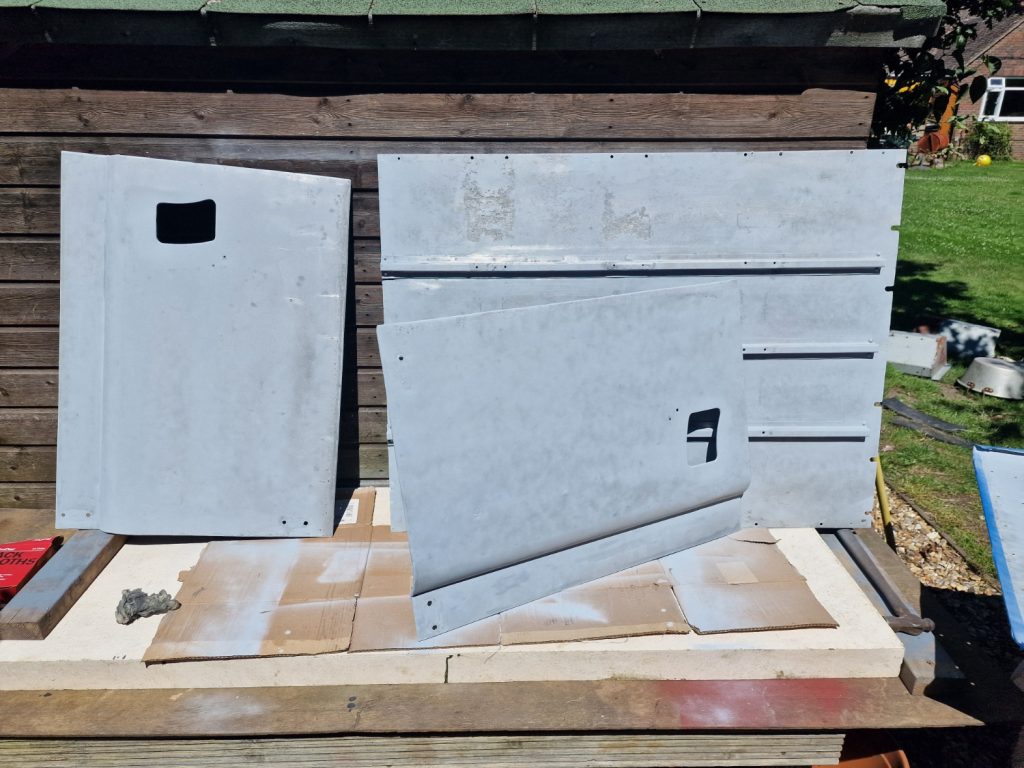
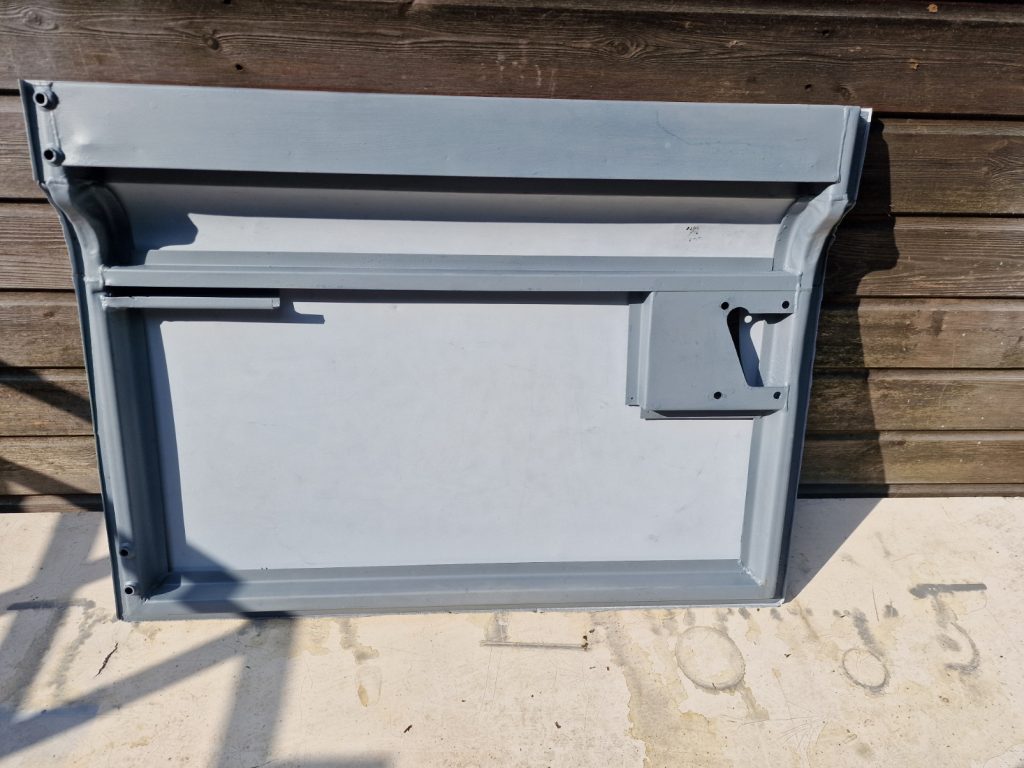
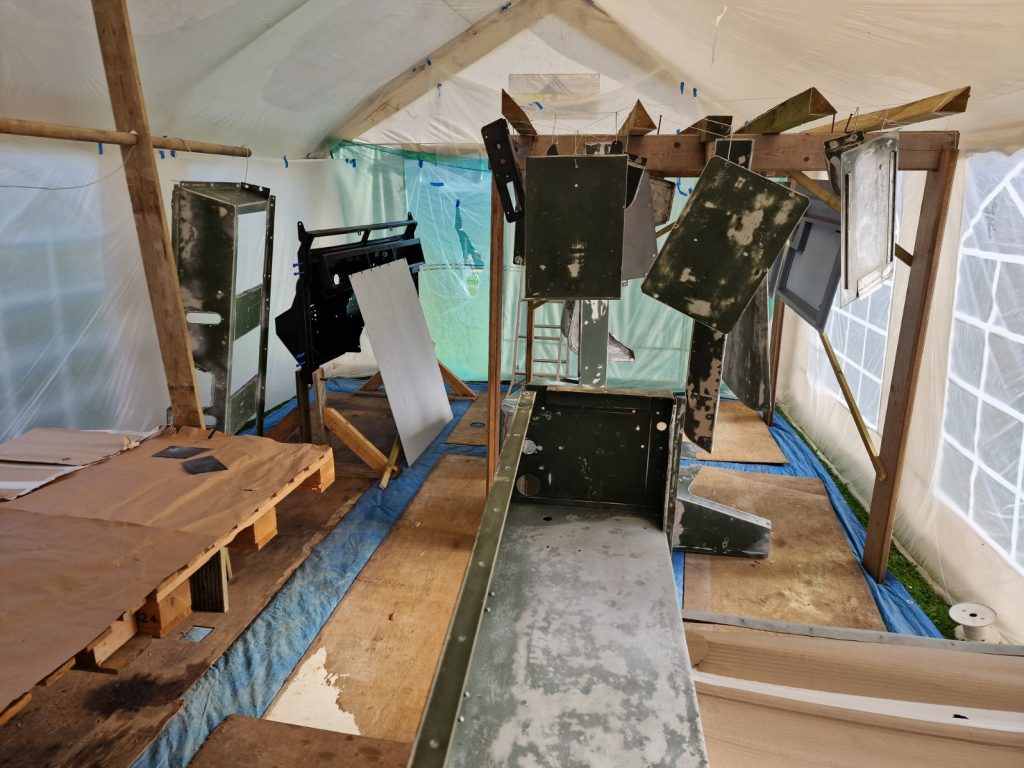
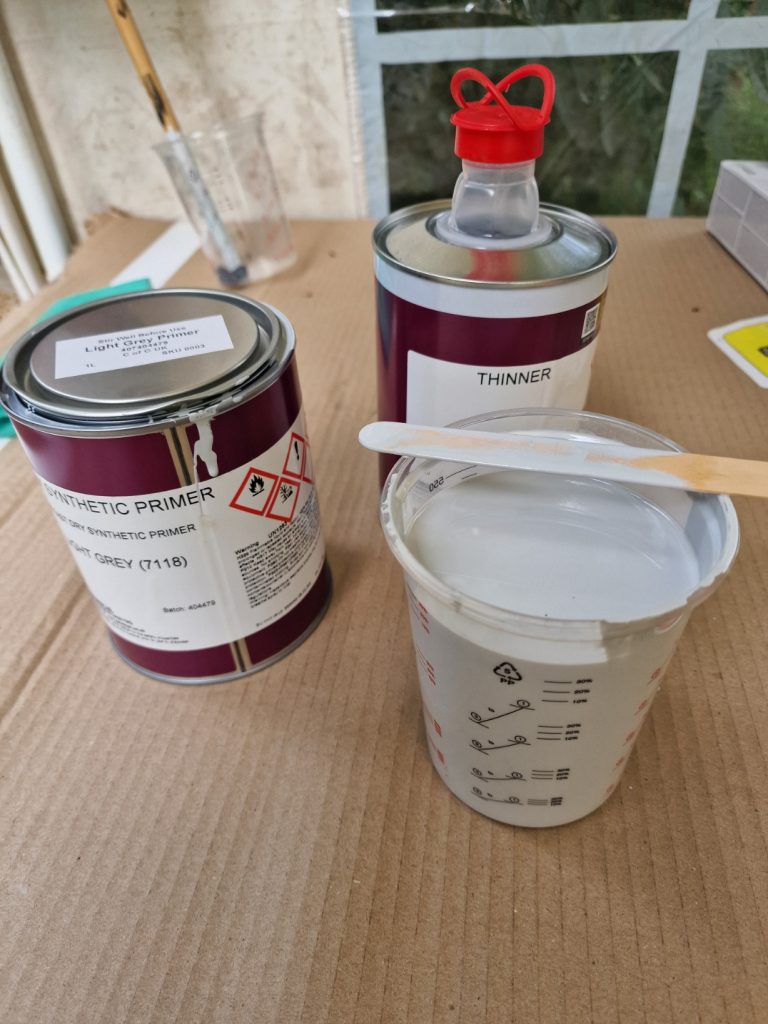
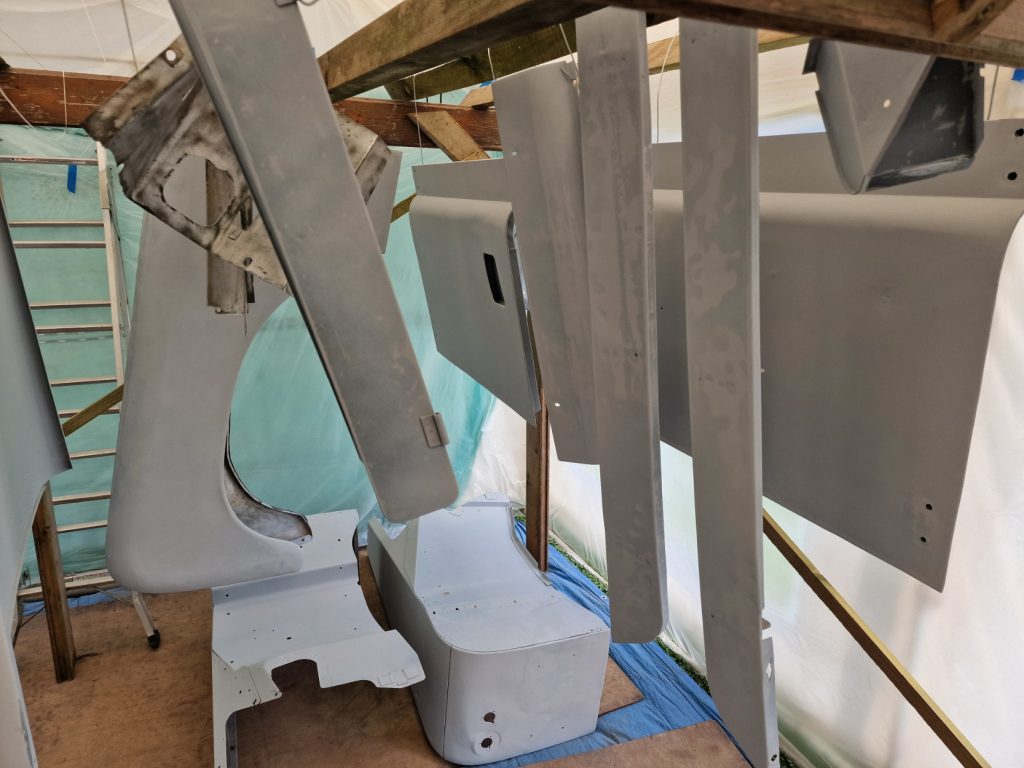
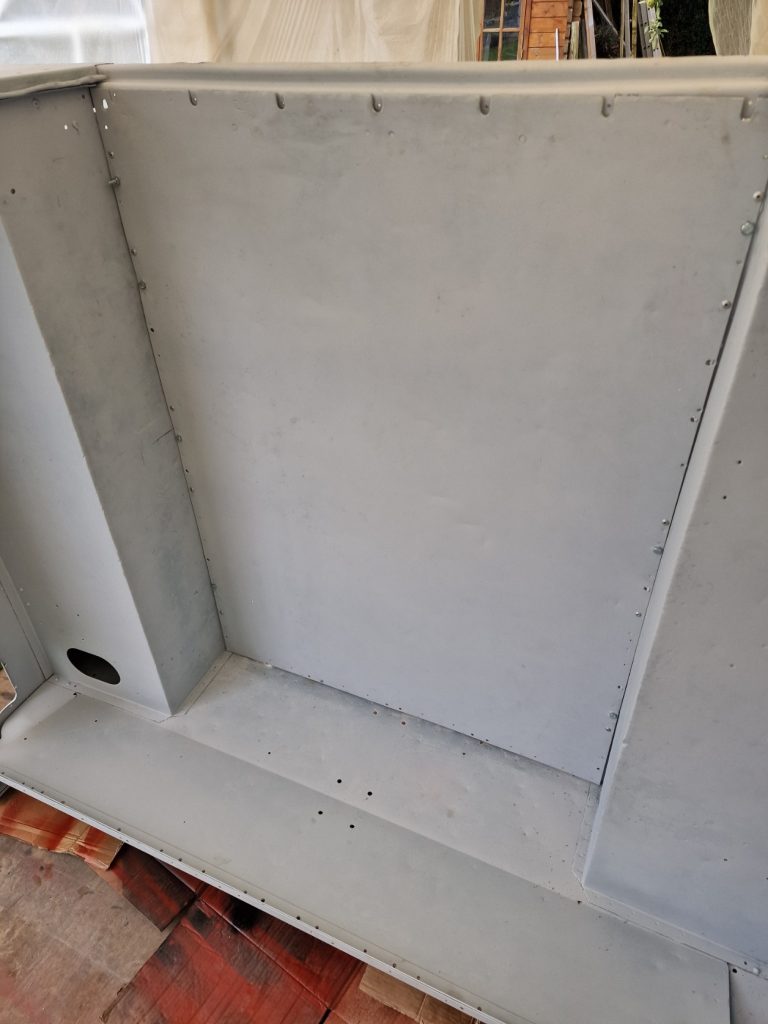
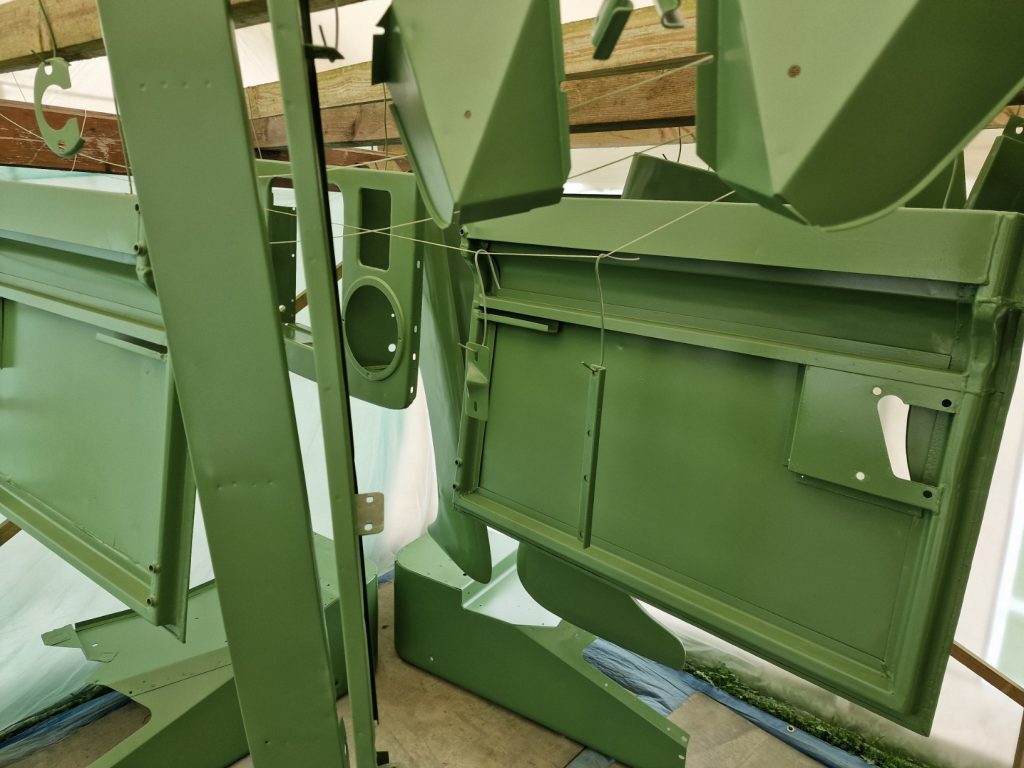
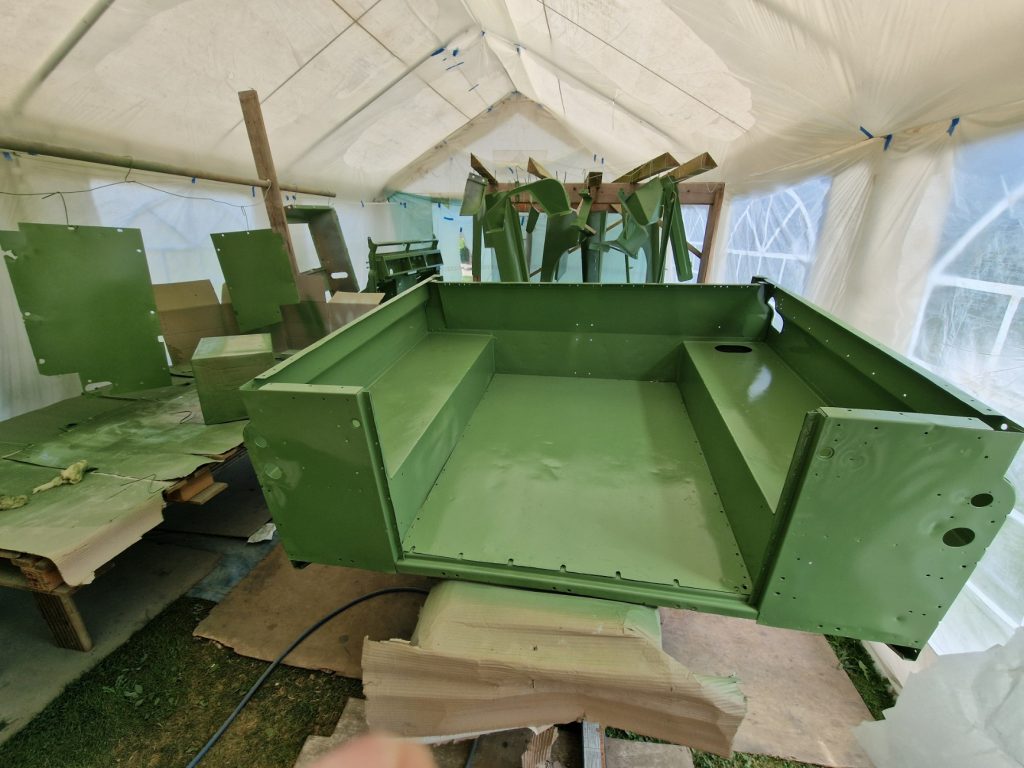
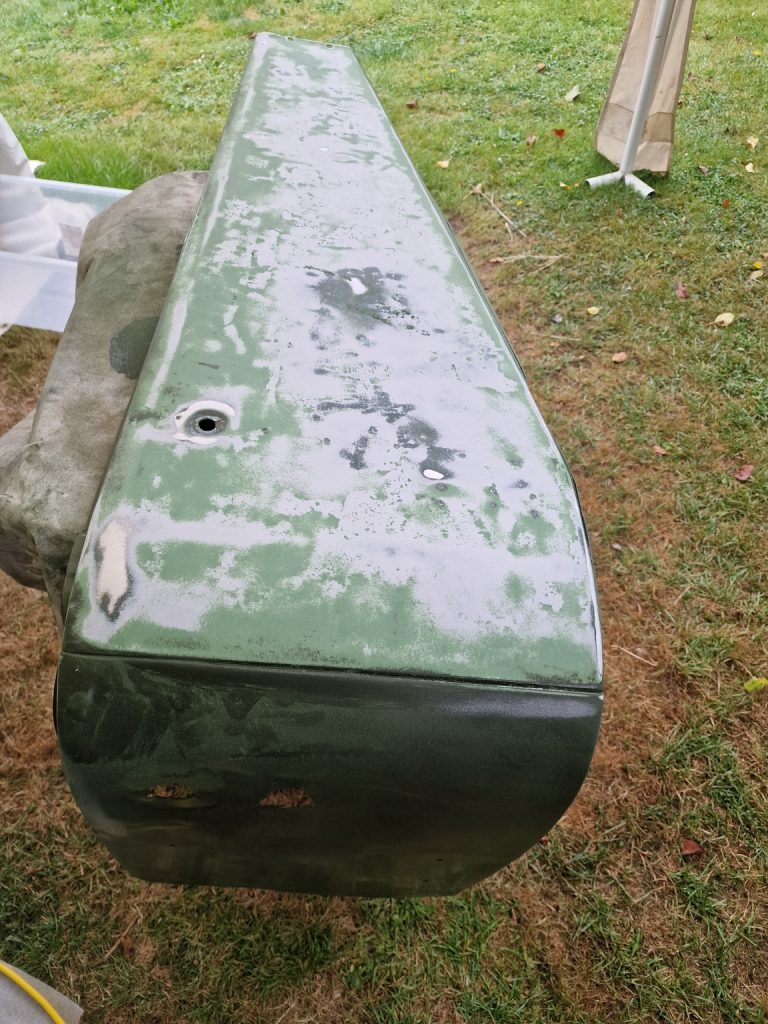
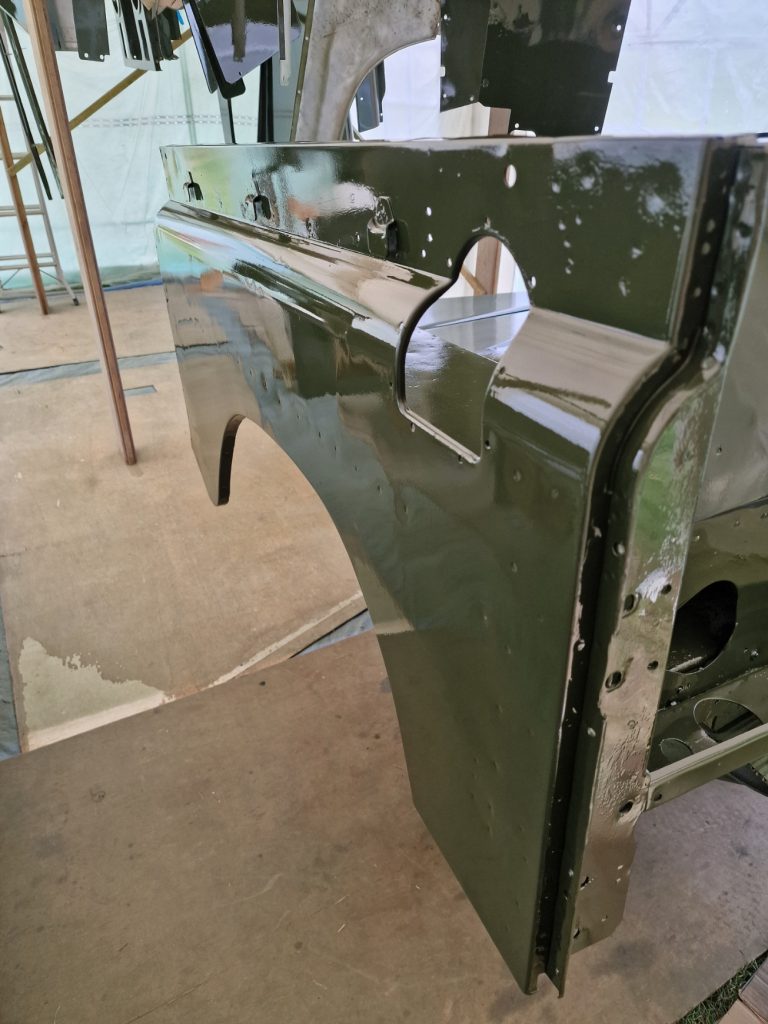
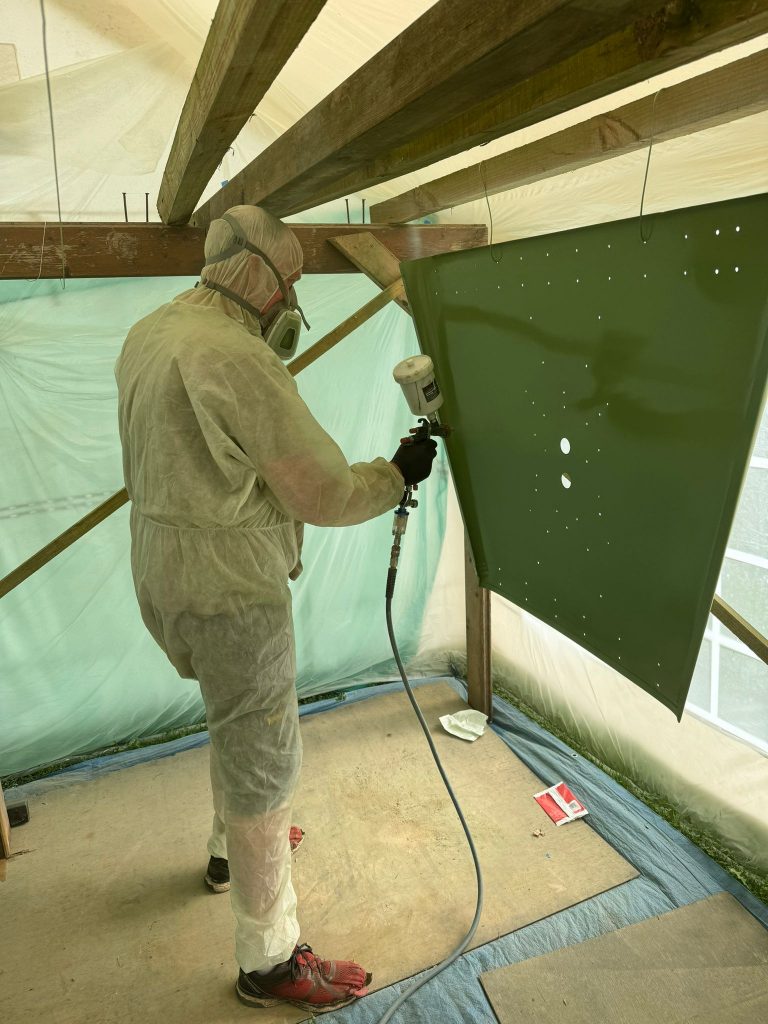
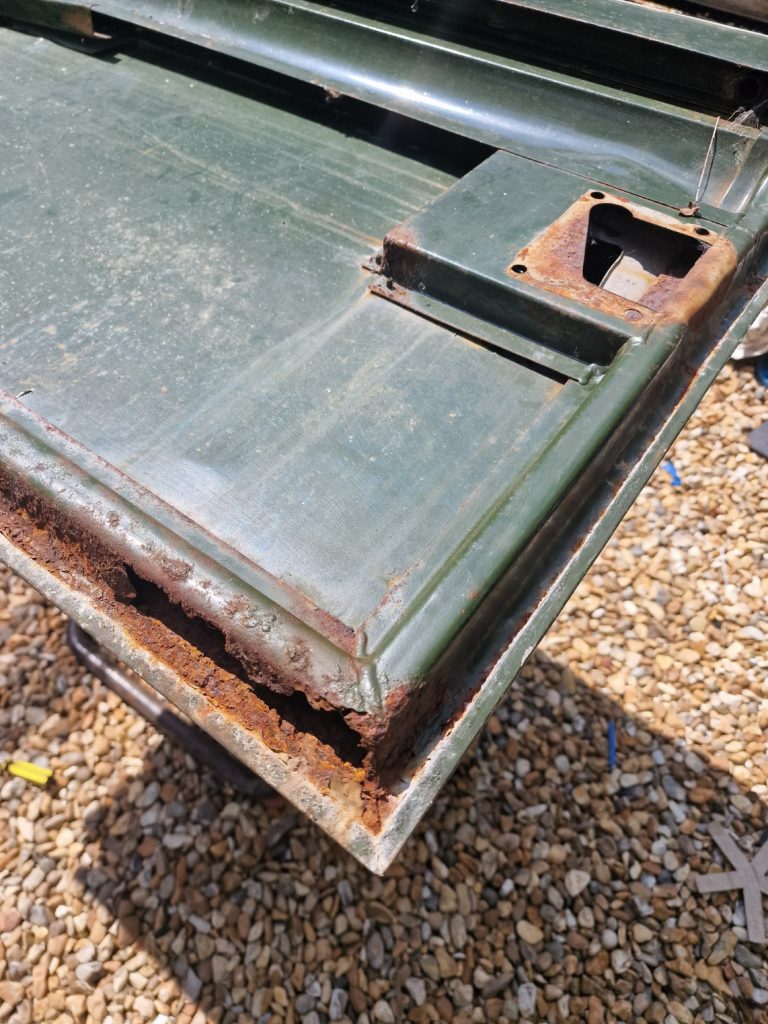
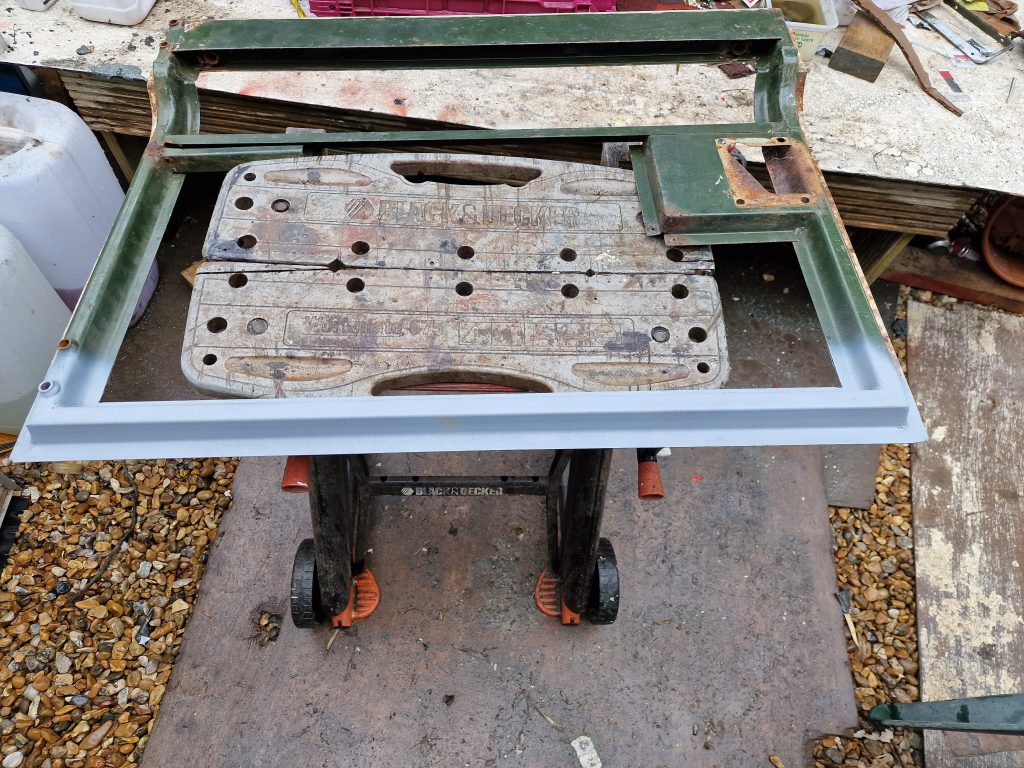
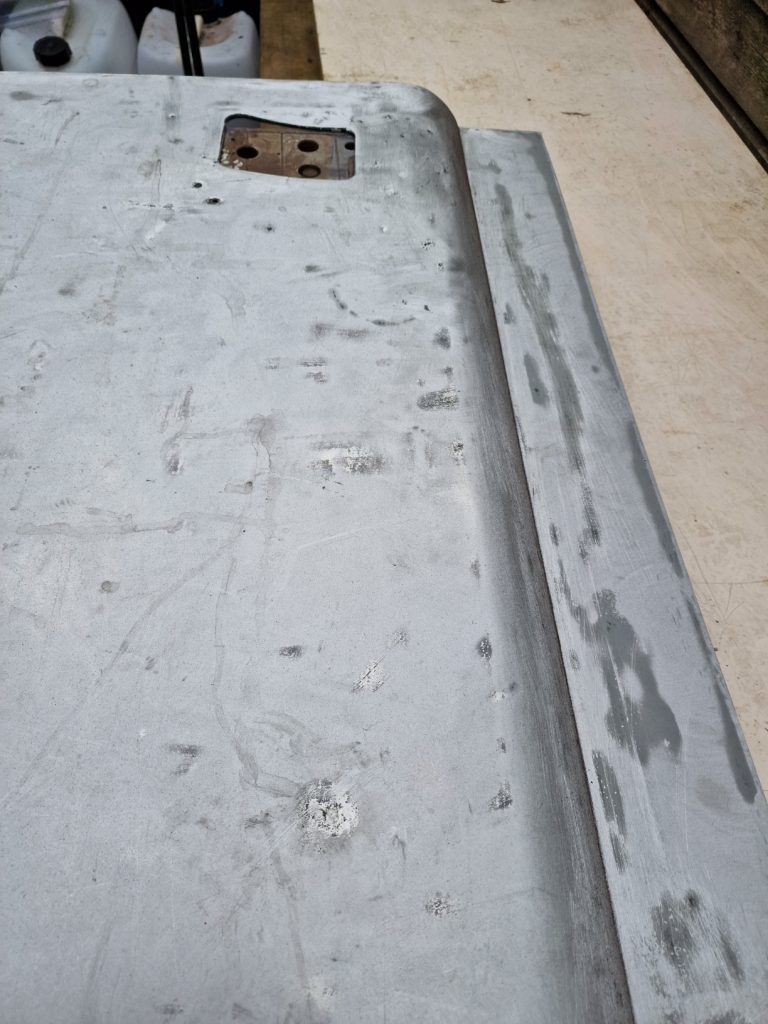
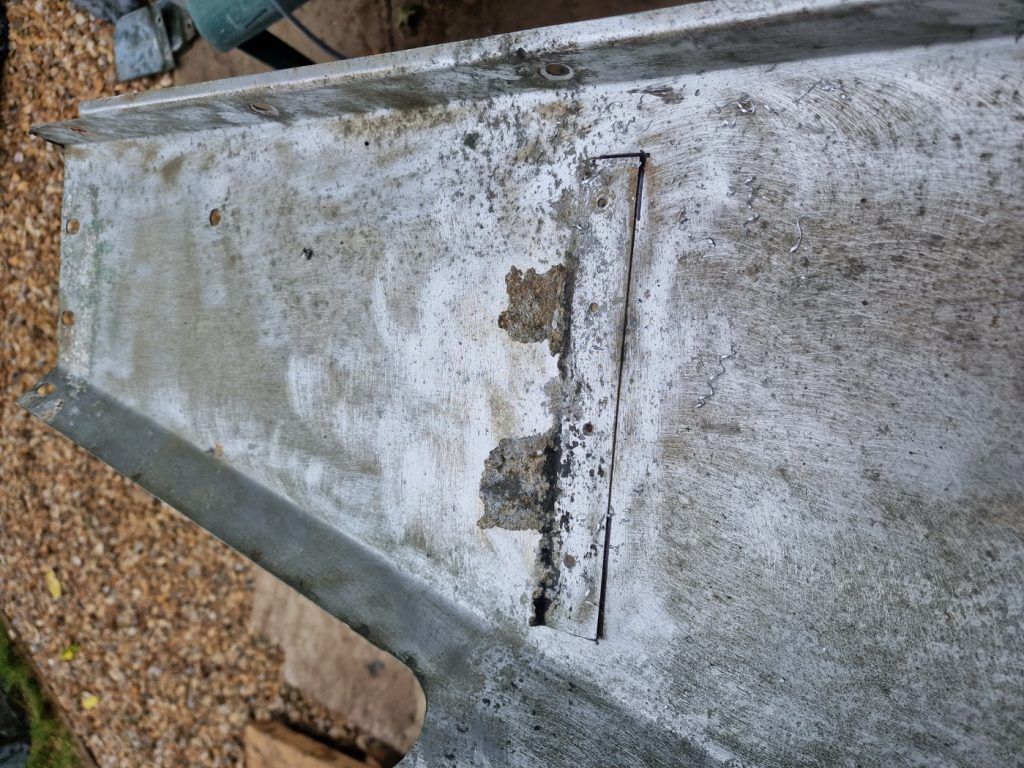
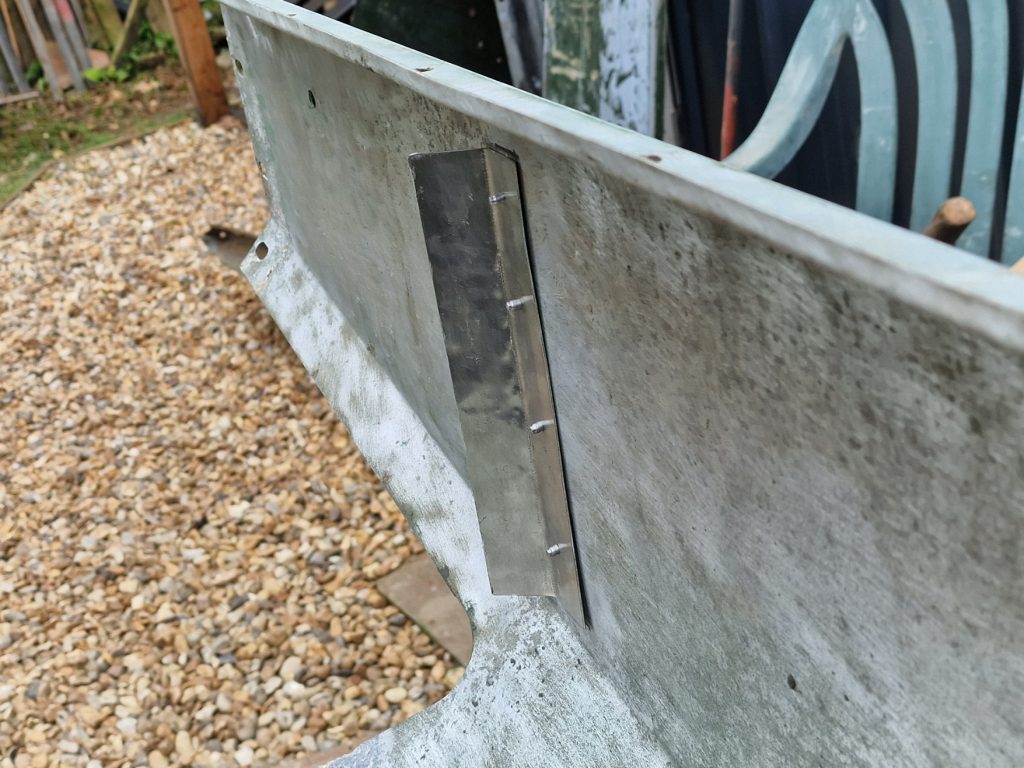
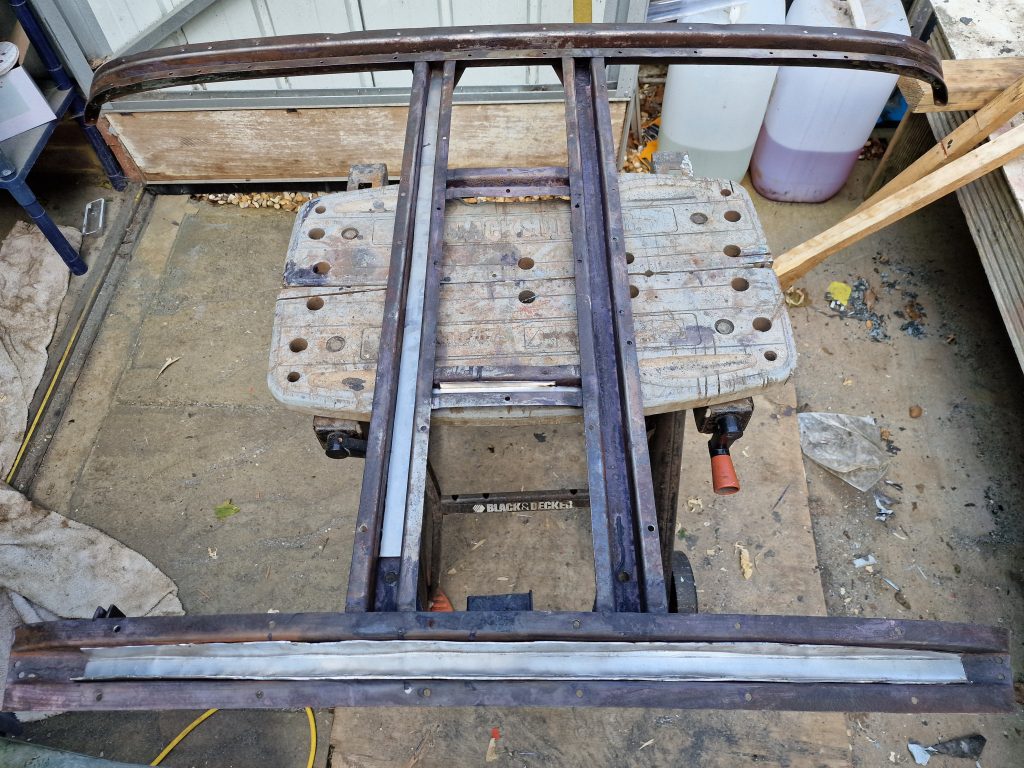
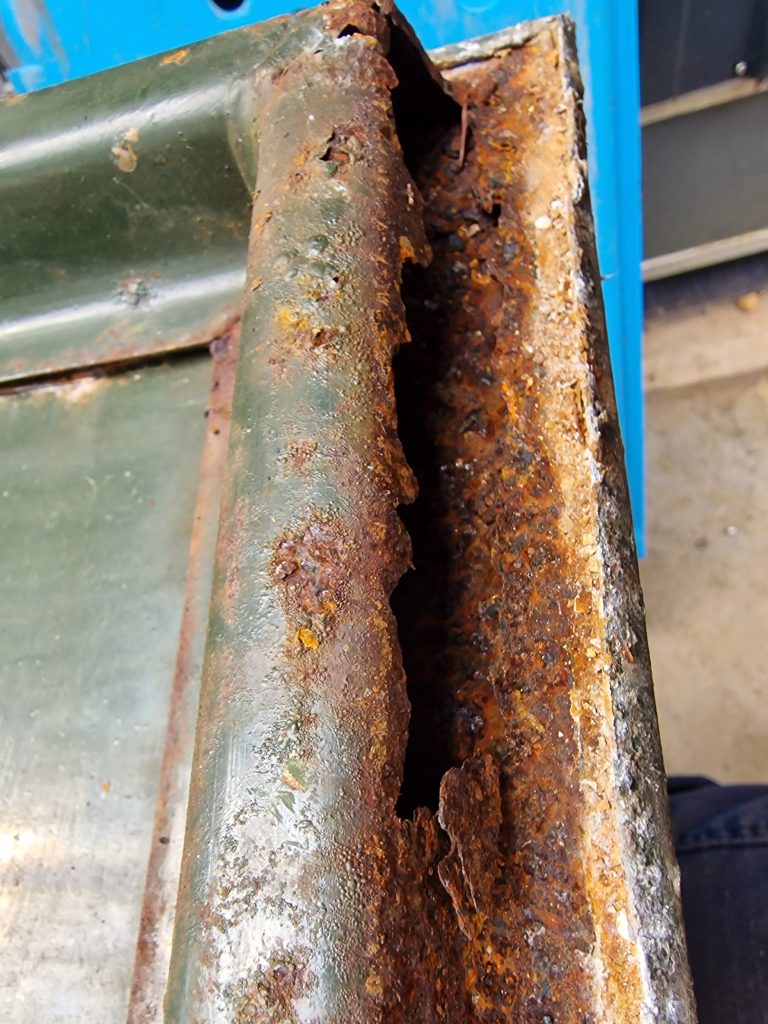
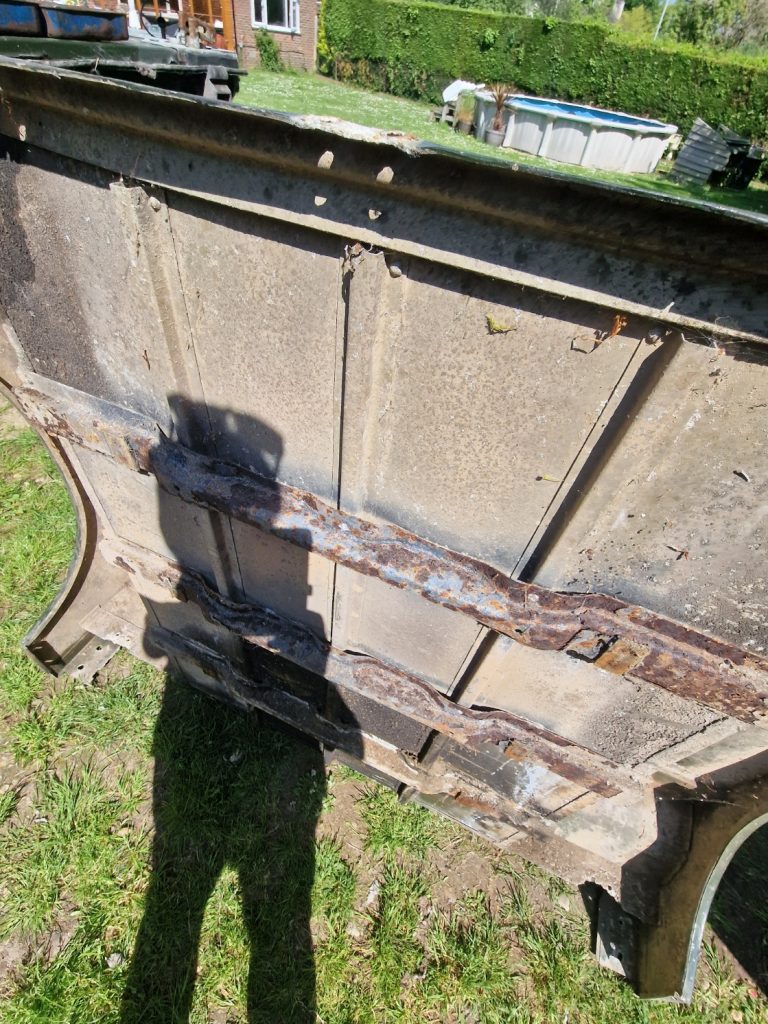
Oh, one more thing thats been done, not by me, but a local firm is all of the body capping’s, windscreen frame, spare wheel bonnet support and lots and lots of other old galvanized parts have gone off for proper blasting and cleaning, ready to be dropped off at another company to be Hot Dipped Galvanized, more on that later.