When I left off last time, I had completed some work on the side lights, indicators etc. Since then, I have pretty much completed the wiring harness. I’m not going to make this a tutorial, there are plenty of those our there and following the various diagrams available, it is pretty straight foreward.
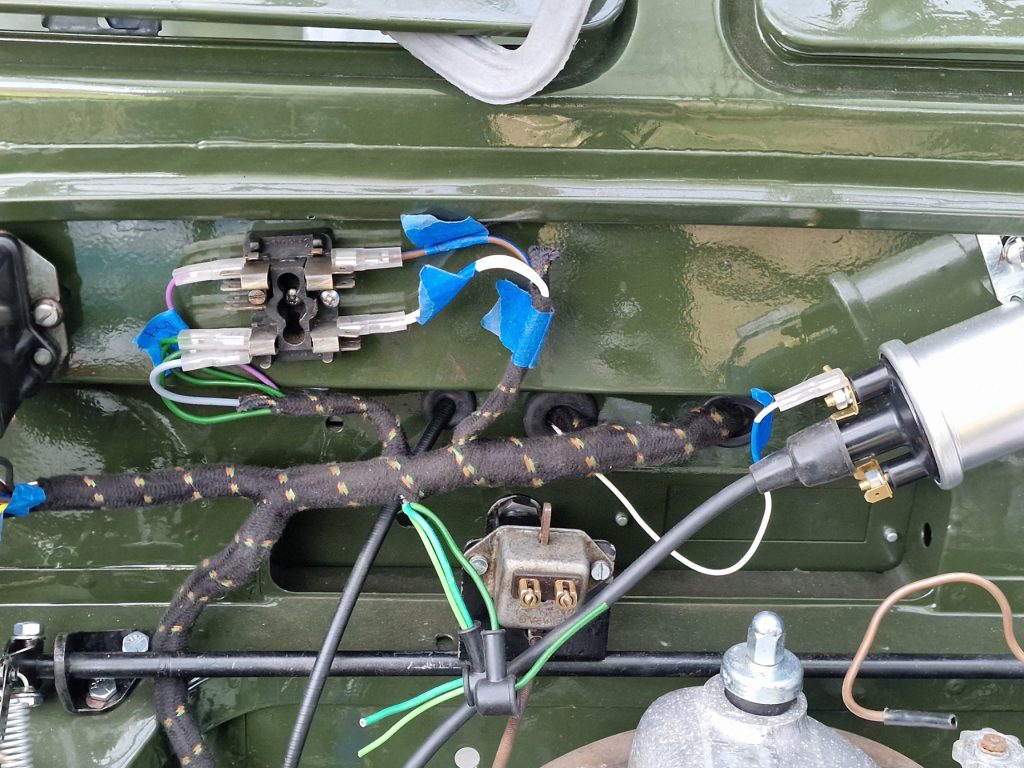
Here’s a selection of images, starting one the left, the main loom in the engine bay, connected to the “fuse box”, I put that in quotes, as there are only 2 fuses in the entire loom, and both are 35amp, so actually pretty bloody useless!.
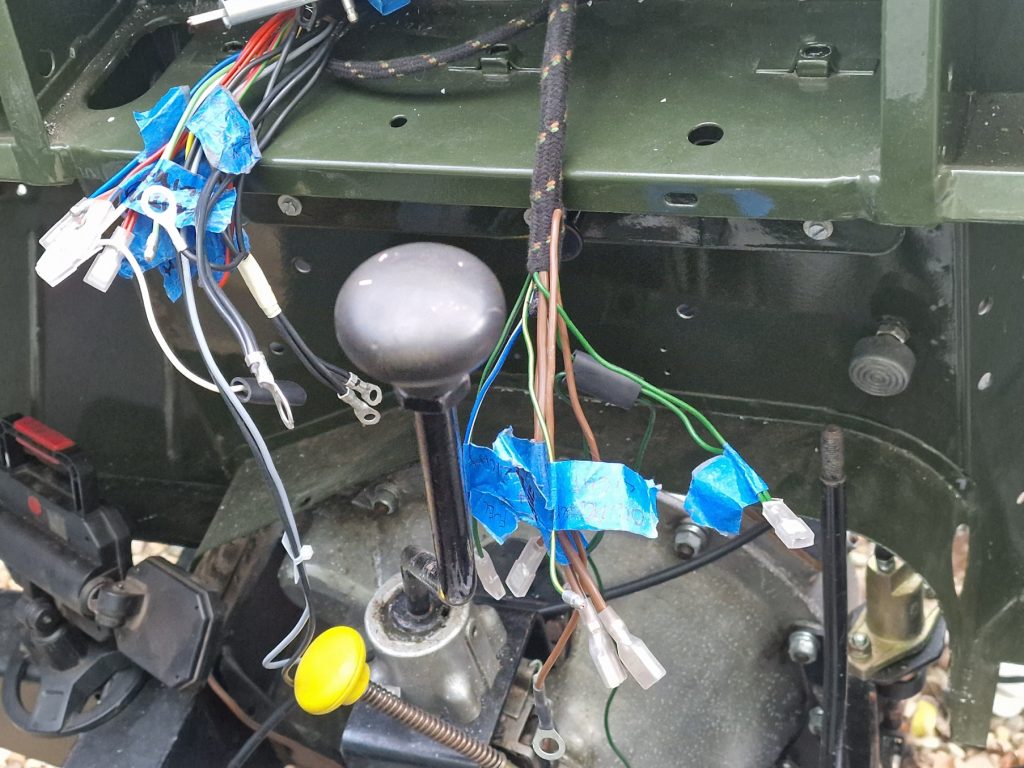
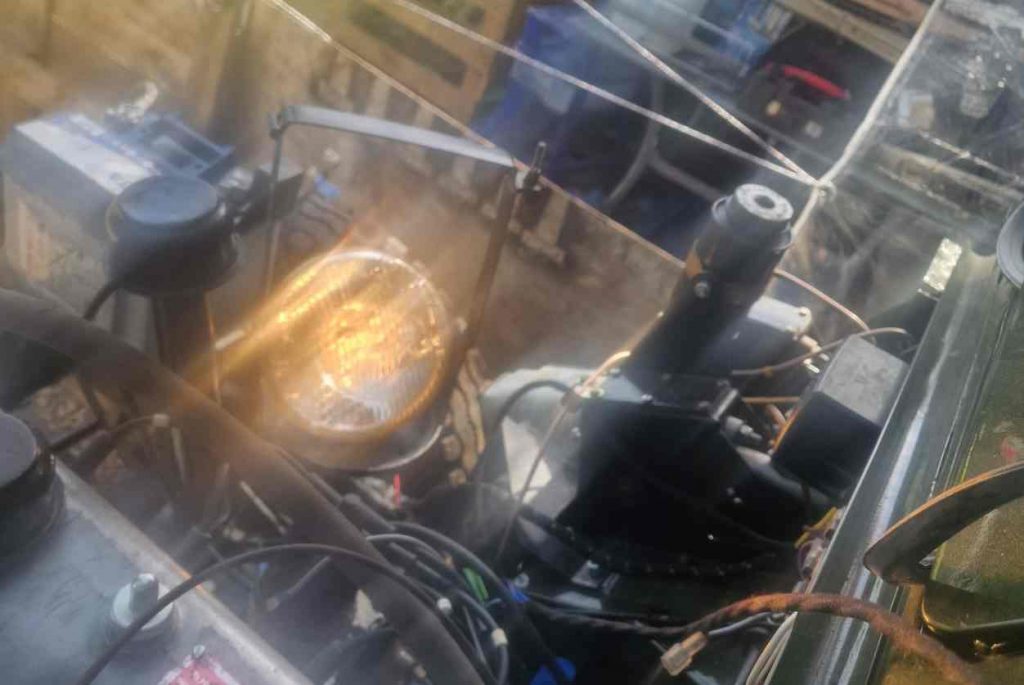
Middle picture, the loom making its way through the bulkhead into the cabin (behind the dash).
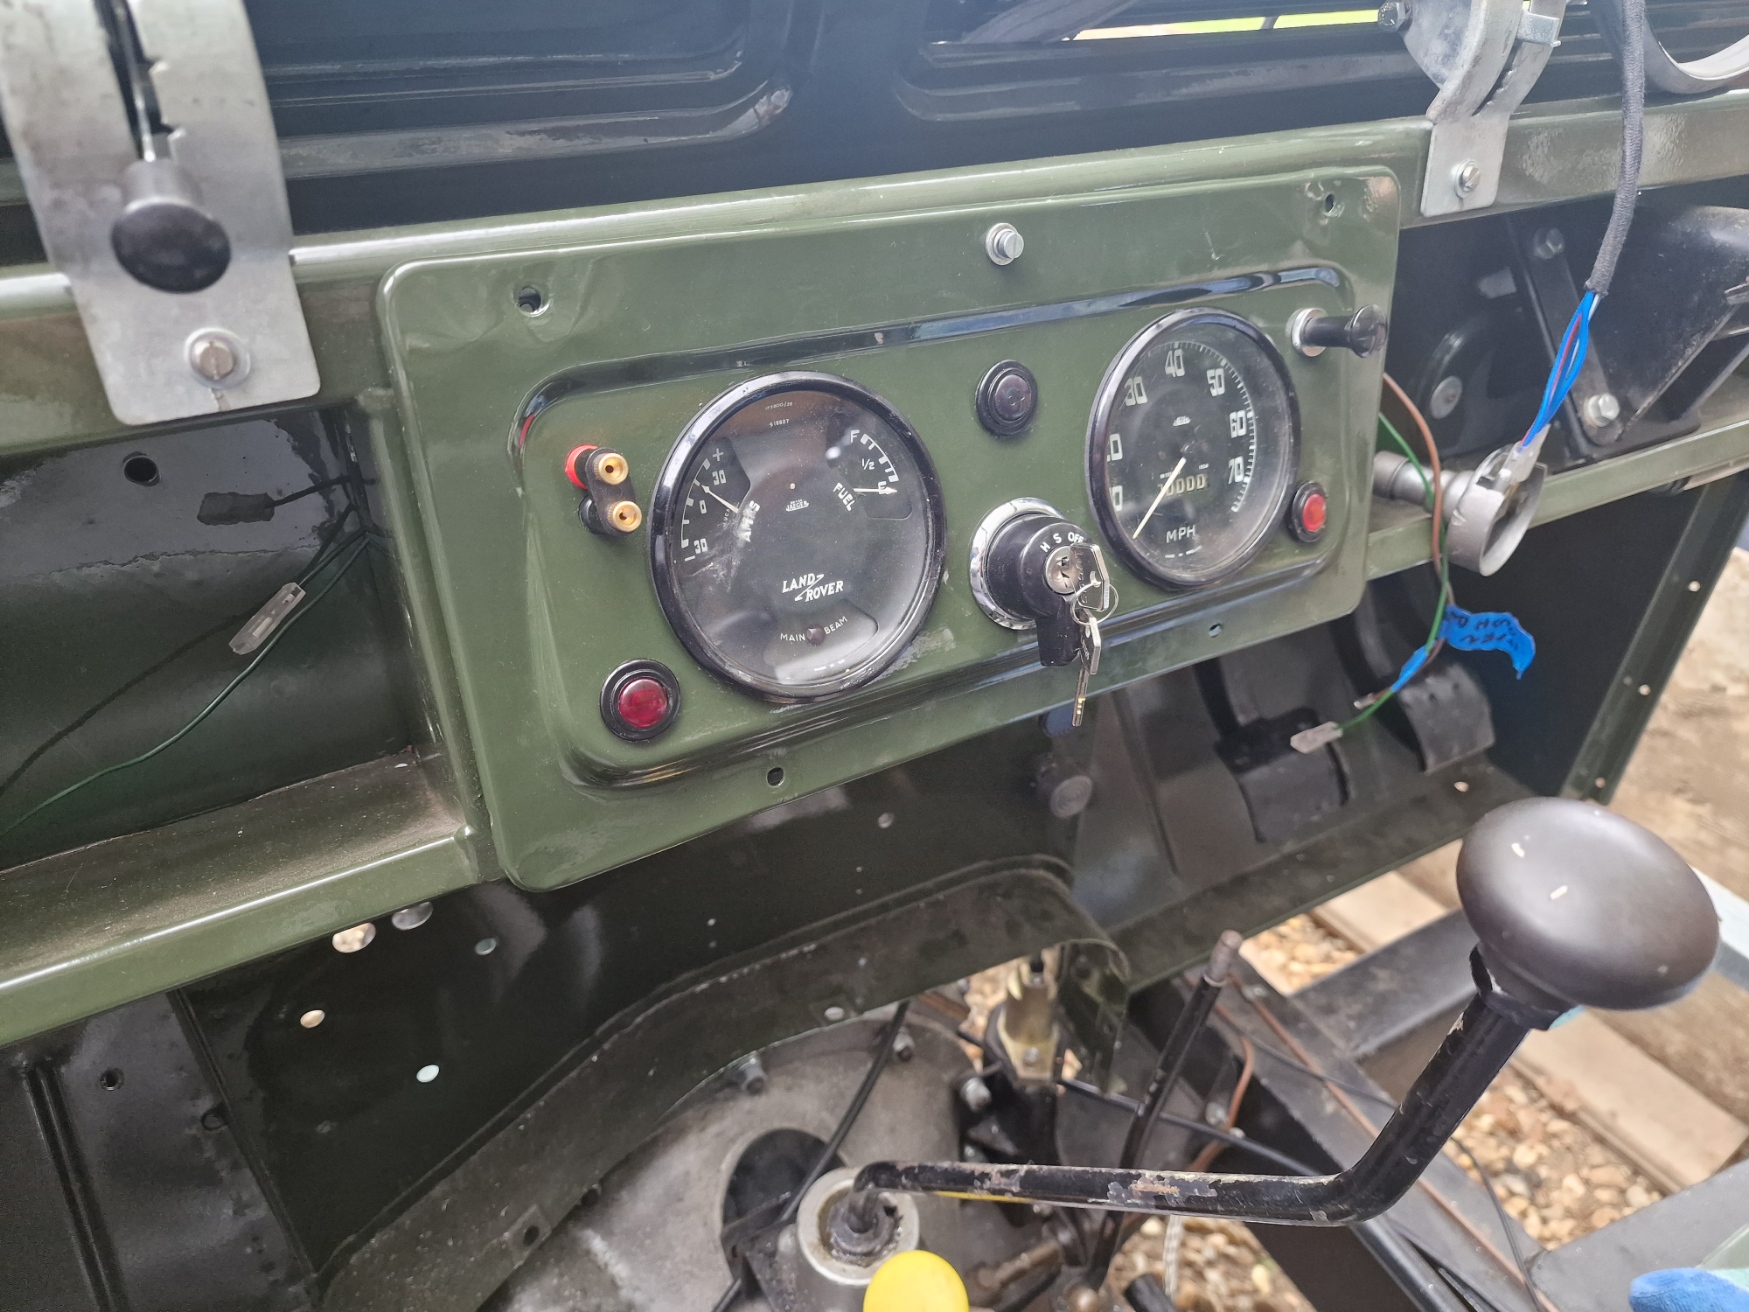
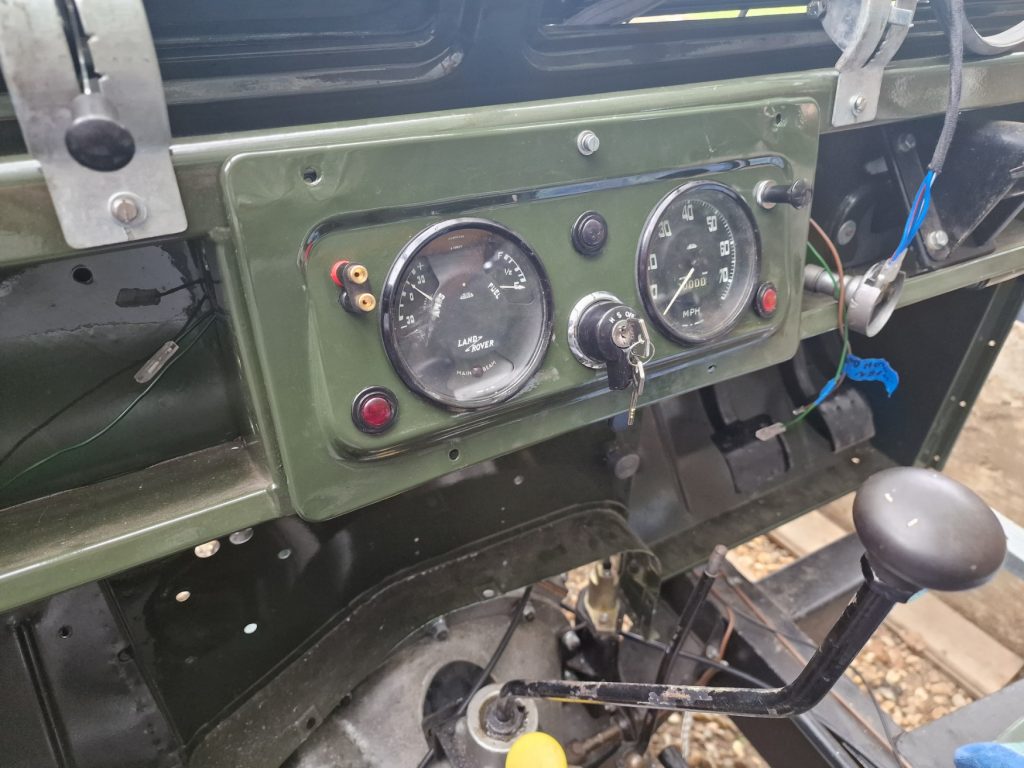
And the third, on the right, the dash al wired up. I have to be honest, I was not happy about using the mode modern connectors, but this was all I had and needed to get it done. It will work perfectly well, just not entirly period.
And finally the front of the dash, temporarily attached.
I did have one small problem.. When I turned on the lights, one of the wires got a bit warm. I had wired up the rear number plate light incorrectly. A stupid mistake, but mostly due to the fact this is a positive earth system, and if your not careful it is so easy to wire things up wrong. So ended up with a short circuit. Luckily, managed to disconnect everything before too much damage, and after checking wires, continuity etc, all was good.
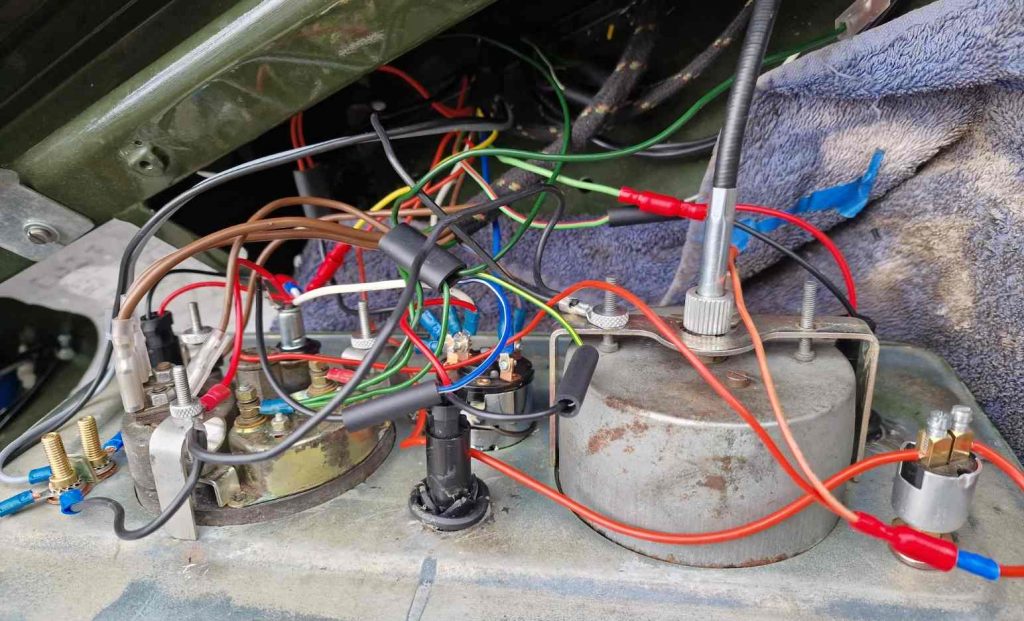
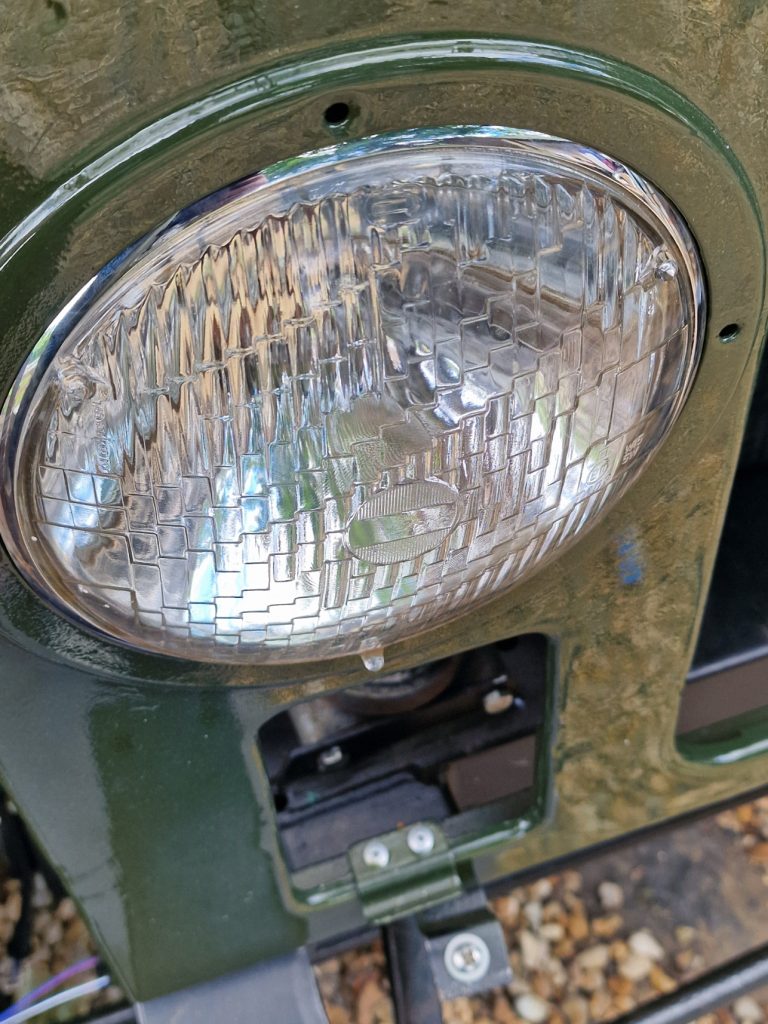
I did continue to test some other bits and pieces, including the headlights, the dip switch, horn and various other items.
Now when it comes to headlights, I only have one working one. I had a quick look for a second, but there was a warning suggesting that the new ones are a little more powerful than the originals, so would probably benefit from the installation of a relay, which I will probably do.
For info, when using a relay, the original light wires go to the relay, and act only as switching wires, they trigger the relay to switch. The relay takes power direct from elsewhere, using thicker wires. The idea being that the original wires carry less current, minimising the risk of overheating and ultimately fire, as the higher current is supplied onyl from the relay. Anyway, will come back to that later.
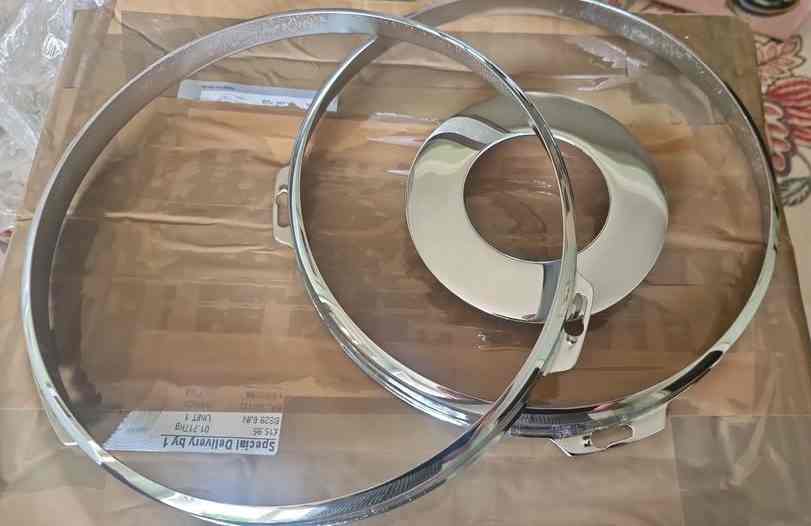
One final thin on the headlights. I sent a few items of to be re-chromed, two of these were the headlight surrounds, they look fantastic.
So thats it, there is a little bit more to finish up, but really only connecting things up and routing the cables properly once all the bodywork is on.
Updated:
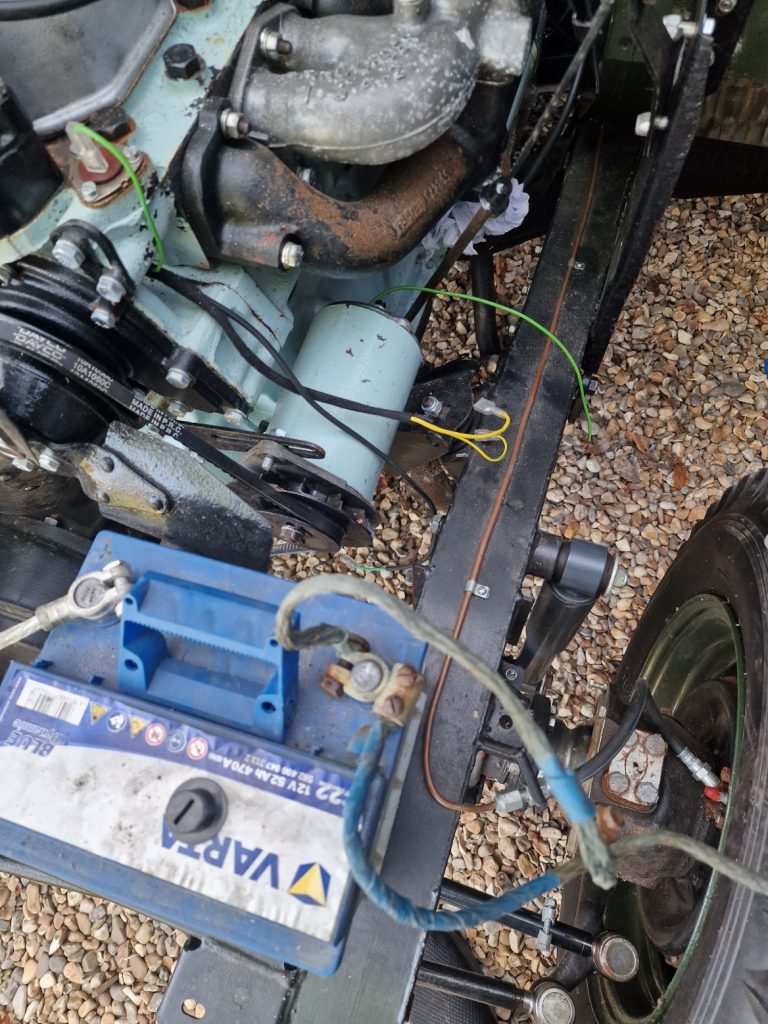
I put the Dynamo on a while ago, but before using it, it needed to be flashed.
This ensures the polarity is set correctly.
It is a simple process, connect the battery upto the Chassis (Positive) and touch the other side of the battery onto the small connector on the back of the Dynamo. You get a little blue flash, and that indicates it is polarised corretly.
Leave a Reply