Front Axle
Last time I installed the Rear Axle, this time focusing on the Front Axle and a bit of the steering. so after writing this, left the steering for another one.
Firstly, this was not as straight forward as I was hoping for, and had to reach out to people way more knowledgeable than me.
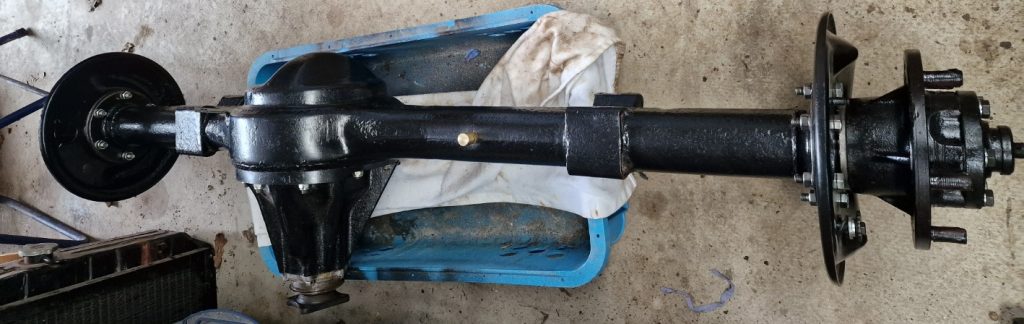
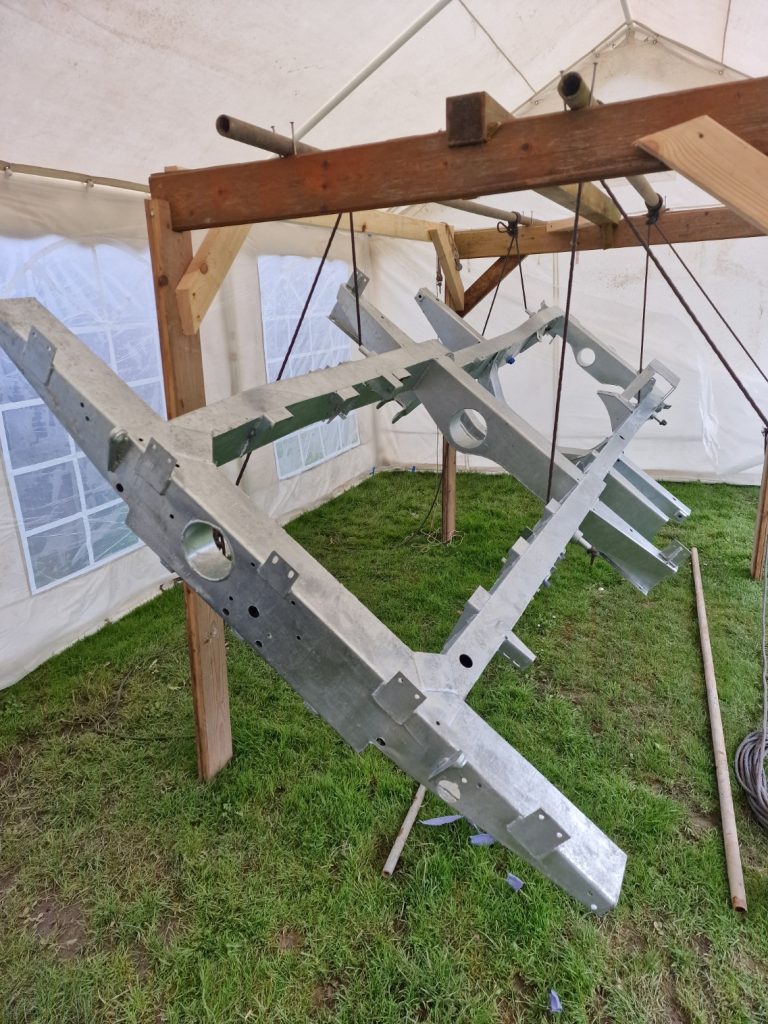
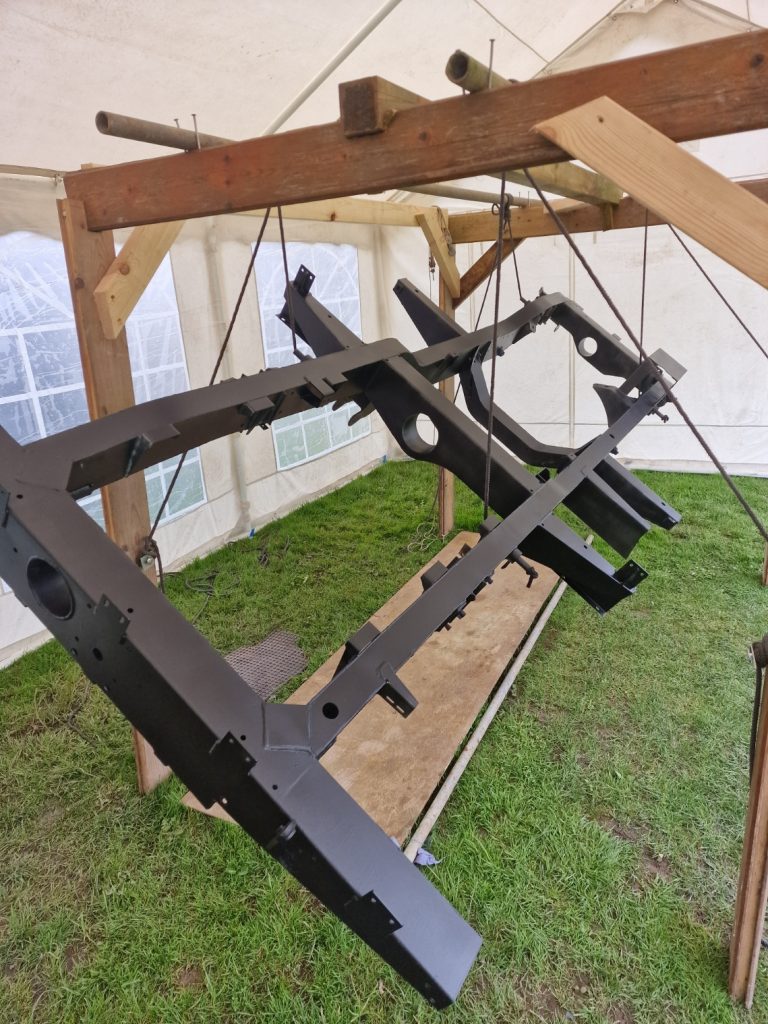
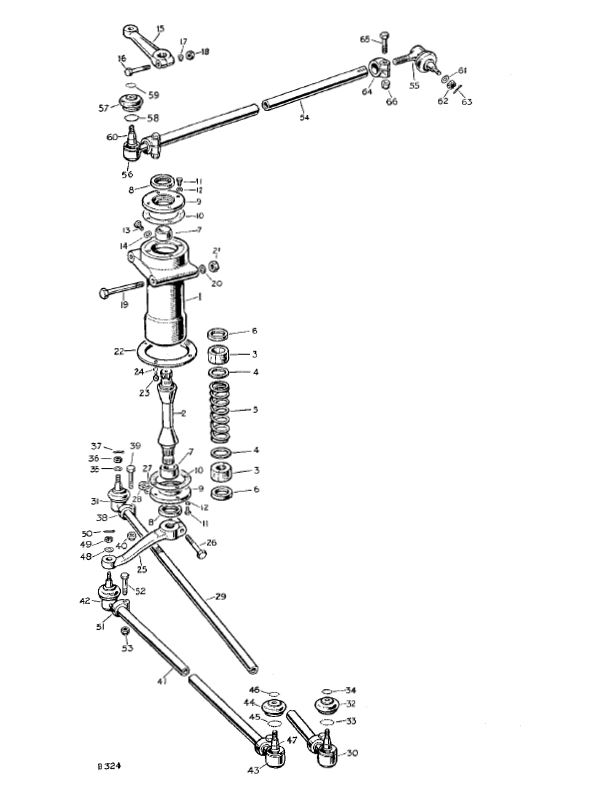
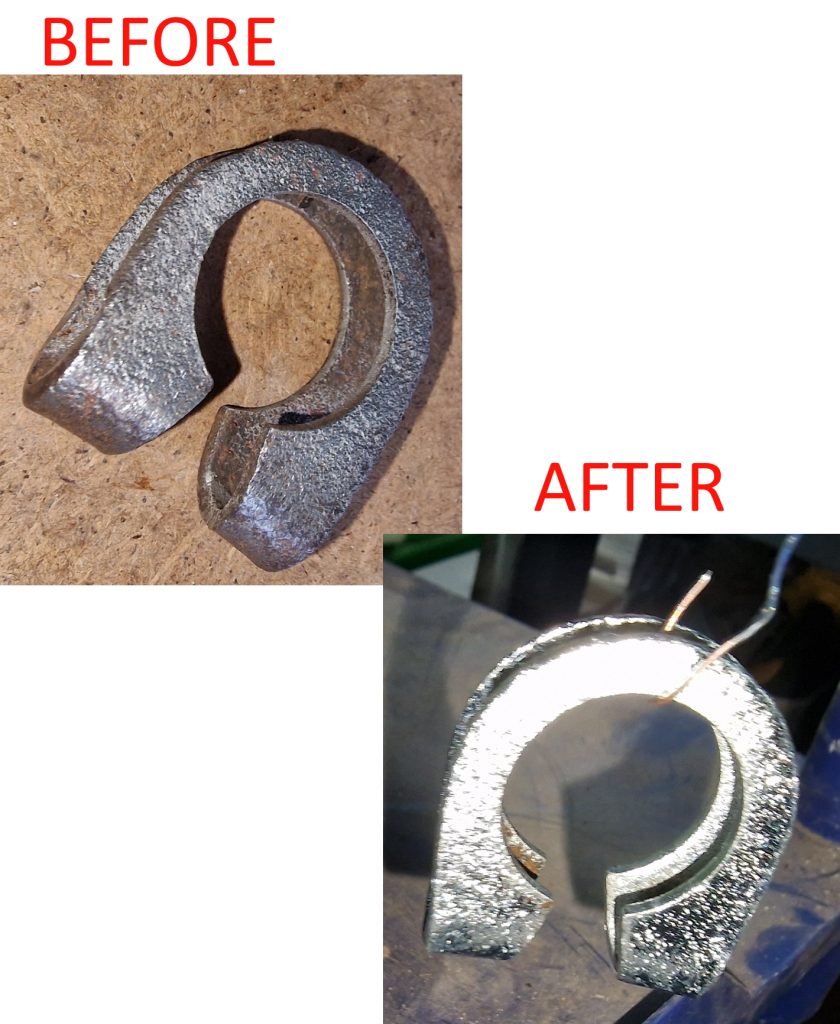
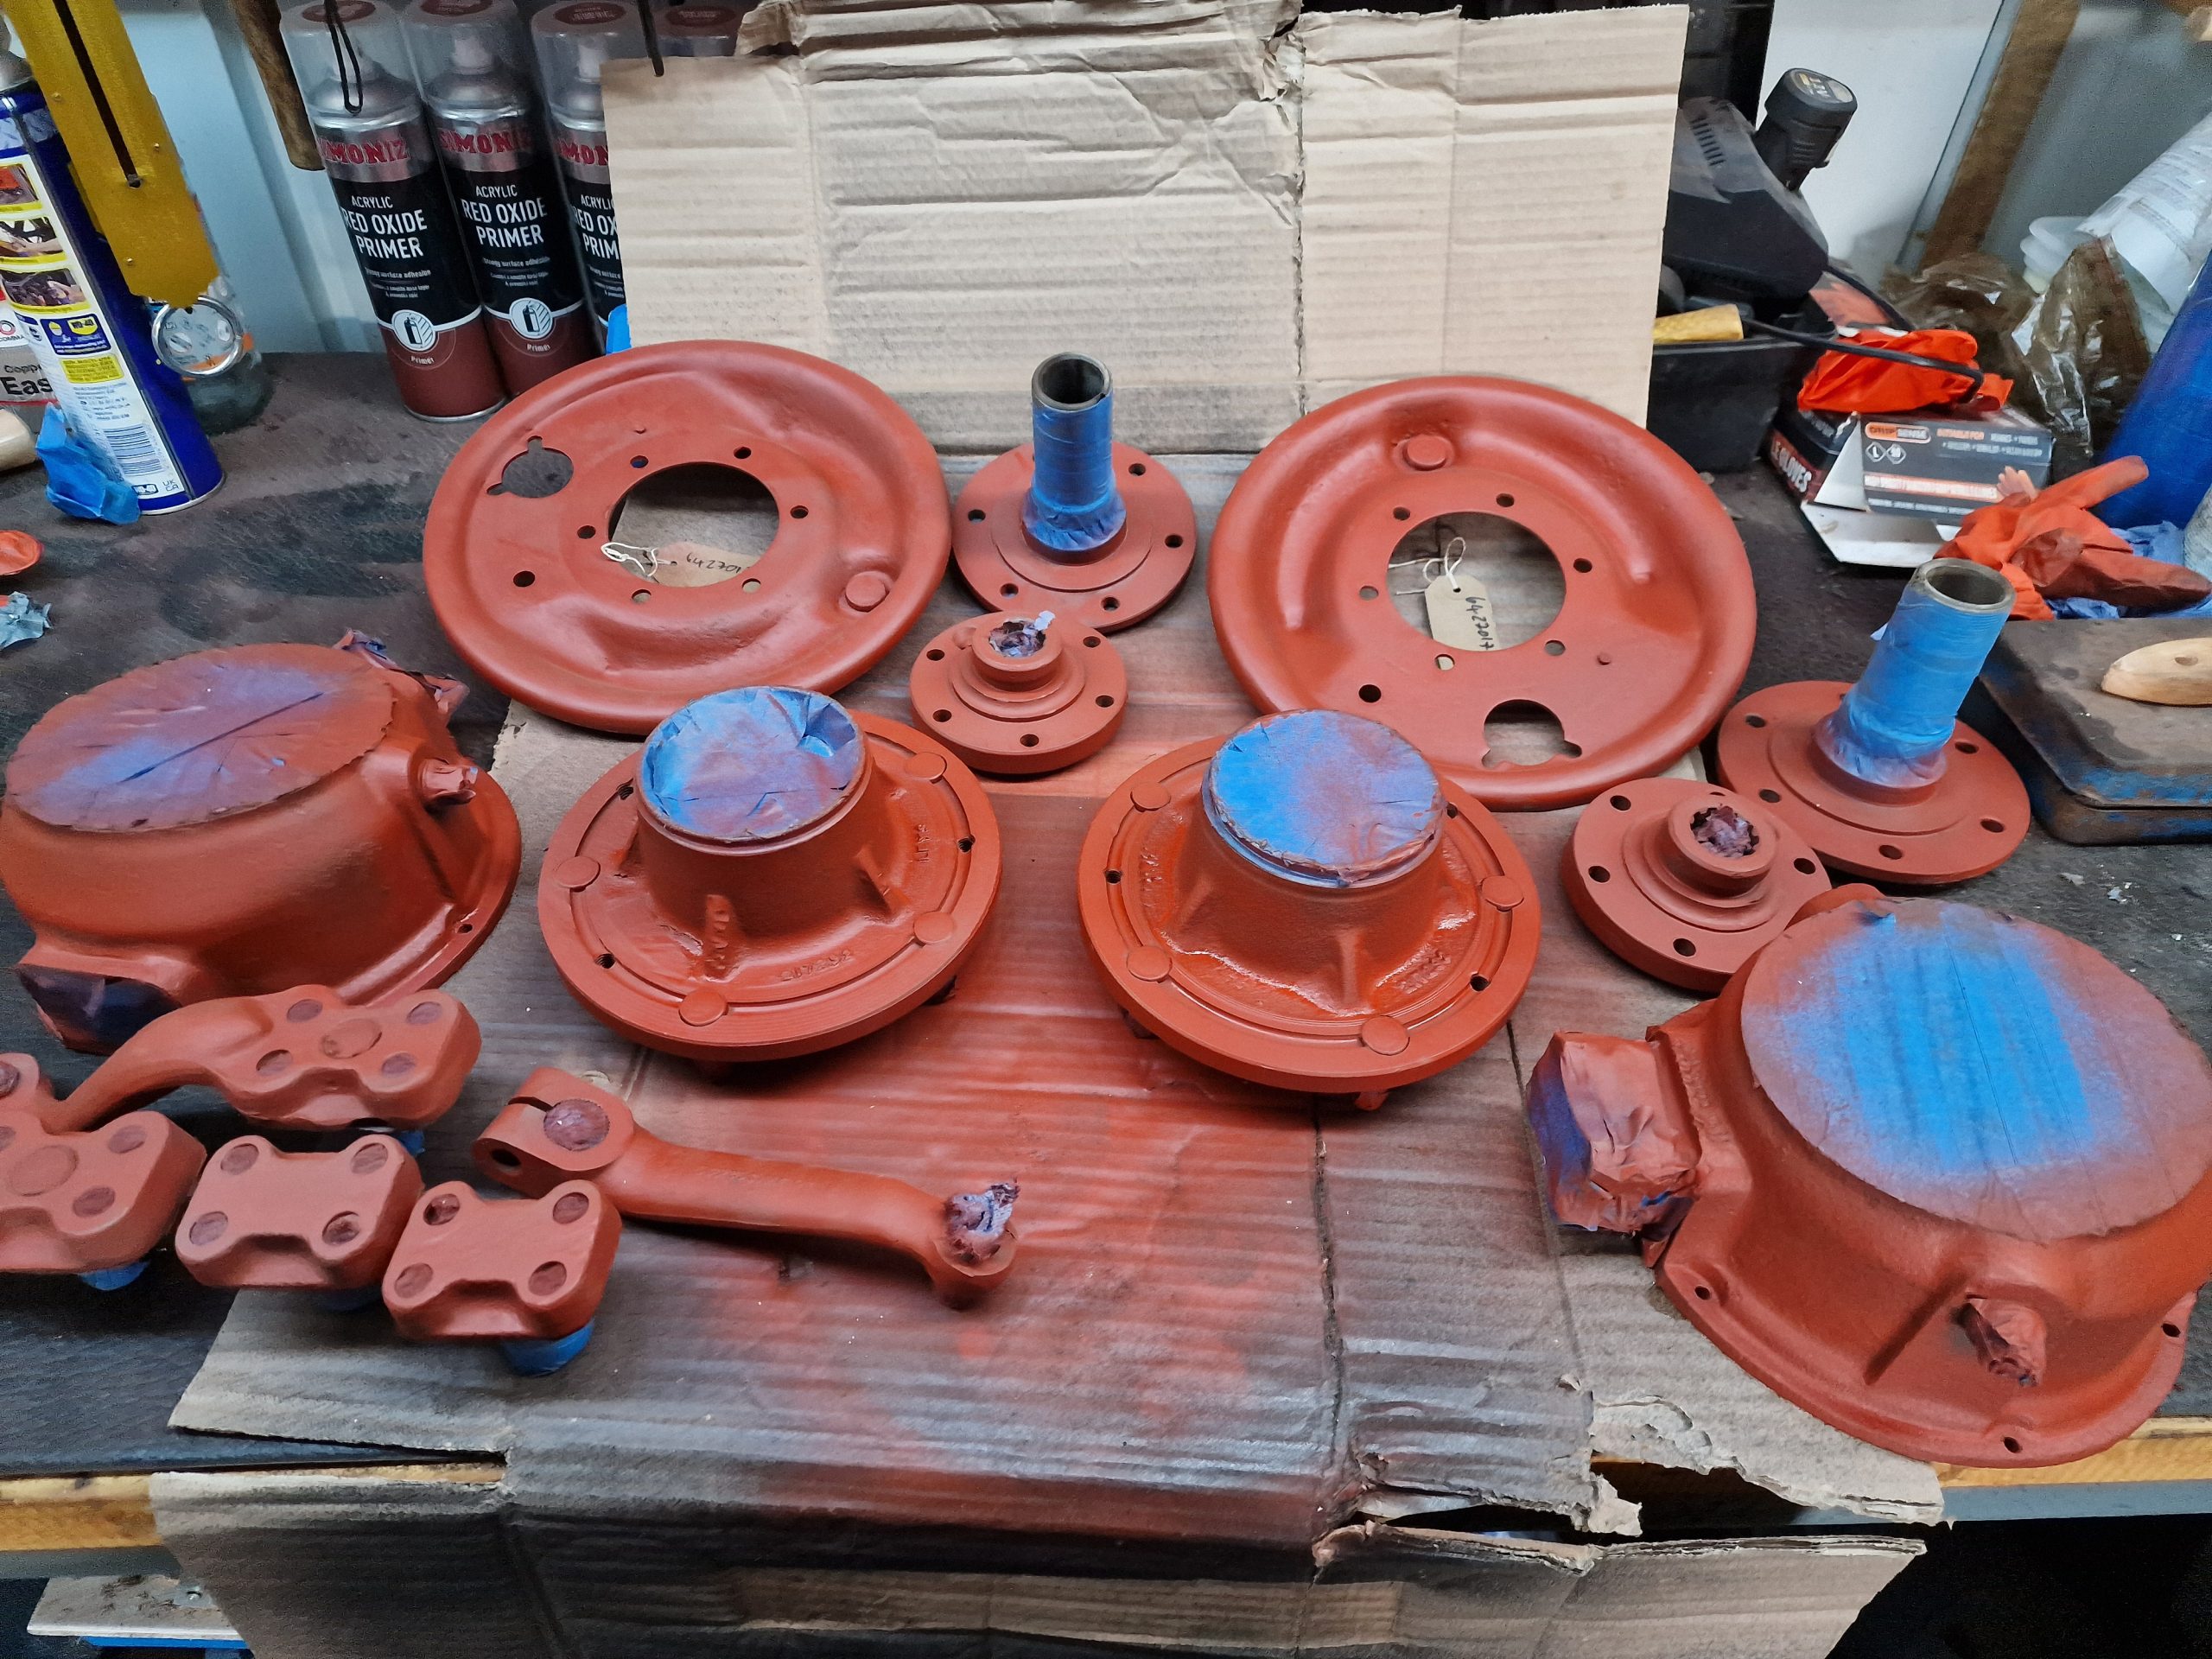
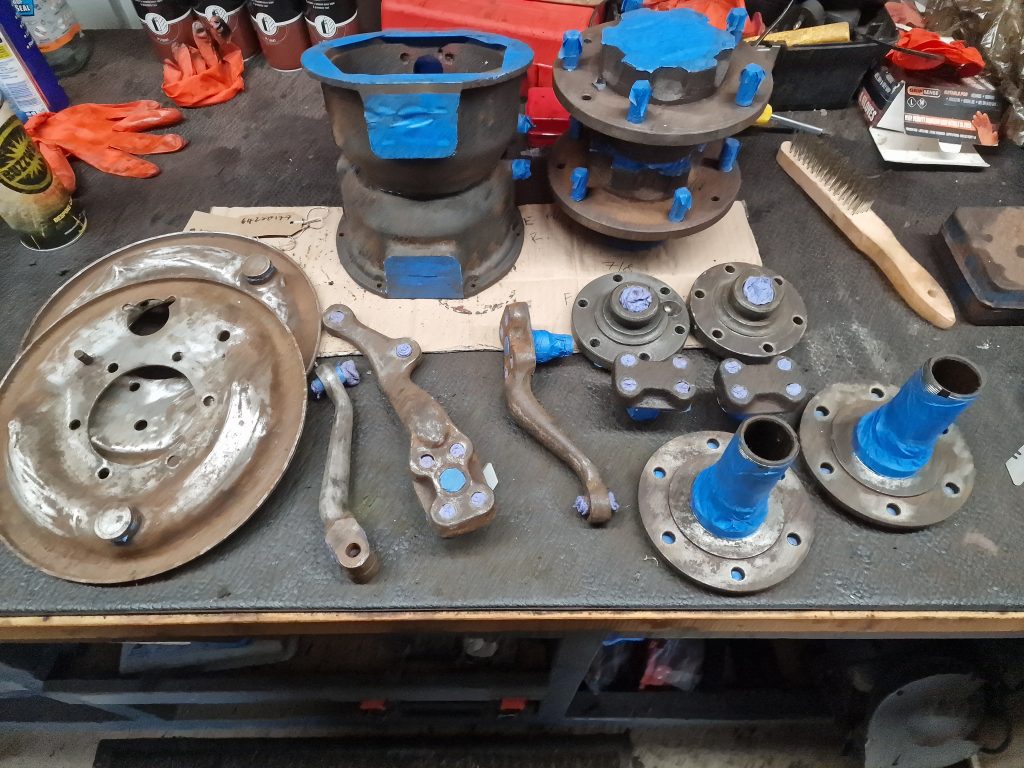
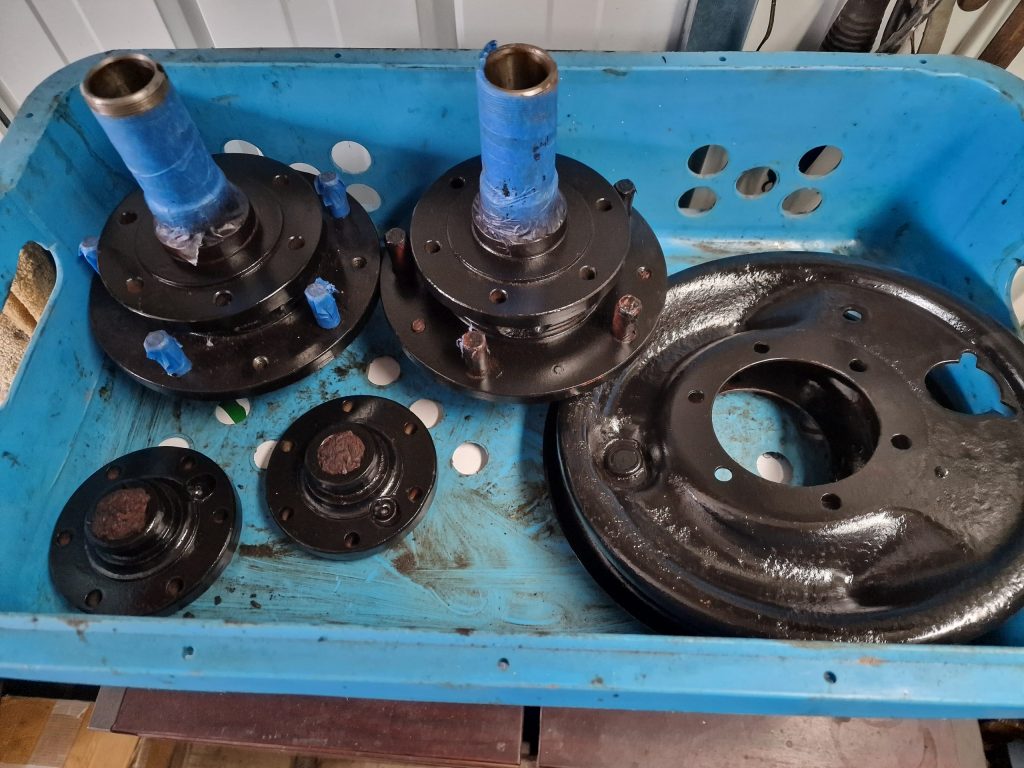
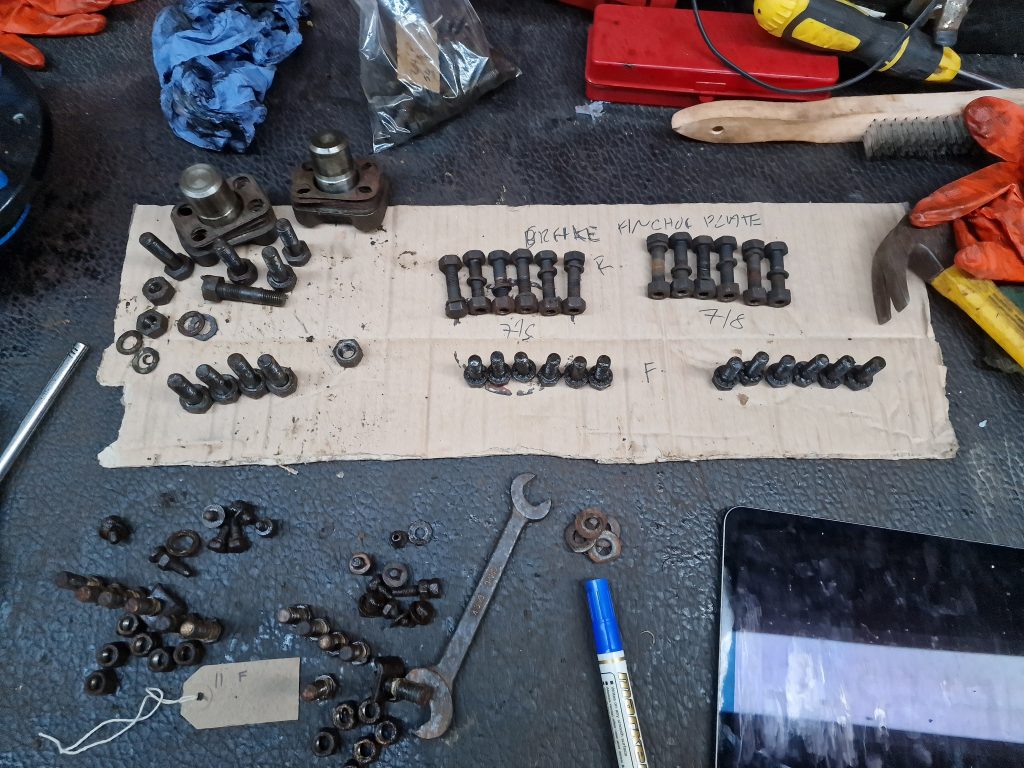
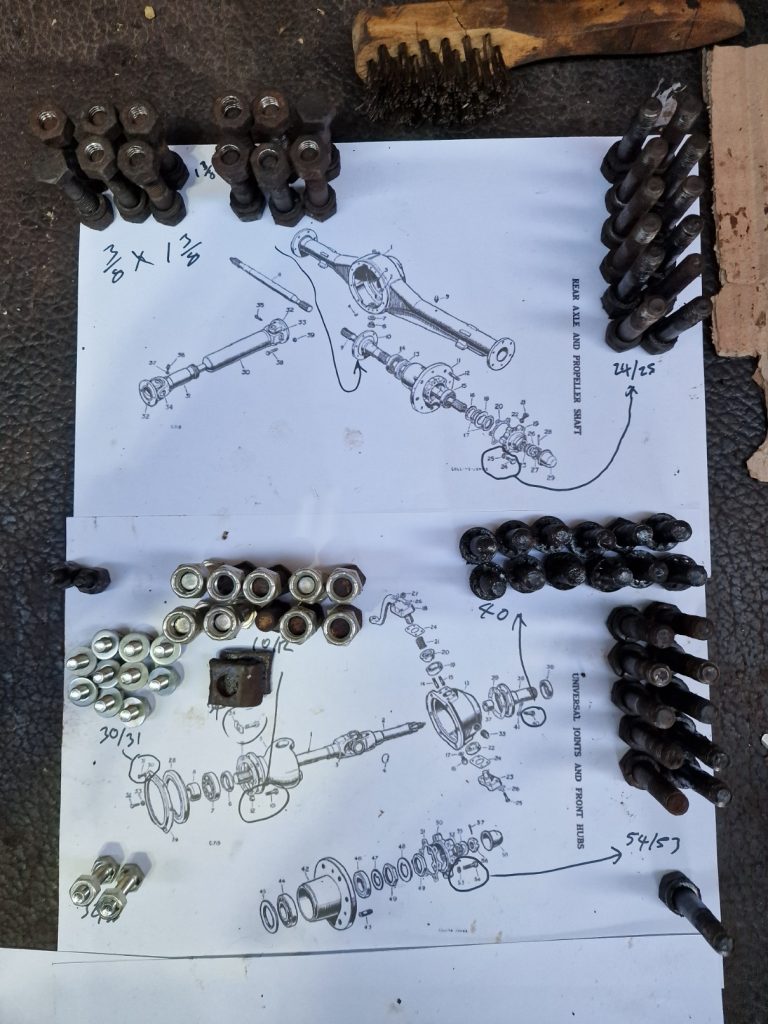
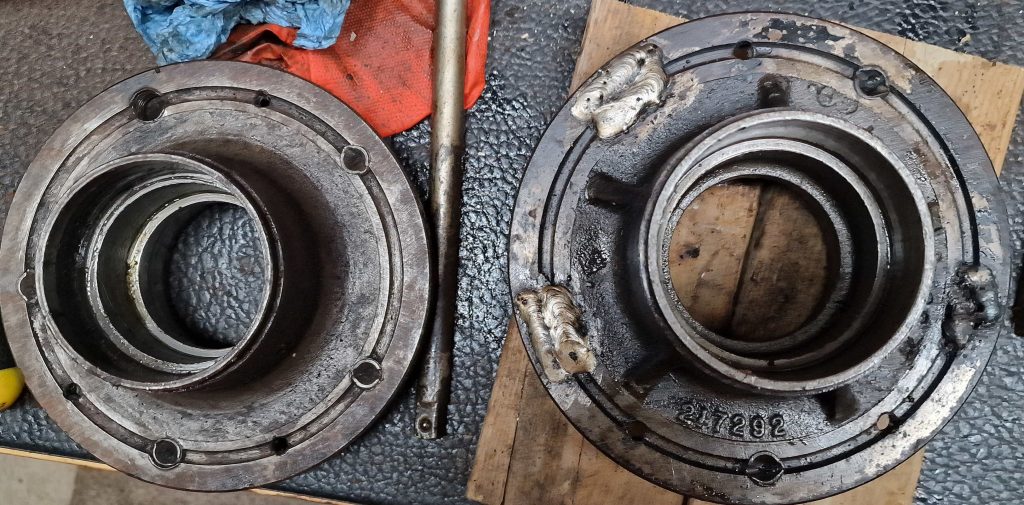
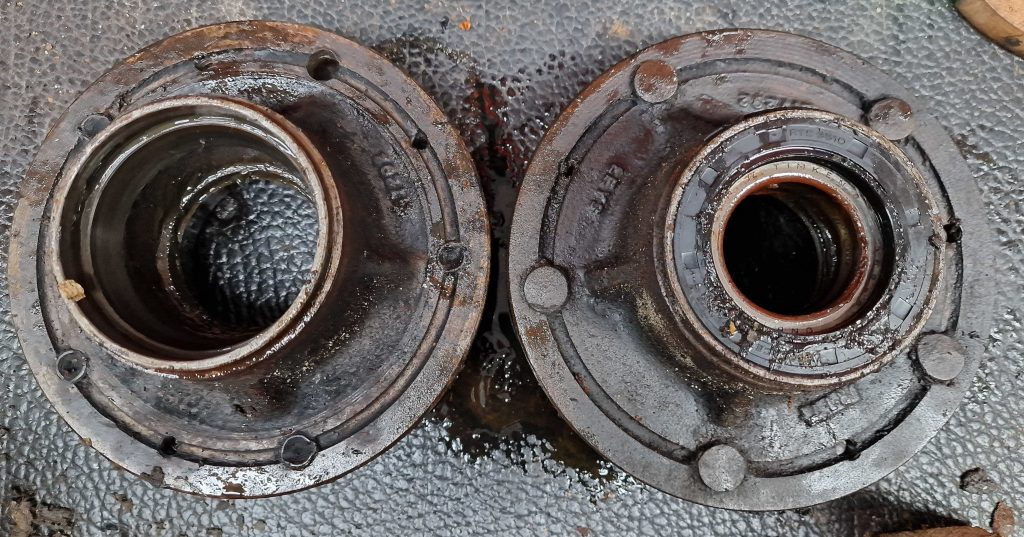
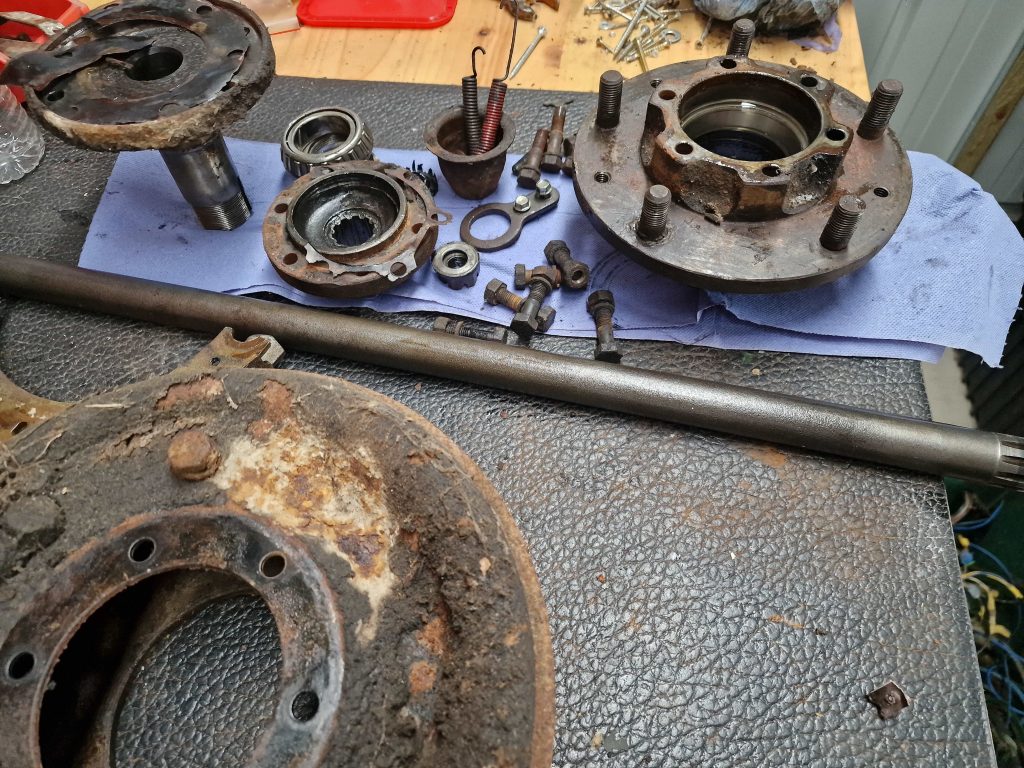
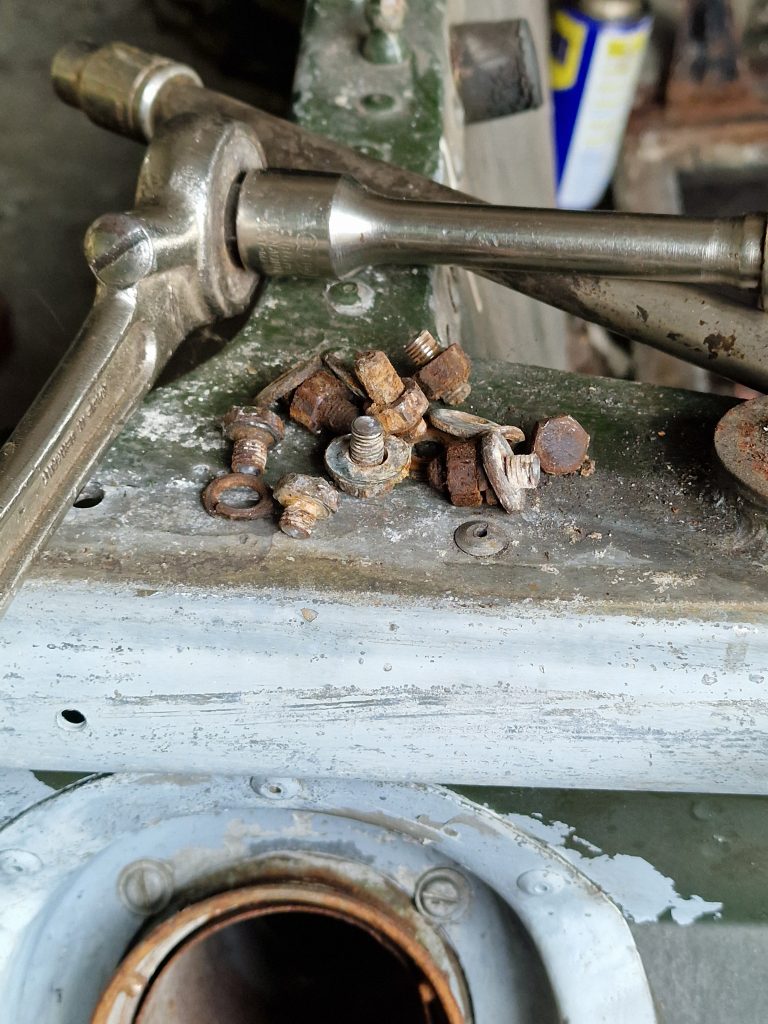
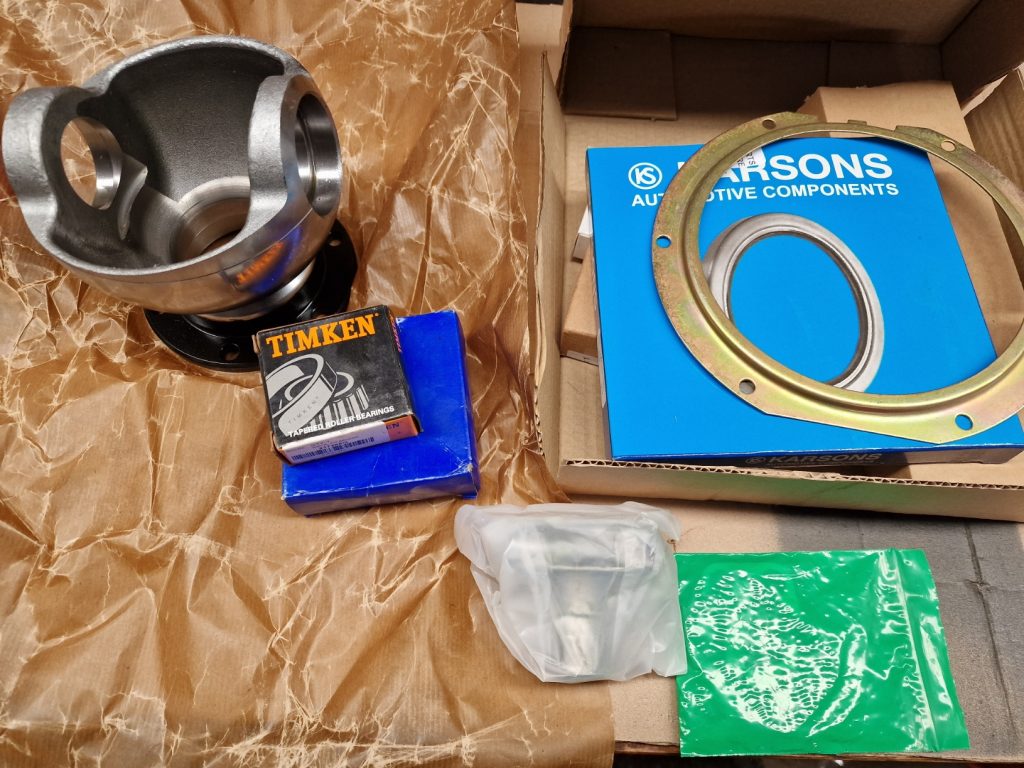
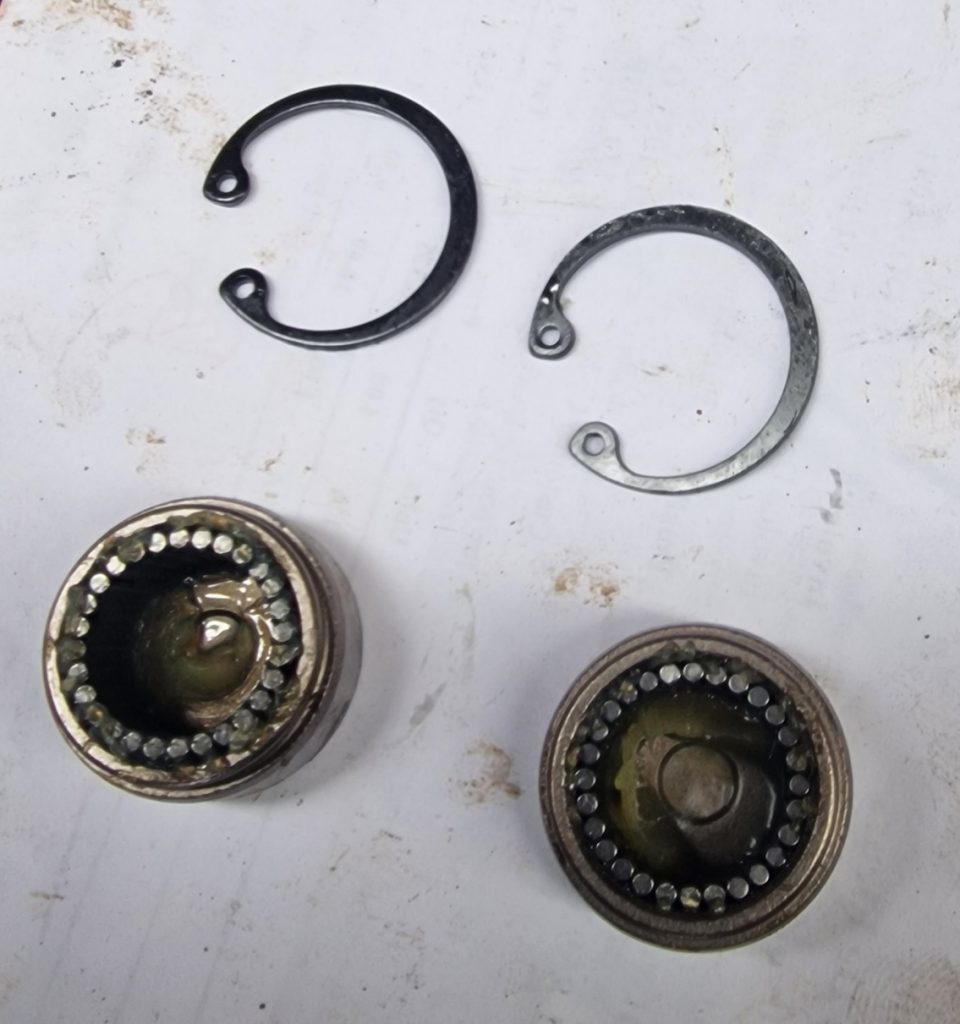
So before we get to installing the Axle onto the Chassis, things had to be taken apart, cleaned up, painted and re-built. First thing is to install the Bearings into the new Swivels and a new Railko bush in the top of the swivel, the picture on the left shows the new Swivel ready to go, the picture on the right, the old swivel and the new one with the bearings and Railko bush fitted. Its a pretty straight forward process, bearing driver tool, copper hammer and some gentle persuasion.
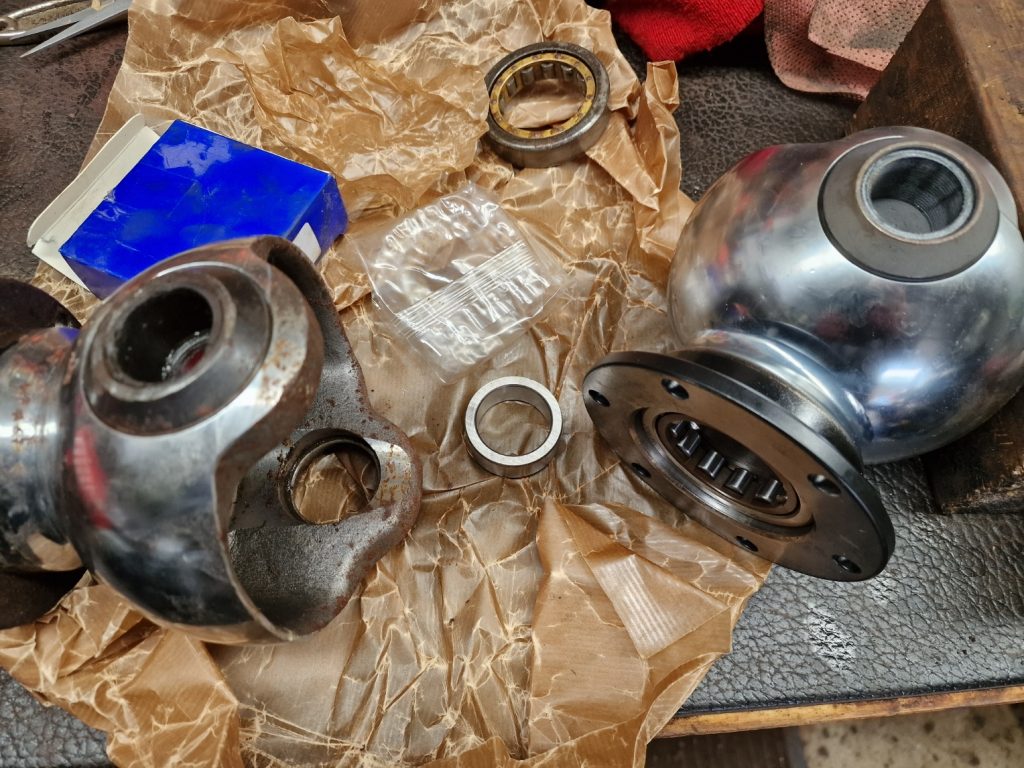
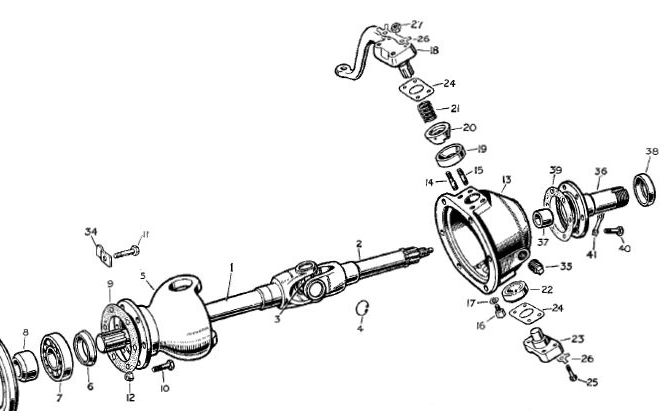
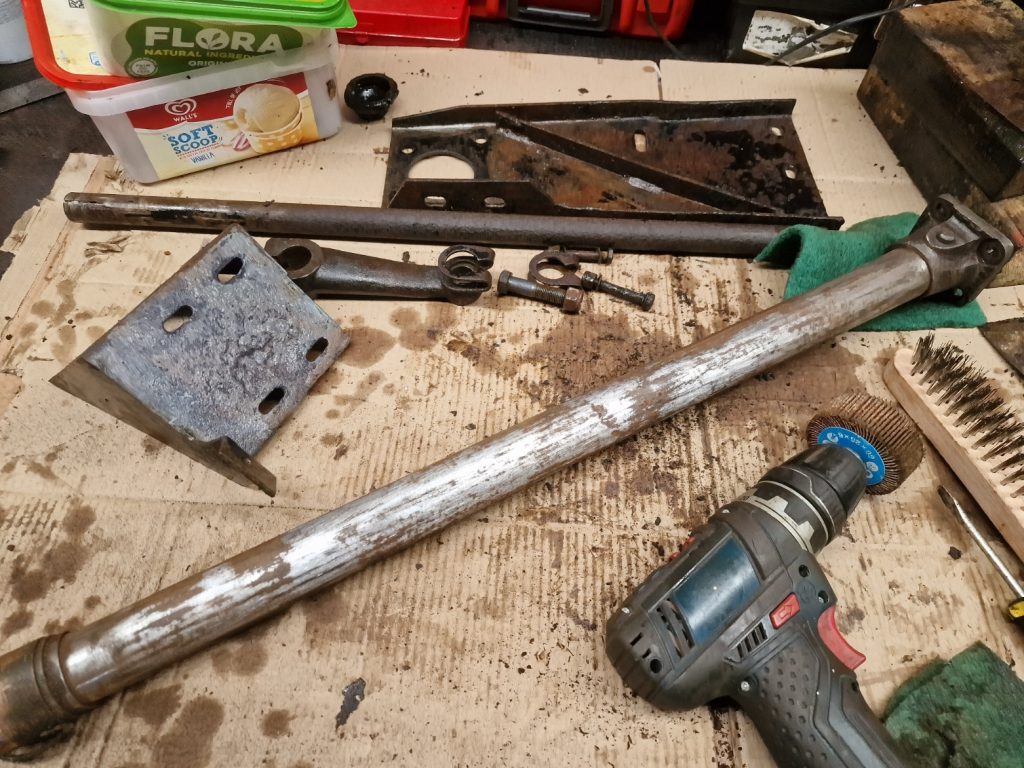
Next bit is the half shaft. This is the part that gets the power from the Differential to the wheels. Inside the Swivel, is a universal joint separating the half shaft into 2 pieces allowing the front wheels to drive and steer, pretty important as it goes!
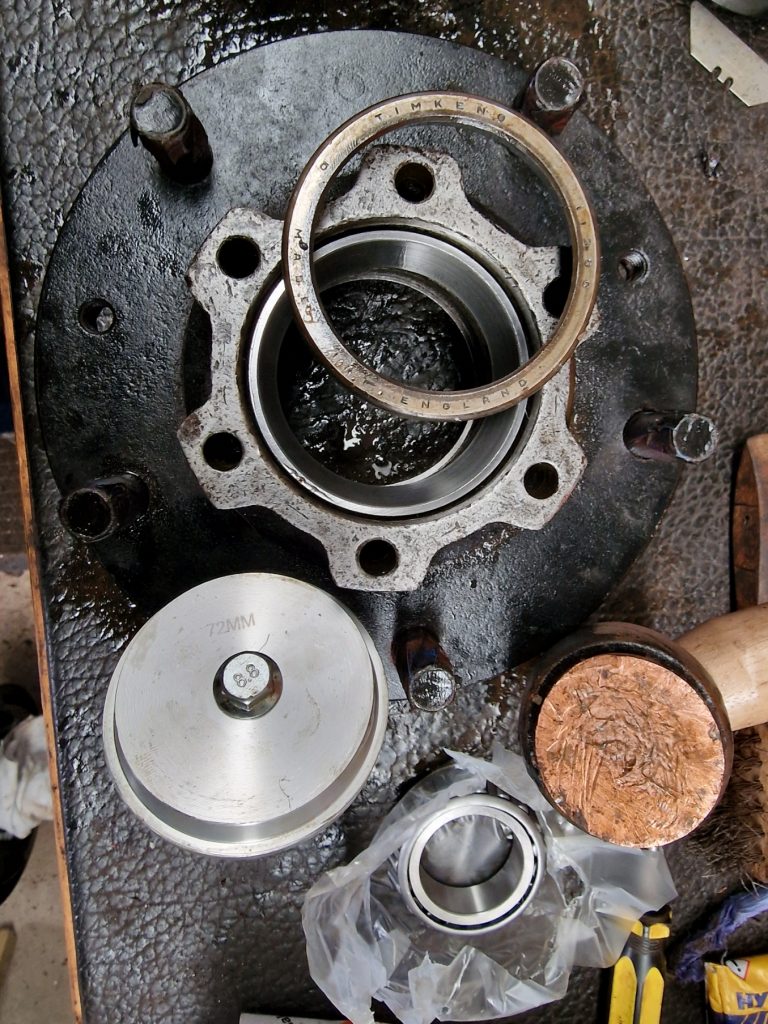
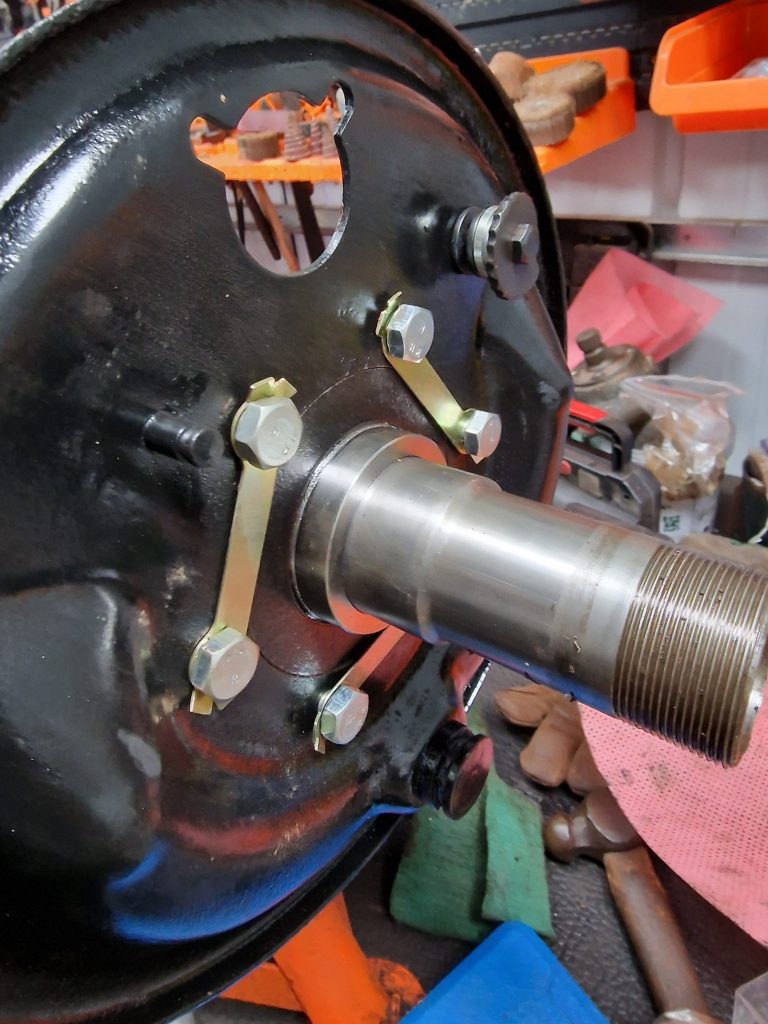
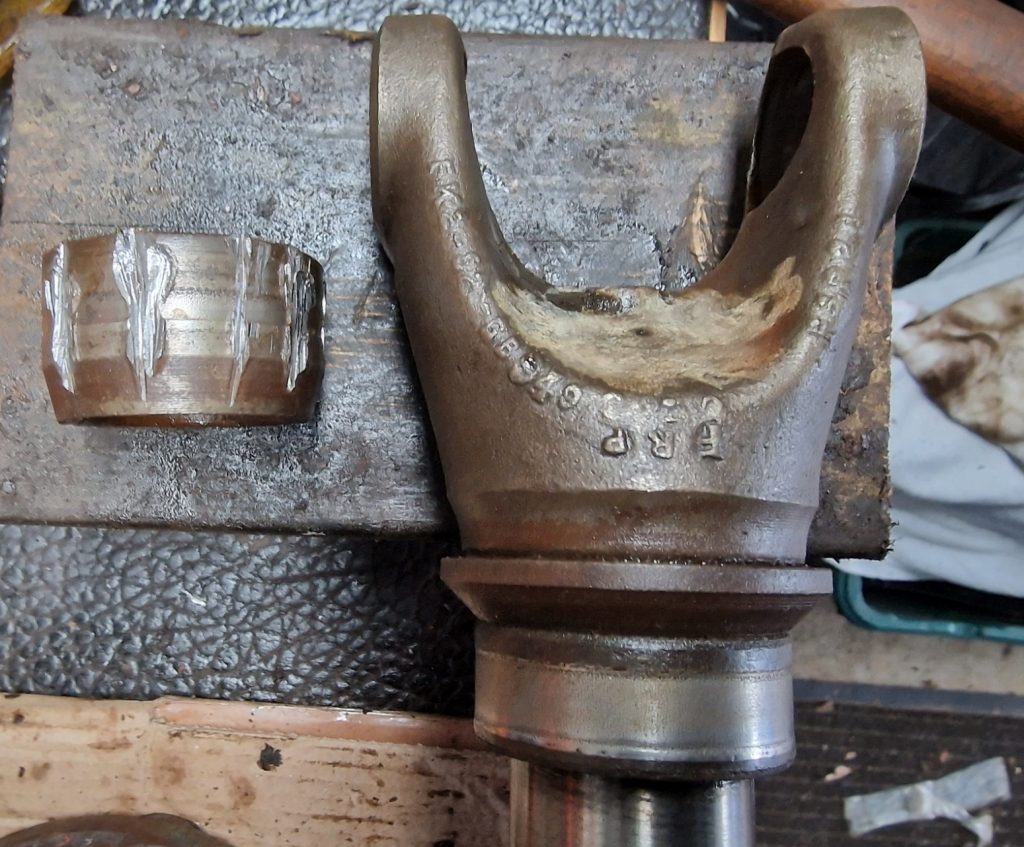
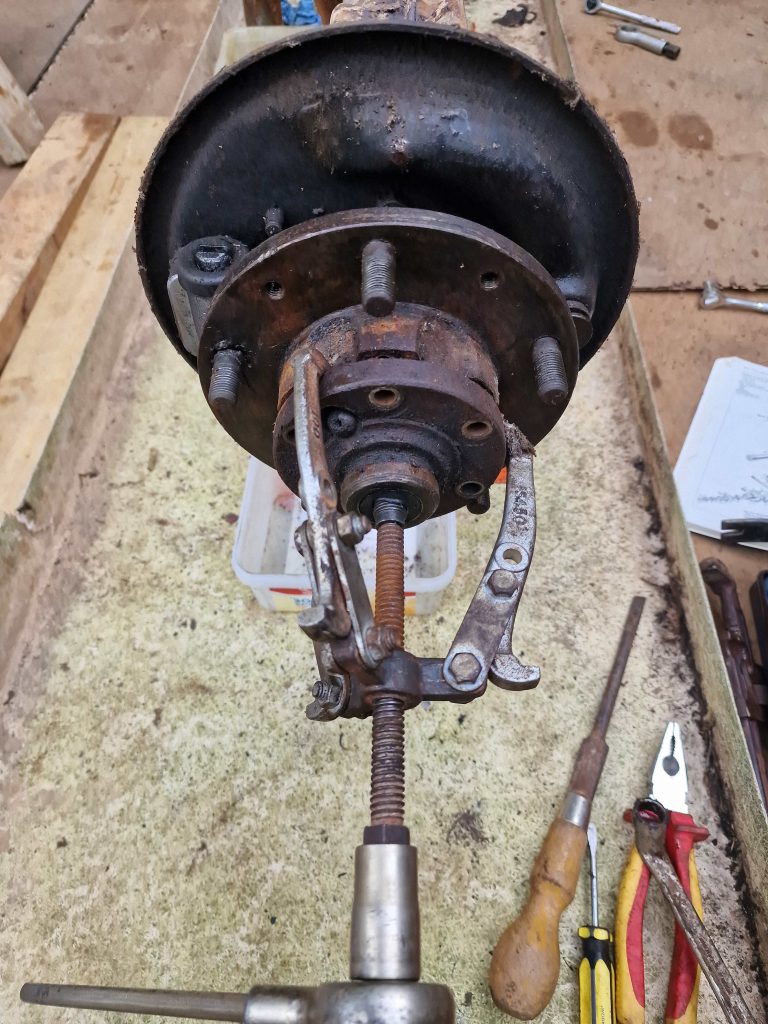
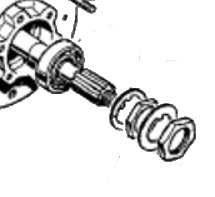
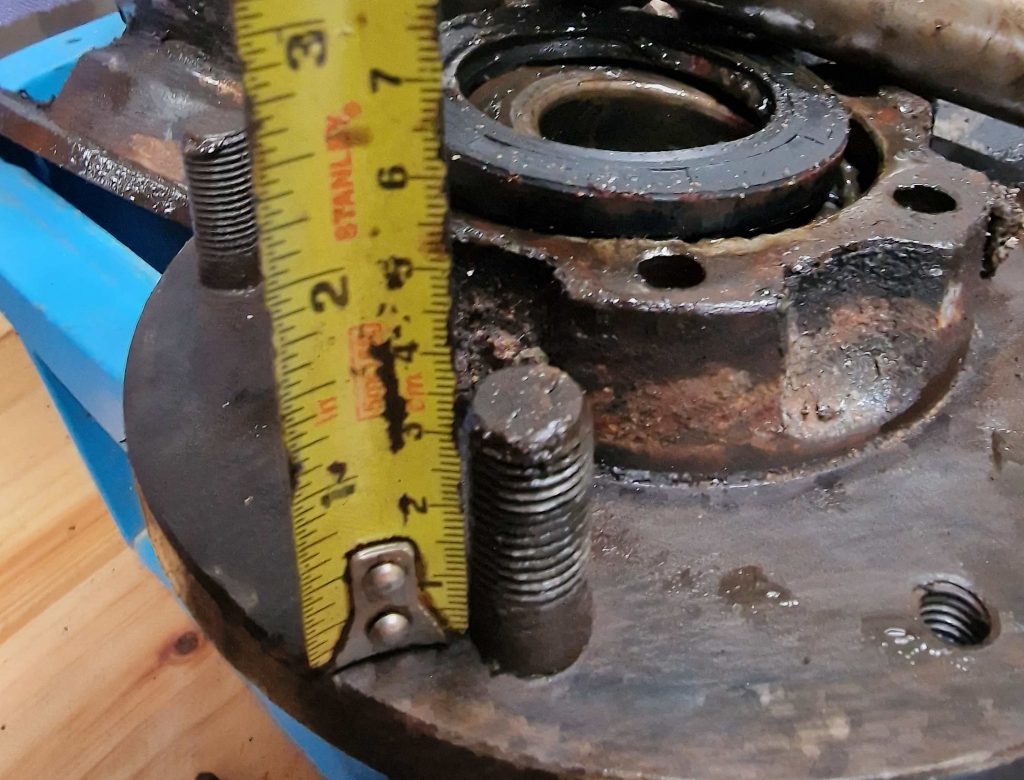
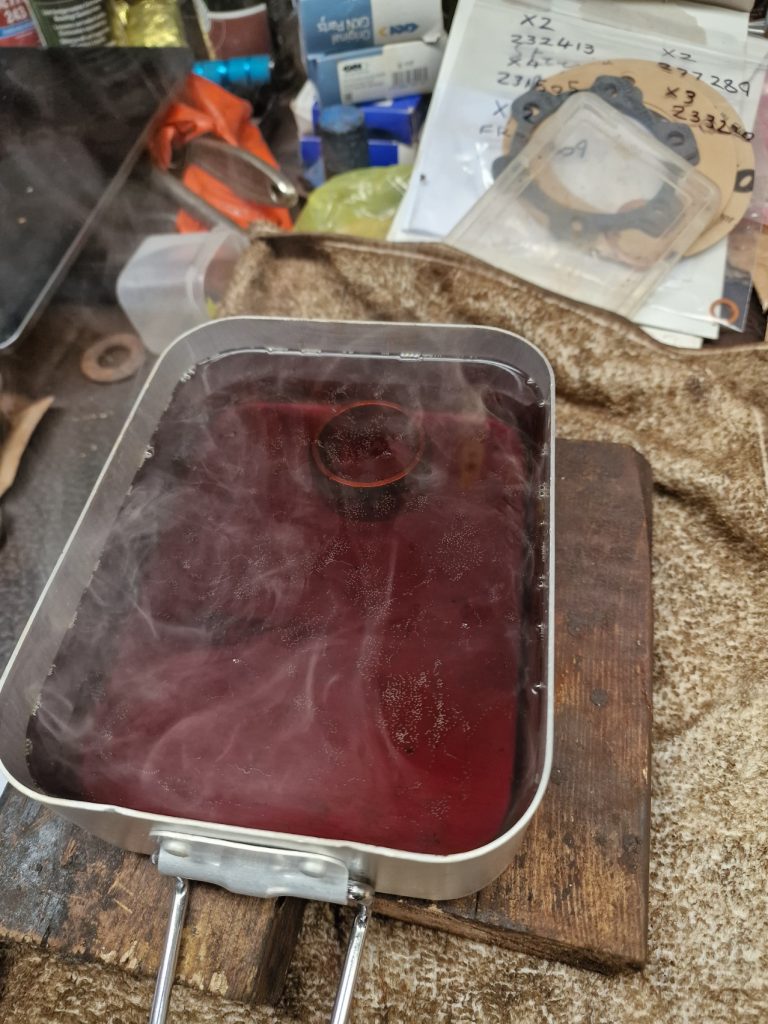
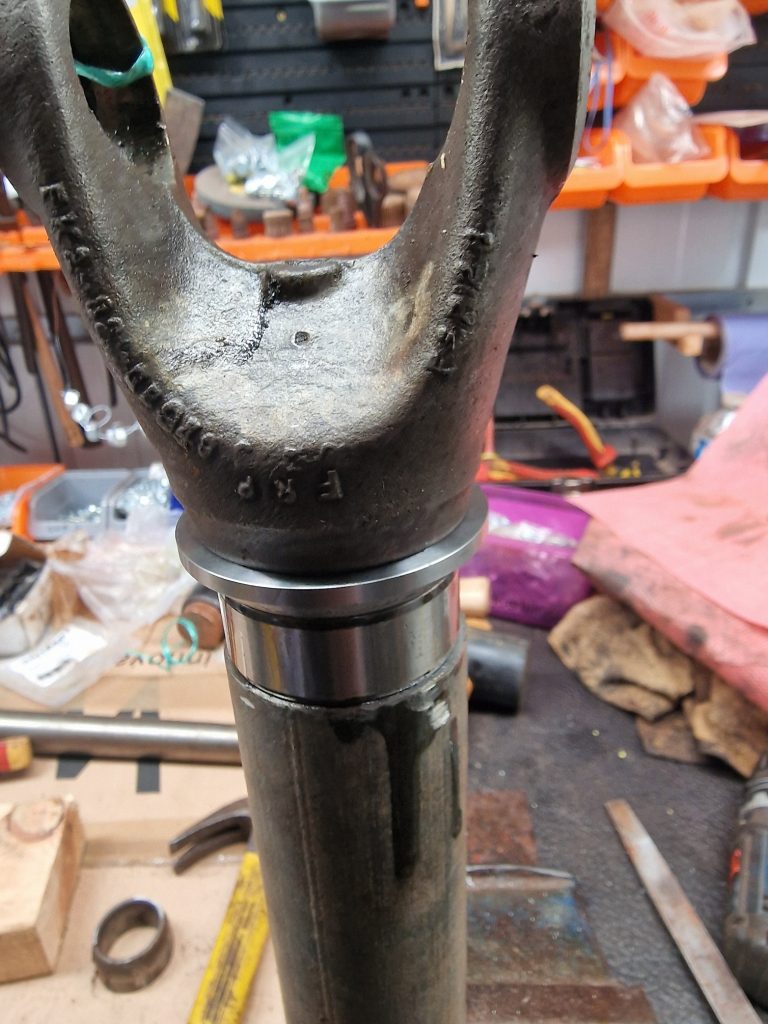
First thing is to install the Cone distance piece, Bearing Race (for the big bearing in the back of the swivel. picture above) and the final part, the bit that sits in the seal which is installed into the axle (no picture of that). The Bearing race and the other bit are a tight push fit, so heat them and drop the half shaft onto a scaffold pole to drive them home. The cone distance piece is a slide on fit so no need for heat.


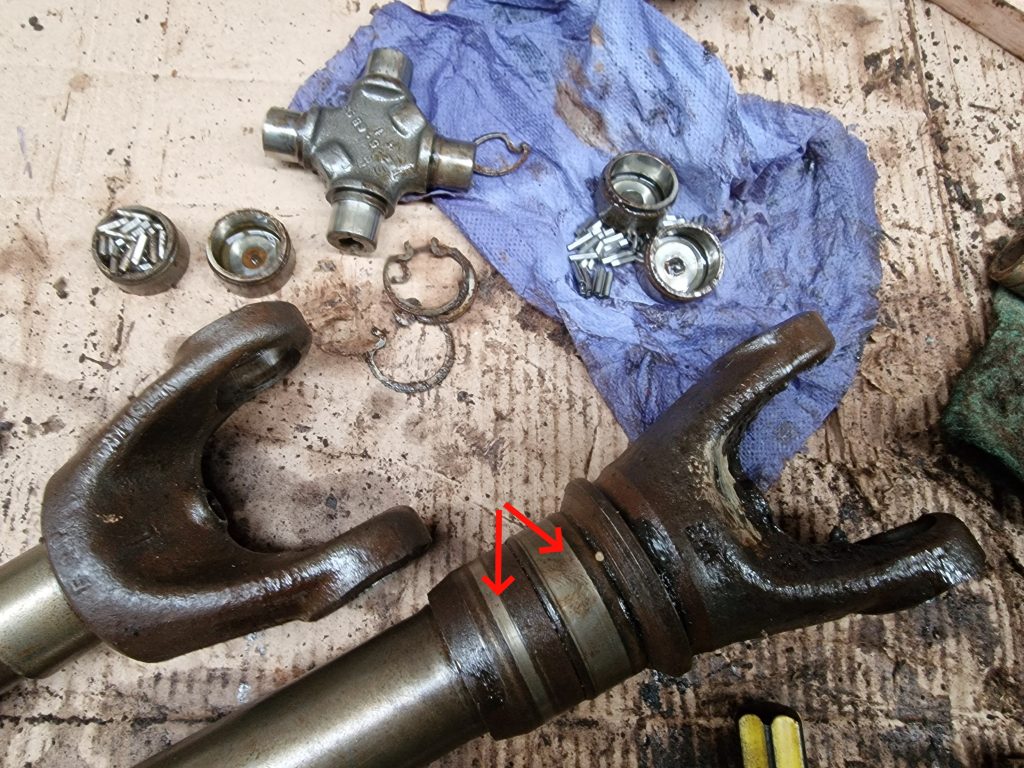
The Universal Joints are pretty easy to fit. The only real challenge was making sure all the roller bearings stay in place, oh, and when you decide to buy a new half shaft part as one of yours is showing some wear and the circlips wont go into the grooves, annoying, so have to use the old one.
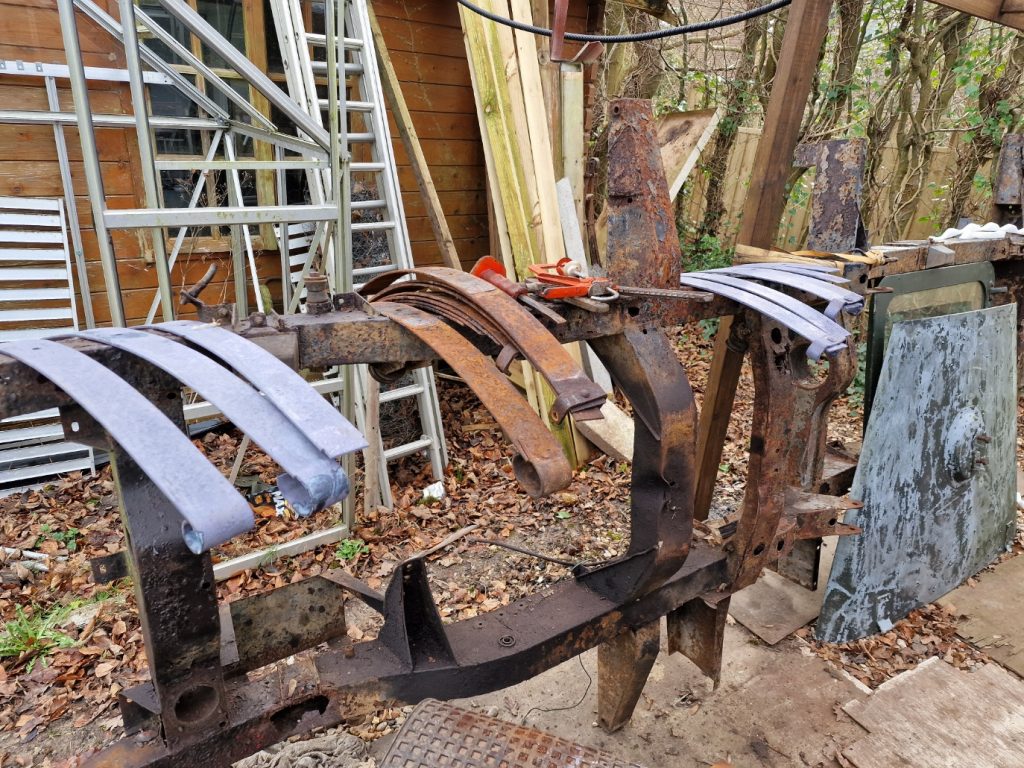
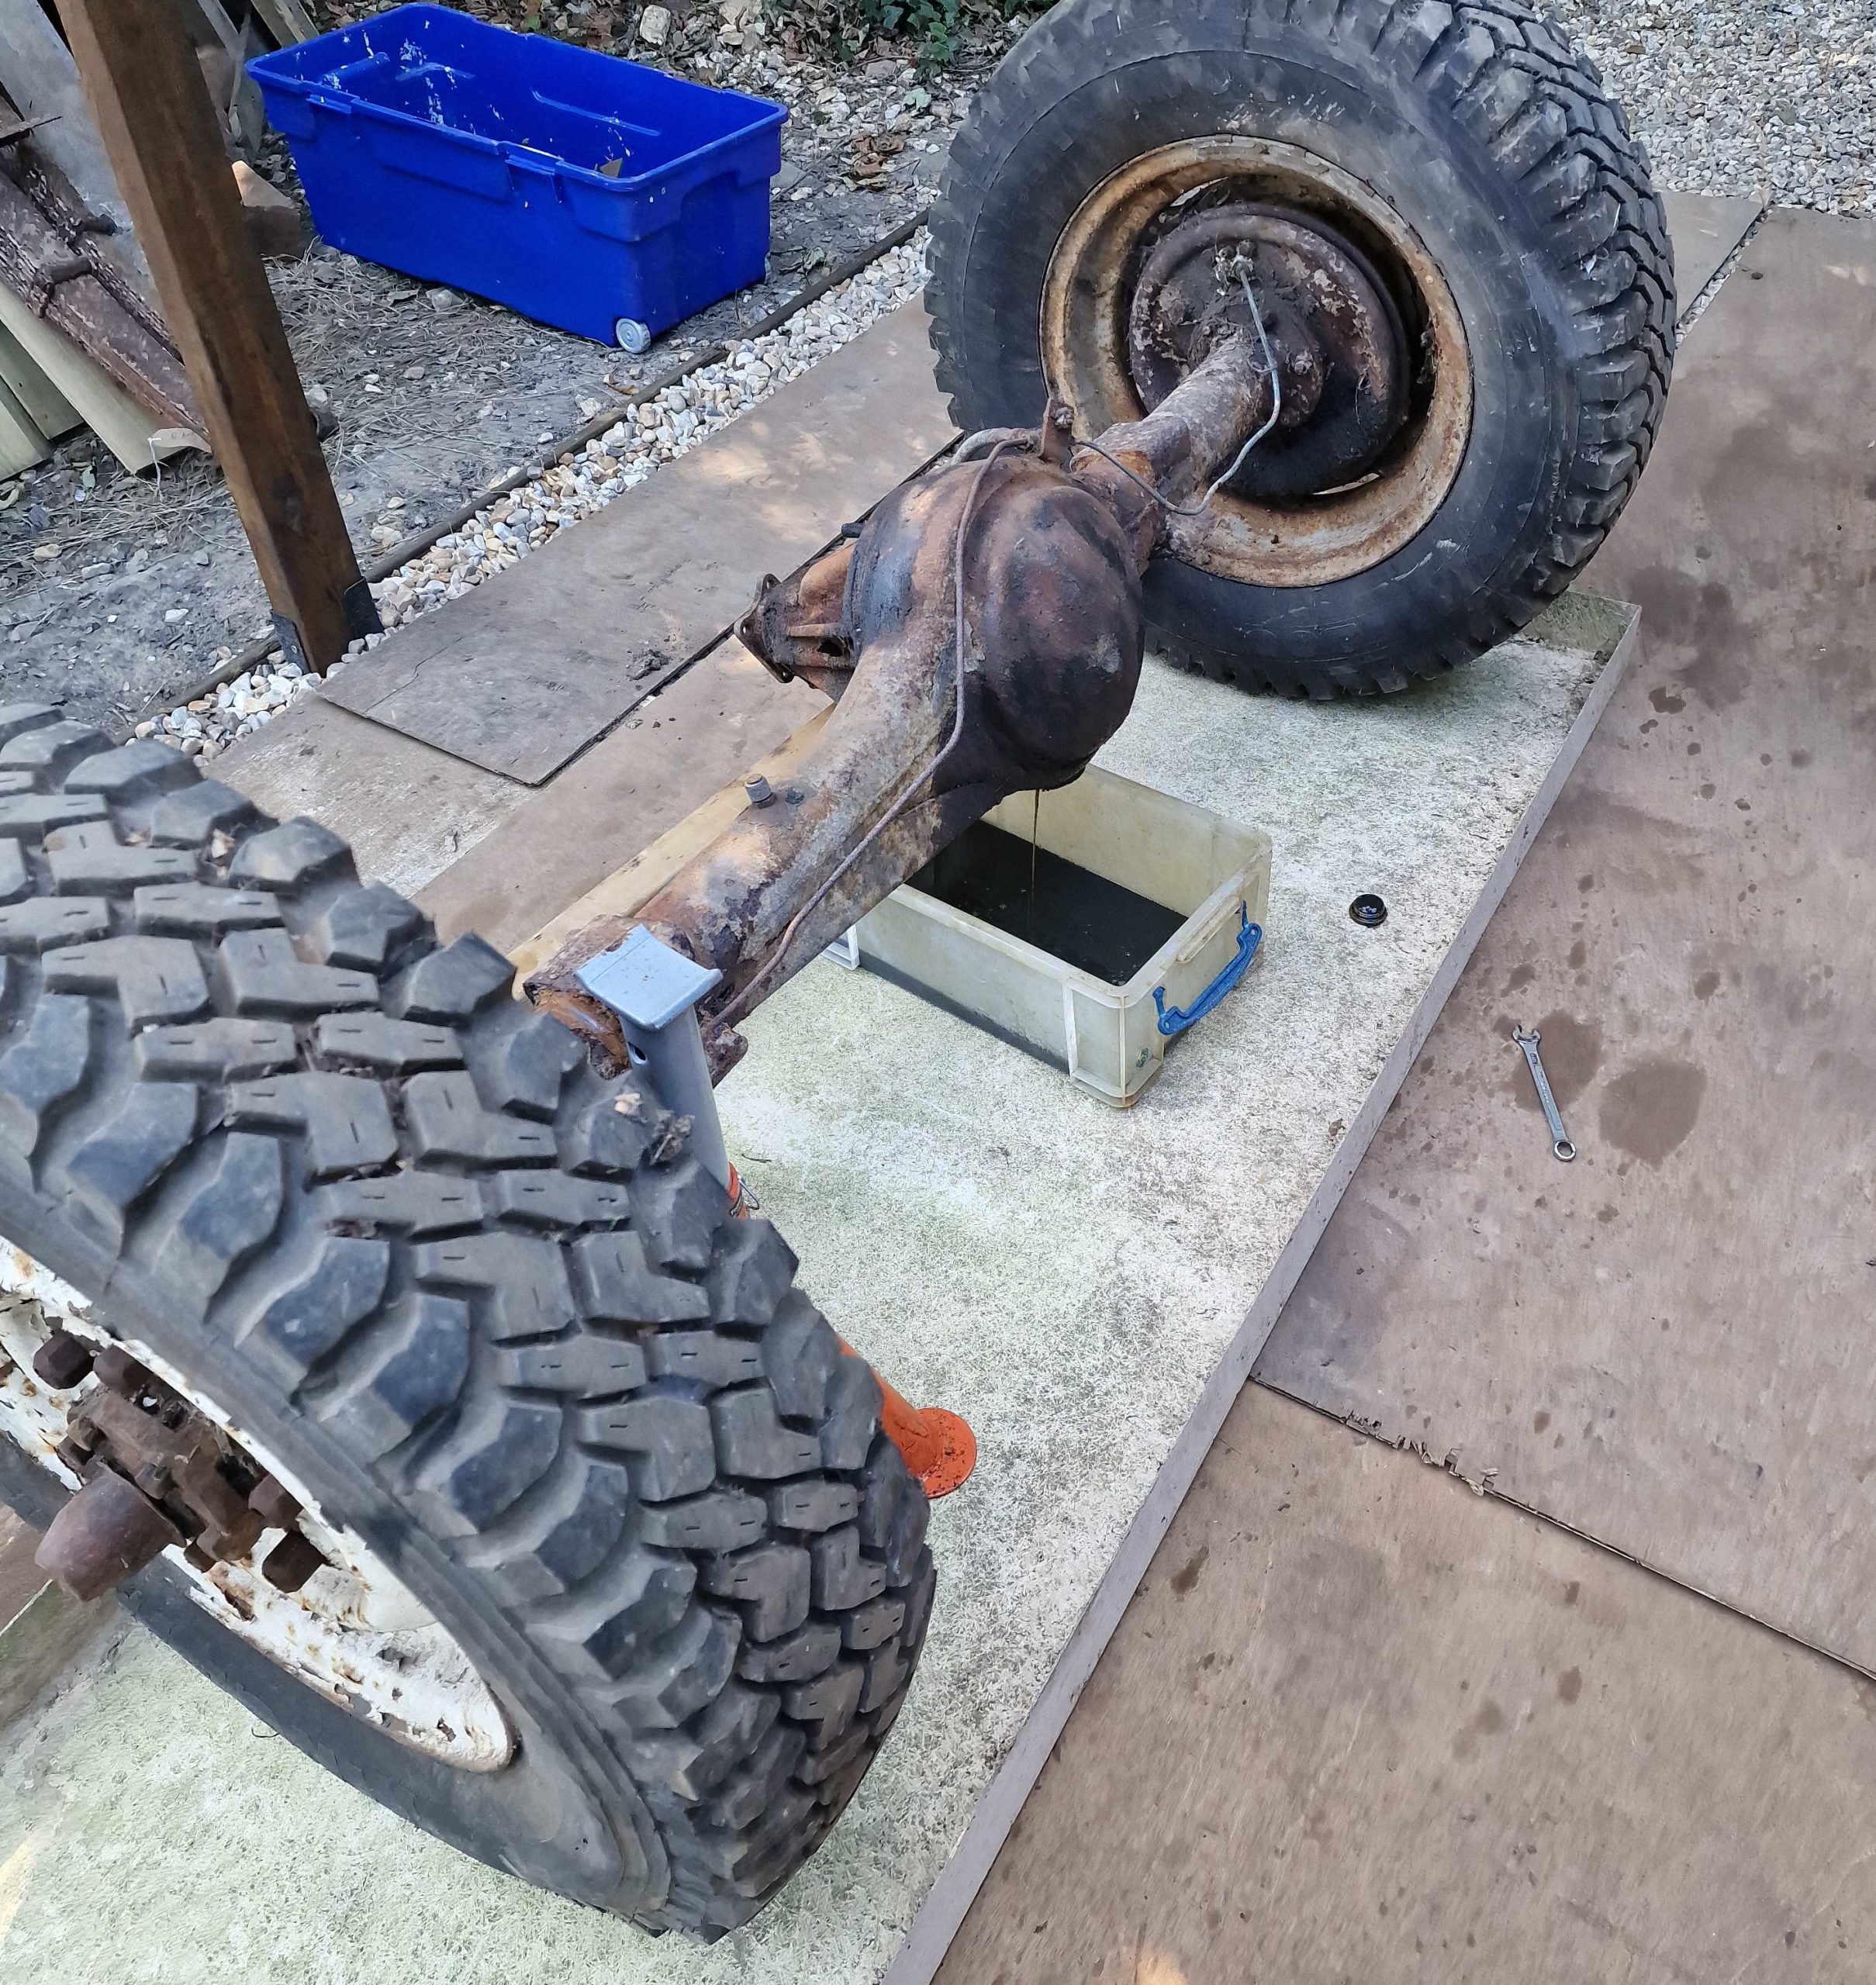
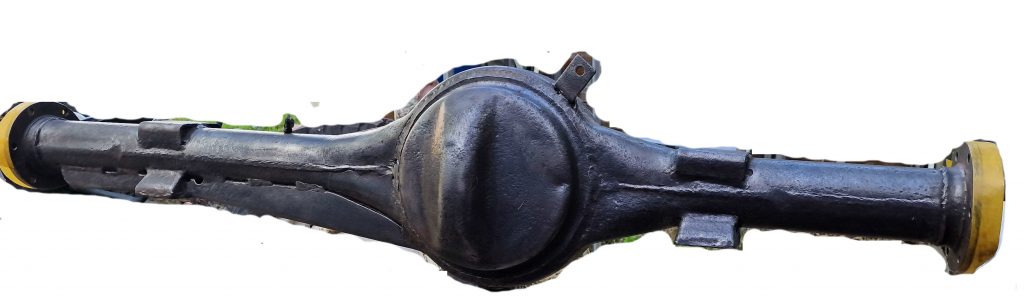
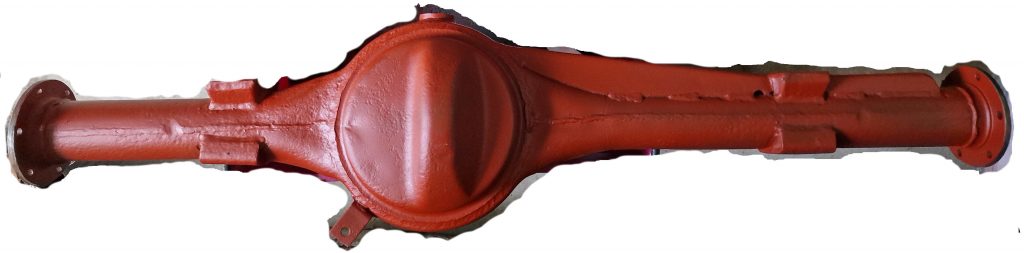
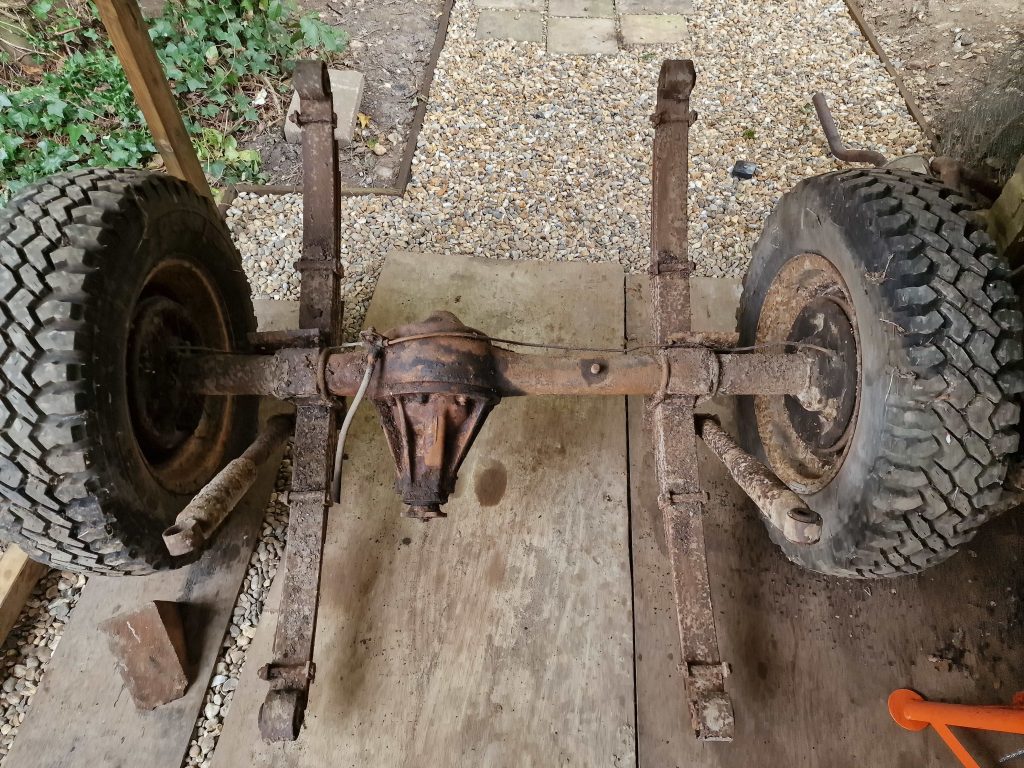
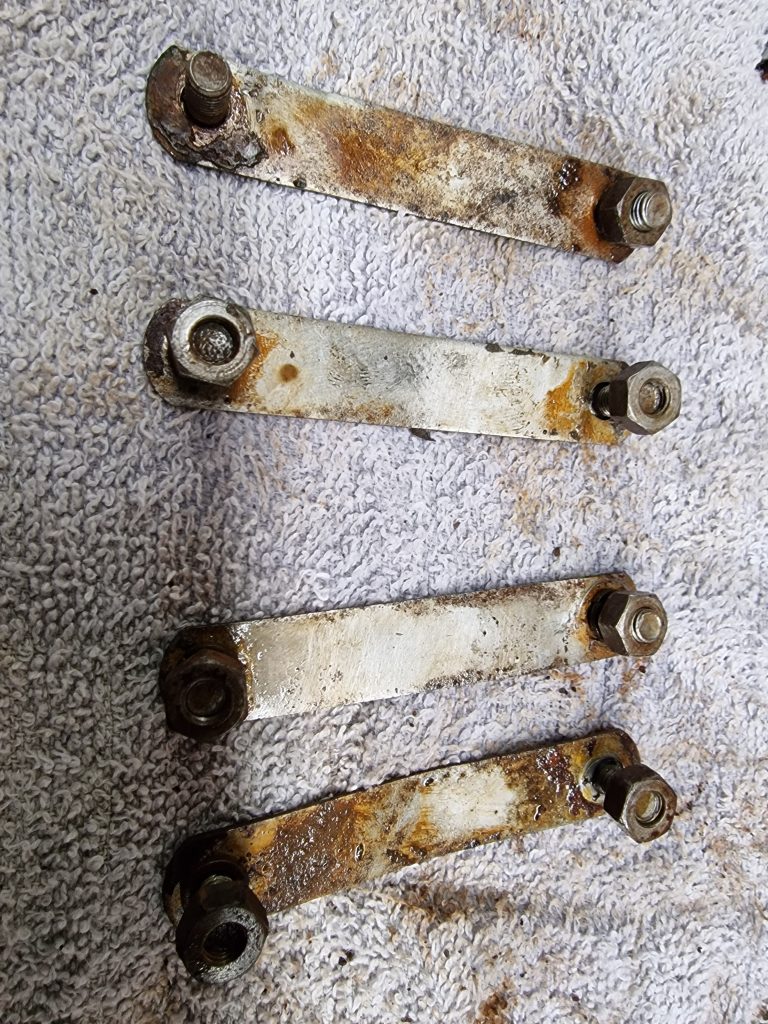
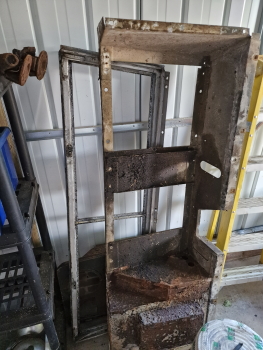
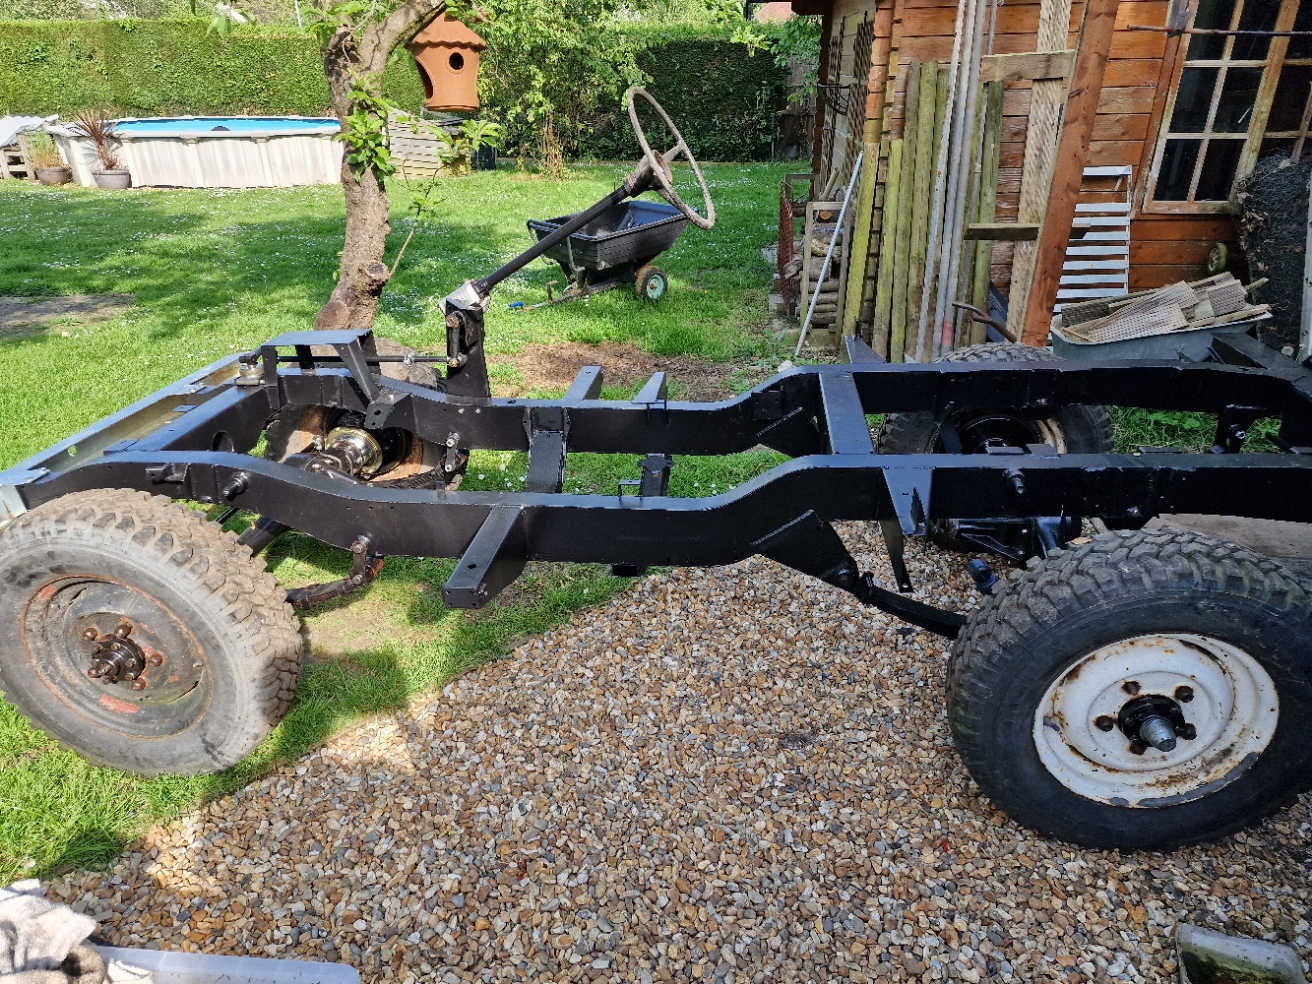
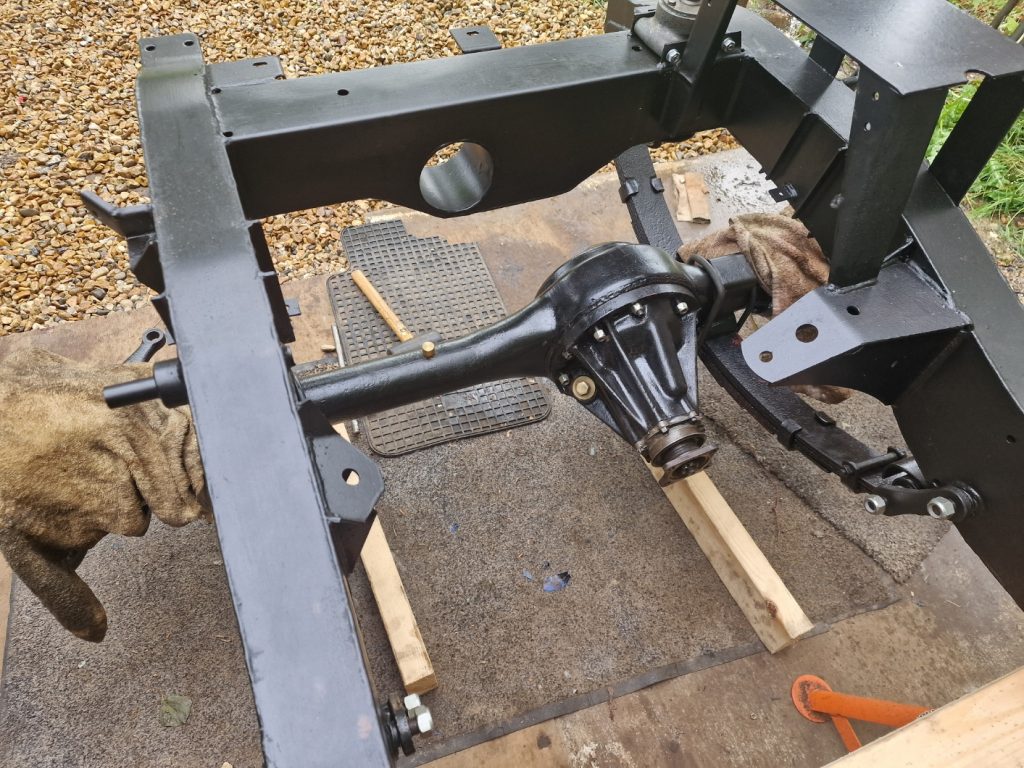
OK, so that’s all the bits ready to be assembled. Not going to cover the axle casing, its pretty much same as the rear one, just shorter. So, first thing, get the re-furbished springs on. This is the same as the rears pretty much, just shorter and lighter, thankfully.
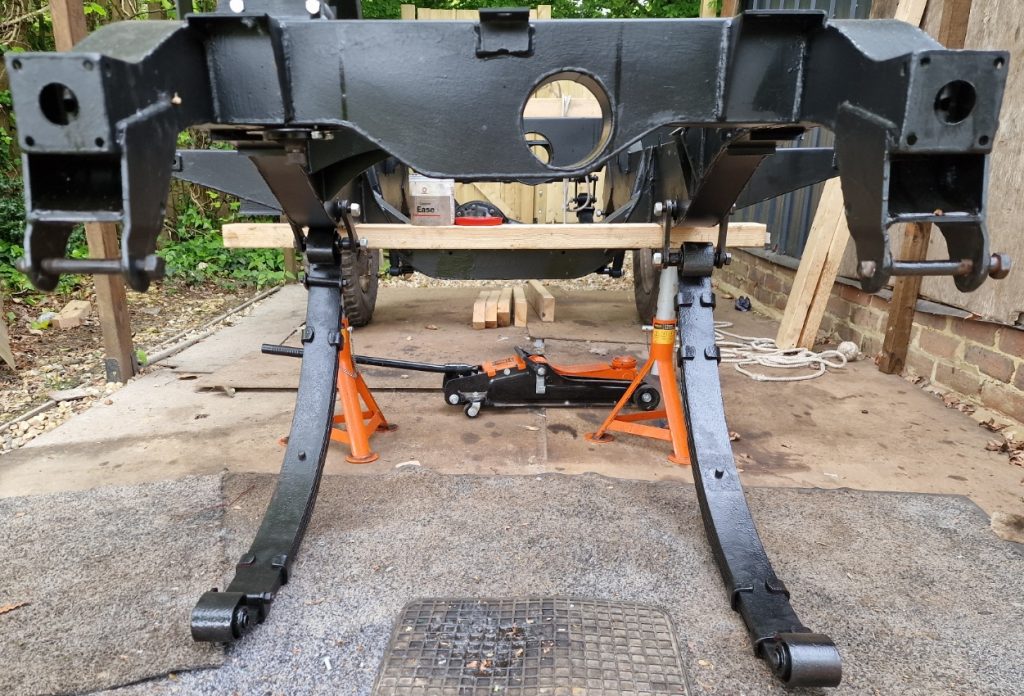
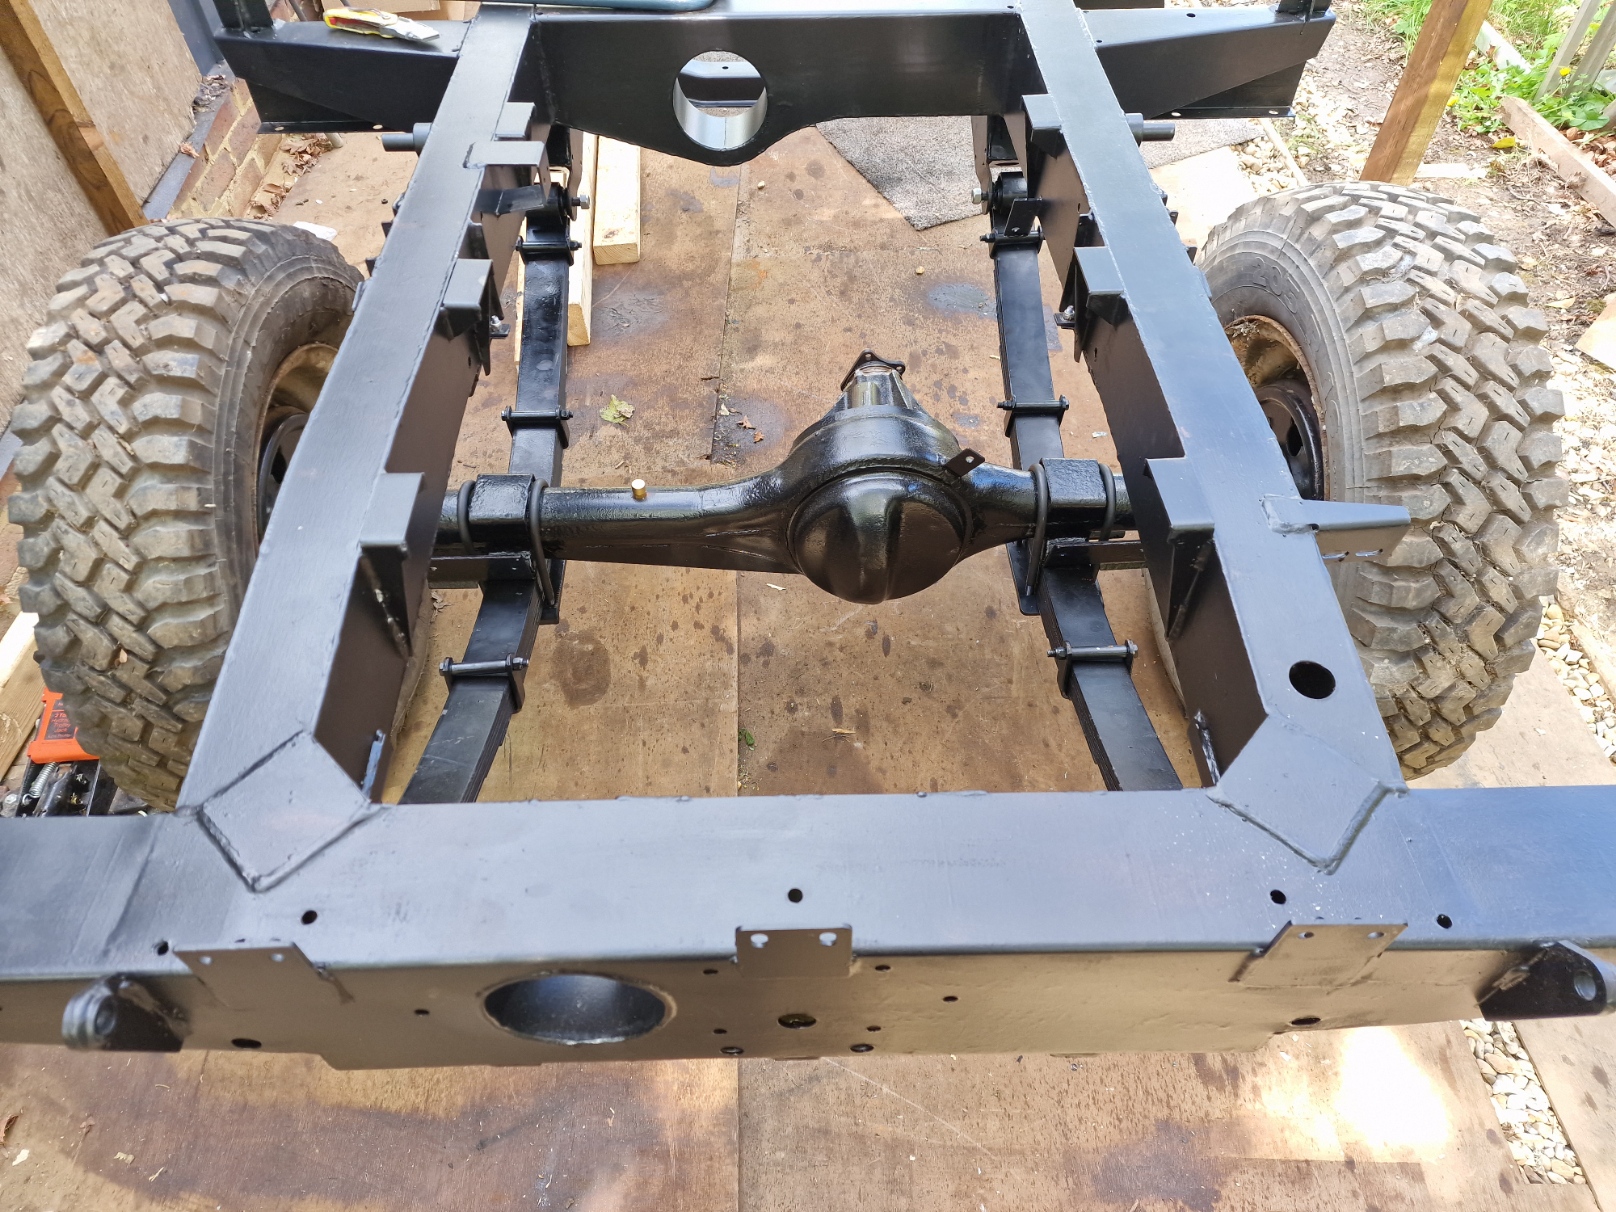
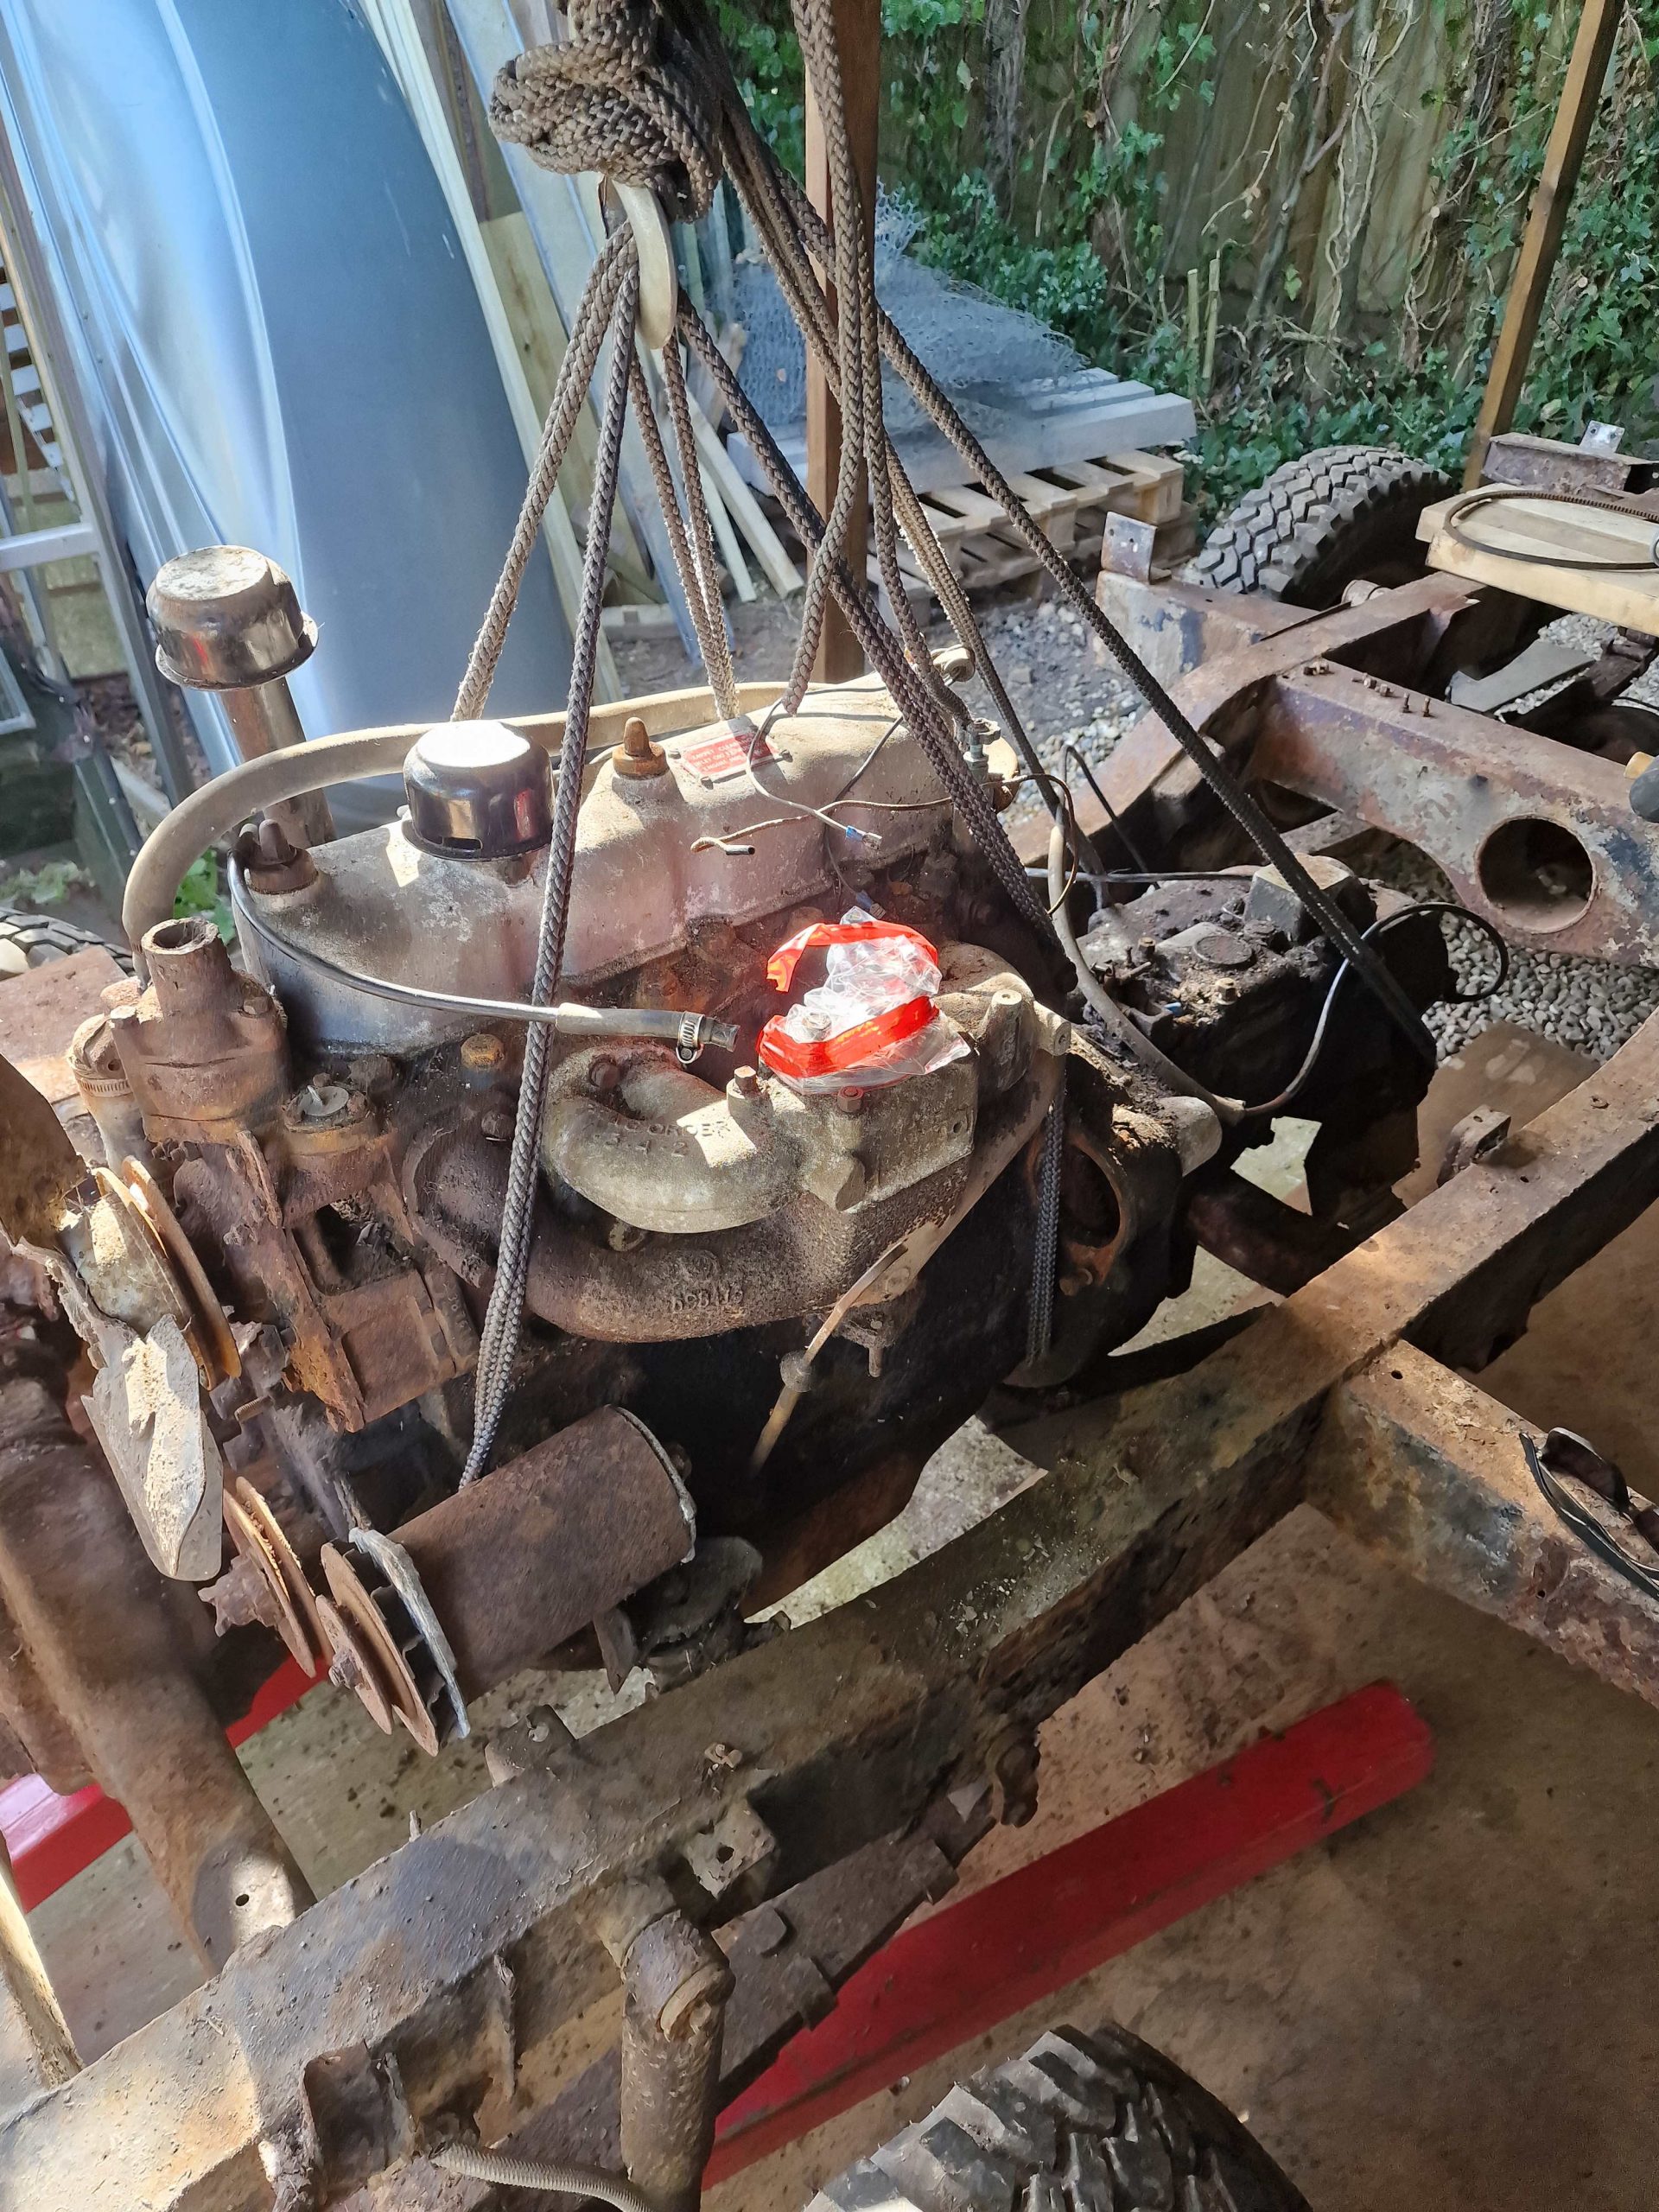
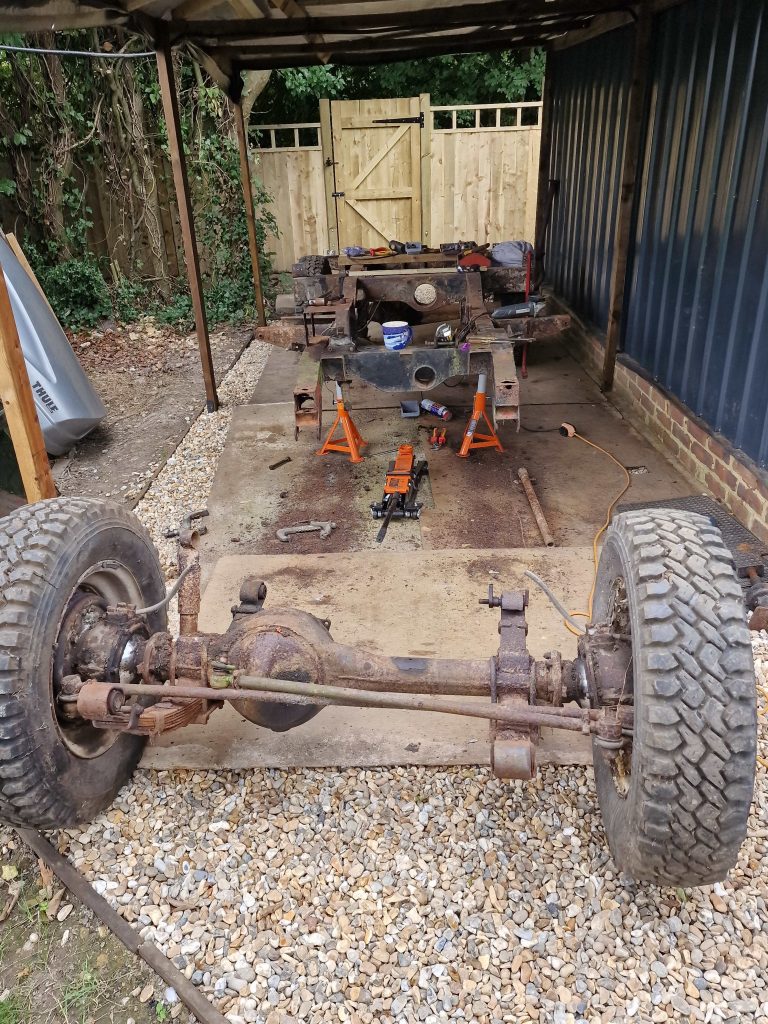
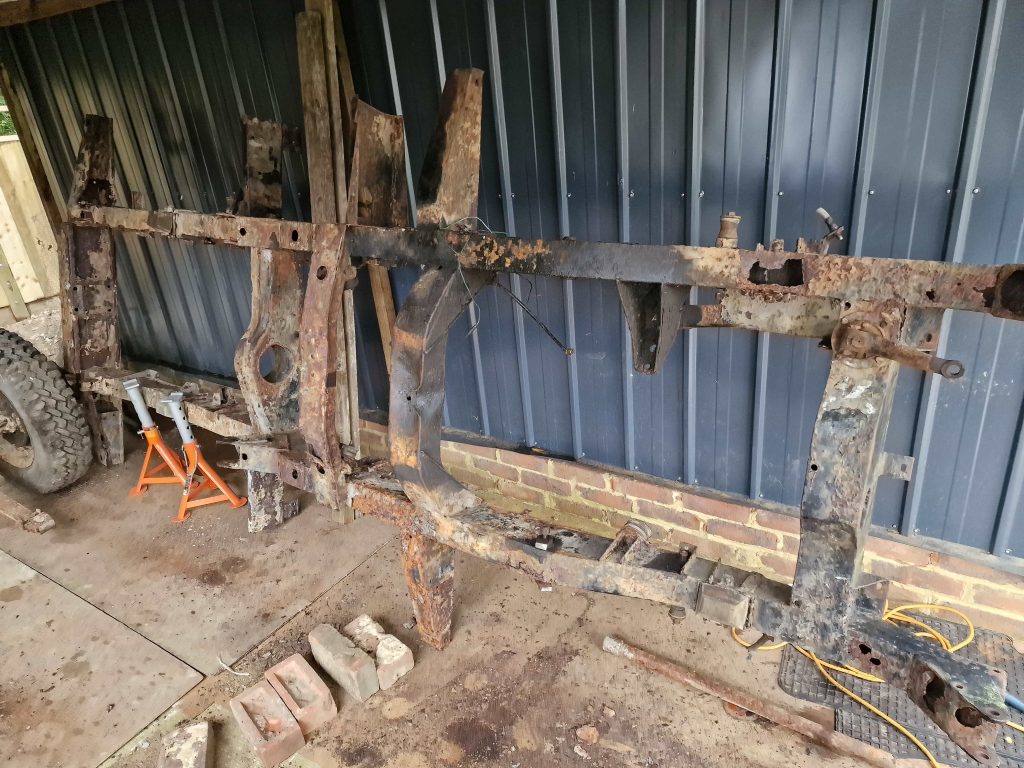
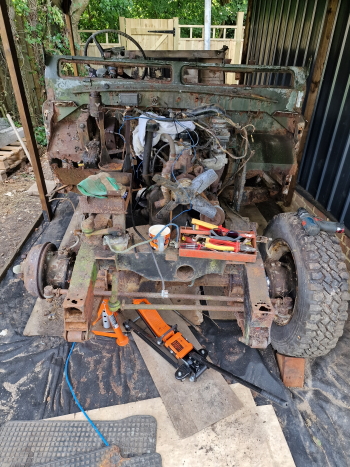
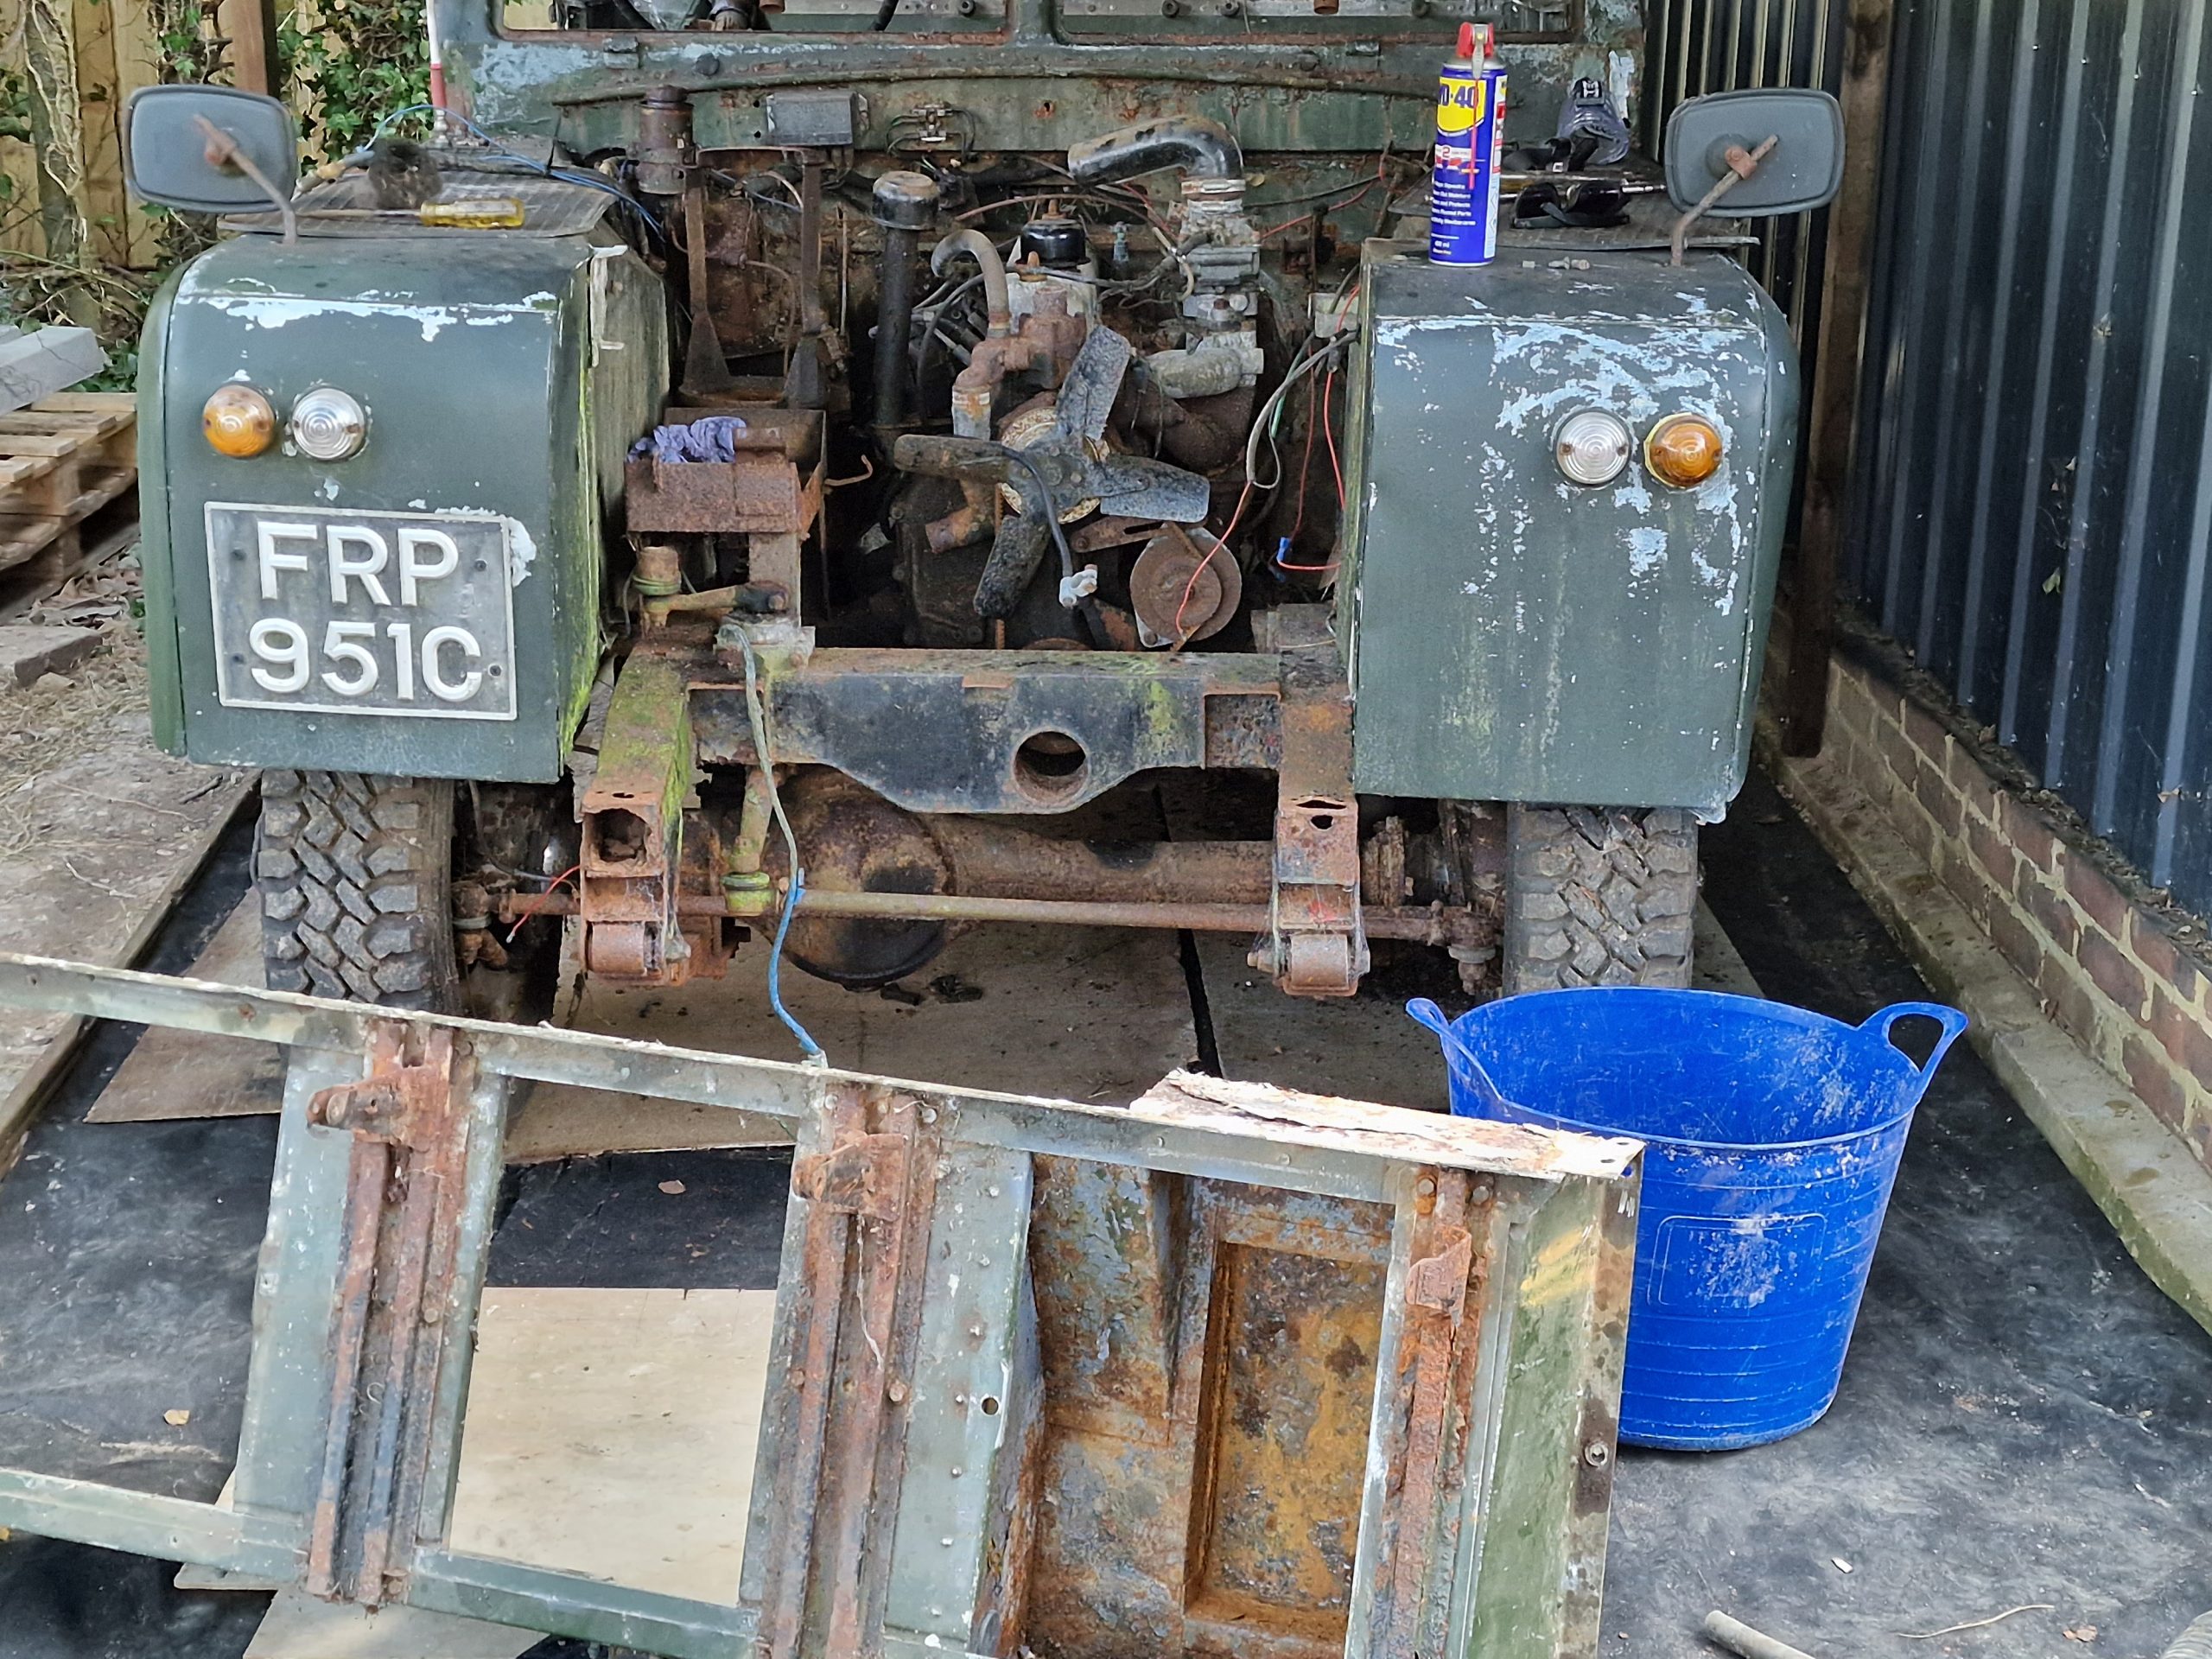
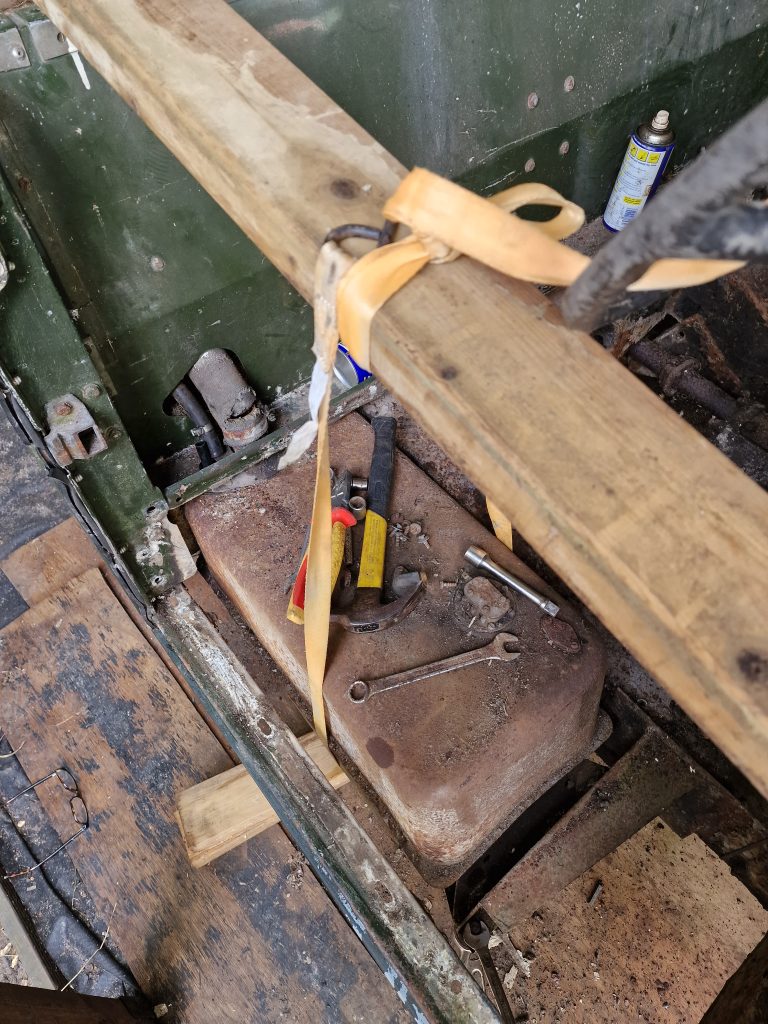
Next up, put the axle in-place. Now, I started to assemble the axle in the workshop, but pretty soon realised this thing is getting really heavy, so called Reuben (Son No# 3) for some help to carry it to the chassis and place it onto the springs. Even that was not easy, but we got it there.
Got the Axle on, springs loosely bolted to the chassis and the axle secured to the springs with new ubolts on and lightly tightened up.
Looking good! Yep, just a shame about what happened next. Now I would love to leave you in suspense, but cant be arsed, so here goes, sorry its a bit long.
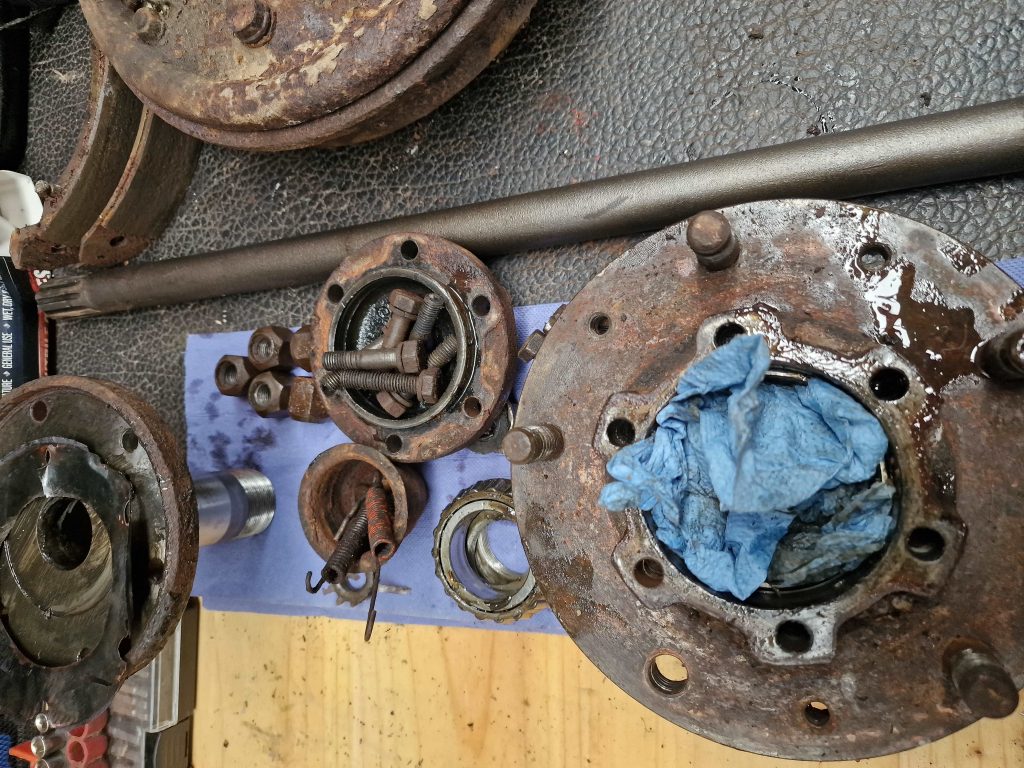
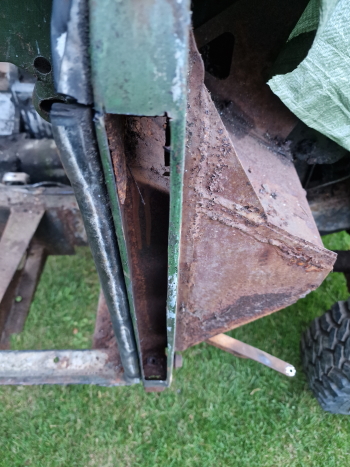
With the Axle on, swivel housings on, the next step is to slide the half shafts trough the swivel housing, into the axle case and locate the splines into the Differential. Simple, well one side was, the other side is where it started to go horribly wrong. I could not get the half shaft to sit centrally in the axle case, no matter what I did, so much so that I ended up breaking a rubber seal that is in the end of the axle.
I tried everything, took everything of the axle, swivels, differential to see what was wrong, nothing! all looks perfect and everything fits together perfectly when off the axle case. Cut a long story short, I asked the Series 2 club forum, which while helpful started to make me think that my axle case might actually be bent.
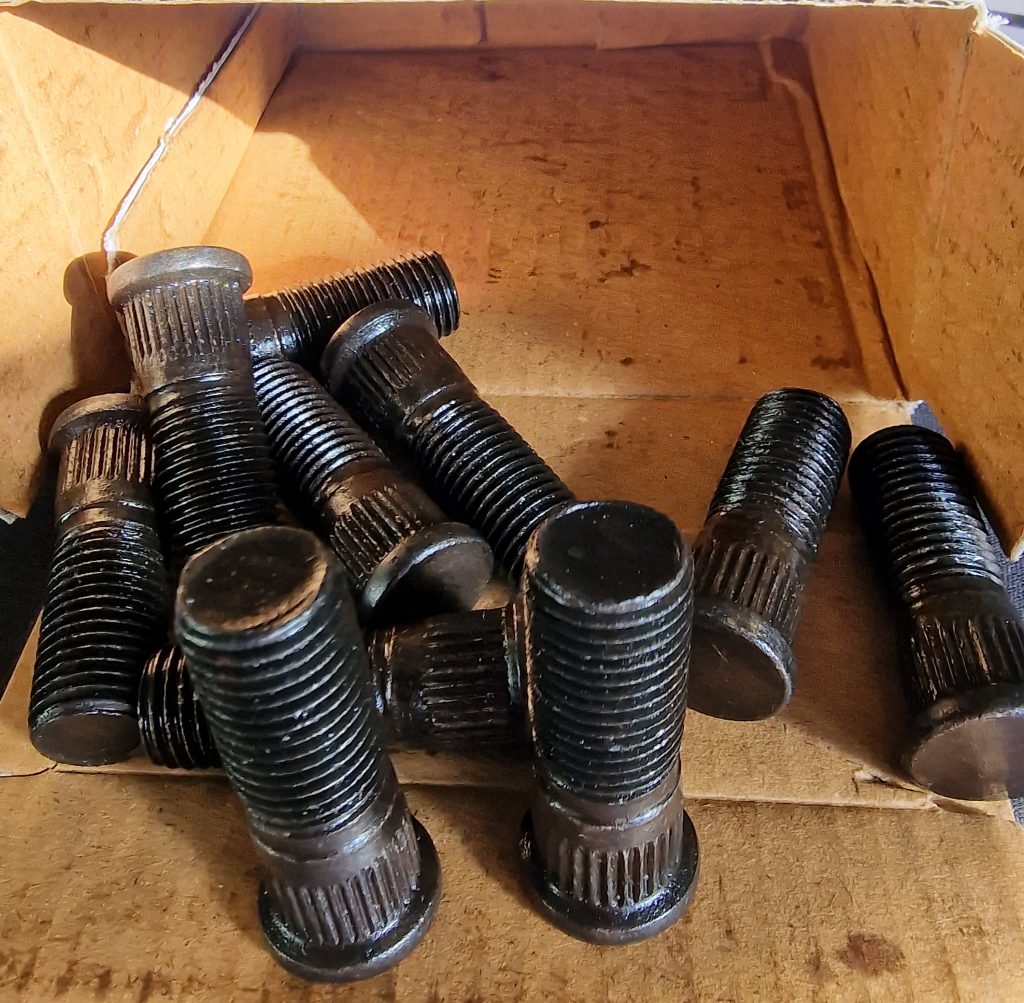
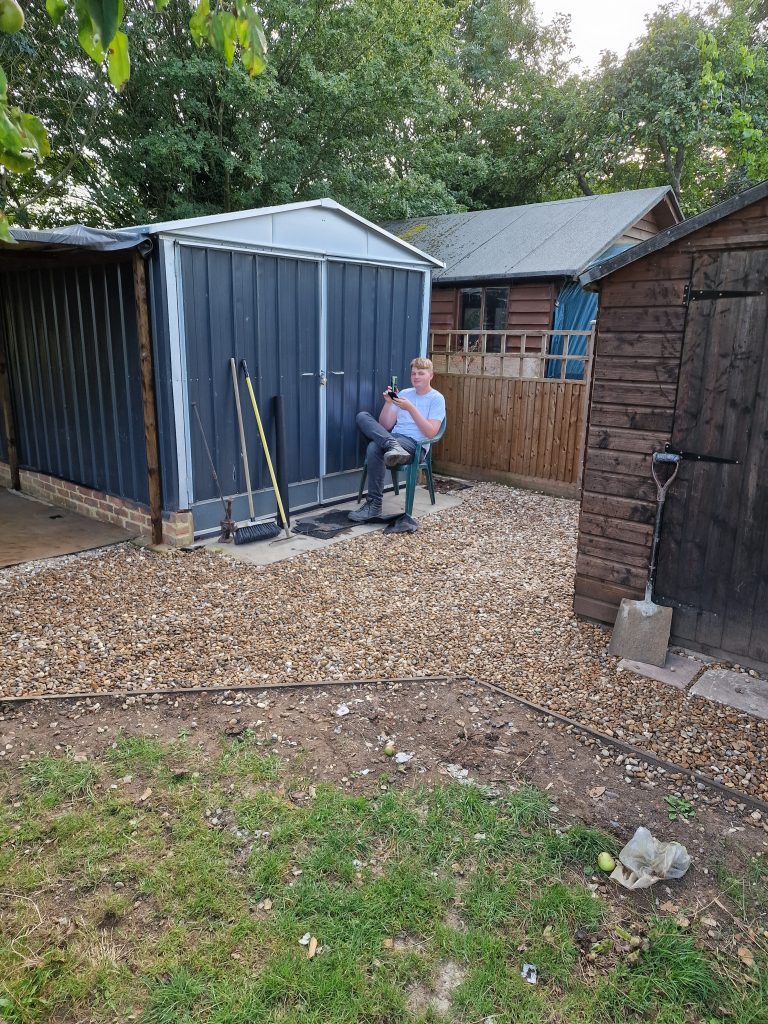
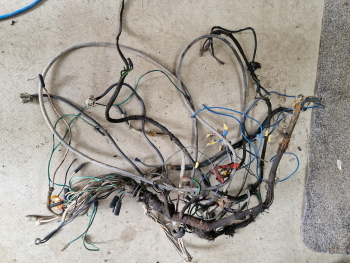
Now, my brother Martin, works for a wire supply company so he popped over to have a look at the wiring loom to see if it is worth making a new one and while here I tried the half shaft again, and guess what!! it went straight in and was perfect!! Bloody hell if only everything else was on that needed to be so I didn’t need to take it out again. Also, My eldest son, who knows Josh at the Spur pub, who did my wheel hub studs knows someone who is a Land Rover geek, who my Son happened to meet one evening. Fergi, the LR guru said to Daniel, if you’re Dad every needs help get him to call me….. So no time like the present I did and Fergi kindly offered to pop round to take a look.
By the time he arrived, I had taken it all apart, fitted all the bits that needed to be there and guess what, it wont go back in properly again. FFS!! Even Fergi, Oh, who turned up in an amazing Land Rover defender (wont elaborate any more on that) had a go, and was as confused as me. Only good thing, I was not being a total idiot and not done something stupid. While somewhat baffled, Fergi took the “phone a friend” option who I assume made a suggestion which finally got it back in again, trouble was, we had taken all the other bits off again 🙂
Anyway, later that day I replicated what Fergi did and got it fitted with some success.
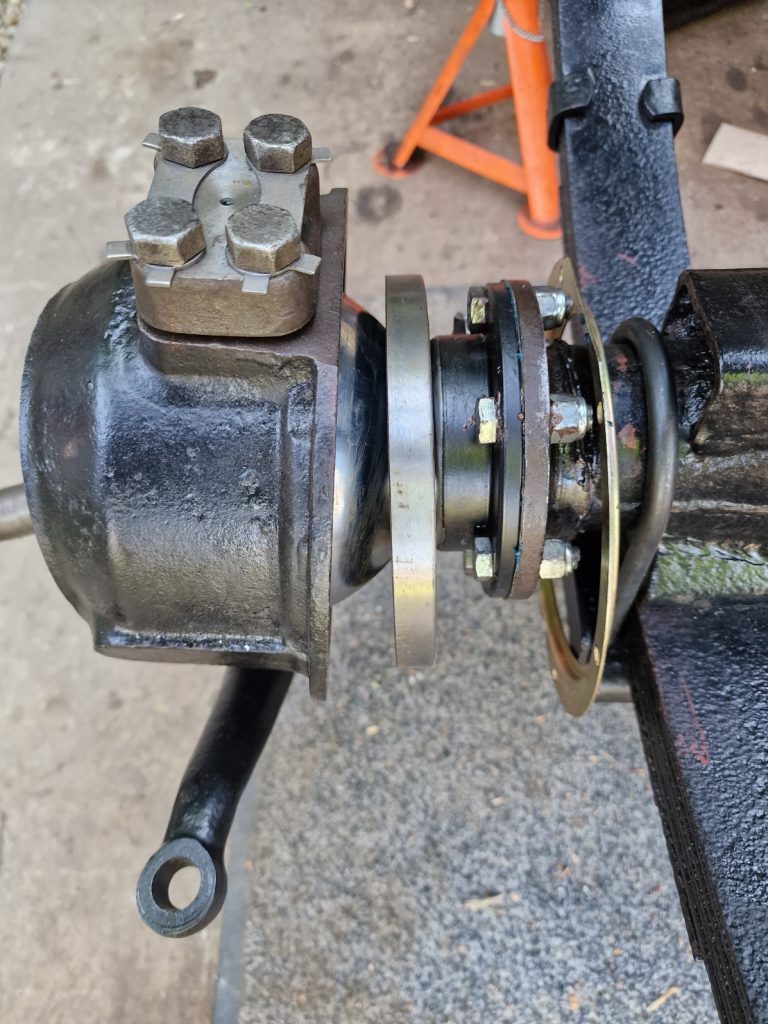
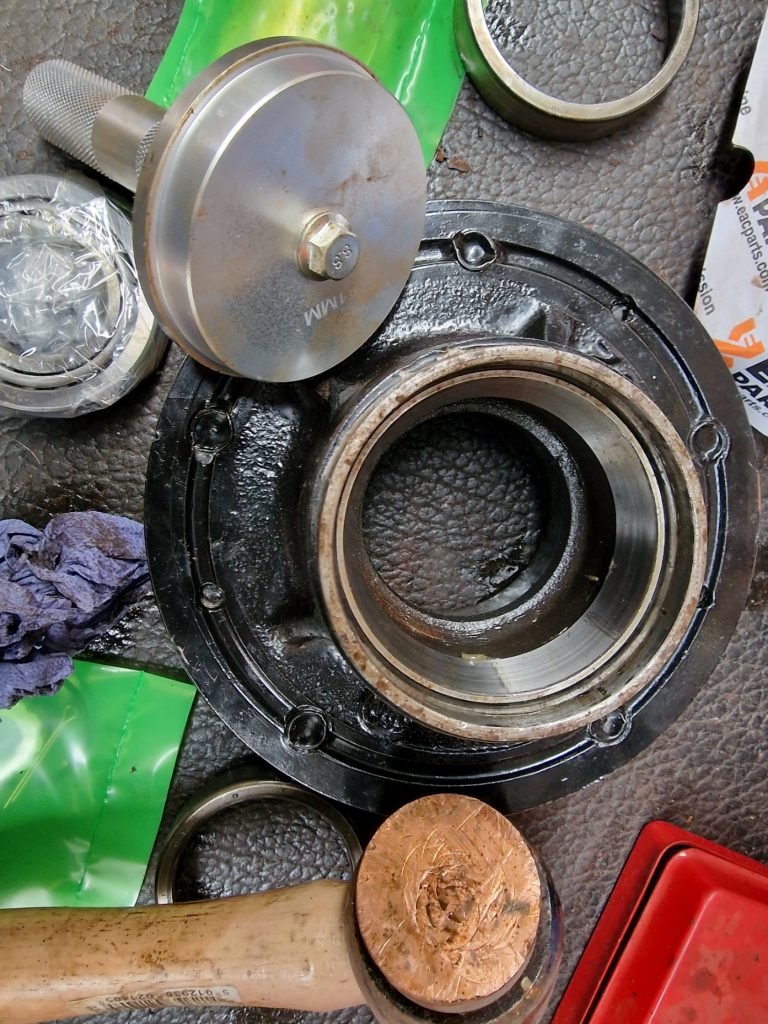
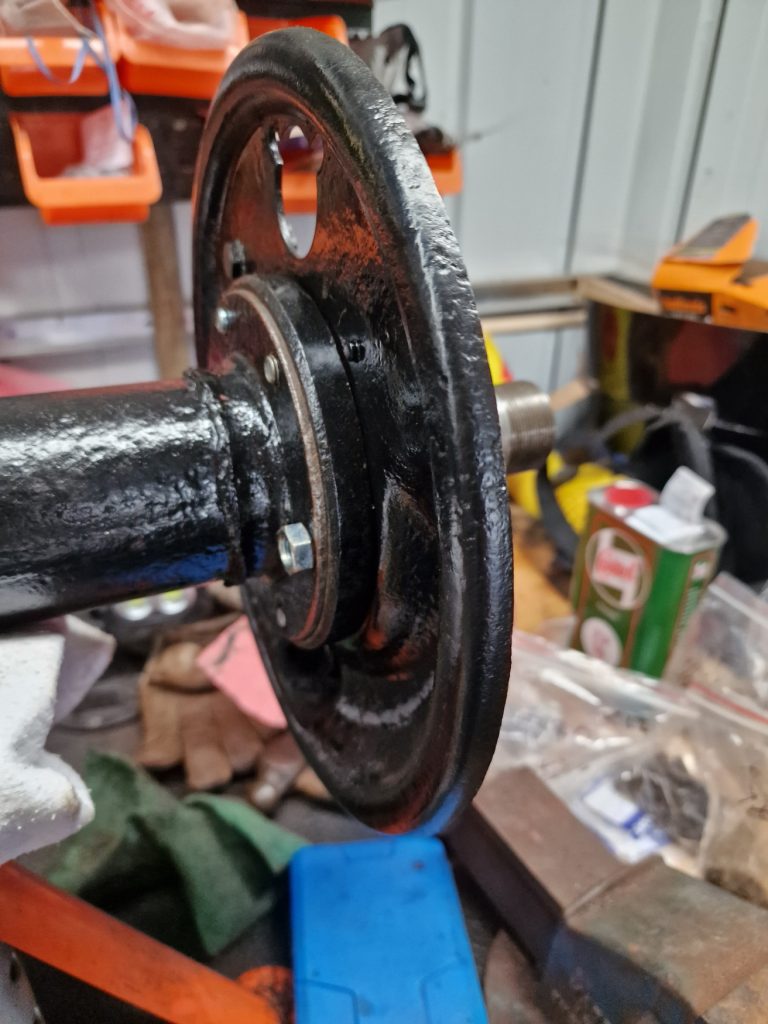
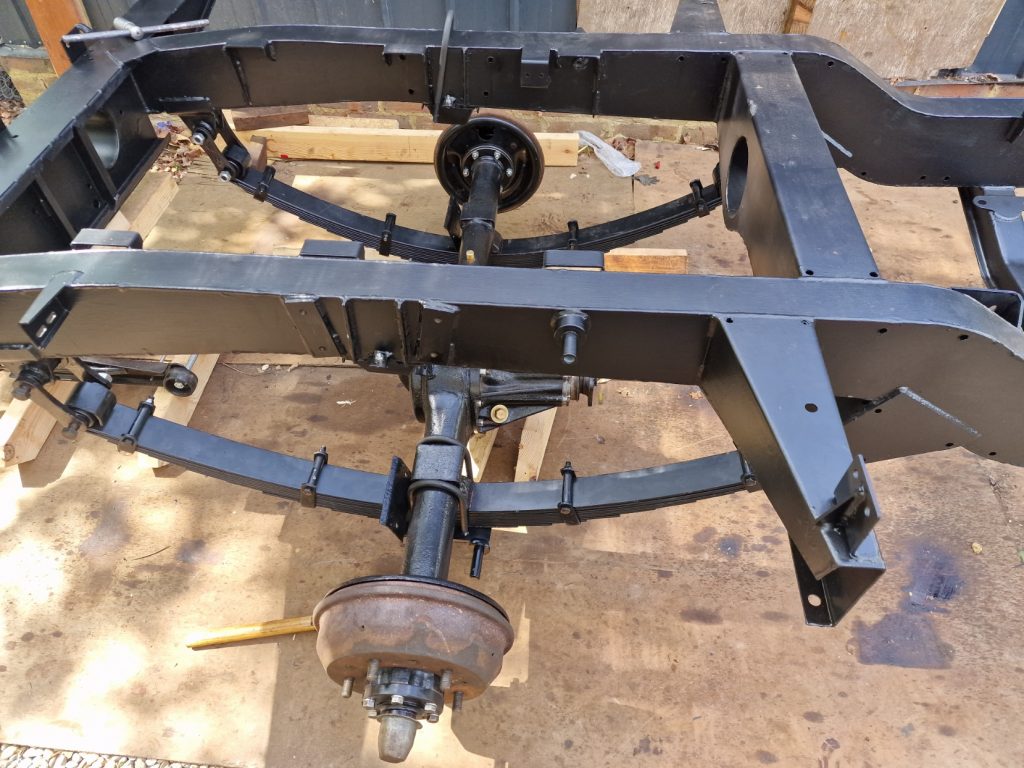
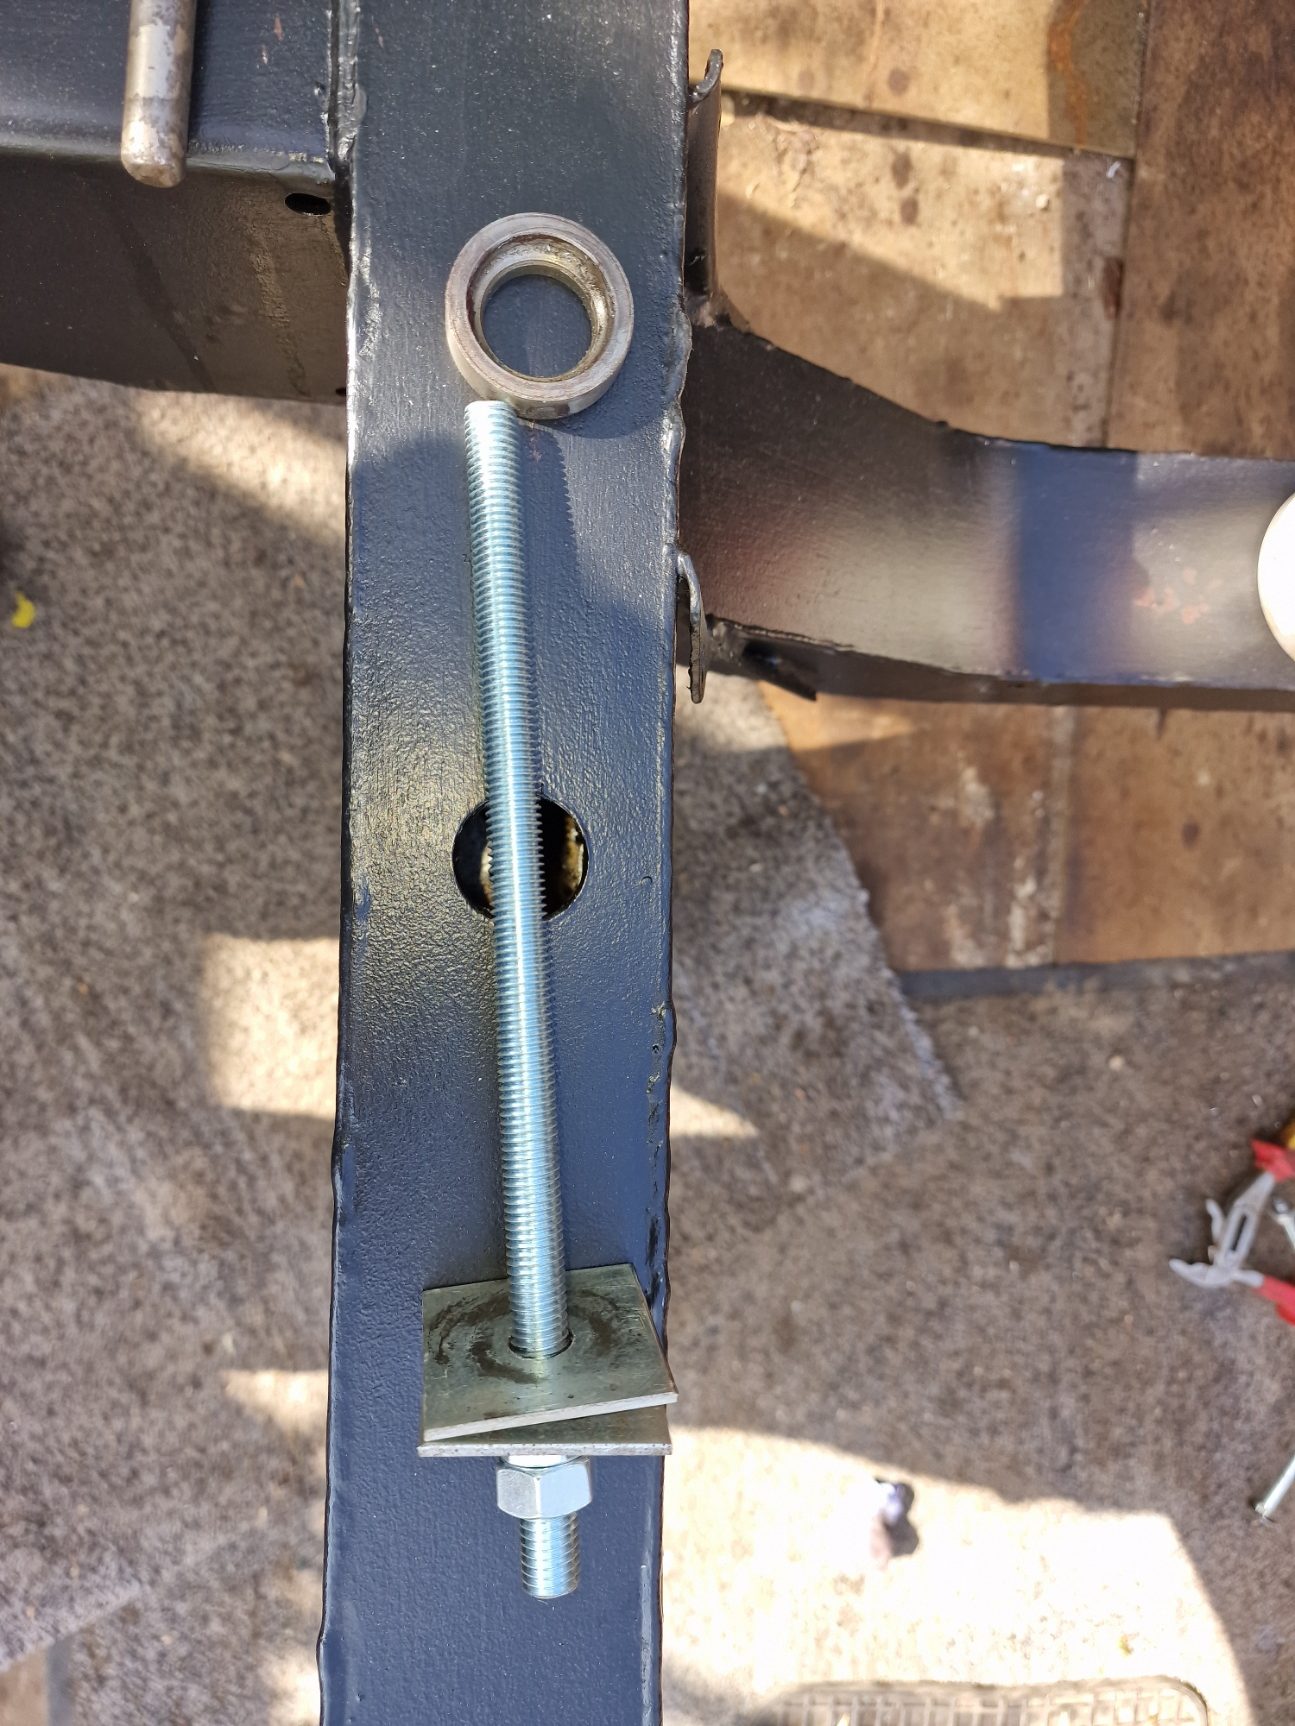
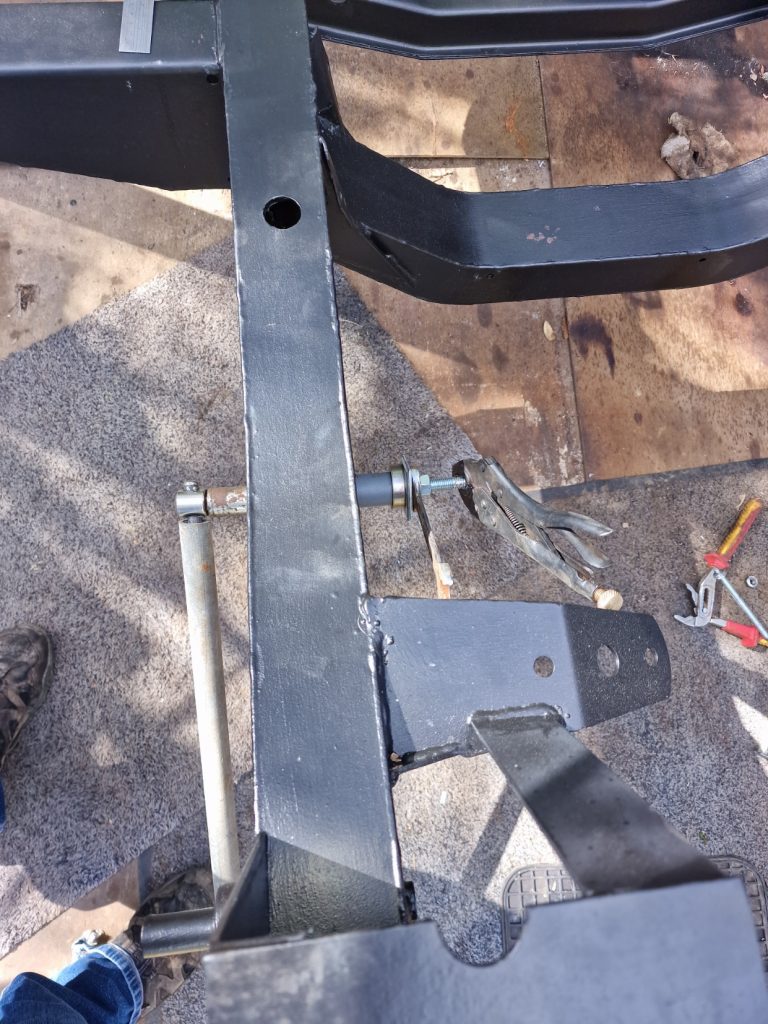
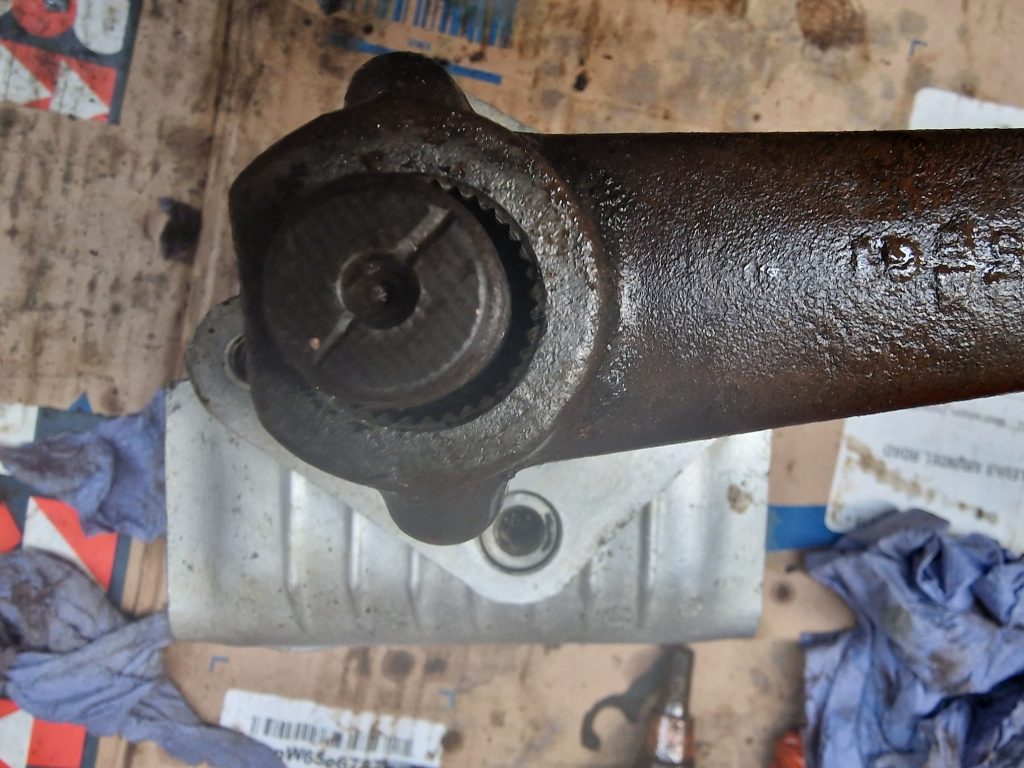
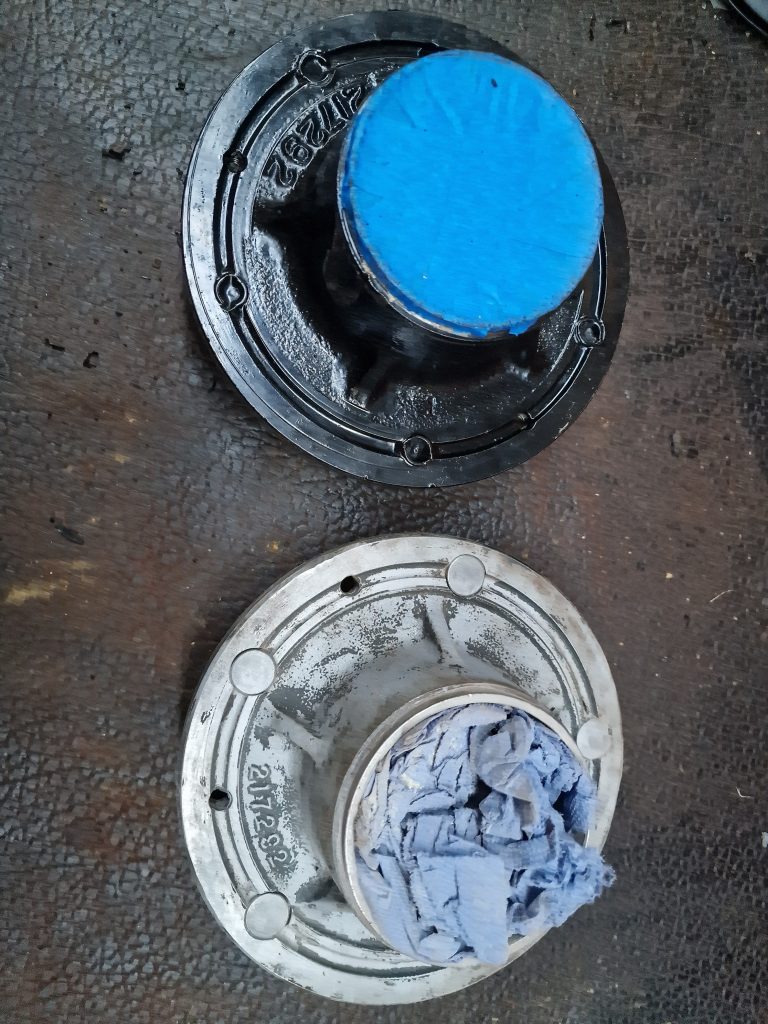
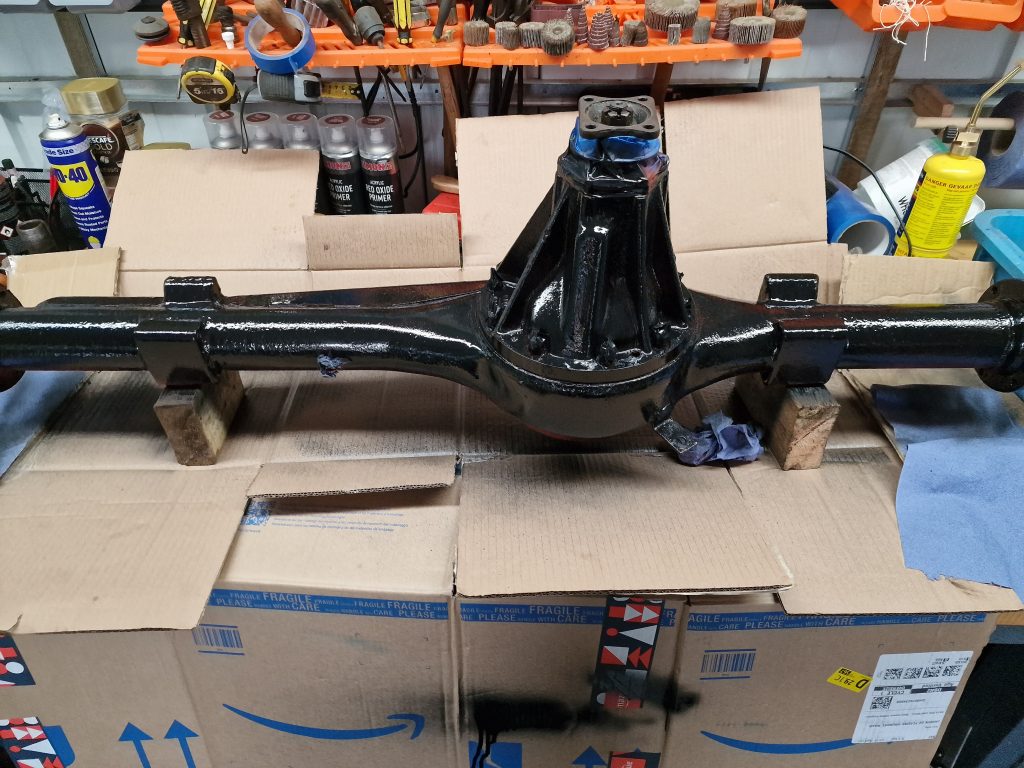
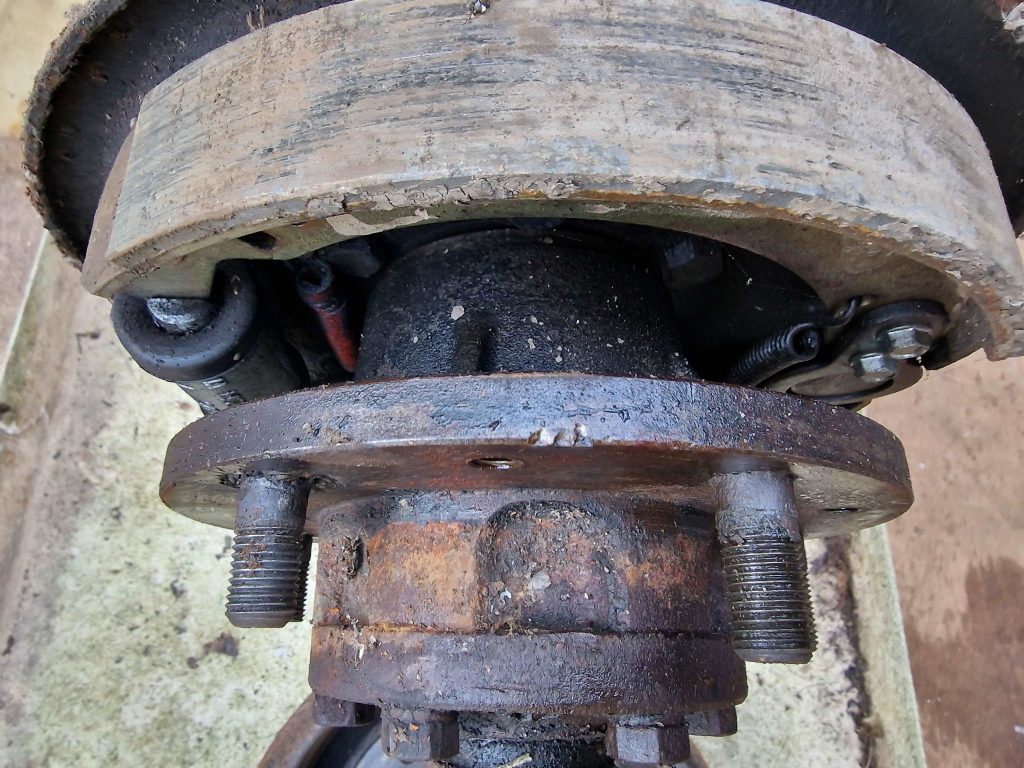
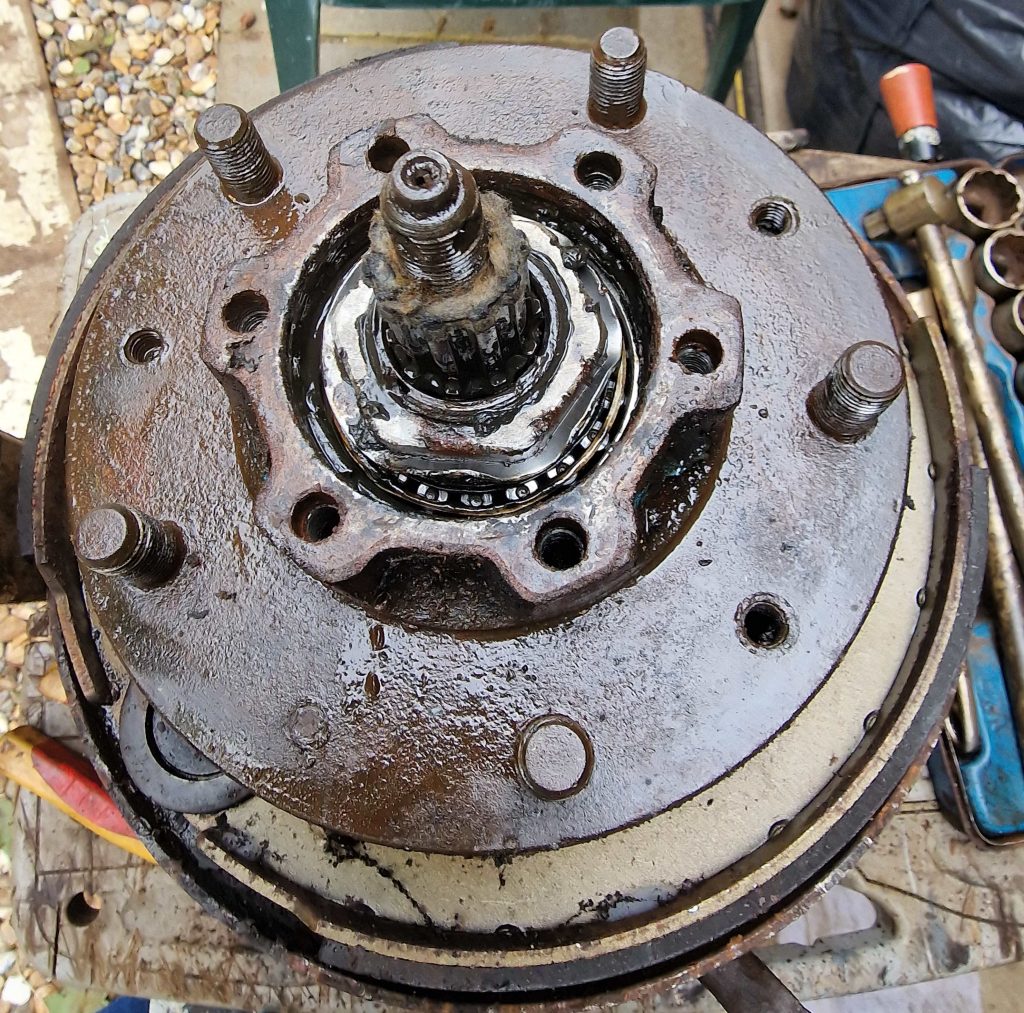
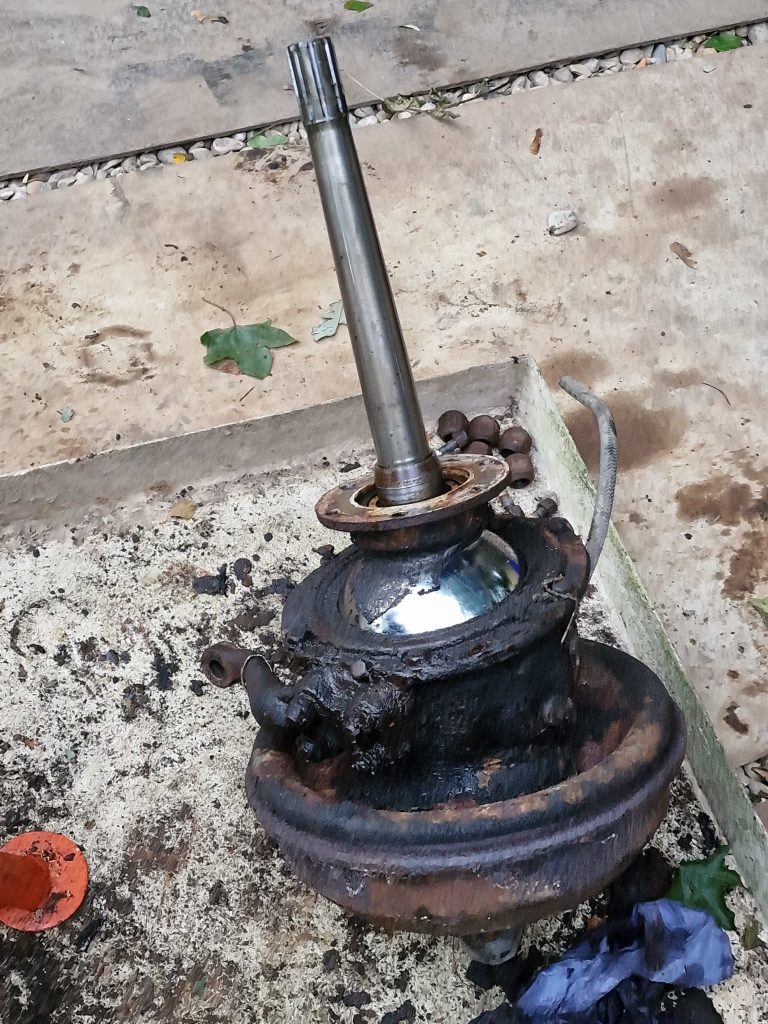
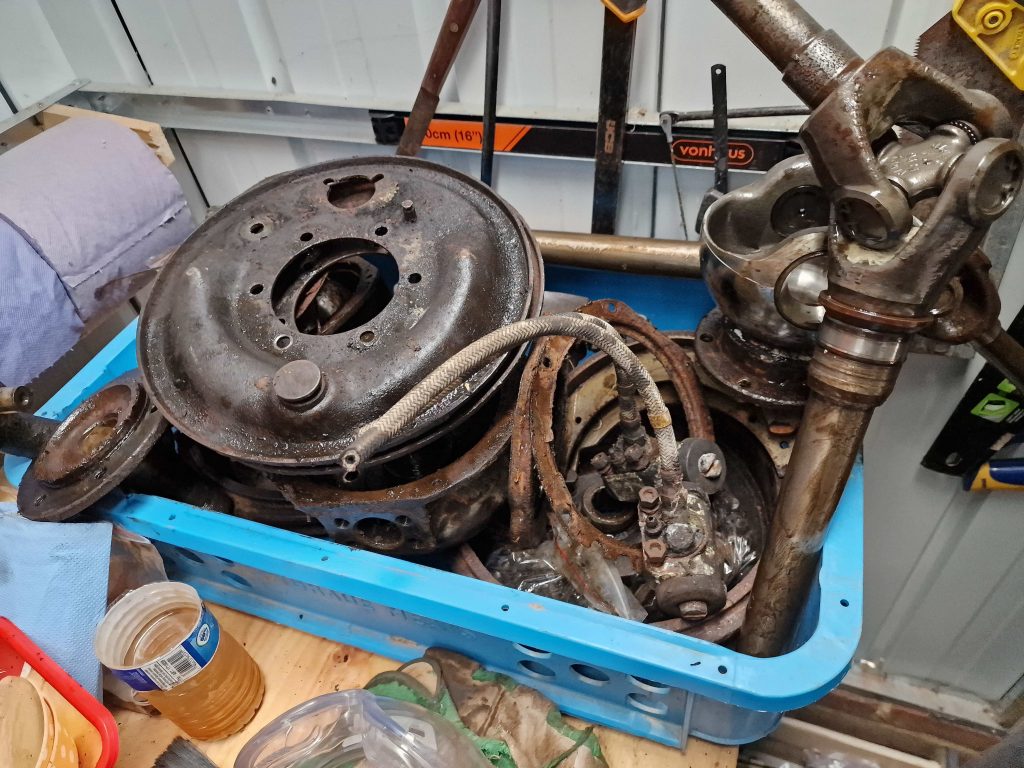
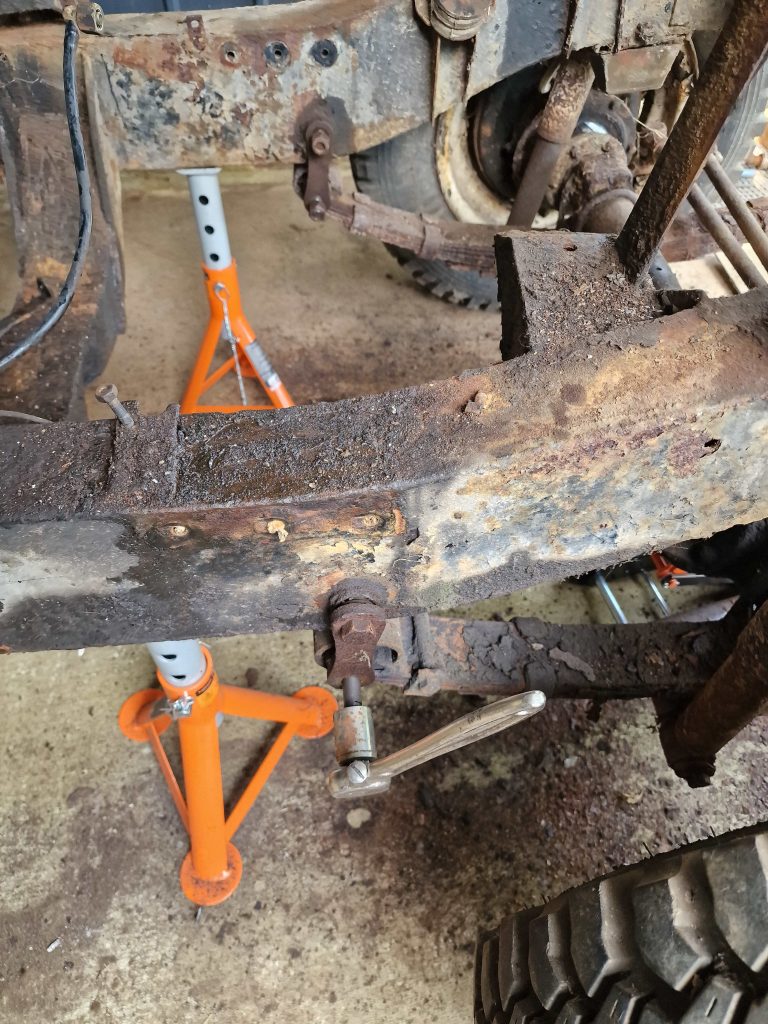
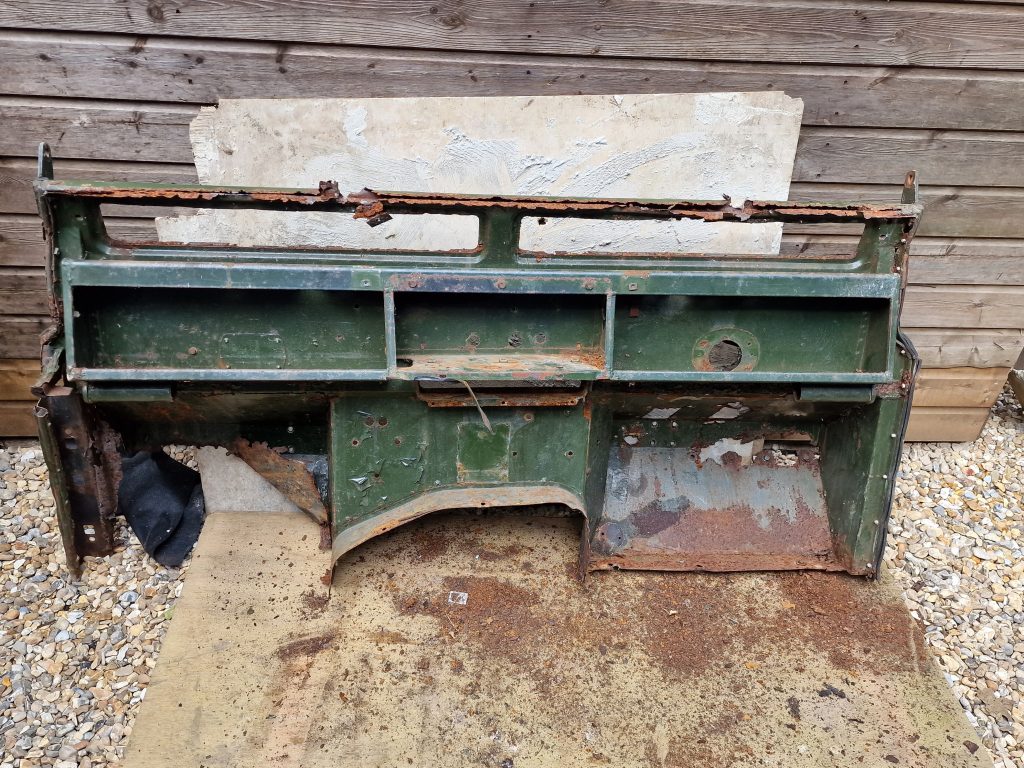
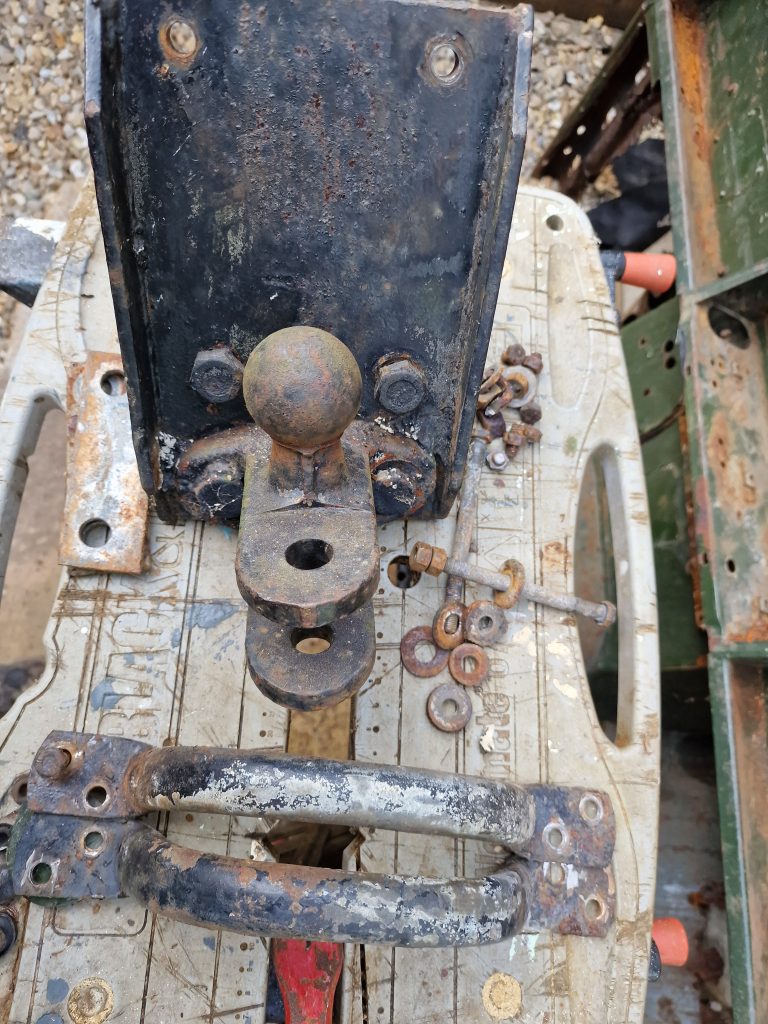
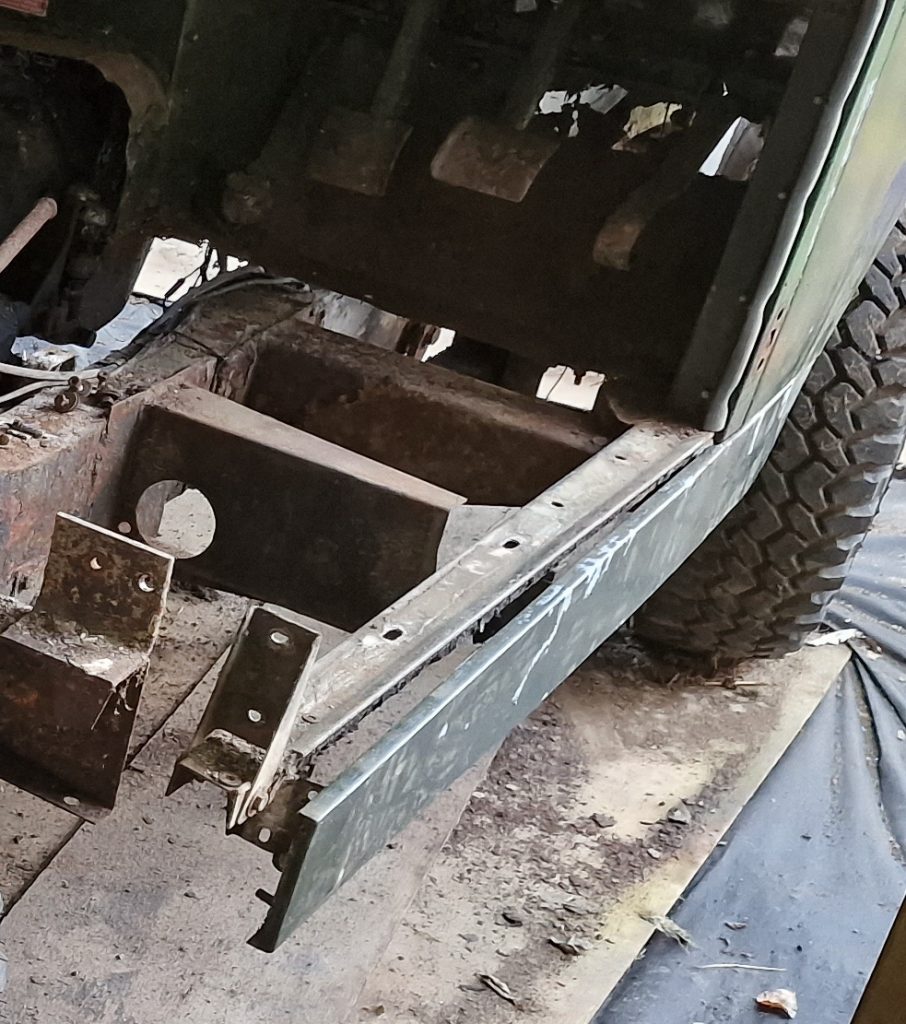
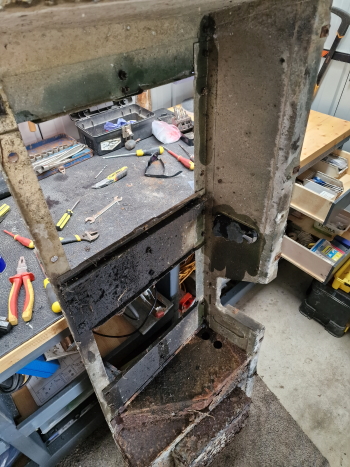
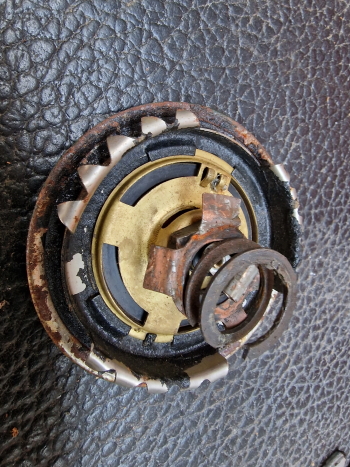
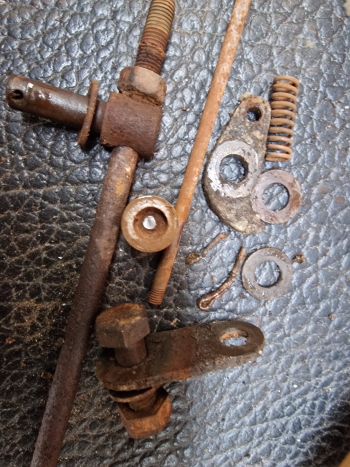
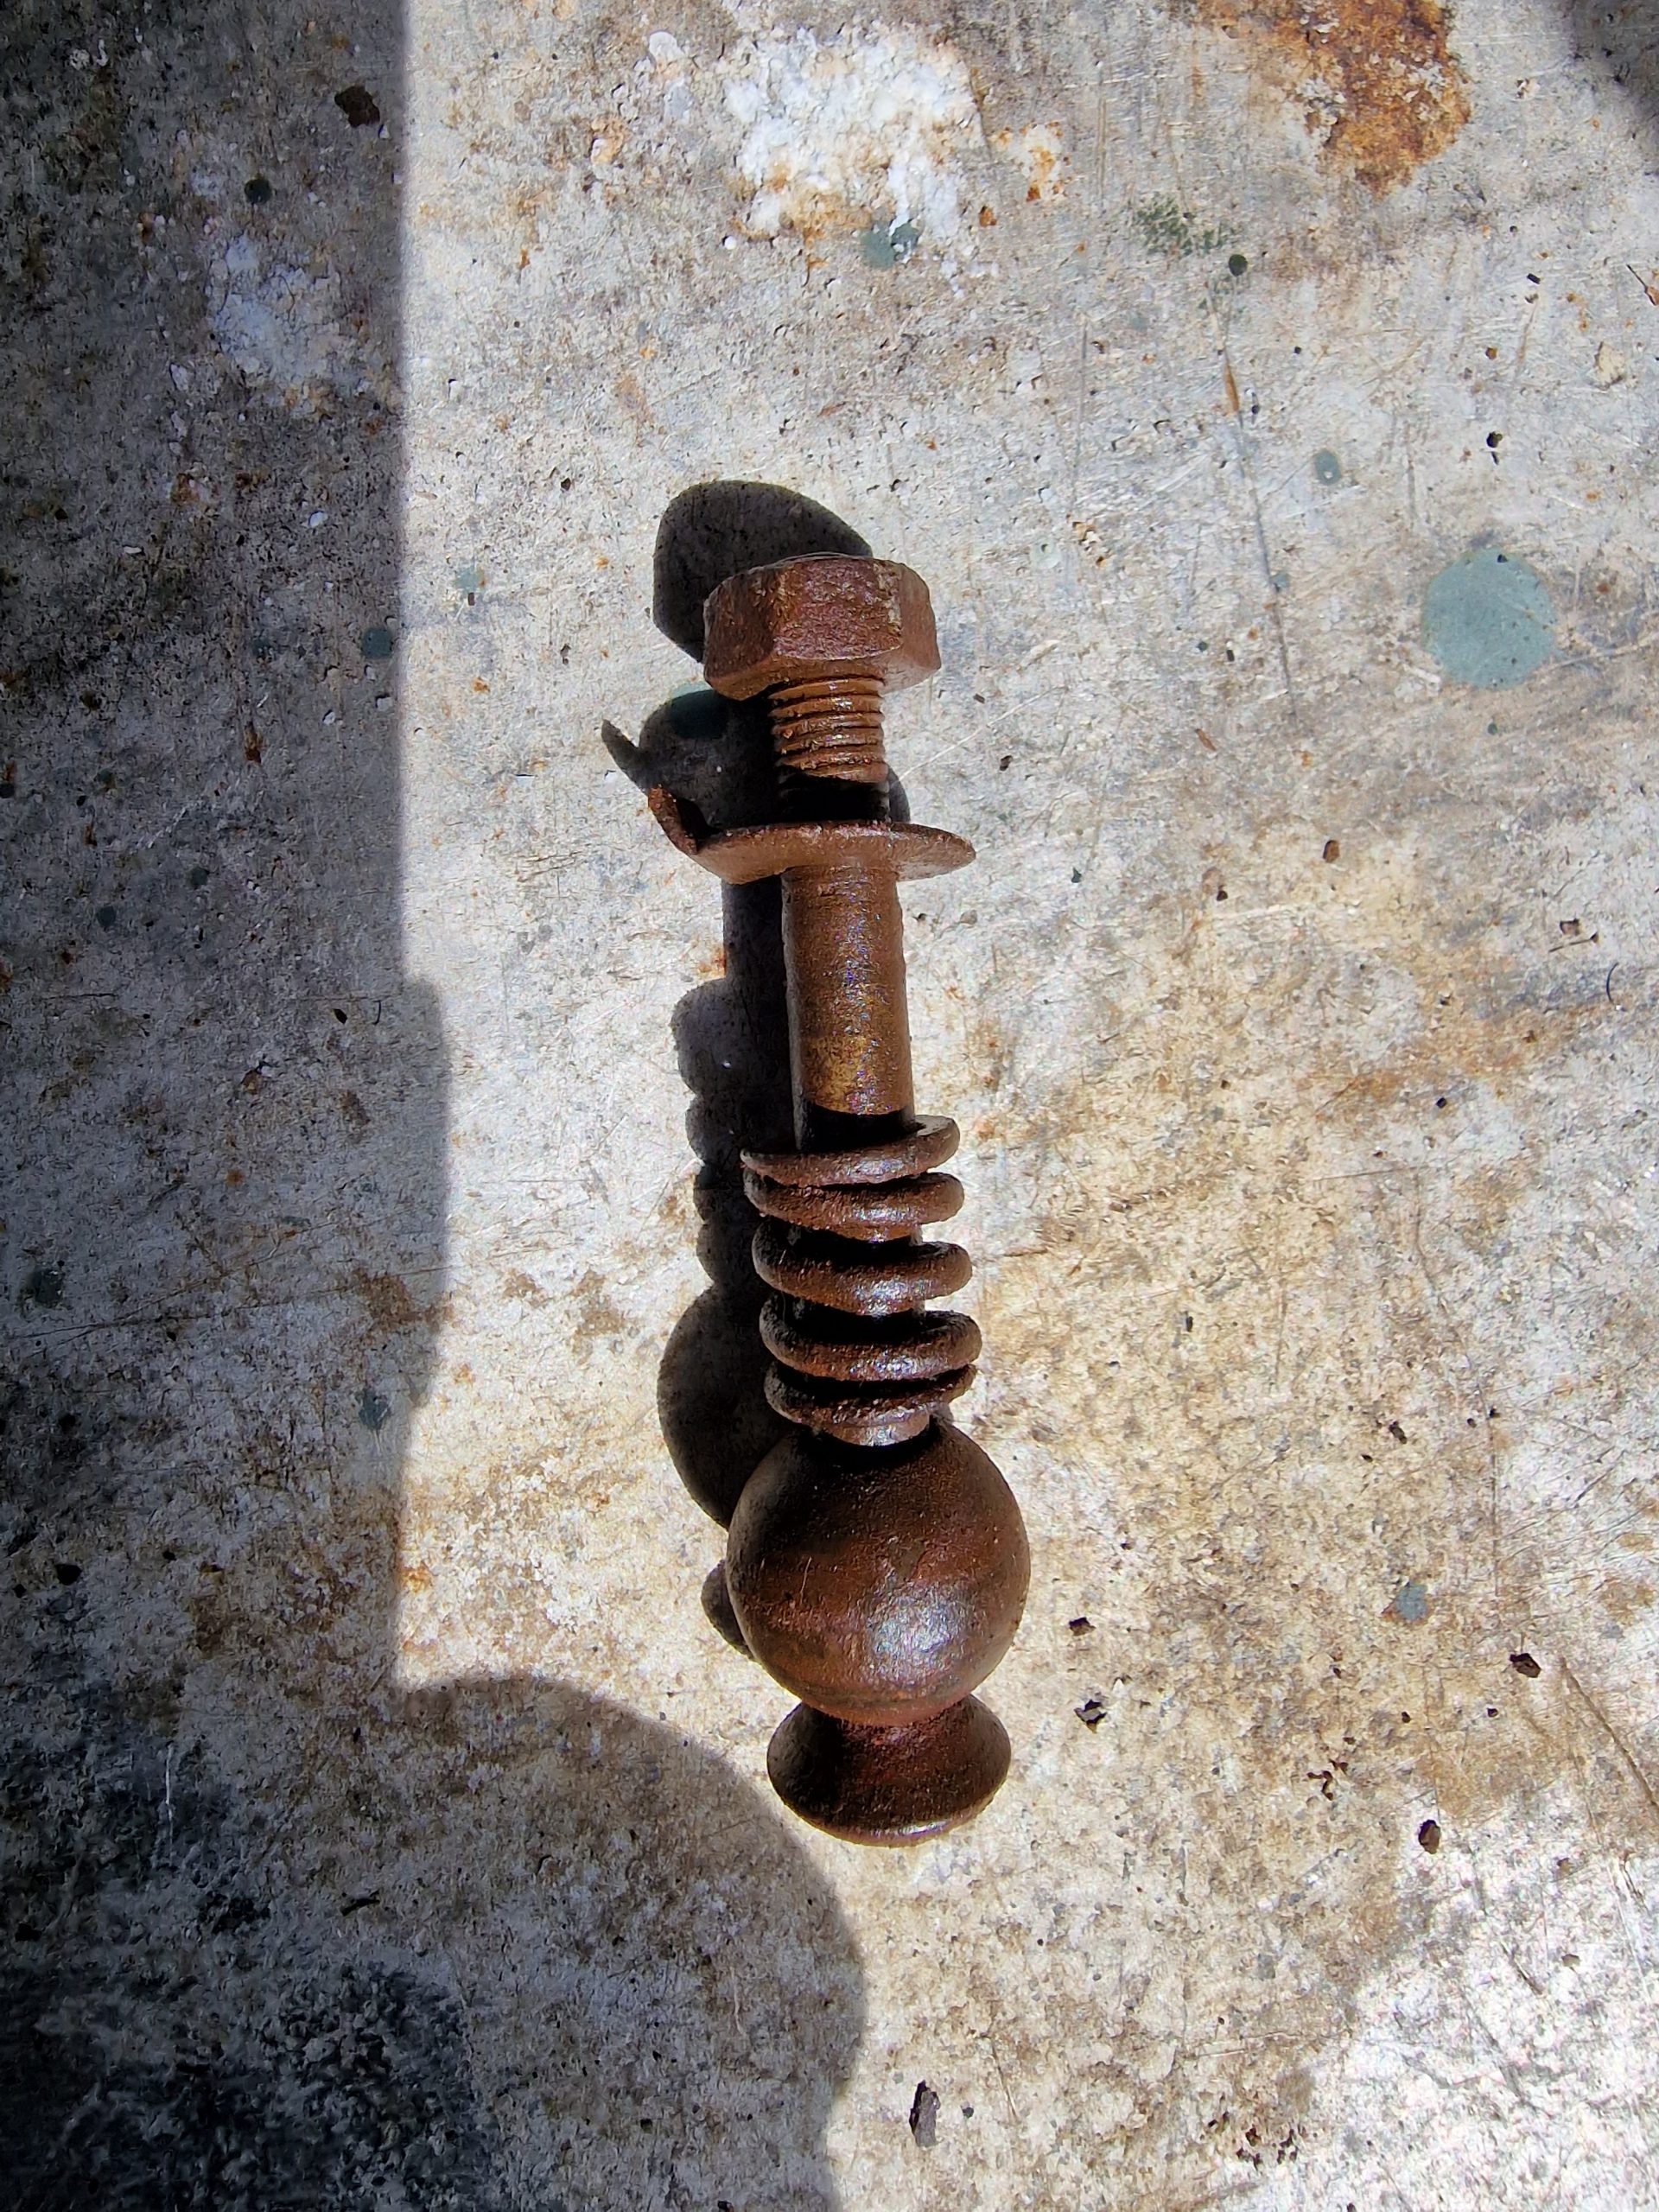
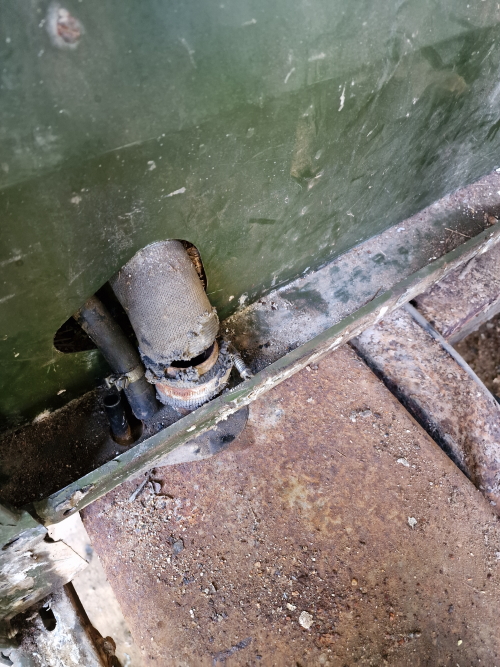
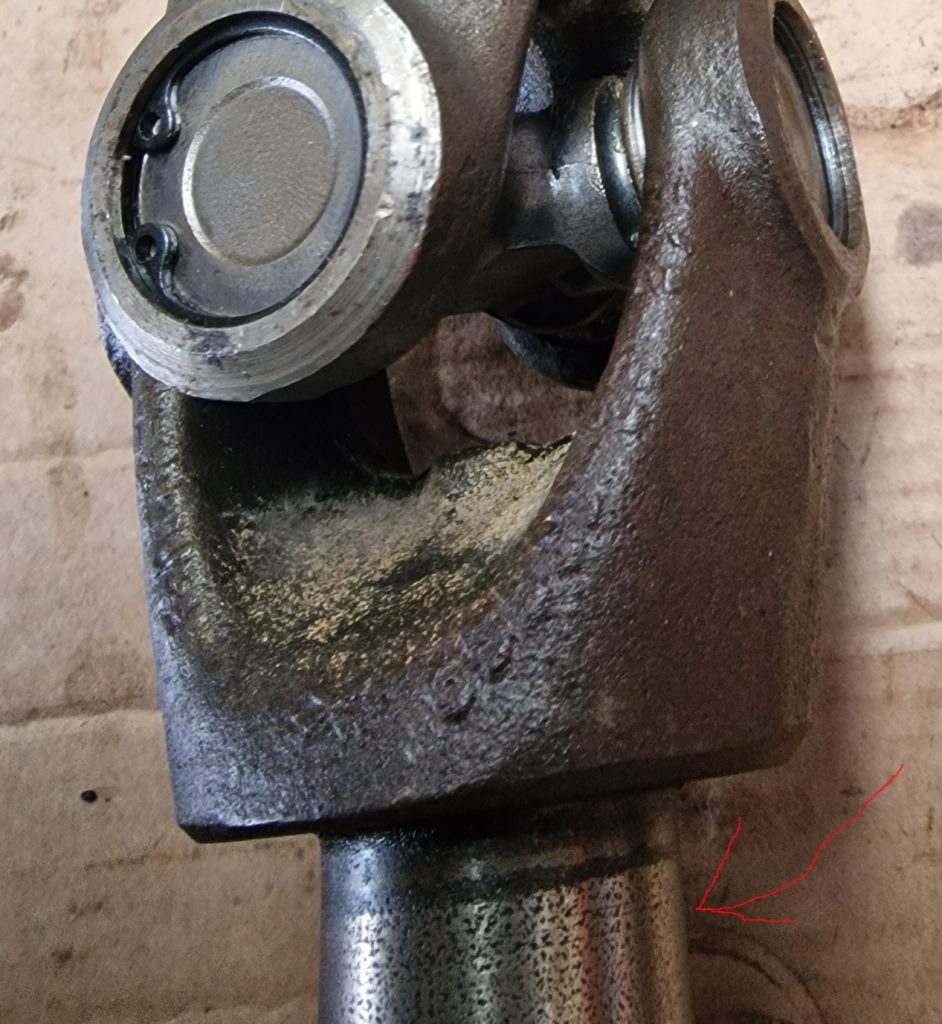
This picture is not the troublesome side, didn’t bother taking a picture of that one, was too pissed off with it.
It looks the same as this, just the other way around.
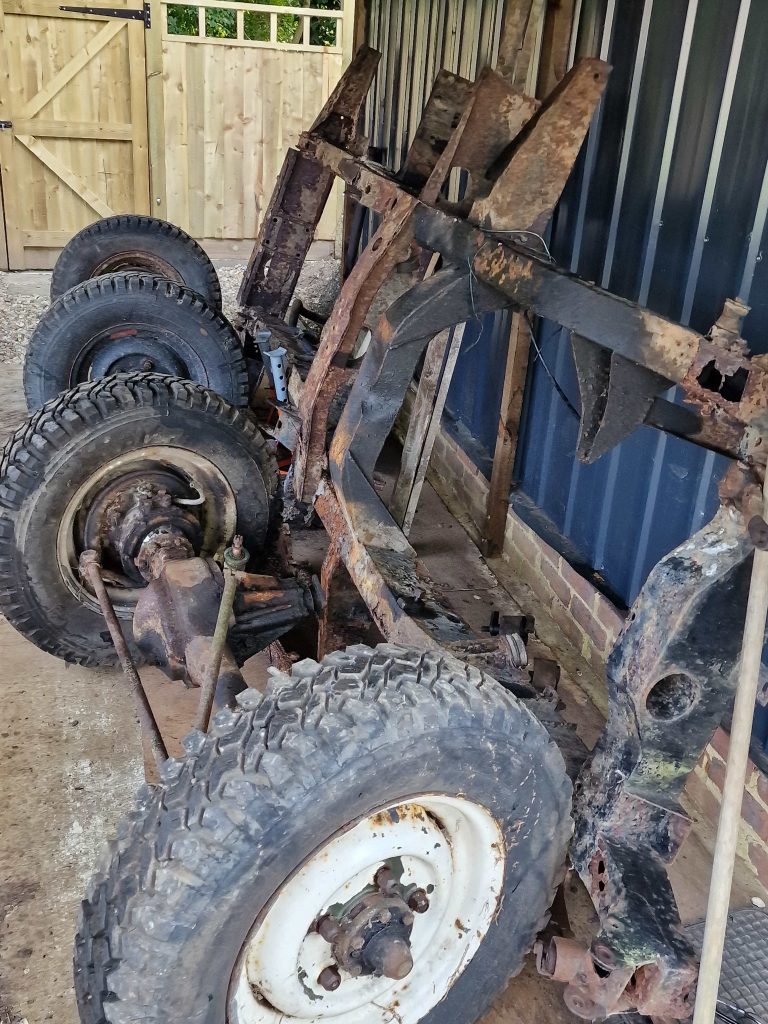
At this stage, was all good, half shaft turned nicely, it all looked good and I was feeling confident it was sorted.
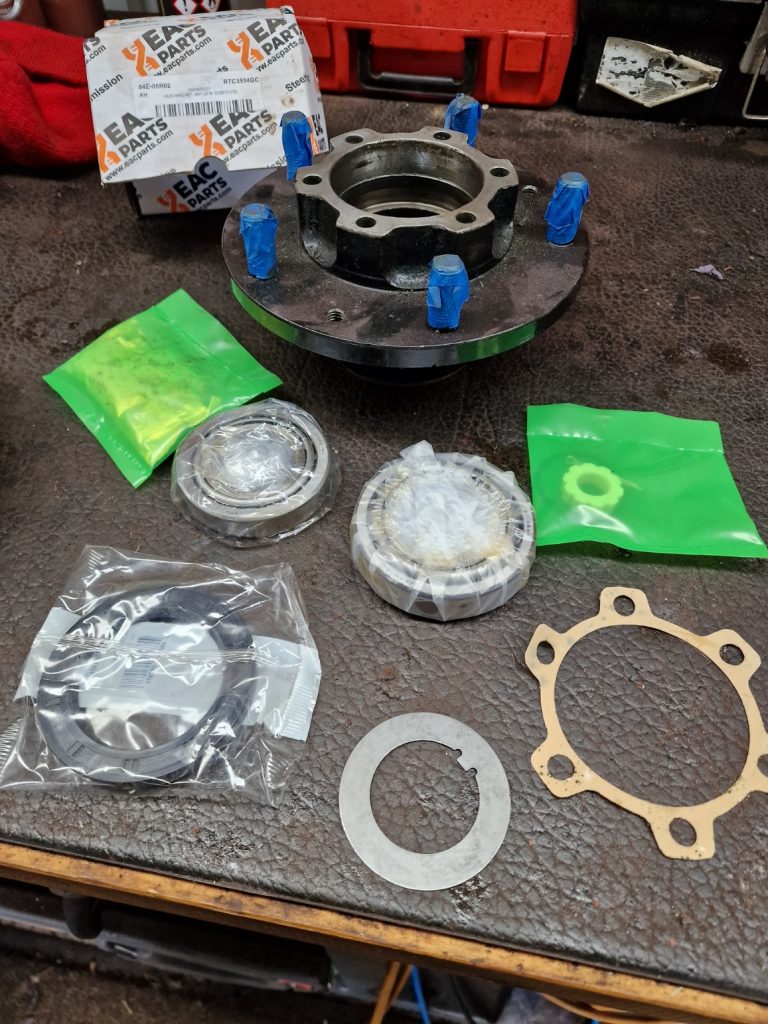
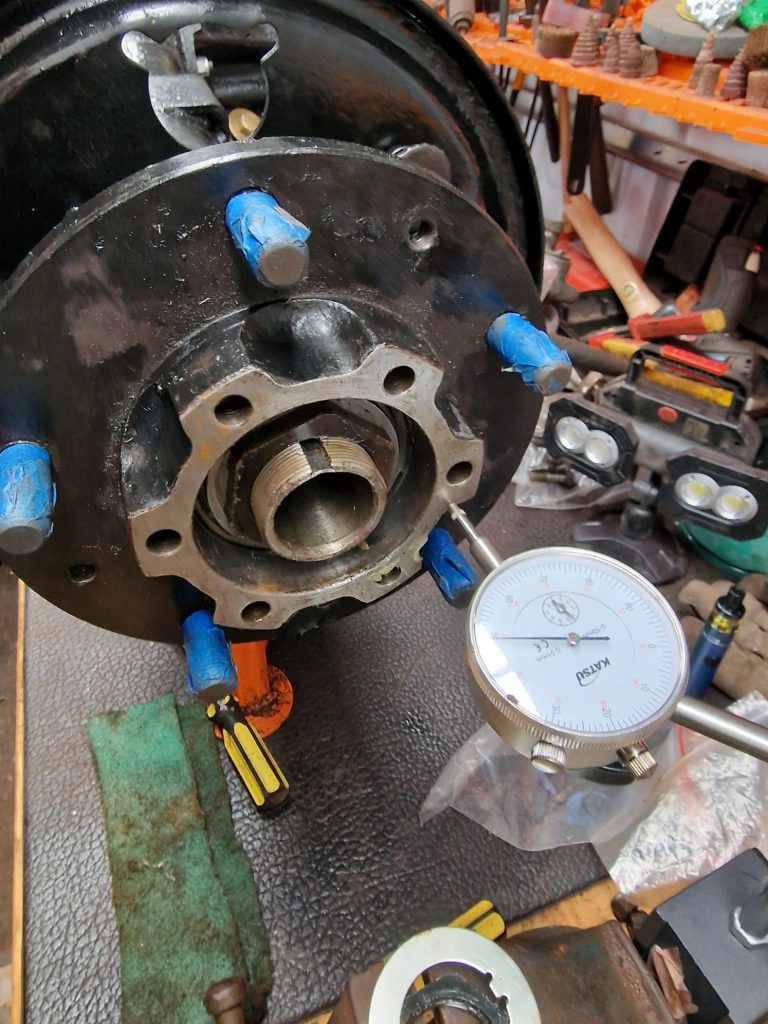
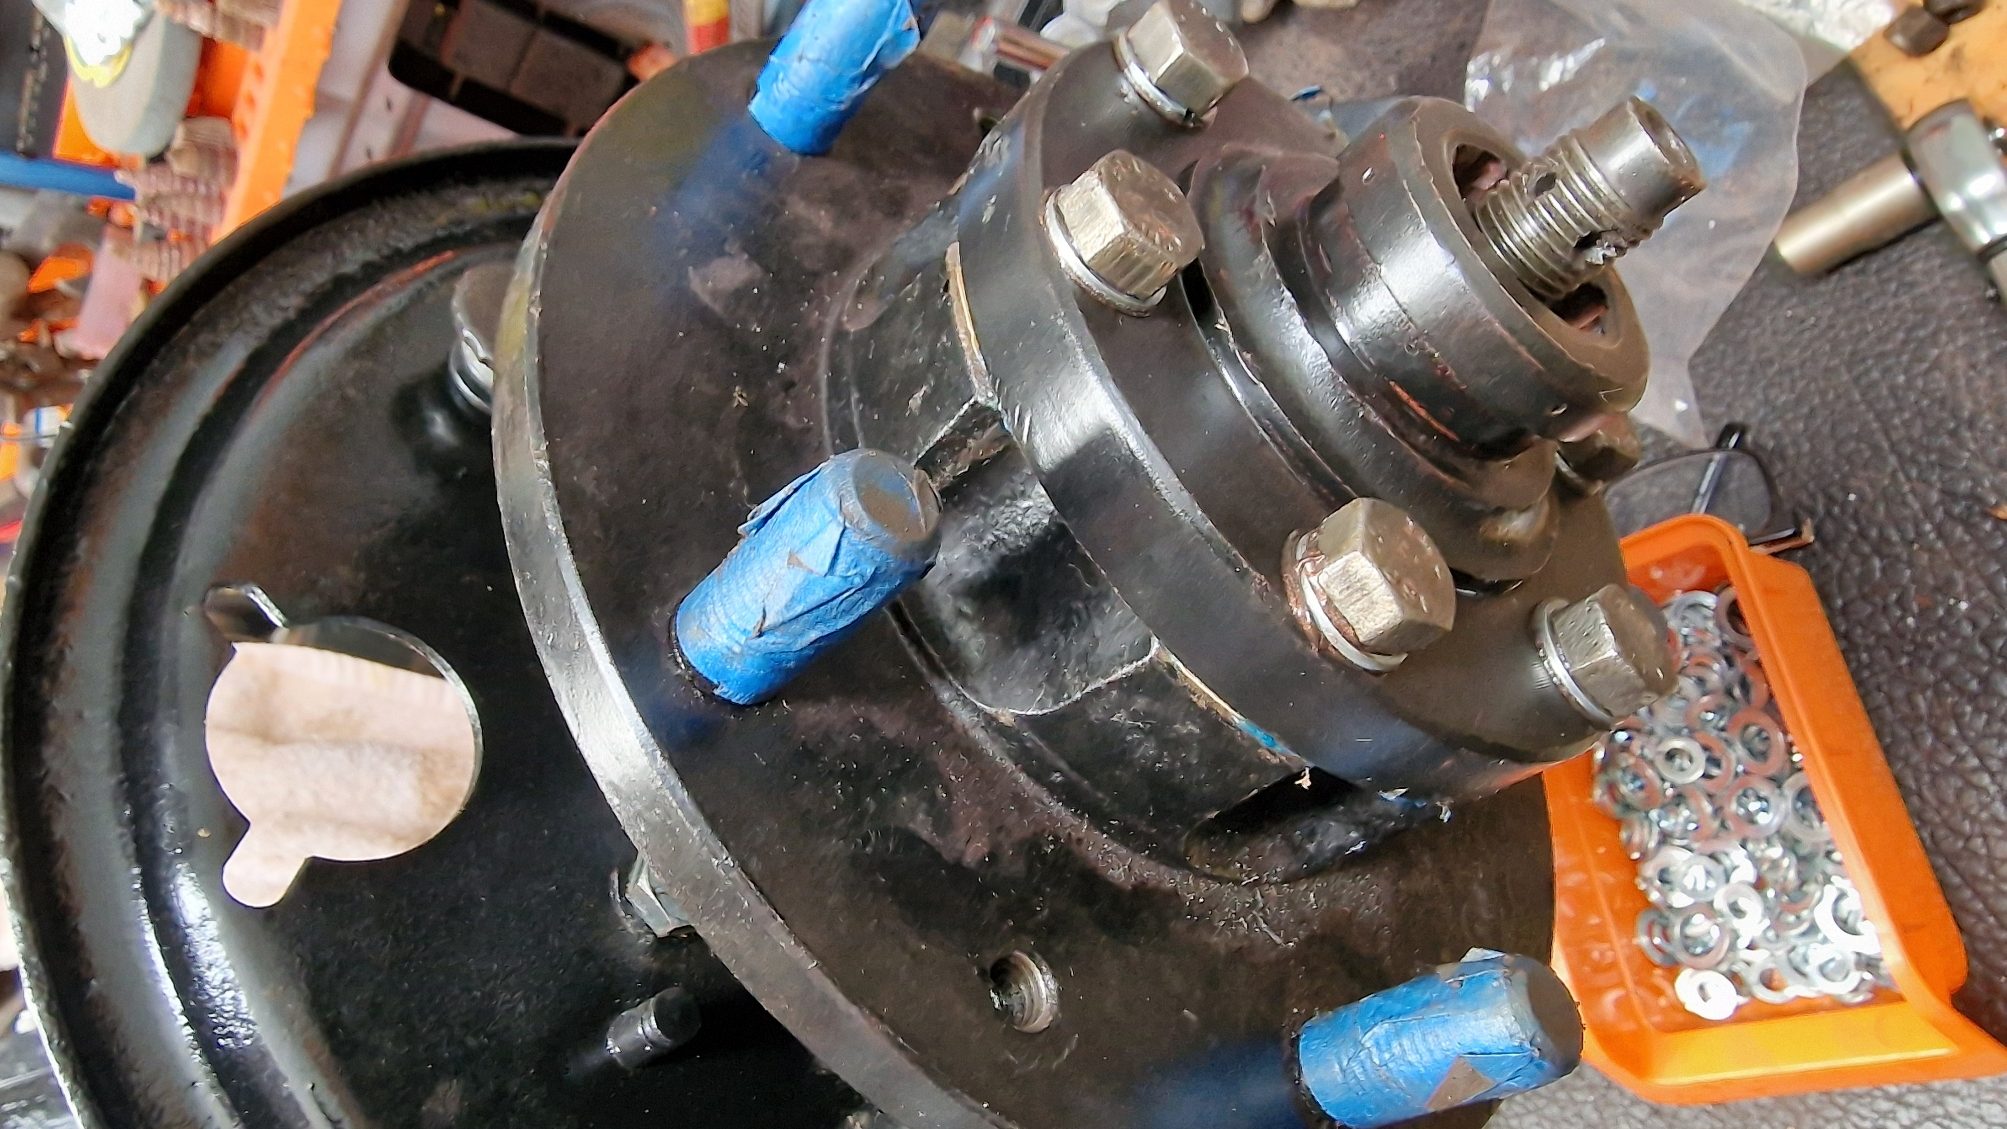
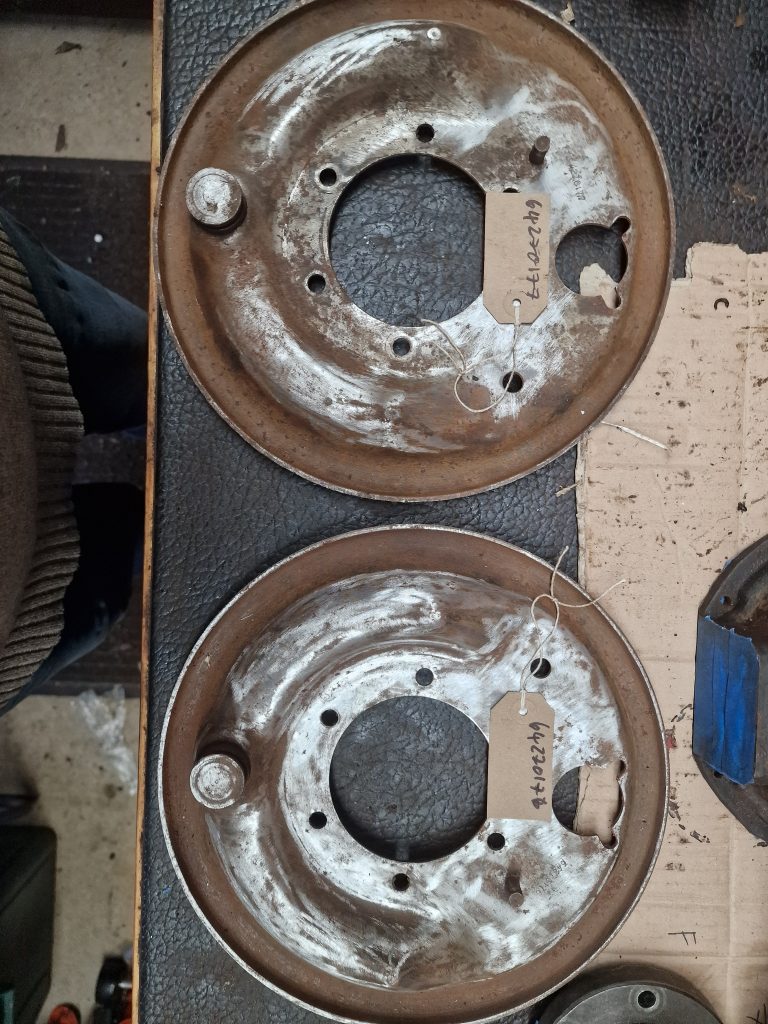
So, onto the other parts, pretty much a repeat of the rear axle now, Stub Axle with the brake back plate and then the Wheel Hub. All easy peasy….. So, lesson learned, never ever assume something with a 59 year old land rover that’s not moved in the last 20 years is going to be straight forward and easy, in my very limited experience its not.
Because!!! guess what, after getting everything on that side the half shaft went tight again, not so tight it wont turn, but certainly tighter that all the other corners.
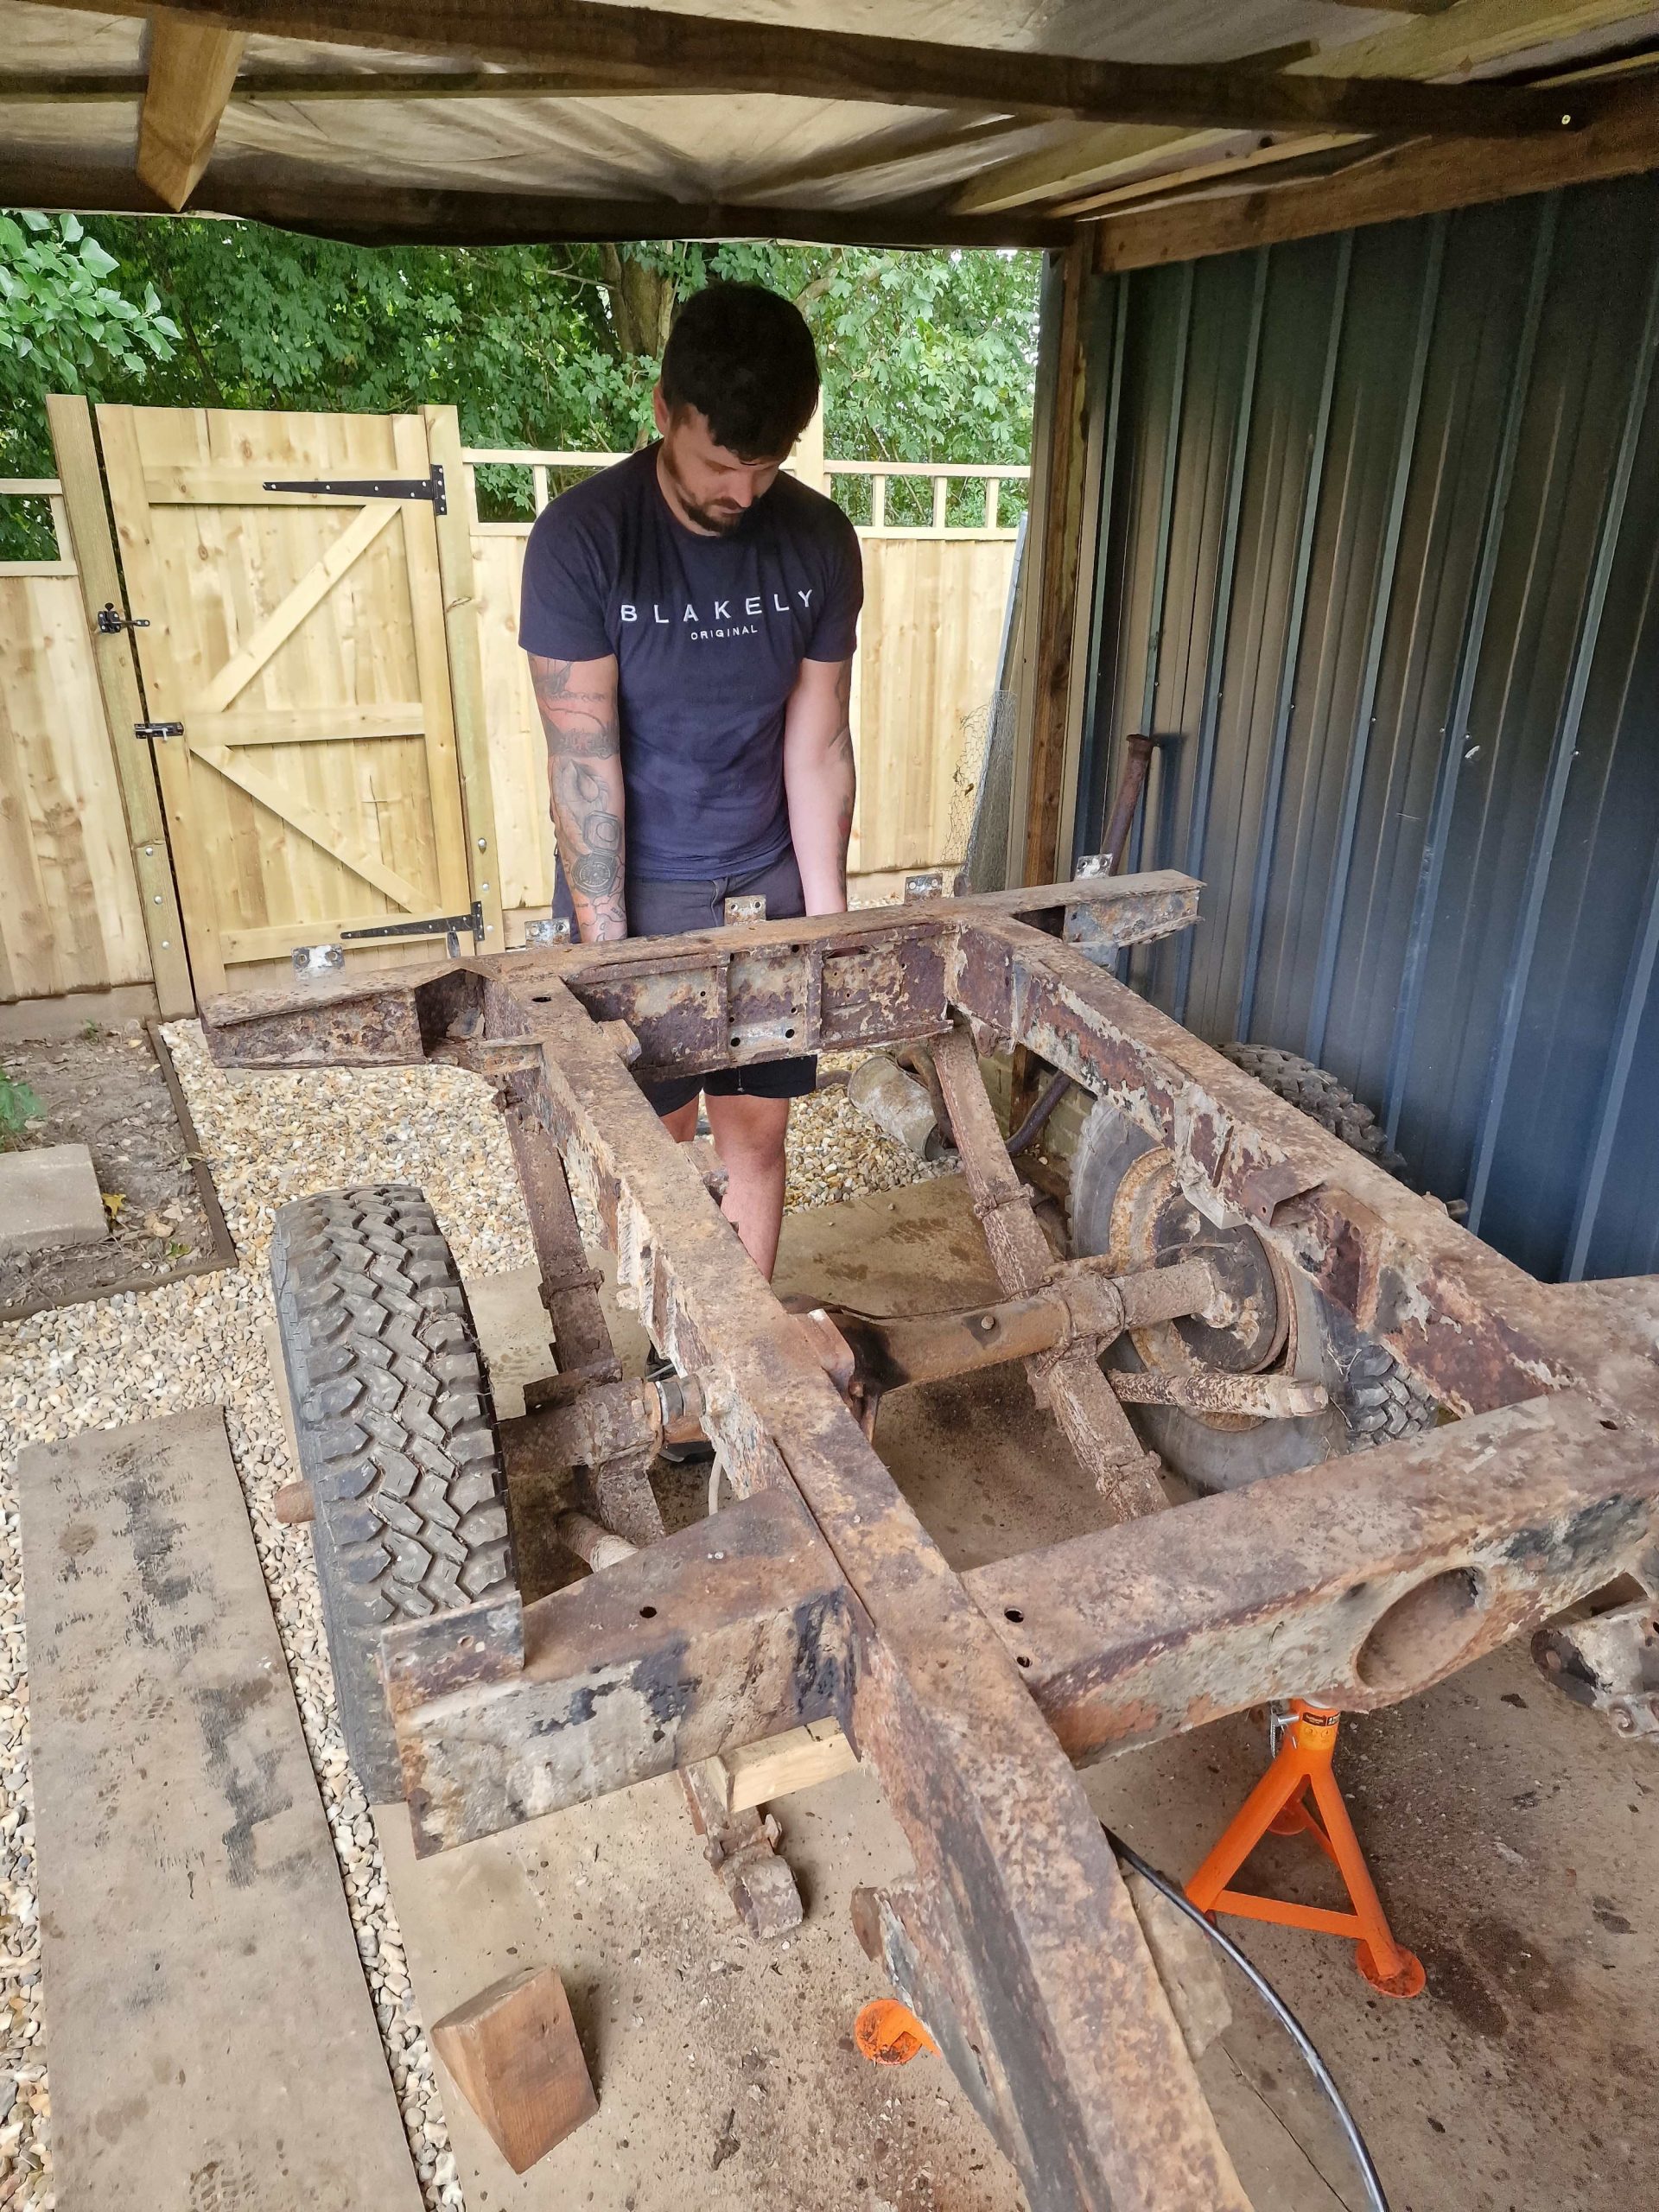
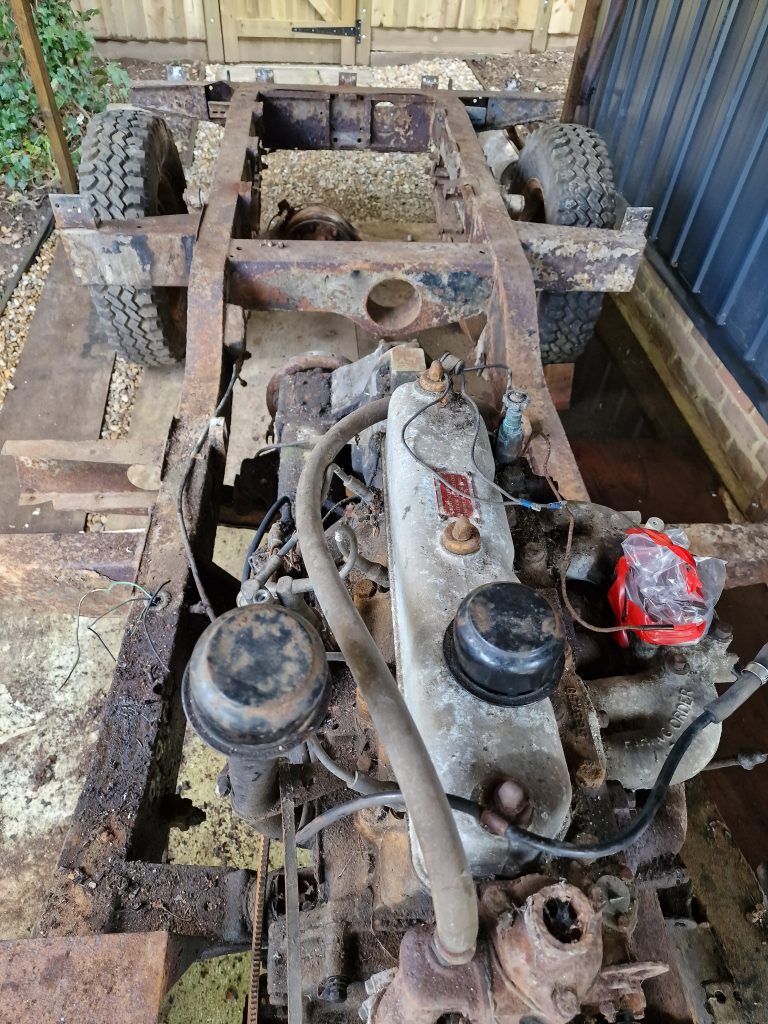
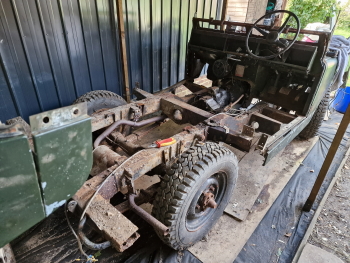
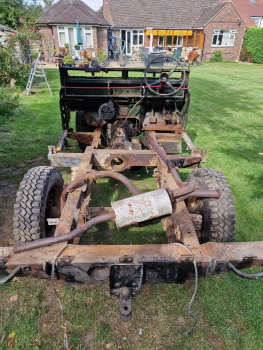
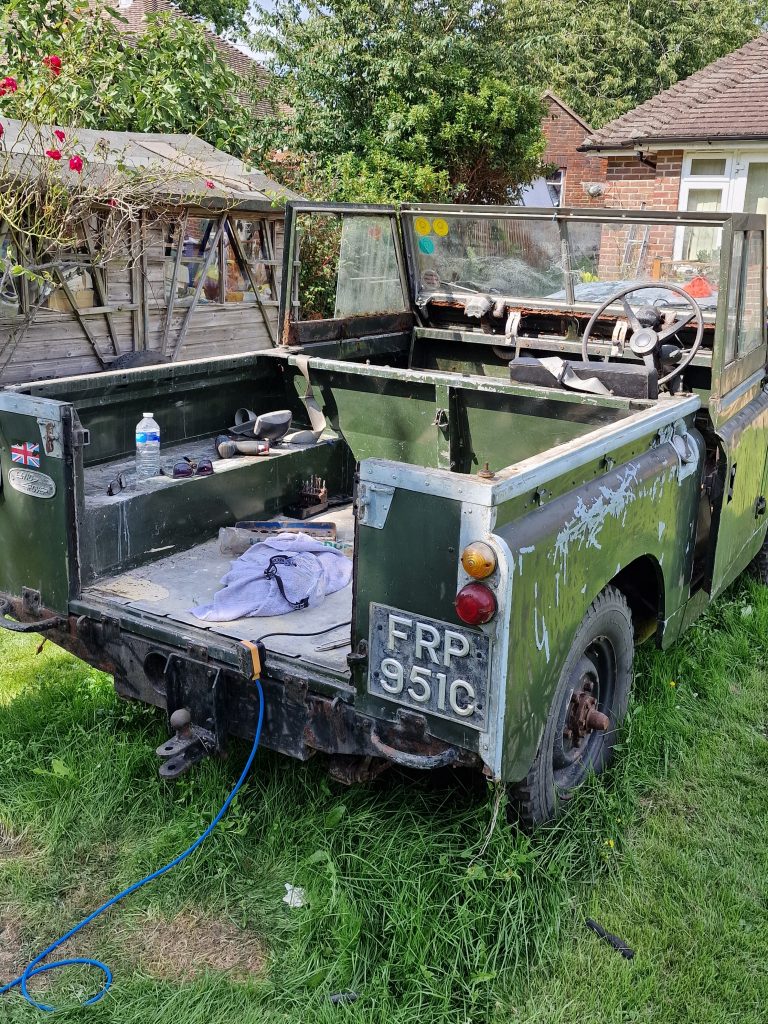
Anyway, that’s it, will have to re-visit this at some point but for now its good enough to move on. What I ended up with, is something that kinda resembles a Land Rover that moves! Which actually will allow me to try something Fergi suggested with the troublesome corner, which is to try the Long Rear half shaft in the front as a test. Someone on the Series 2 Club forum also suggested this to make sure everything is straight.

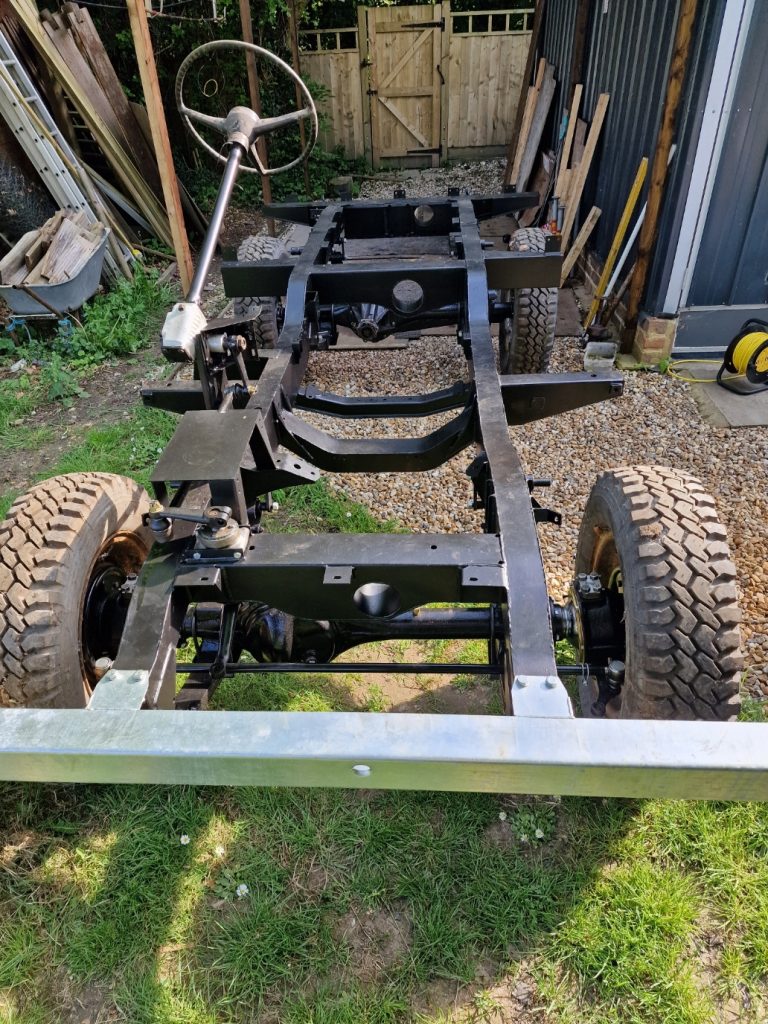
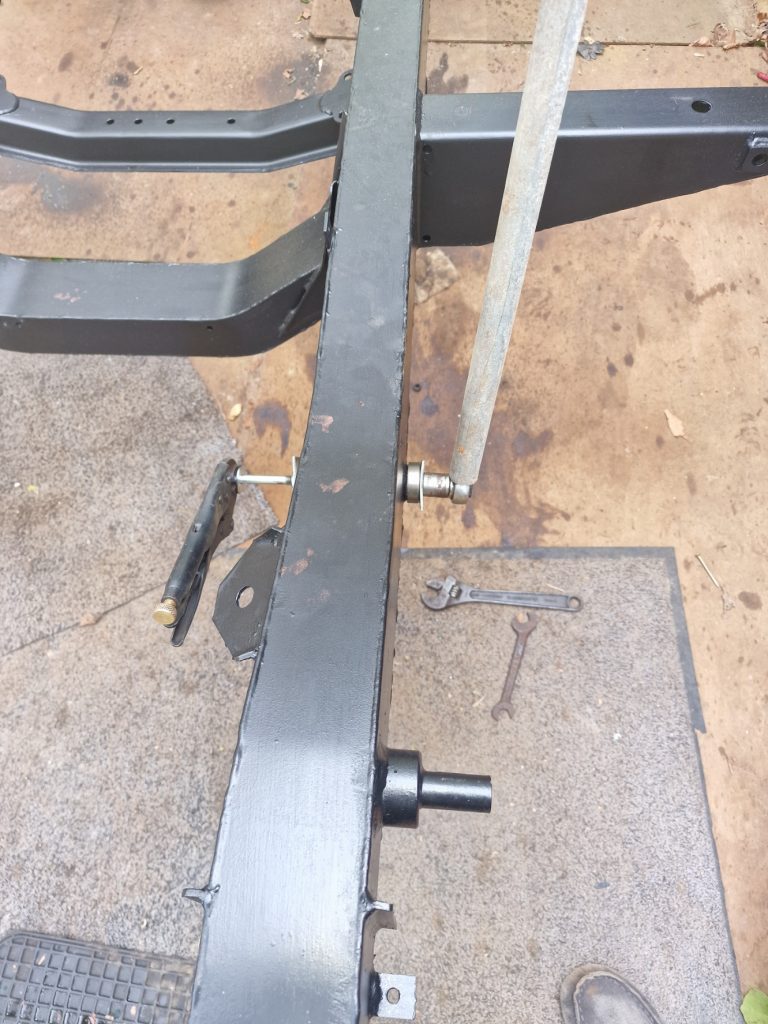
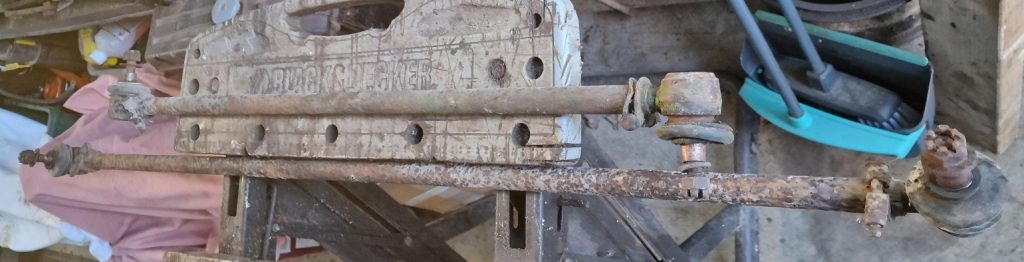
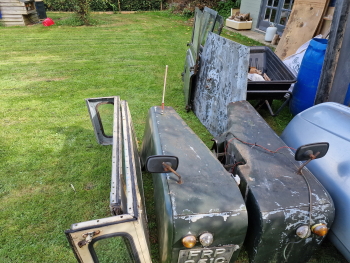
You can see I also have some of the steering parts fitted, but not covering that here, will write a short (er) one on that in a bit.
As always, thanks for reading, hope you enjoy it and its not putting you off doing something similar. With all the frustration, it is worth it, it is great fun and not only that you get to meet some amazing people along the way.