Contining on from last time, while I am waiting on some replacement parts for the Dash panel, carried on with the electrics. I have to say, while the harness looks daunting, it is all pretty straight forward.
As I mentioned, the “full” harness is not a full harness at all. One of the missing parts is the tail leads for all of the side lights, indicators and rear lights.
This will be a fairly short one, while over a long weekend, didn’t feel like I got much done.
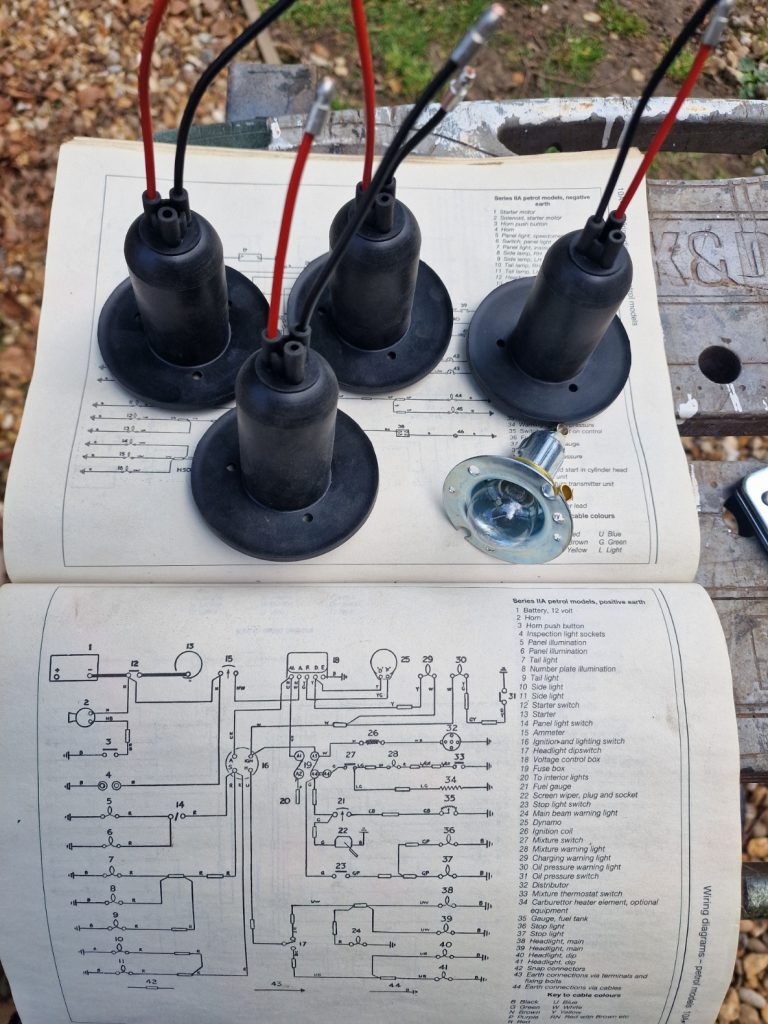
Started with the front lights, side lights and indicators.
Pretty simple really, cut some of the correct coloured wire (actually made a mistake here in my haste, the indicators have different coloured wire for each side not the red shown here). Crimped a bullet to one end and fitted it to the bulb holder.
In this case, black is positive? Thats because this is a positive earth system, so the black is the earth, which is actually the positive feed, slightly un-intuitive, but guess it makse sense.
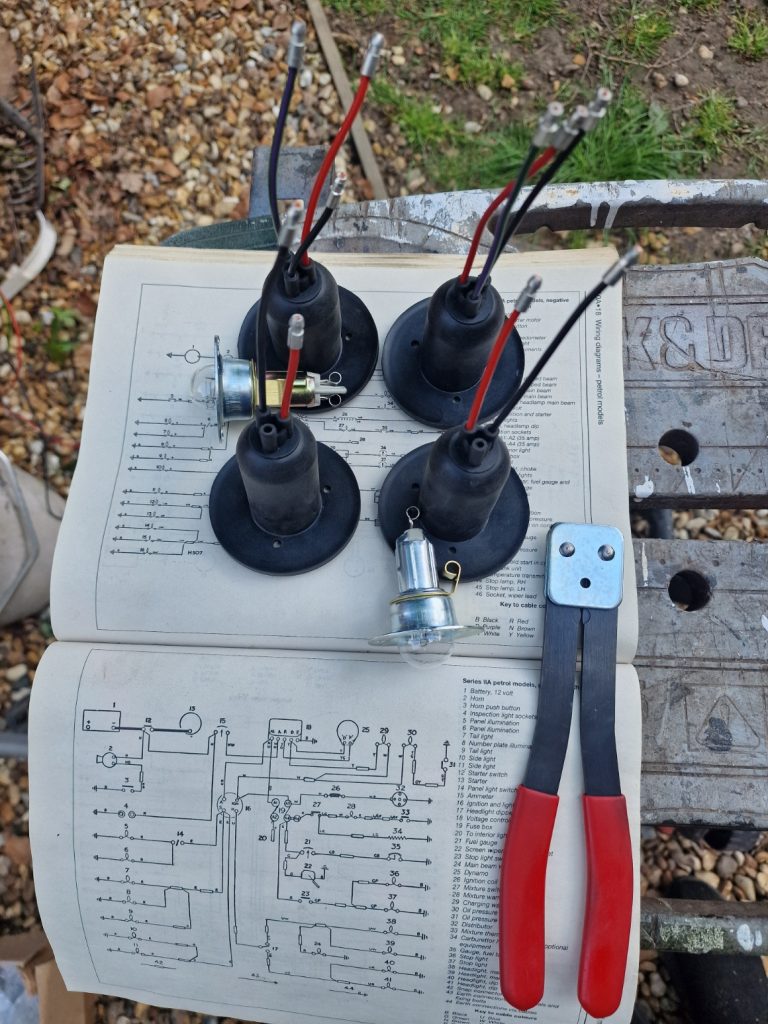
Went on to do the same with the rear lights. This time, two indicators (with the same coloured tails as the front, for each side) but the rear lights of course are the rear lights and brake lights, as such have 3 wires, Red (for rear light), black (positive/earth) and coloured for brake lilghts.
I did test the holders before I wired them up to make sure the right colour was used for the right light i.e. rear or brake.
Finished them off by crimping a bullet on all the ends coming out of the rubber covers.
Each if the light units were bolted in-place with 4BA screws, spring washer and nut.
I did have to add some plain washers to cater for the corroded wings, where the holes were not complete.
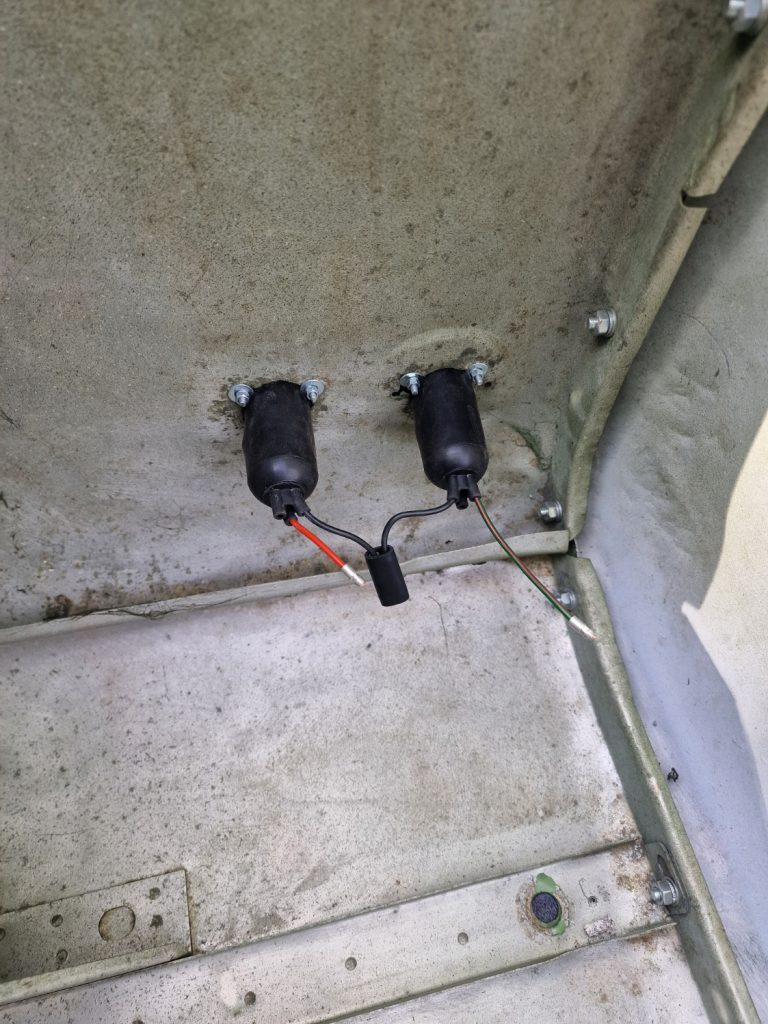
Finished off by connecting the two black tails into a single connector.
I will later run a lead from these to the chassis somewhere to ensure a good earth.
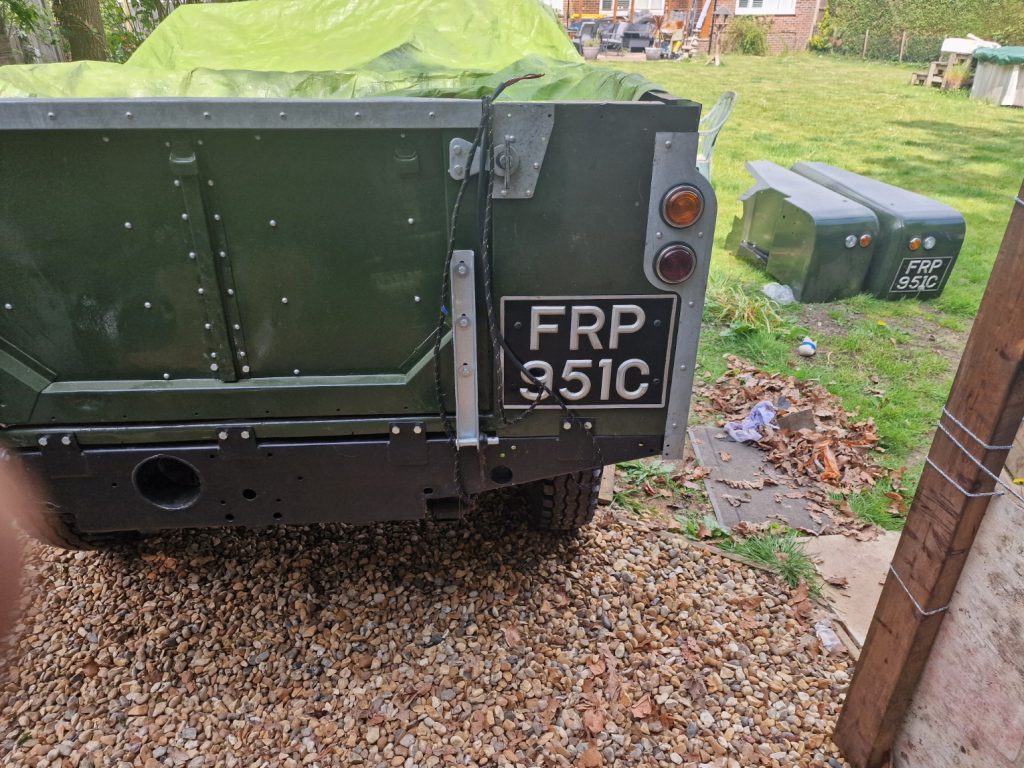
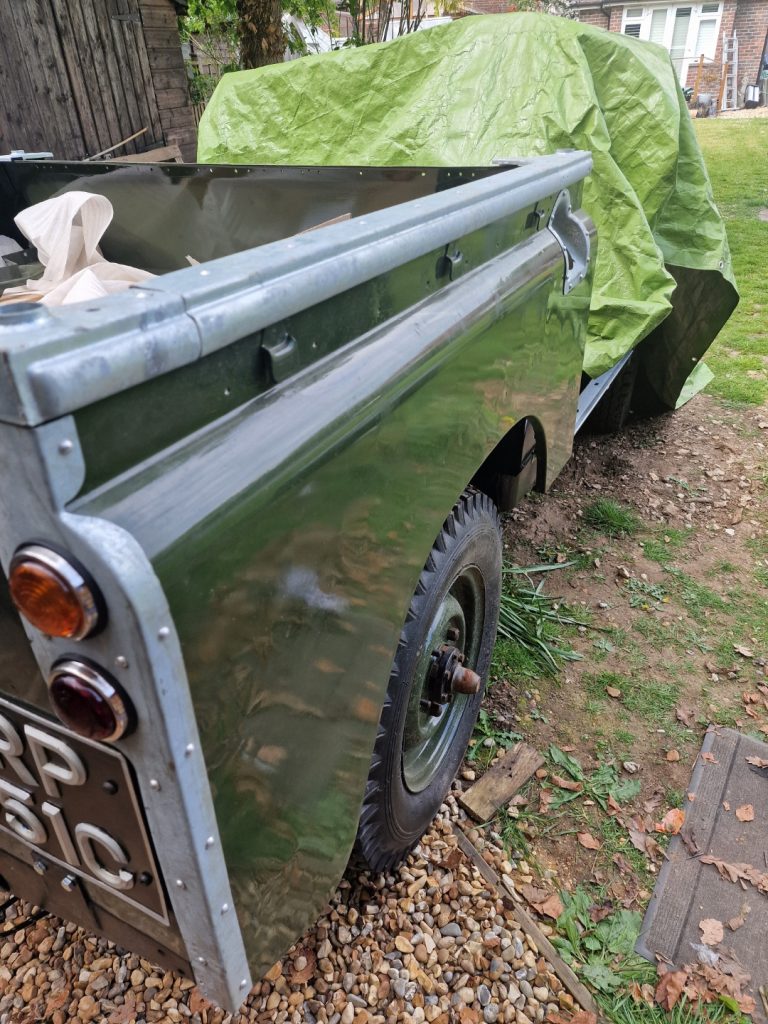
And here they are from the other side!!
While the wings look shiny, they are a bit dusty and marked. I will have to sort this when all the body work is on.
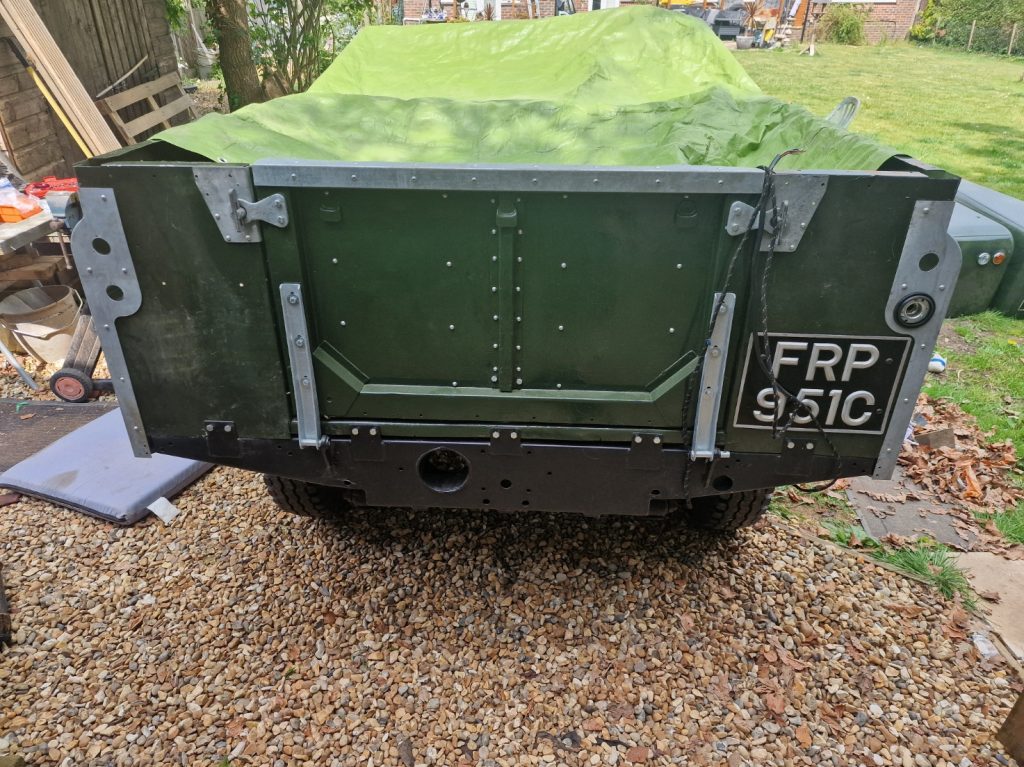
To get the rear lights on, I had to fit the two galvanised corners. These went on fairly well, although did have to re-do a couple of rivets as the galv capping didn’t sit flat against the body work.
Thanks Reuben, these rivets cannot be done alone, they need two people.
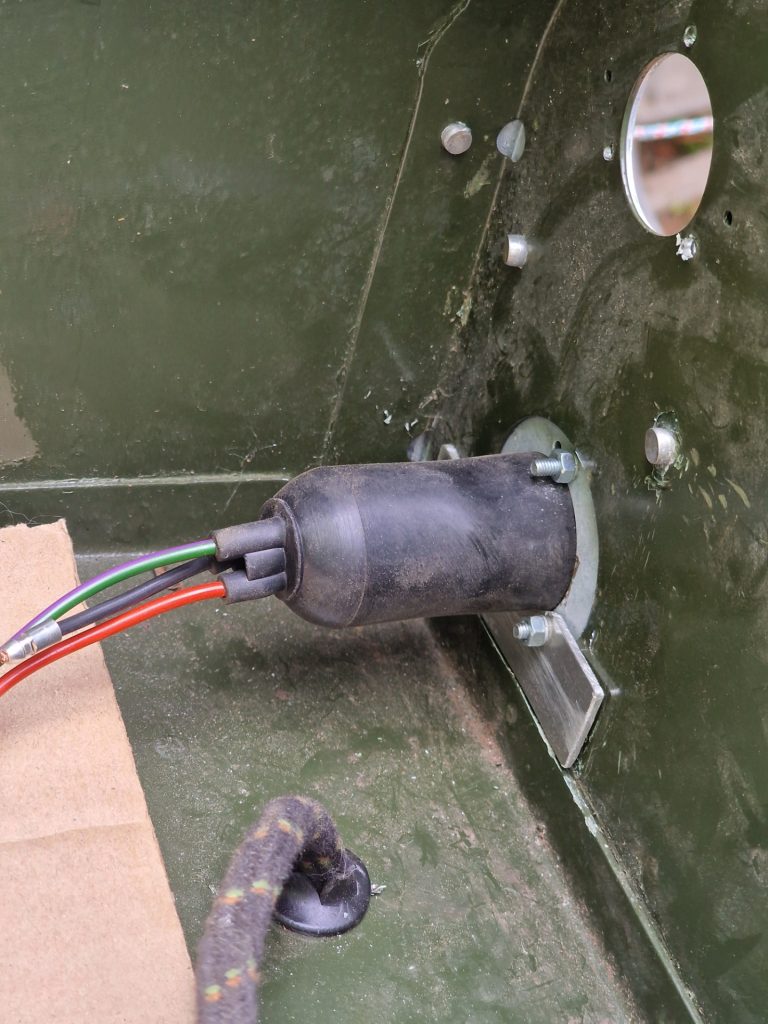
You can just about see here the harness coming up through the floor of the tub. I did manage to get a grommet over the cable and into the hole, this will serve two purposes, keep crap out and stop the wires chaffing against the body.
You can also see a small plate I made at the bottom of the lamp. I had to do this because the light fitting only attaches to the capping, not the body work. and because the capping was not sitting flat, needed something to pull the body work and capping together.
Bit of a bodge, but does the trick and wont be seen, as these are all covered with a corner panel.
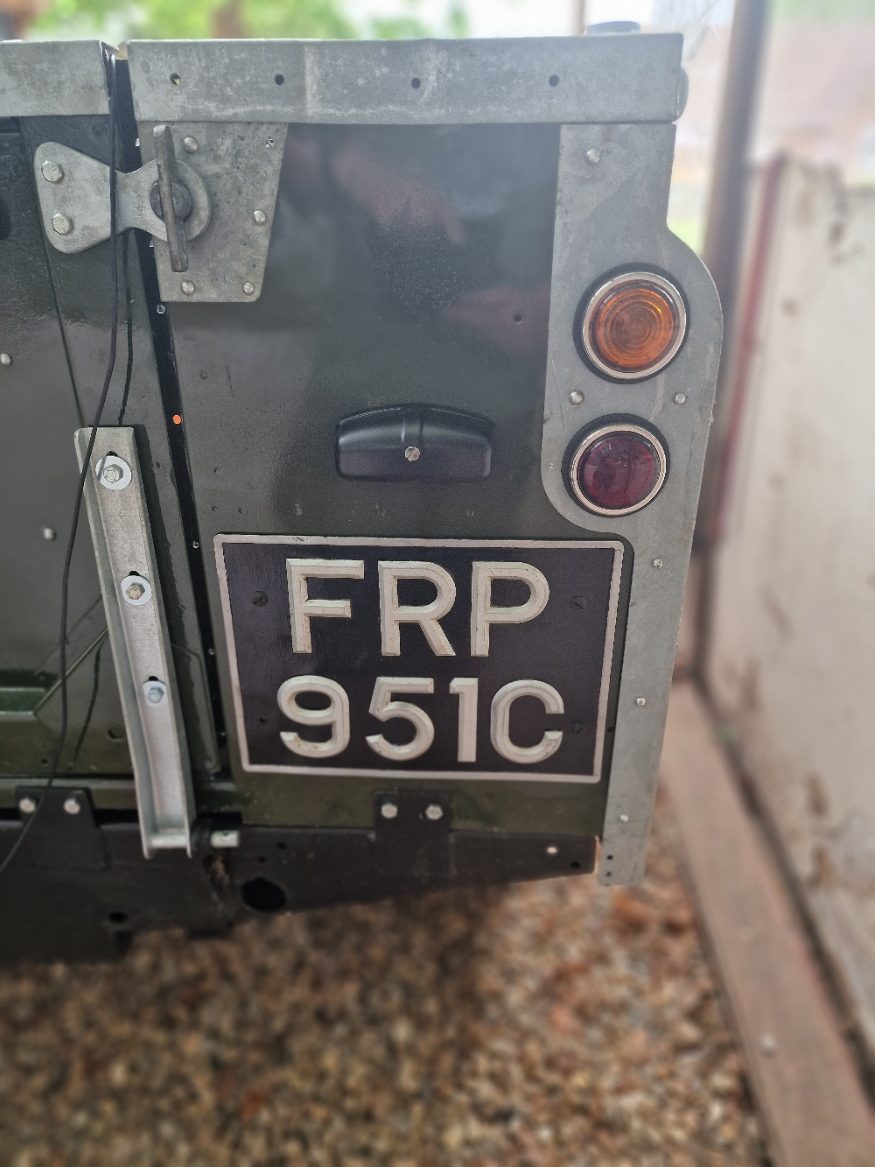
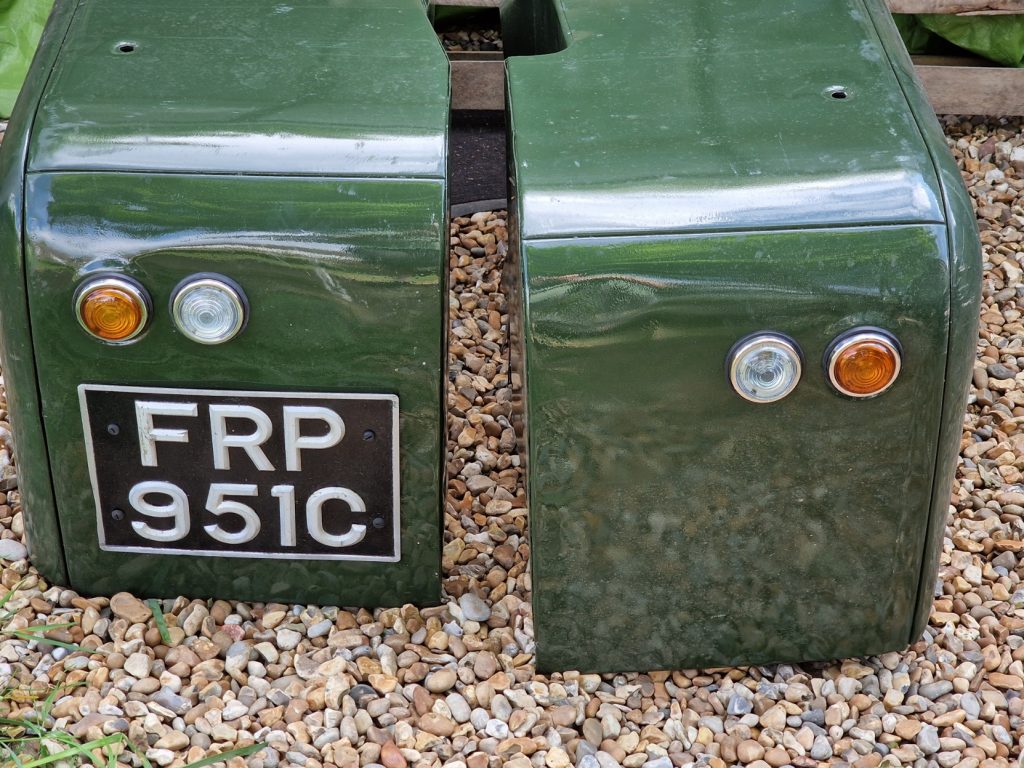
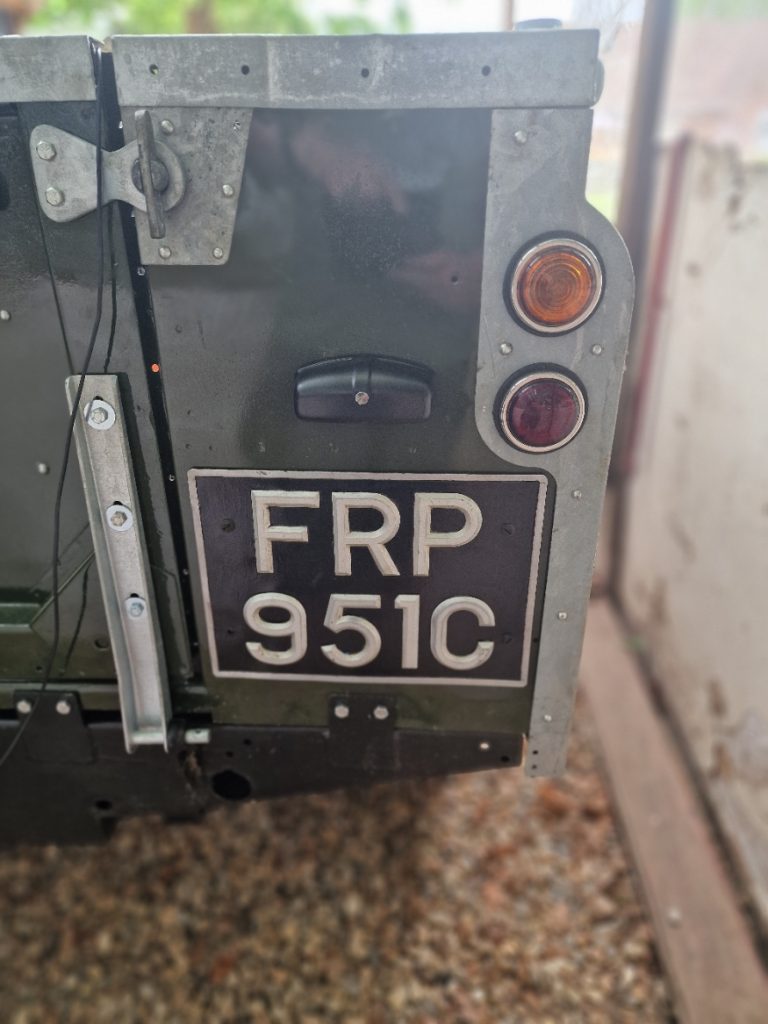
Got one side done, and fitted the lenses (which are glass, not plastic, so really nice) and the chrome surrounds.
I think they look pretty smart, and am very happy with them.
I couldn’t do the other side as I ran out of 4BA nuts! Really frustrating I was sure I bought some more, but the workshop is a bit of a mess right now, so will get down there one evening this coming week and see if I can find them before ordering more.
While the Land Rover didn’t come with a number plate light originally, when I got the lights (for my Birthday a couple of yeas ago, I thought would be done quicker than I am!), I got one, so fitted that. That needs to be re-done, the 2 wire tails need to be a little longer than I made them, and wont quite reach the bullet holders for the earth and live (actually negative) feed.
To finish the day off, I (with Reubens help) fitted the petrol cap holder with domed solid rivets, and using dozens of pop rivets fitted the side galvanized capping’s. Didn’t need to, and not the most important thing right now, but makes me feel good and helps keep the motivation. I think its starting to look really smart.
Hopefully next time it will be finish off the left had rear lights, fix the earthing lead at the rear and then onto the dash panel wiring. When thats all done, and I can turn the car on and off, onto the next massive stage I have been talking and dreaming about for ages, which is trying to start the engine. If I have time, might just fit the prop shafts aswell.
Leave a Reply