
The last time I wrote about Isobel, was back in December 2025, where I talked about the Propshafts and some other bits and pieces. So lets catch up on that first. Propshafts, well I started fitting the new UJ’s, but ran into a frustrating problem. When I got them in on one prop, the UJ’s went really tight, I’m not entirely sure why so have parked that job for now, until I top up my UJ stock, and will probably pay my Nephew Lee a visit so he can oversee what I do.
OK, so onto March 2026. I have been staring longingly down the bottom of the garden where Isobel is, week after week, frustrated that the weather has been absolutely crap, and loads of other things going on meaning I had to postpone anymore work until now. But, weather has turned (for now), and other things are on the back burner for now so cracked on with the next jobs.
My plan (Ha, not sure what revision I’m on), is to fit the tub, align the bulkhead and then move onto adding all the other bits to the bulkhead to finally try and get the engine started.
Apparently, which does make sense, is to start at the back of the Land Rover, fixing the back of the tub to the Chassis. Its done this way, as that is an immovable position, and sets the position of the tub.
10 Bolts, with star washers on the back secure the Tub to the chassis. (I actually did this over Christmas).
When they are on, the tub is pretty much in its fixed position. The only adjustment is at the front of the tub, which has a little up and down movement but not much, and another thing to consider is the tub supports, which are intended to sit on the chassis, so not a lot of movement available.

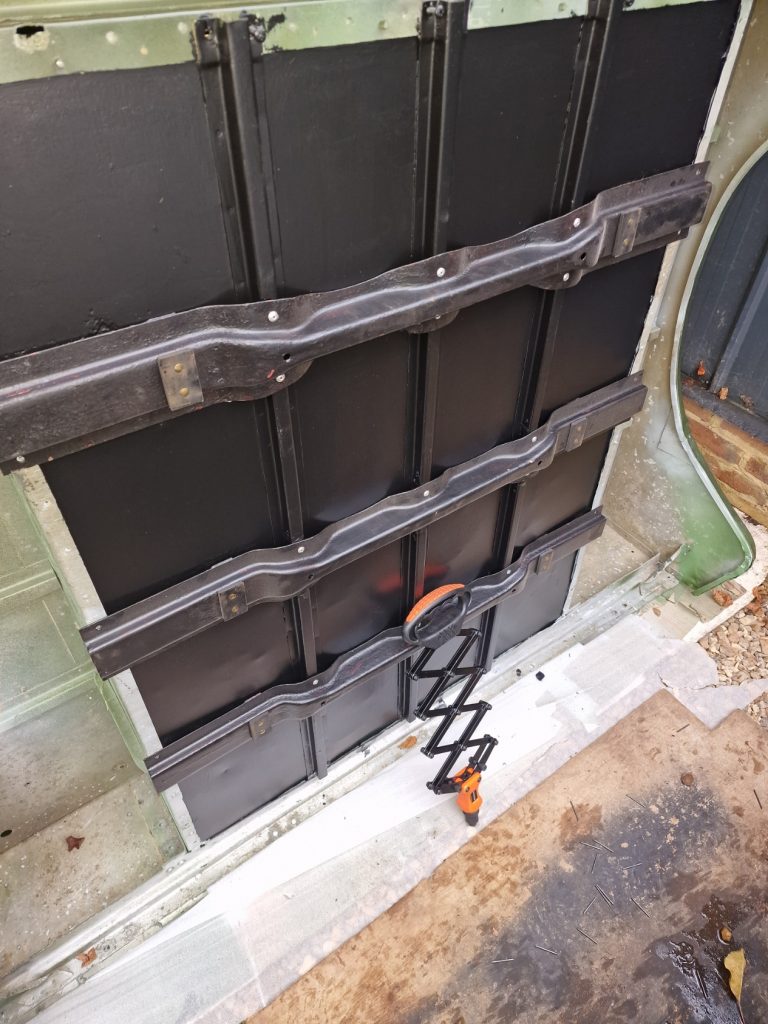
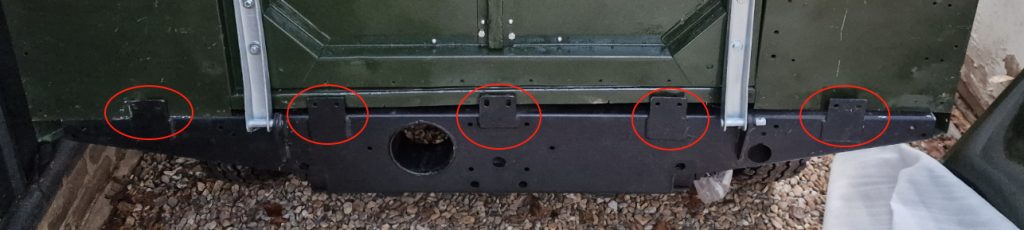
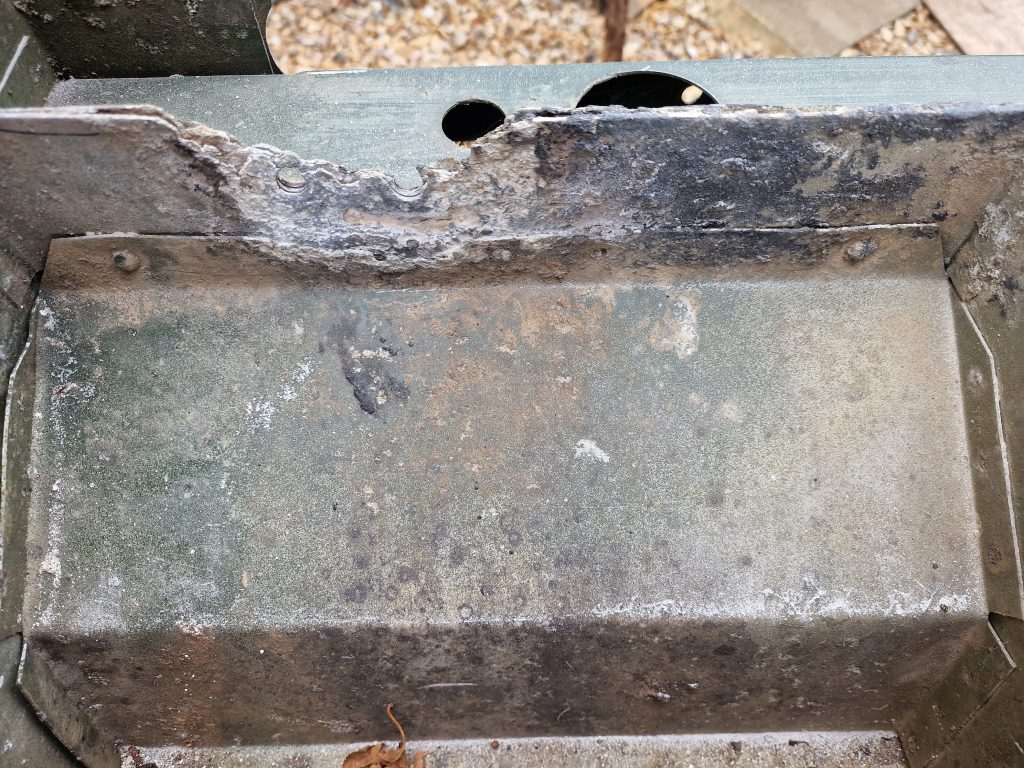
The image on the left, you can see 2 of the supports, and the image on the right, the underneath of the tub with the rubber pads fixed which need to sit on these supports. Bolting up the rear of the tub, these pads sat perfectly on the supports.
The next part then is to fix tub to the 2 front supports, now this is where it got a bit interesting. Before I moved onto that, I did make sure that the tub was square, and checked the alignment with the bulkhead.
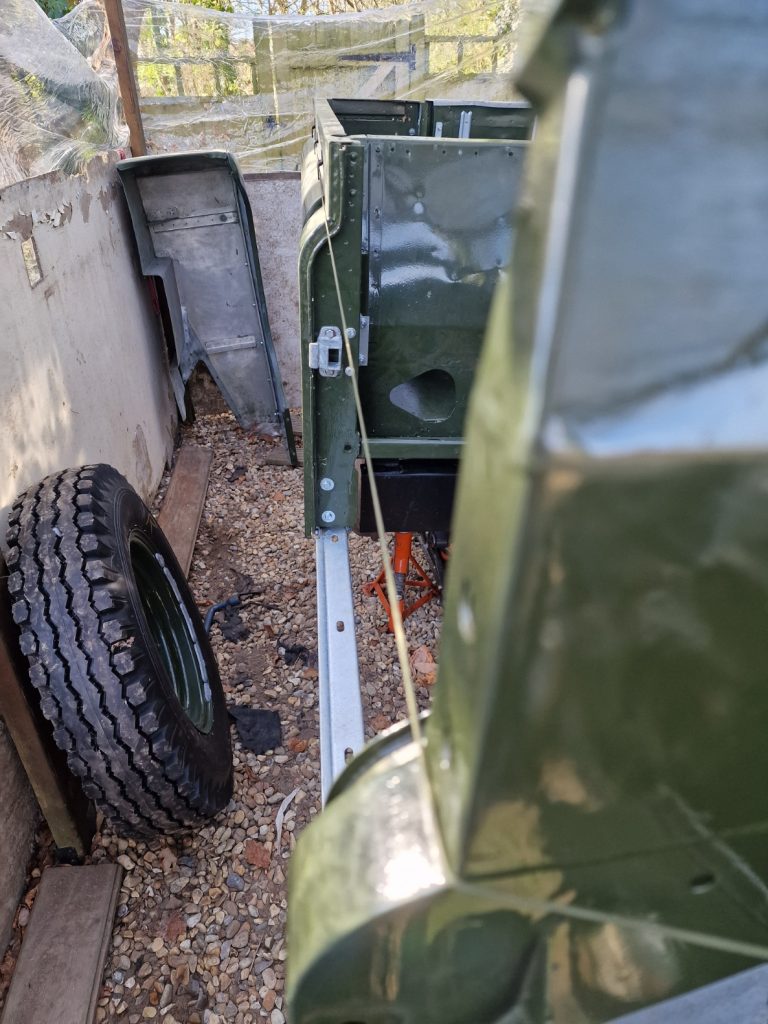
To do this, the way is to run a string line from the back upto and around the bulkhead, making sure it sits comfortably in the top of the curved section. I did this all the way around, down one side, across the front and back up the other side.
It works surprisingly well. It did show me that the tub needed to be pulled to one side a little.
Did that by using a ratchet strap to pull the tub slightly sideways, until the string line sat correct.
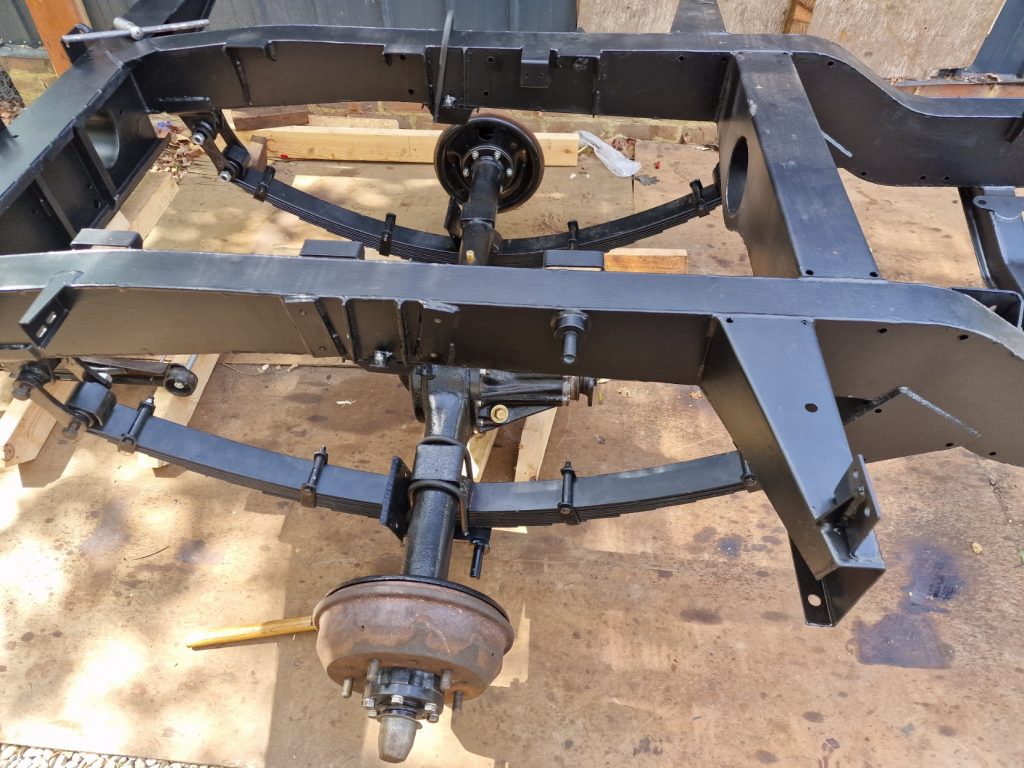
You can see the front tub fixing points in this image, on the front outrigger.
If you have been following this blog, then you will know that I had some repairs to do to the tub where it attaches to those supports.
I did fix it, and drilled the holes where I thought they should go.
Perhaps I should have waited, because they were in the wrong place so had to be re-drilled to match the chassis supports.
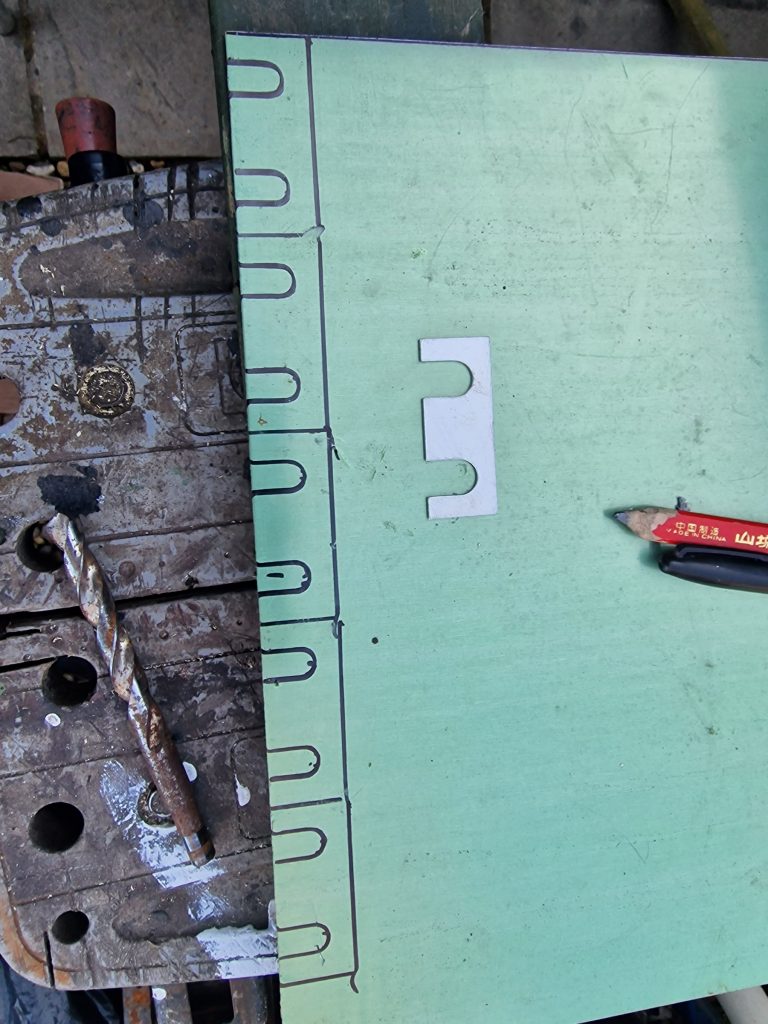
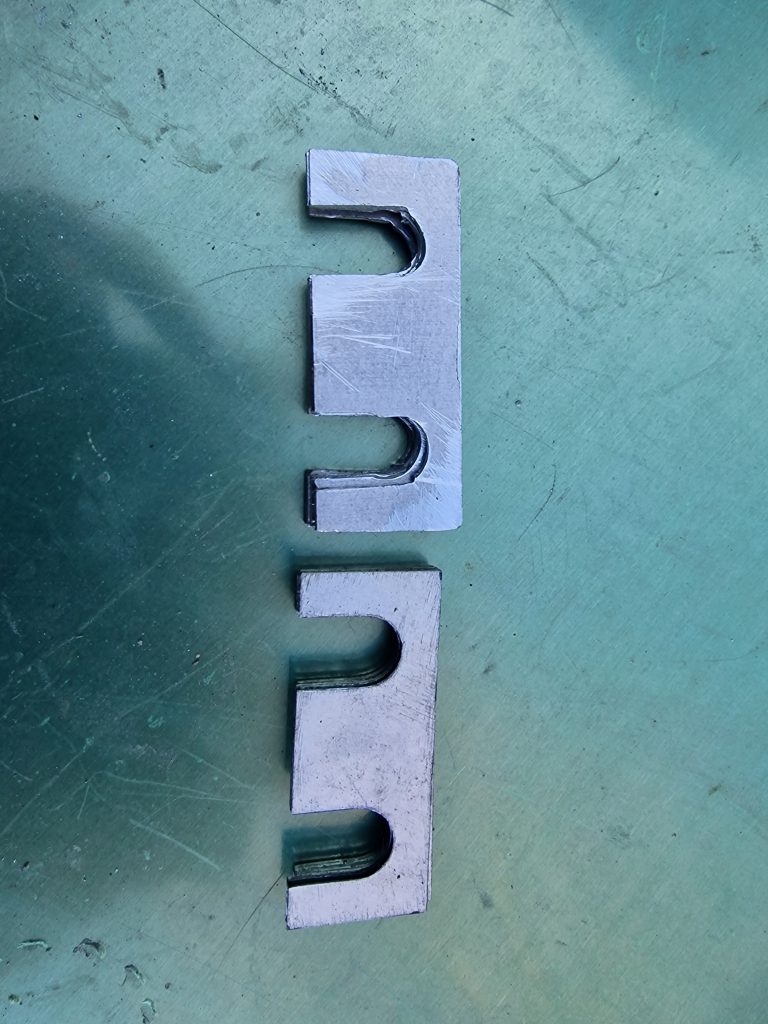
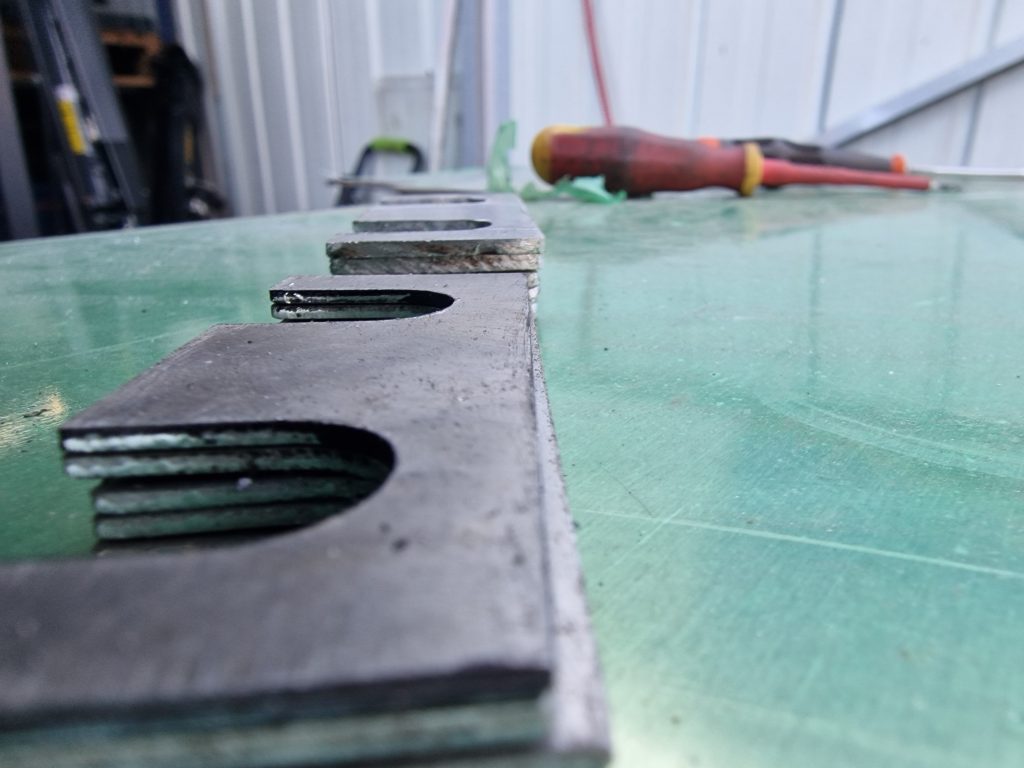
Another thing, apparently, is that it is normal to have to put shims between the Tub and these brackets. I did buy a few on my last order, but when I looked at the gaps, I didn’t have enough, there was almost a 15mm gap between the tub and the bracket on one side, and 5 (ish) mm on the other side. Didn’t have enough, so made some more out of slightly thicker aluminium.
The only really difficult part about this, apart from when I repaired the tub I used pop rivets, and one was in the way, and the holes being in the wrong place, was the space between Isobel and the workshop. Being a tad larger than I perhaps should be, it was a really tight squeeze to get the wheel off, and even harder to get it back on, which needed to happen so I could get under the wheel arch.
With the tub now in position, it was time to line up the bulkhead. Now, the gap between the tub and the bulkhead apparently needs to be 34 3/4″. I have read a variety of dimensions, some as low as 34″, but measuring the door’s 34 3/4″ seemed right.
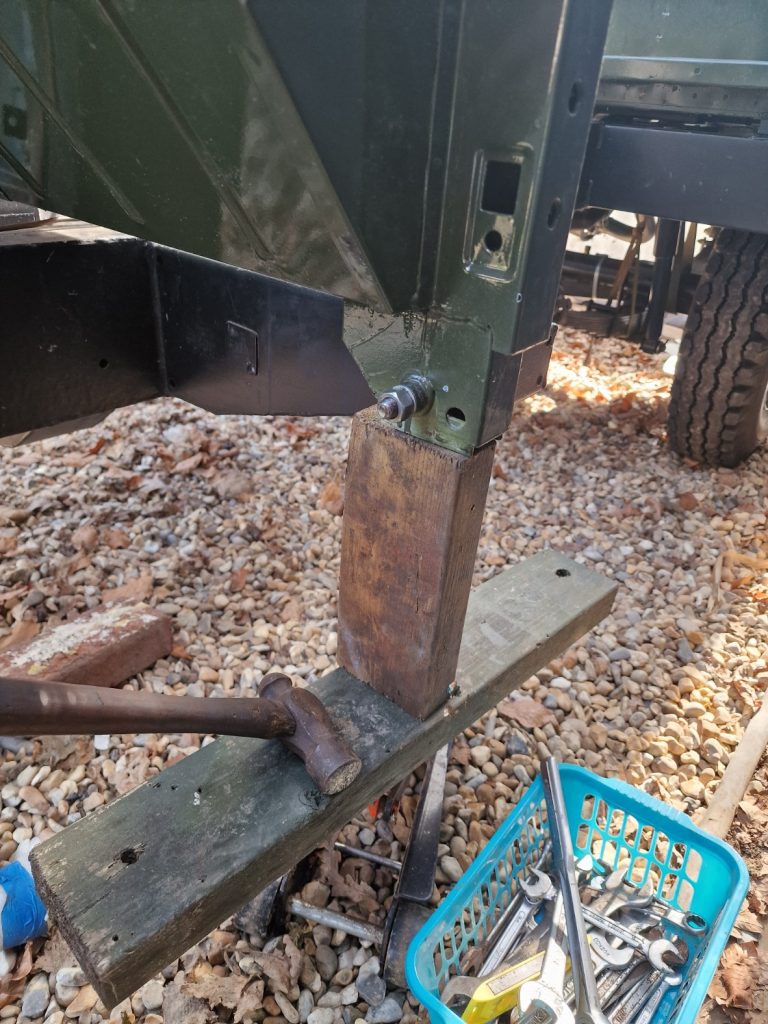
To get this gap, I needed to add a spacer washer between the bulkhead and the chassis to push the bulkhead forward a little.
Not wanting it to drop completely, supported it with a ratchet strap and jack, while I eased in a spacer washer.
I might have to come back to this later, as while I got really close to the gap, it was a little tight.
With the bottom spaced, very nearly correct, it was then just a case of adjusting the top.
Using yet another ratchet strap, I pulled the top of the bulkhead back, until I had the same gap measurement. Then continued to fix all the brackets in the engine bay to hold the bulkhead in position. (no pics of that, sorry).
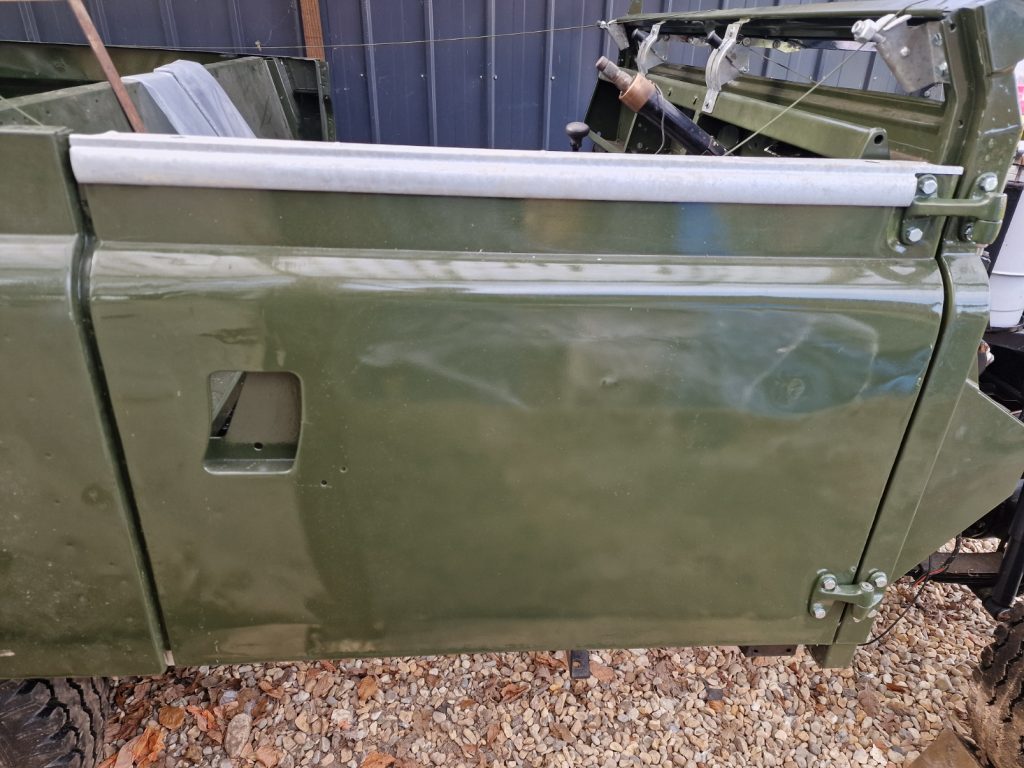
To check it all before tightening everything up, I did actually hang both doors, to make sure it was close enough and gave me pretty even gaps all round. (I dont think this picture does it justice, the gap were pretty parallel both sides).
The reason I said I might need to adjust the bulkhead a little more, the passenger door, had tiny bit less door gap. I think the bulkhead needs to go forward about another 1/16th” or 1/8th”.
So thats the tub fixed, the bulkhead pretty much in the right place, and I now feel confident that I can crack on with all the bulkhead and engine bay accessories, so that will be the next job.
To finish off, a couple of other bits I did.

While I was looking for the shims, that I had put away in a safe place, I thought I would add the windscreen locking fixtures and the Air conditioning vent brackets and vents.
Also, over Christmas, I wasn’t totally idle. Apart from the propshafts I mentioned earlier, I also thought I would glaze the windscreen.
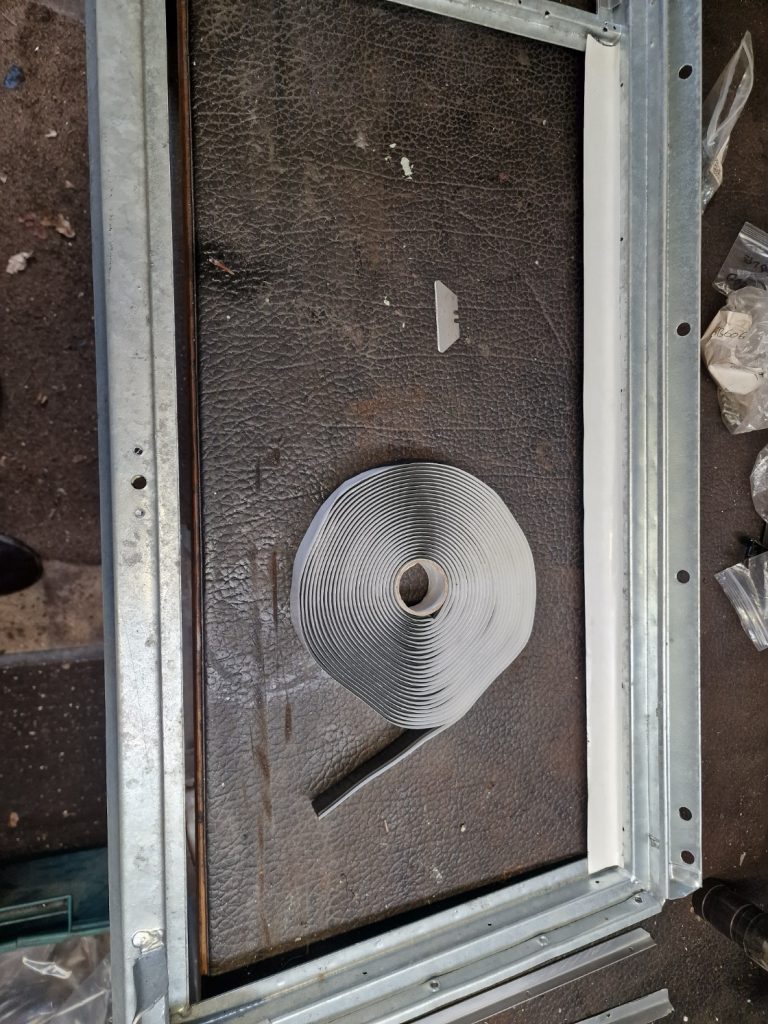
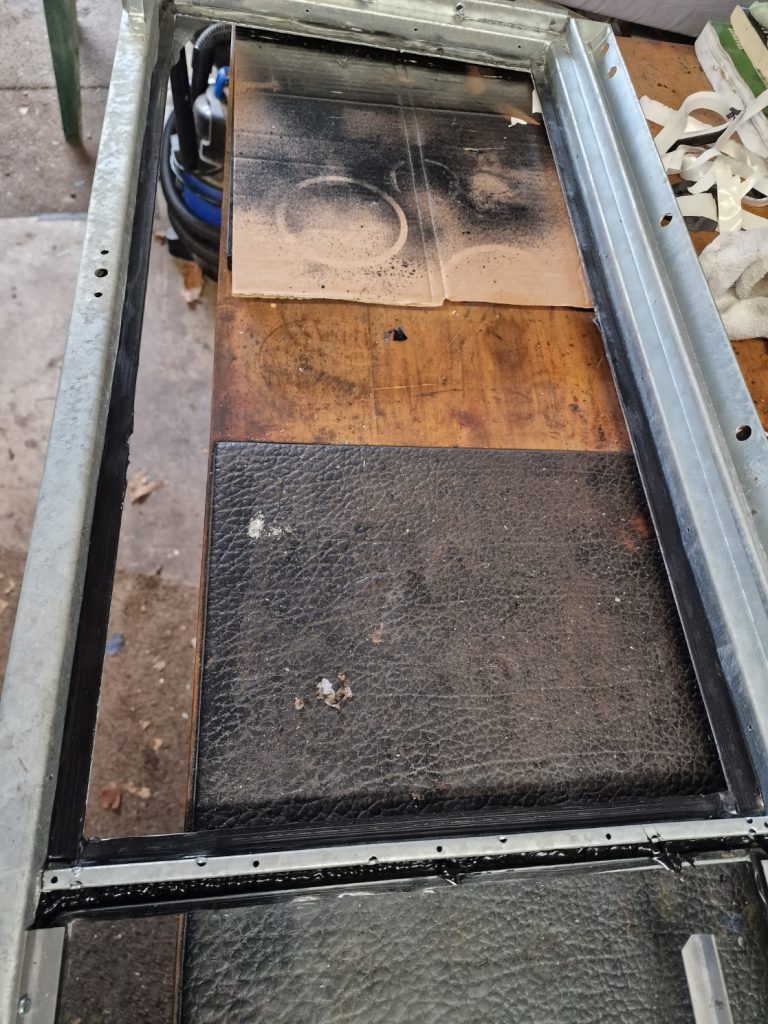
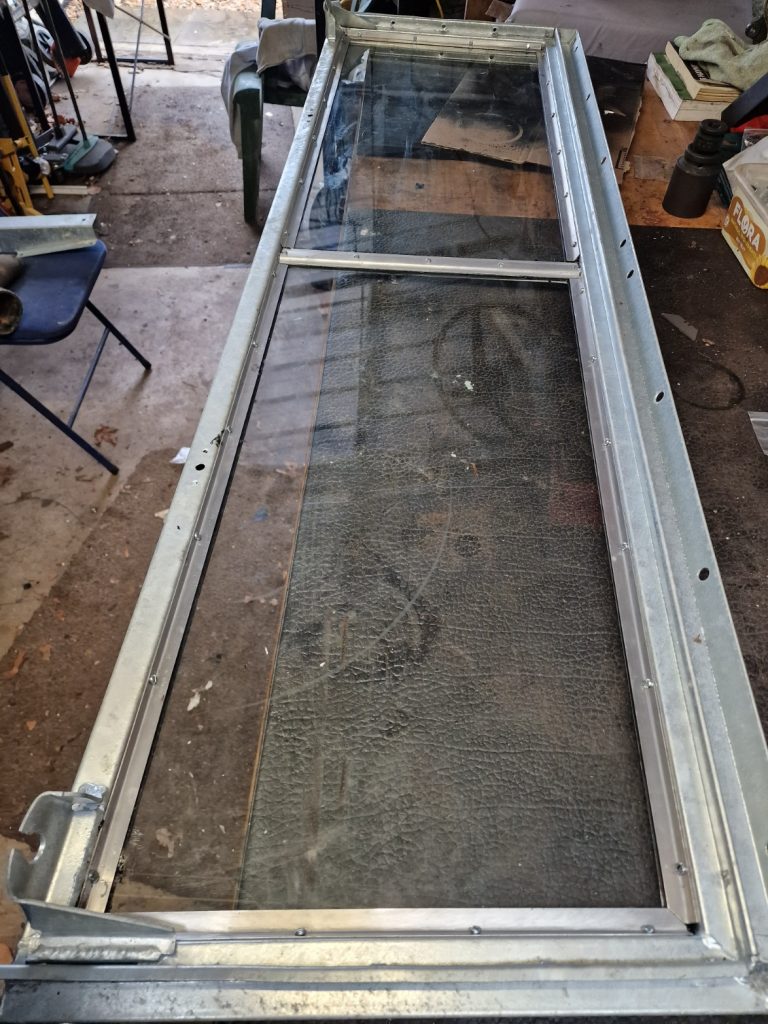
This was a pretty simple process. Stick some butyl tape around the frame, cut off excess and position the glass, pressing it home firmly, but not enough to break it. Finally, screw in the aluminium edging to hold it firmly in-place. I did actually add some more gunk (Cant remember what it was now), around the edge of the glass to make sure it was sealed properly. I wont add the windscreen to Isobel just yet, dont want to risk breaking the glass (as pretty sure its the original glass, from 60 years ago), and in any case not sure it will fit under the car port.
Thats it for now, will see what the weather does over the coming couple of weeks to see if I can carry on, as its all outside work now.
2 Comments
Nick
Congratulations on your fantastic work. I am at the early stages of my own restoration and have been visiting your site regularly as a great source of ‘how do I do this…!?’ Looking forward to seeing the next update, and hope the weather continues to allow more progress – for both of our sakes!
PK
Thanks Nick,
Progress been a little slow recently, but glad it is of some use.
Please remember, I am learning as I go here, and not everything I do is necessarily right.
Good luck with yours, can be frustrating at times, but can also be very satisfying.
Best
Paul