
The last time I was stripping down the gearbox, more specifically the Transfer Case and Front Output Shaft housing. I was faced with a snapped bolt that is supposed to hold the 4WD lever.
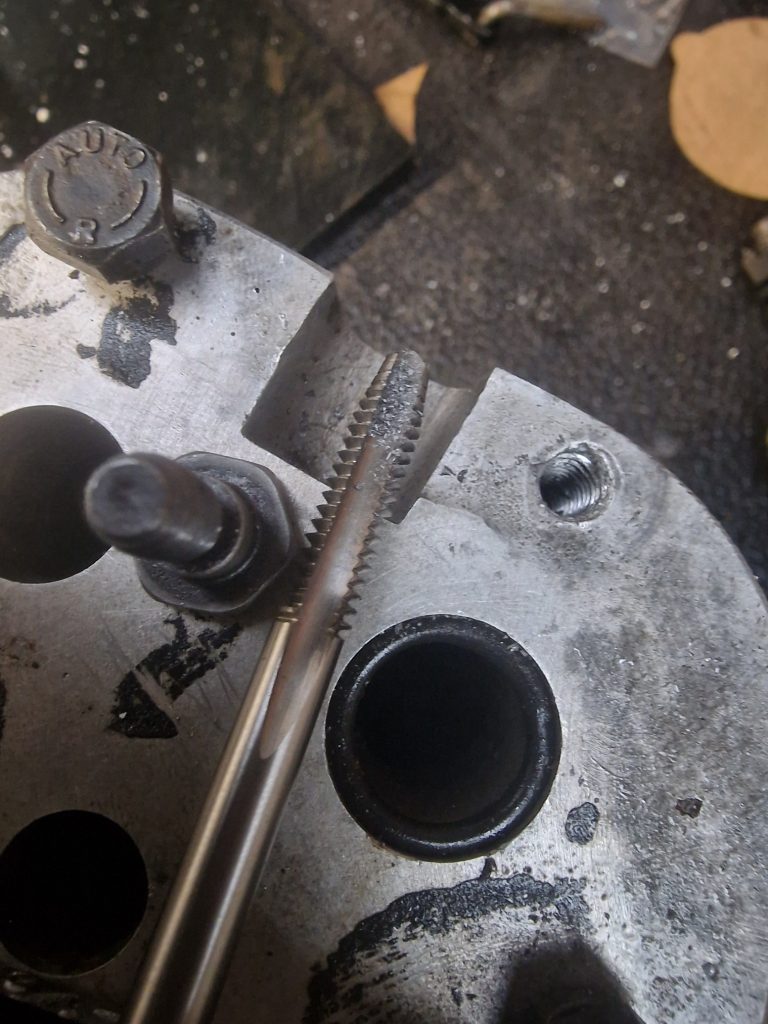
I mentioned what I would try, which was to try a bolt extractor, which I did, and which didn’t work, it made no impact on the bolt all.
Next option was to drill the old bolt out and re-tap it. By this time I had the new bolt which just happened to have 1/4″ Whitworth thread. Oh crap, another new tool needed.
Anyway, the upshot is, that by carefully drilling out the old, and re-tapping the hole until the new bolt went all the way home, It is now sorted.
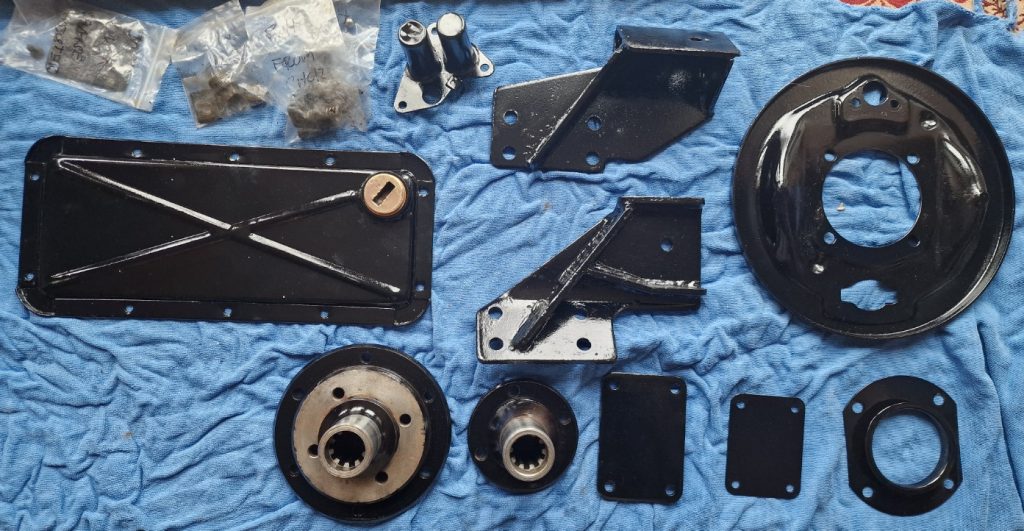
Before starting to put things together, bit of evening work to clean up some parts and get them painted.
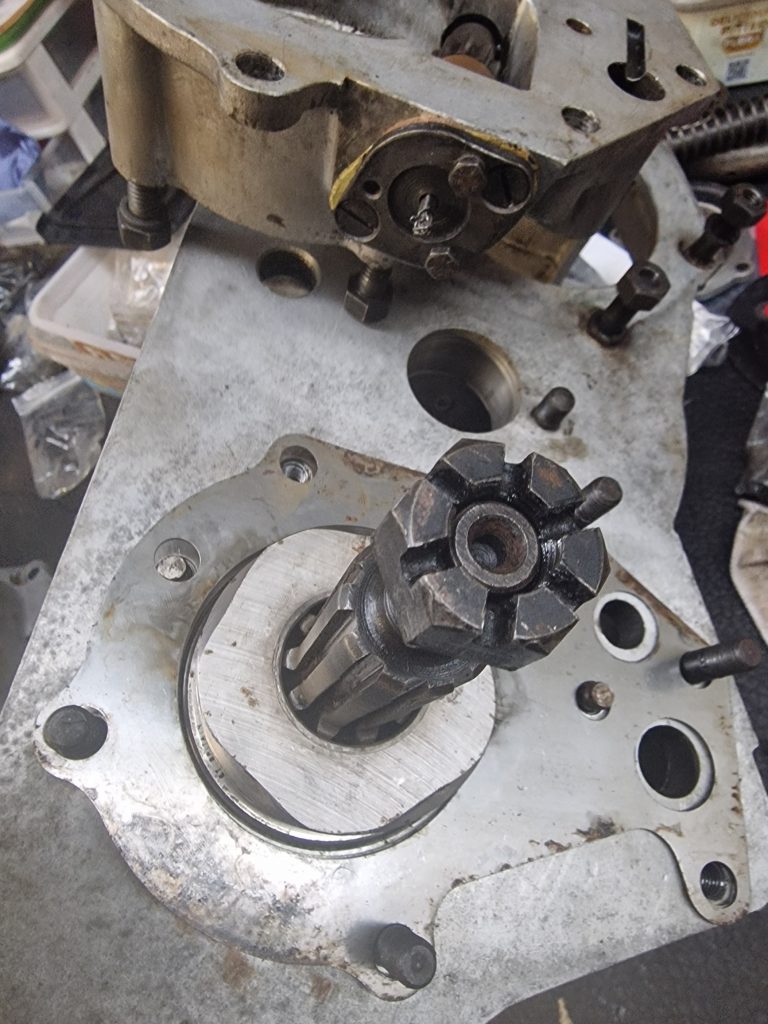
Onto the re-assembly. the first thing to address is the Speedo housing.
The Speedo housing is pretty simple, cleaned it all up, fitted a new ‘O’ and put it all together.
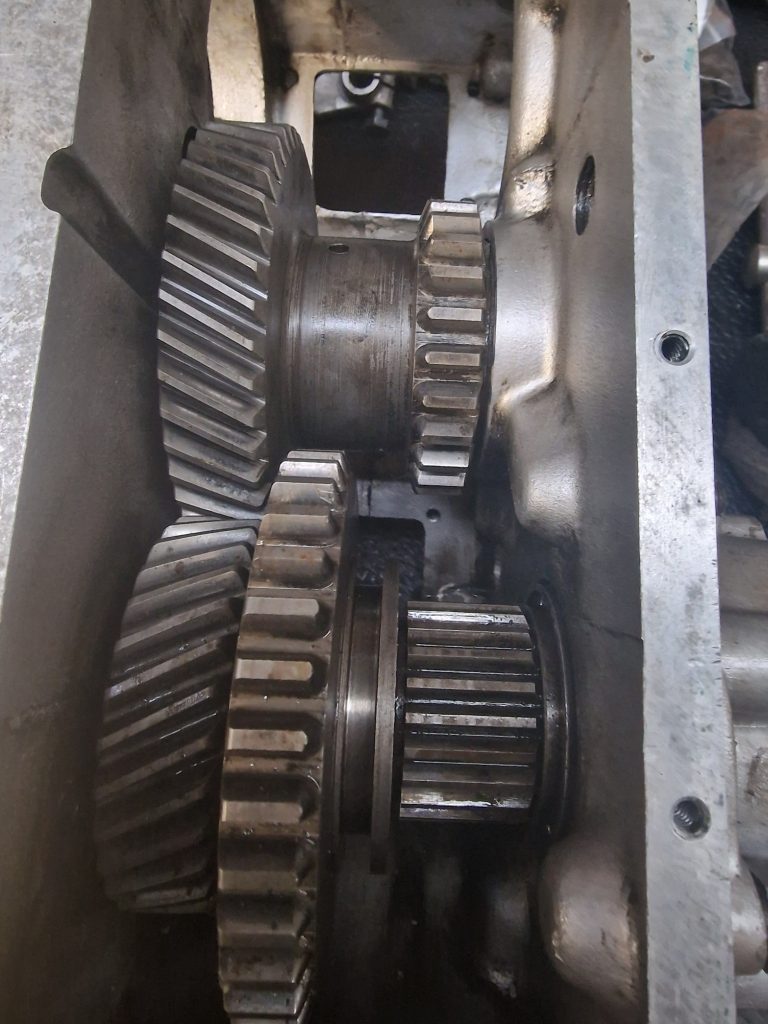
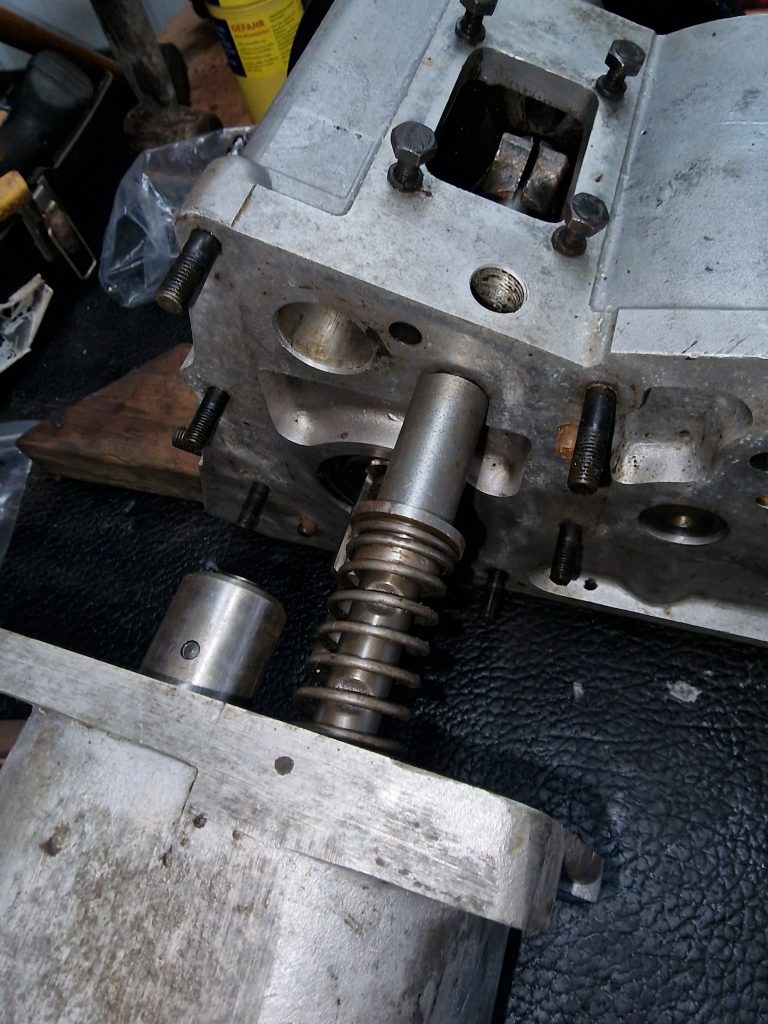
The speedo housing needs to be fitted to the Transfer case before anything else, as this sets the pre-load on the Output shaft. To set this, according to the green bible you put the speedo housing on, without any shims (see pics below) and gently tighten, until the pre-load is set to between 2 and 4 ft lb

These two pictures show the shims that sit between the speedo housing and the transfer case, and the method for measuring the pre-load. (I thought I had taken a picture of this, but seems I didn’t).
On the left, these are the shims.
Because I didn’t change any bearings, I assumed it would be good with the same number of shims. Not the case, had almost no resistance.
Adjusted the shims by removing one, which gave me the correct readings.
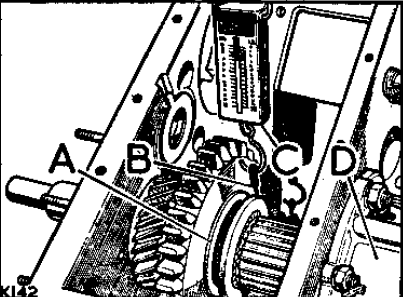
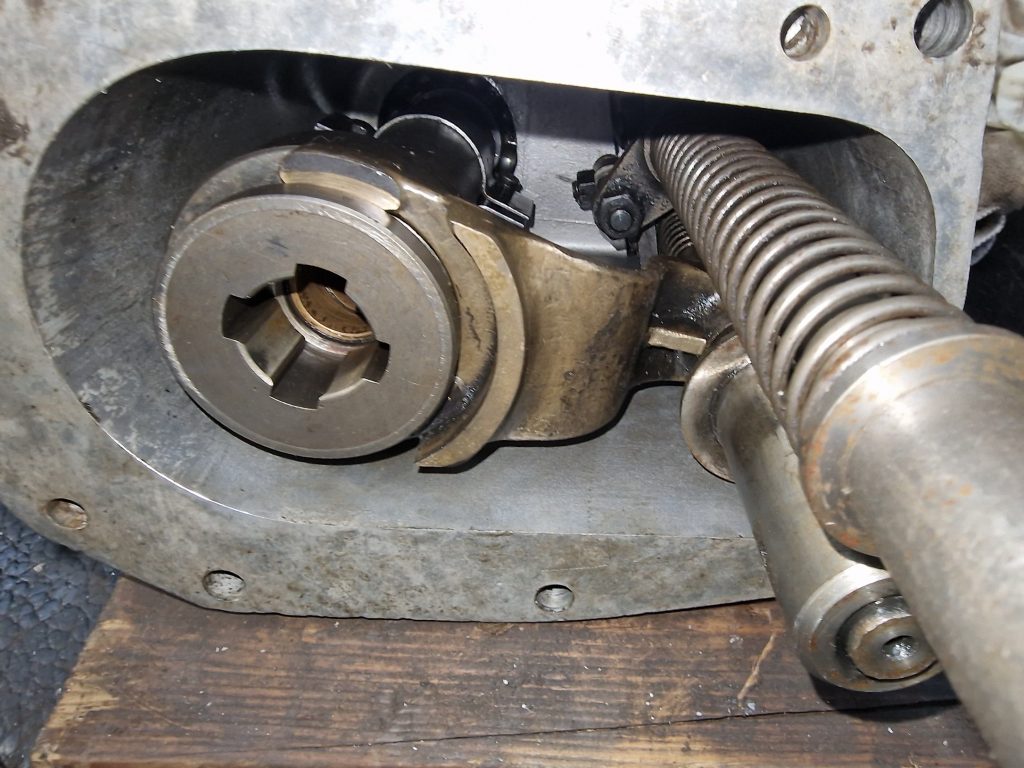
The method (from the green bible). Basically you wrap a cord around the Low/High selector wheel and pull it with a fish scale.
On this, the green bible says to wrap the cord around the selector, however when I watched various videos on how to do this, they wrapped the cord around the smaller gear. I ended up with just over 2lb ft around the selector, and just below 4 lb ft on the small gear, so as far as I can tell, all good.
I then, although I didn’t need to, put the intermediate gear back in. There is also a measurement to be taken here also.
I probably should have remembered to put the Low/High selector in before I did this, so had to take it back out to get the selector in.
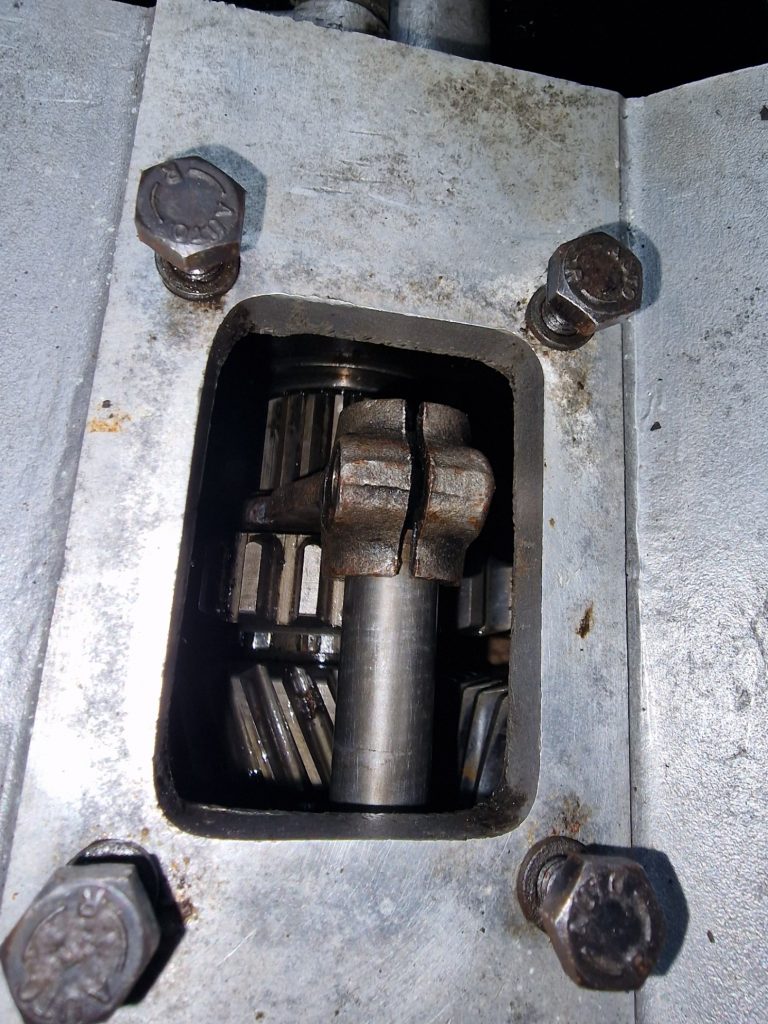
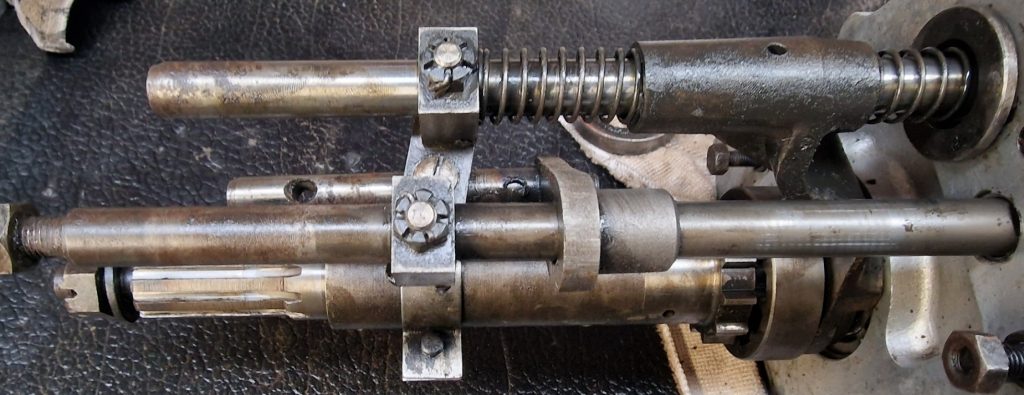
This is the selector in the right place, ready for the selector shafts to be inserted.
Next up is to position the 3 shafts into the output housing, being careful to ensure that the coupling is positioned correctly. Also remembering to put the 4wd locking dog in.
This is the coupling and shafts.
Once they are in, its simply a case of offering the whole thing upto the transfer case, and bolting it all up. Well, easier said than done. Firstly, there is a big spring in there keeping the two parts apart, secondly we need to put the Front Output shaft in, and locate it into the 4WD locking dog, as well as putting a gasket between the two cases and not breaking it and finally locating the selector shaft through the selector.
Did a dry run first, before adding the gasket, also to make sure that it all seemed to work before committing.
Once it was all in, bolted it up and tested the selector shafts again. I’m pretty sure they are all working as they should, selecting low/high range and the 4WD selector kicking in when it should.
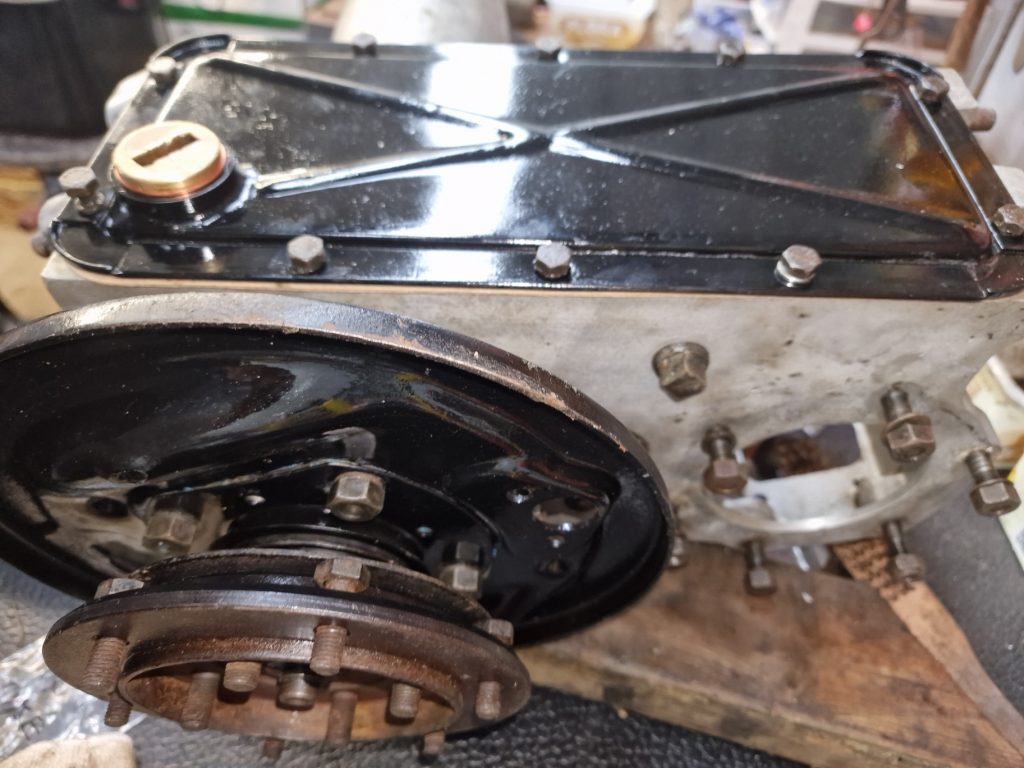
Fitted the rear output flange, and handbrake back plate, and finished off the front with the forward flange, the 4WD selector lever and the dust cover for the shafts. Also put the Low/High lever in position and tried on the new 4WD lever.

Put the bottom cover plate back on the transfer case, just to keep it safe and all together as this will need to come off later, and the intermediate gear out again when its attached to the main gearbox.
Everything tested ok, I guess I will only know if its completely right when it is put into use for the first time. The only thing I might change is to get a new 4WD pin, the old one is a little cruddy, and a little tight in the hole, no big deal, easy enough to change later, and not expensive.
So thats the Front output housing and transfer box pretty much sorted. What I should have mentioned was that I changed all the seals, just in case. Next job, onto the main gearbox.
Leave a Reply