After a good weekend last week, and a few little bits during the week, it is time to tackle the final planned part of the Teardown, Engine, Gearbox and Axles.
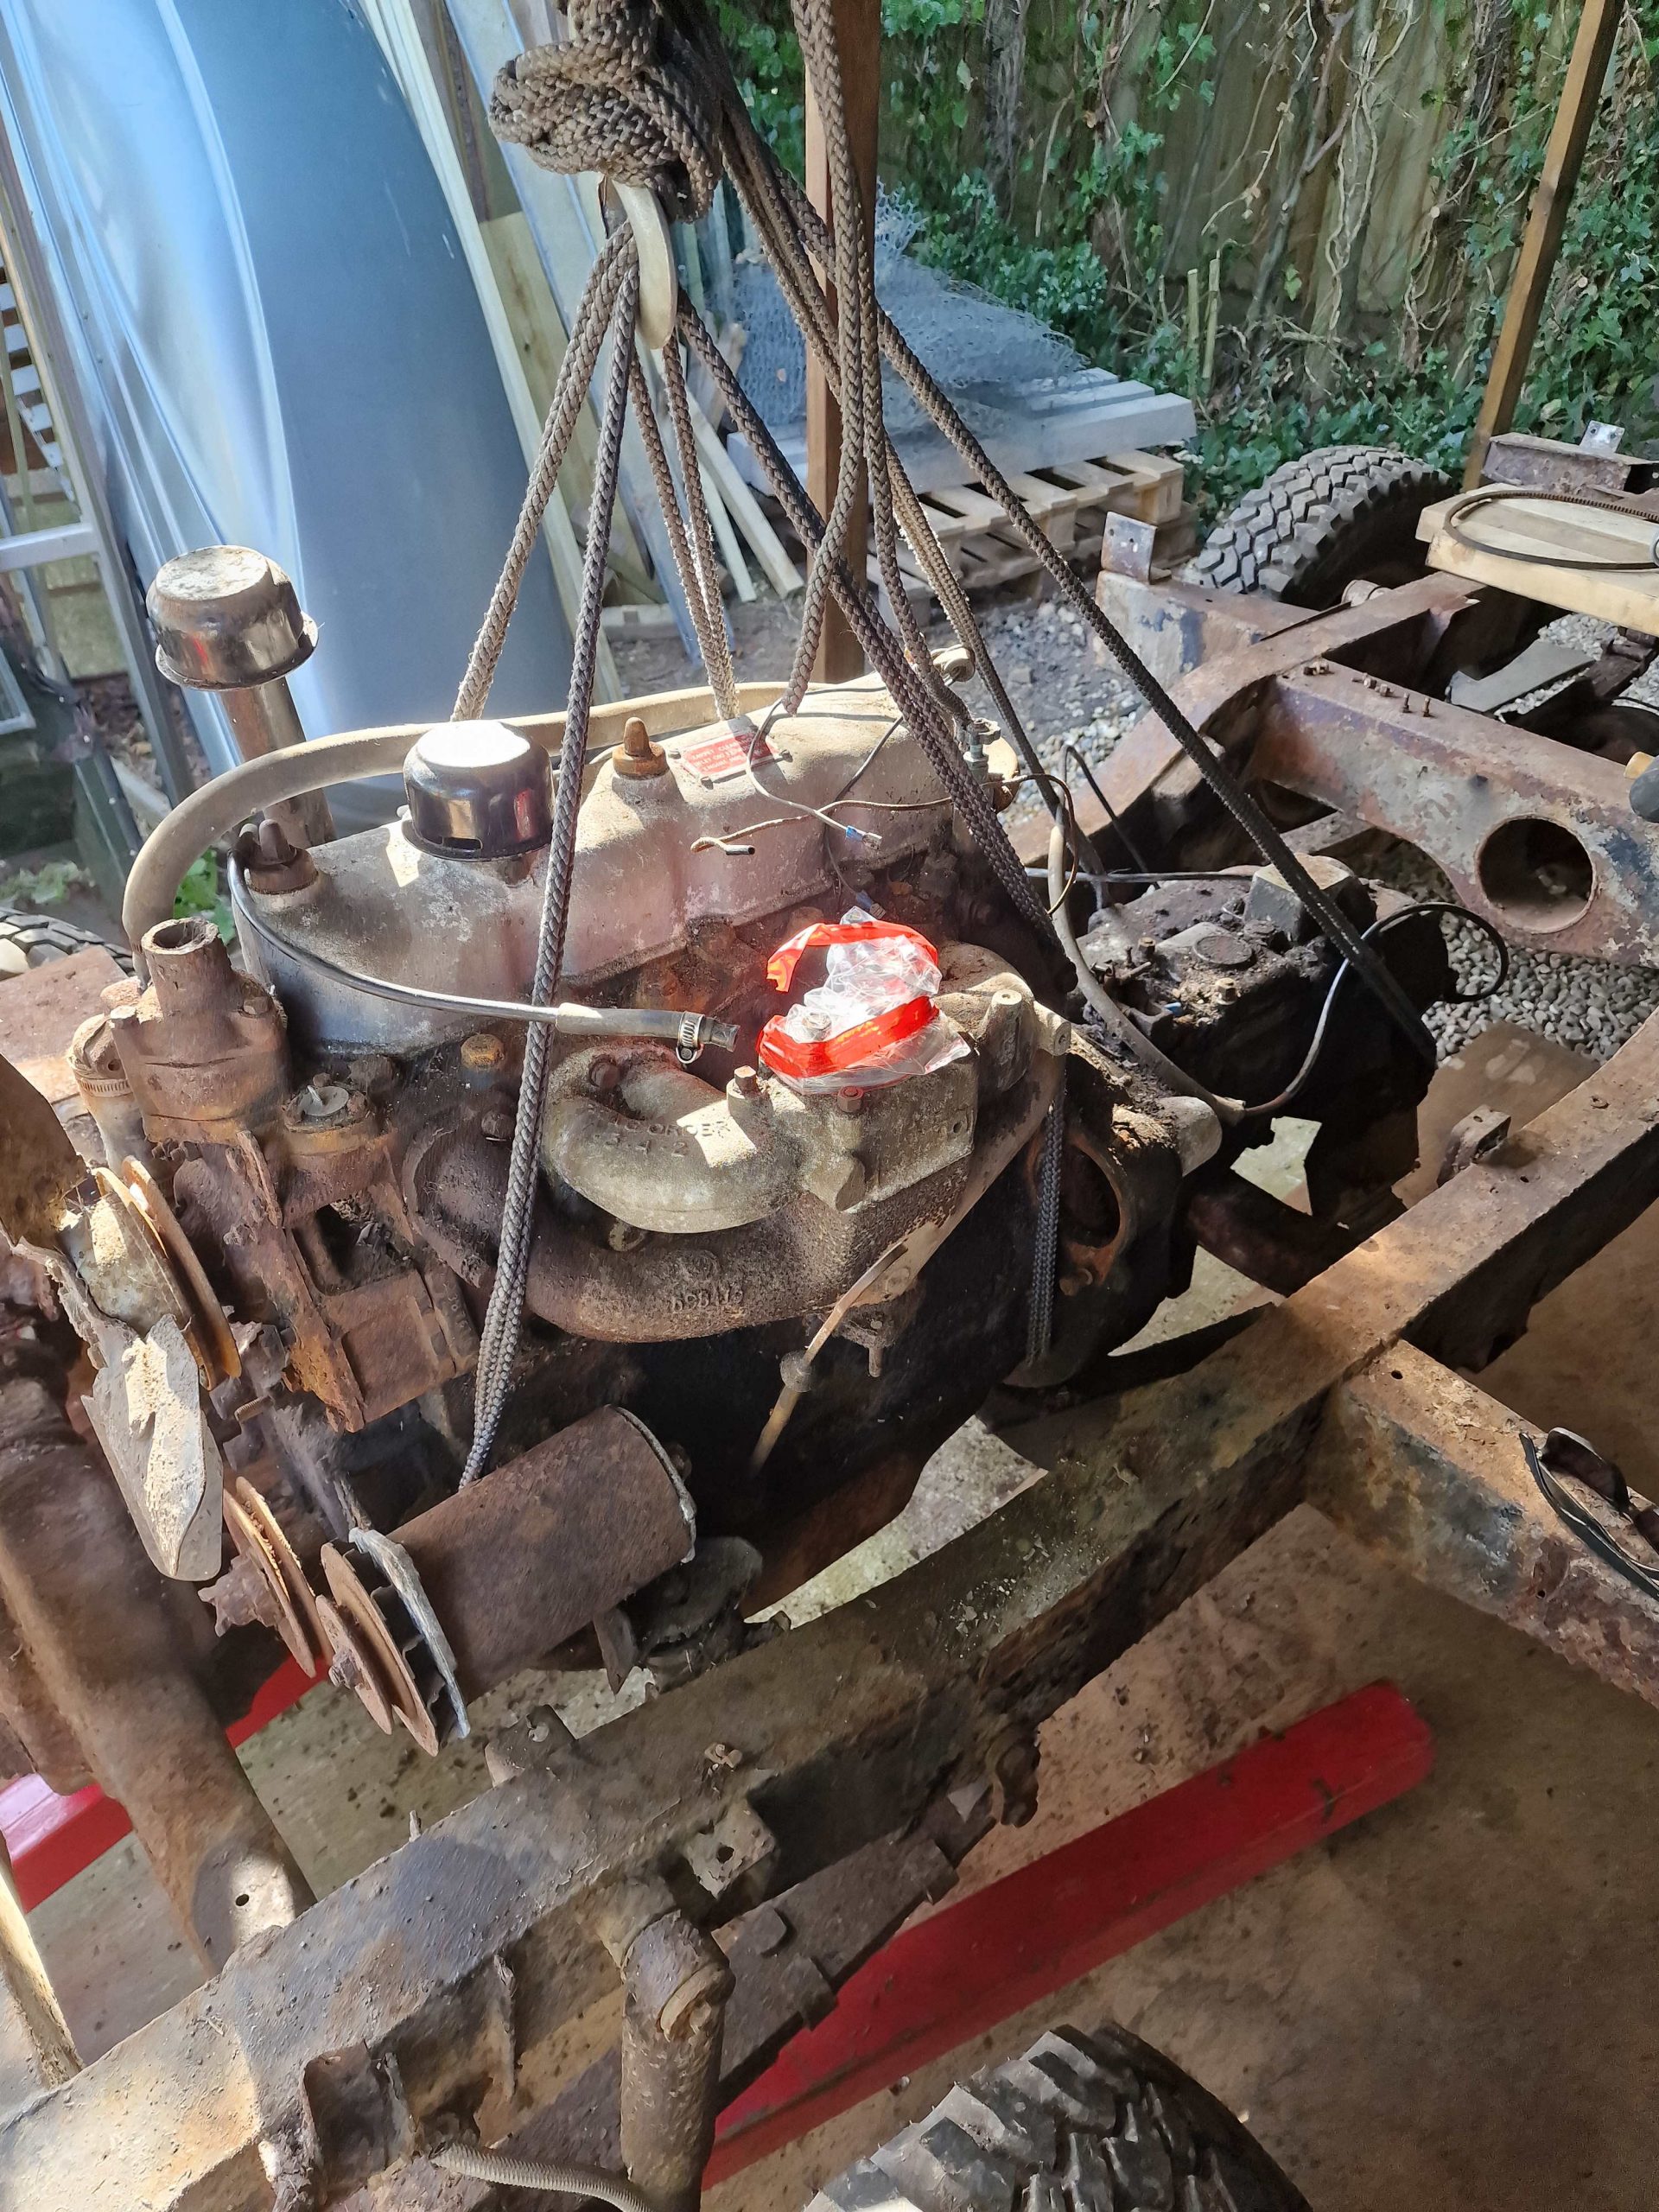
Engine Hoist hired, I started with just the engine. Got it rigged up with a bit of rope, I learned well from Daniel, my eldest son who recently left the Royal Navy after 8 years. Got all the bolts around the bell housing out, no issues there other than one stud came out, starter motor already out, took that out a week or so ago while tinkering.
So, it all just comes apart.. doesn’t it? Nope!! tried for some time, wiggling the engine, lifting and putting pressure on the gearbox, tapping the bell housing with a mallet even tapping a length of wood through the starter motor hole. Nope, not a sign of a gap.
Re-think!
What about engine and Gearbox together!
A little more rope work, and some gentle lifting, still wont budge.
Another re-think!
Let me ask my friend, Google! Humm, someone suggested it could be seized around the clutch, now that will be awkward if it is.
Lets try the engine on its own again, this time with some more wiggling some gentle tapping, and a small blunt screwdriver tapped into the seam between engine and bell housing and I start to see a gap appearing. Finally the Engine and Gearbox are apart, and the engine comes out.

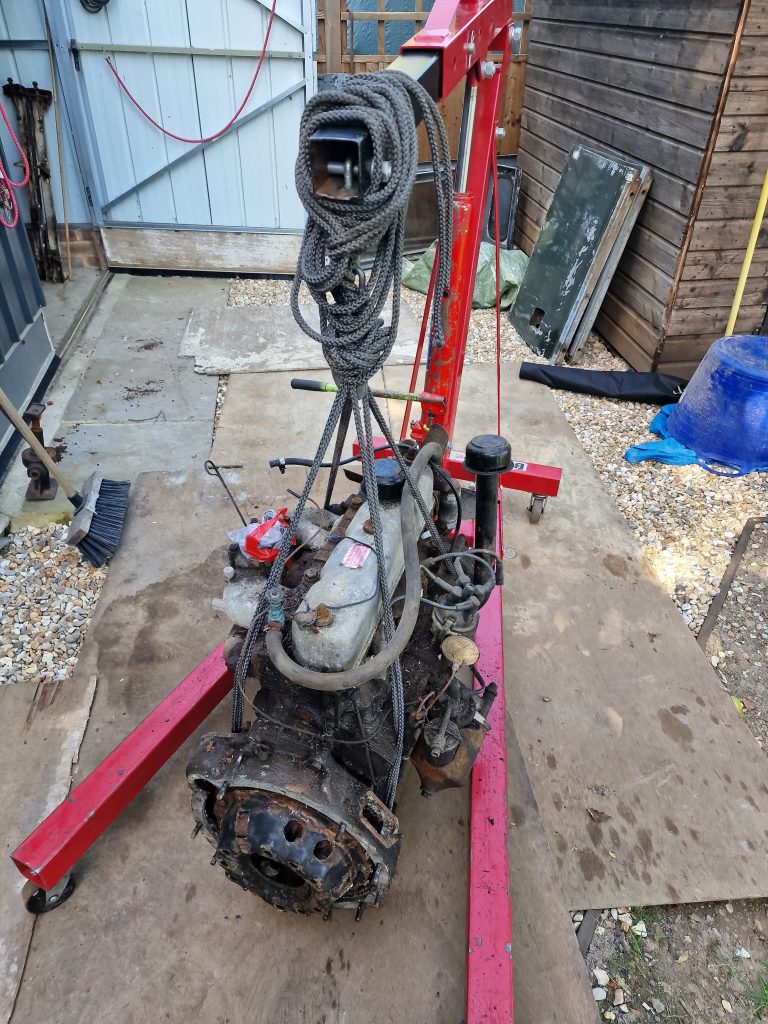
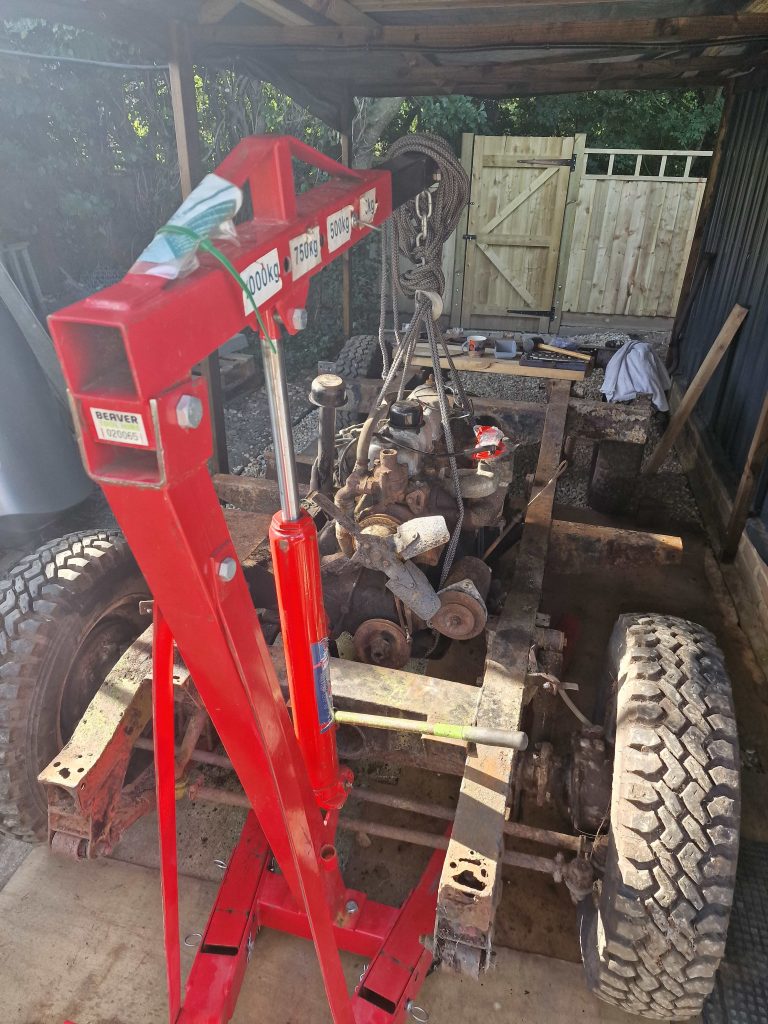
Gearbox in comparison was a piece of cake.
Now you can see from the pictures, and previous goings on, I laid stones around the workshop. I knew a Hoist would not work on stones, so laid down some ply sheets. What I didn’t consider was that the wheels of the hoist would decided to make their own holes in the ply. Hey, Ho, its done now.
Onto the Axles then, starting at the front dumb irons. One side came out a treat, the other side not, so out came the Angle grinder again. The front ones are done, back of the springs next.
Now, I have said that I am a beginner at all of this, and there is a bit of advice I have often passed onto others that I should have listened to myself.
RTFM
Read the F’ing Manual
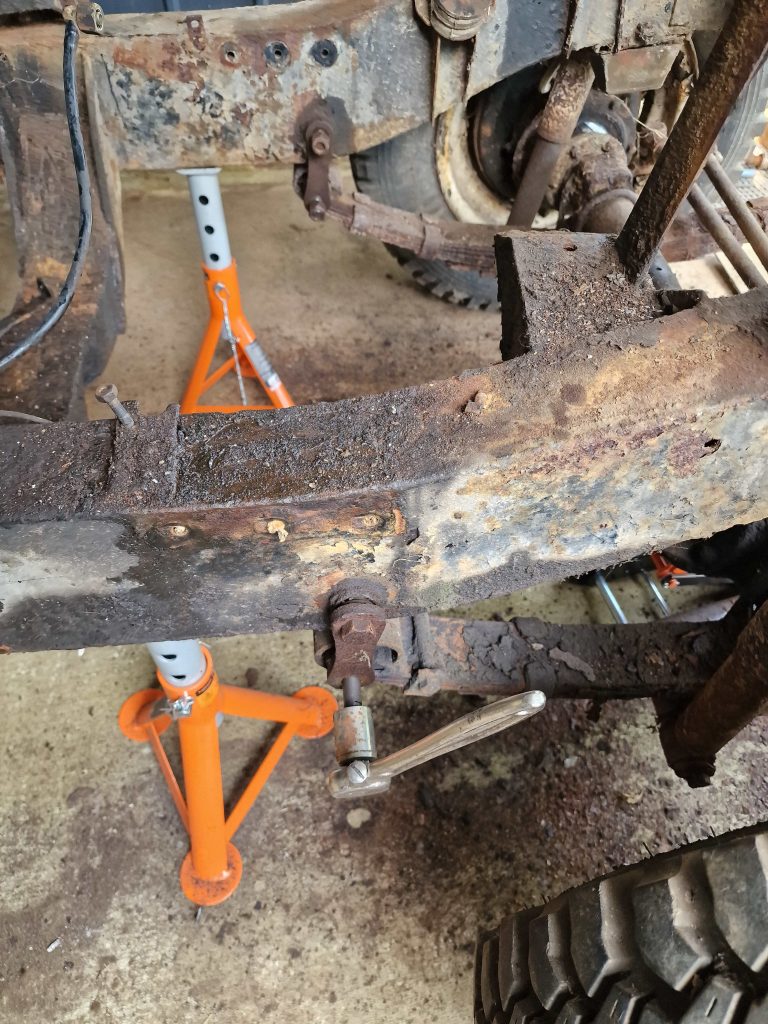
What I didn’t realise until I did RTFM, was that the rear spring hangers are threaded, so no amount of banging with various weighted hammers was going to get them out.
Back to it in the morning, and guess what, they undo with a socket! well most of them had to cut one side out, no amount of extension bars on the socket would budge that one.
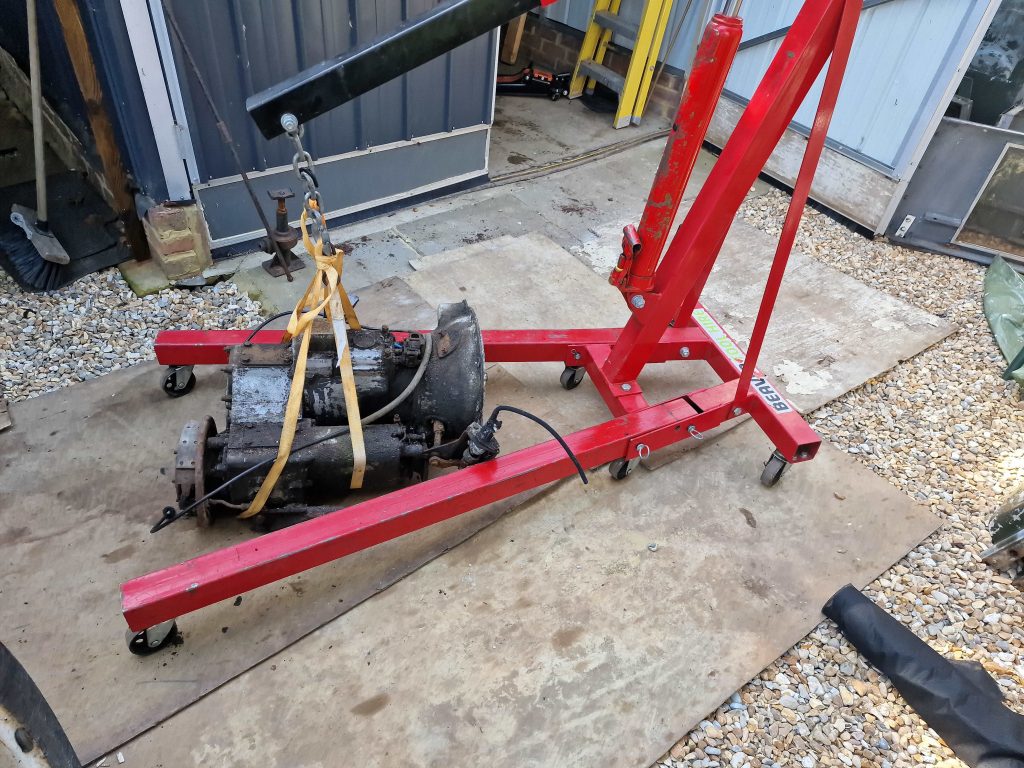
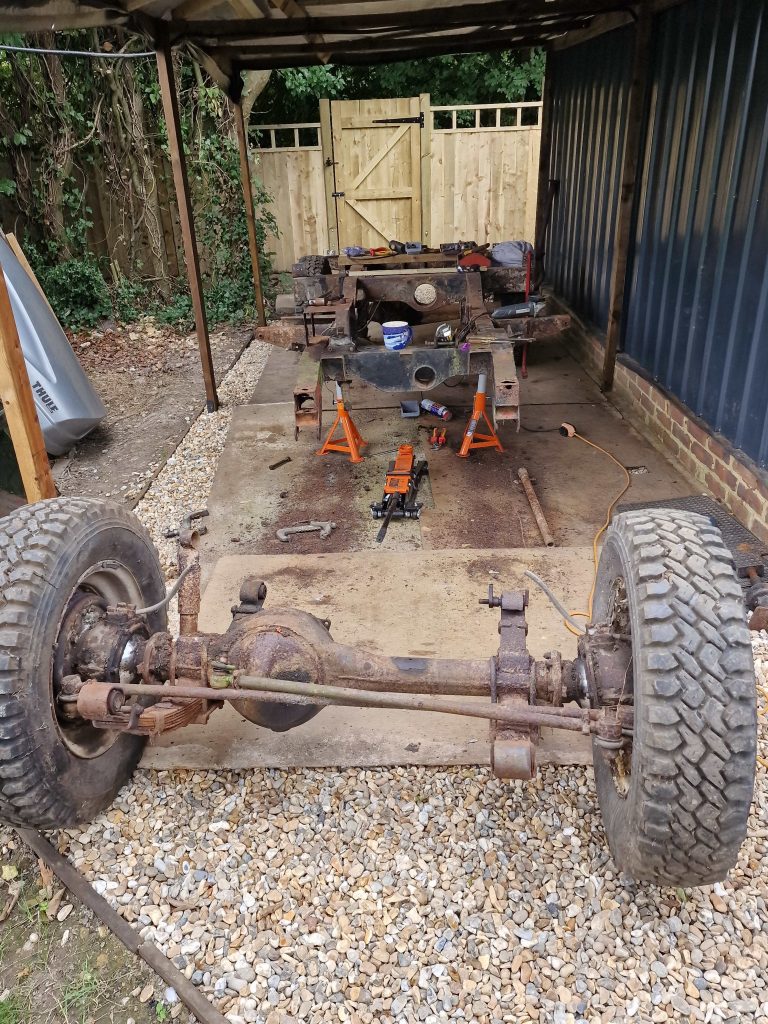
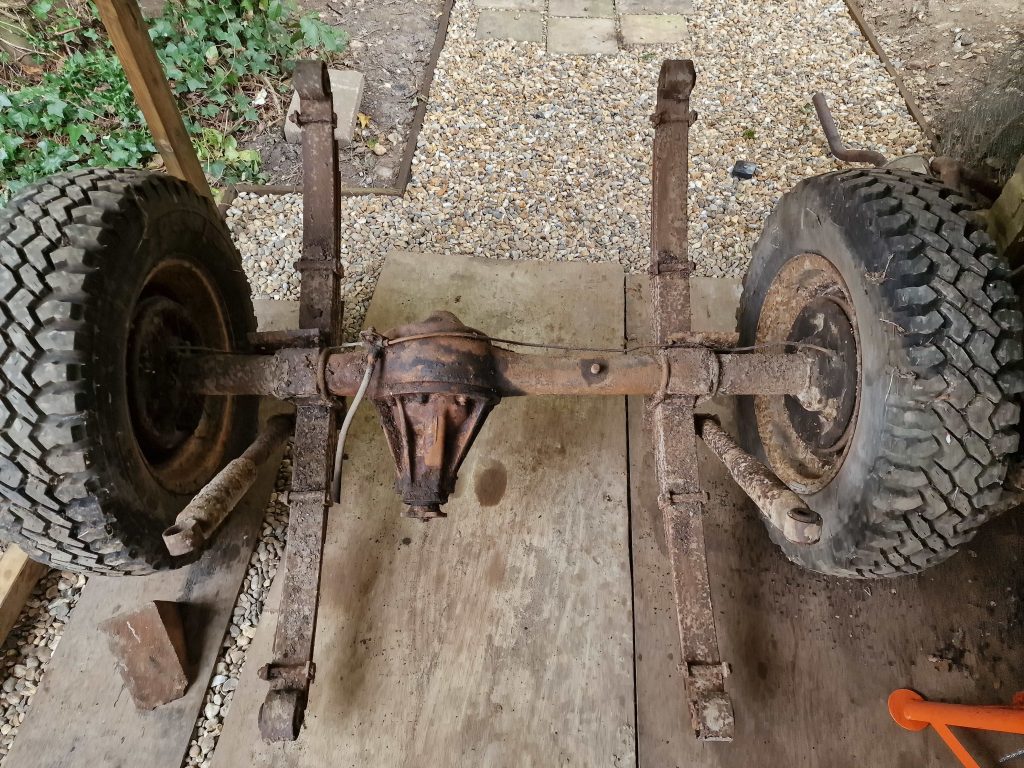
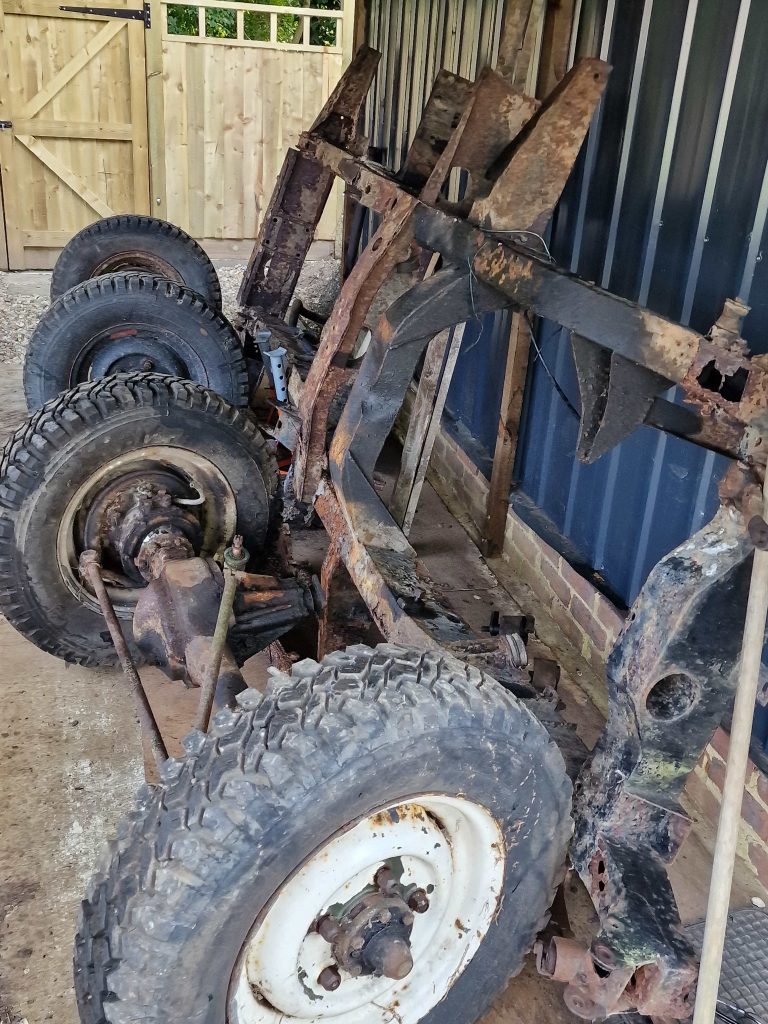
Pleased with progress, both axles no off.
So next lesson of the day, make sure you prepare for what could going to happen before it does!
For those that have seen leaf springs before, the leaf’s are held together with brackets, with a single bolt up through the middle to hold the final 2 or 3 leaf’s on, and the whole lot together. Now these things are under a bit of pressure and what I didn’t expect was that these centre bolts would either be missing, or so rusted that as soon as the U bolts are cut it will all go POP!
That was a bit of a wake up call! So the next ones were all clamped together just incase.
5 Cutting disks later, and a few squeaky cheek moments later they are off.

Bit out of sequence, but thought I would get Daniel in the blog, Needed a bit of help wheeling the back axle out.
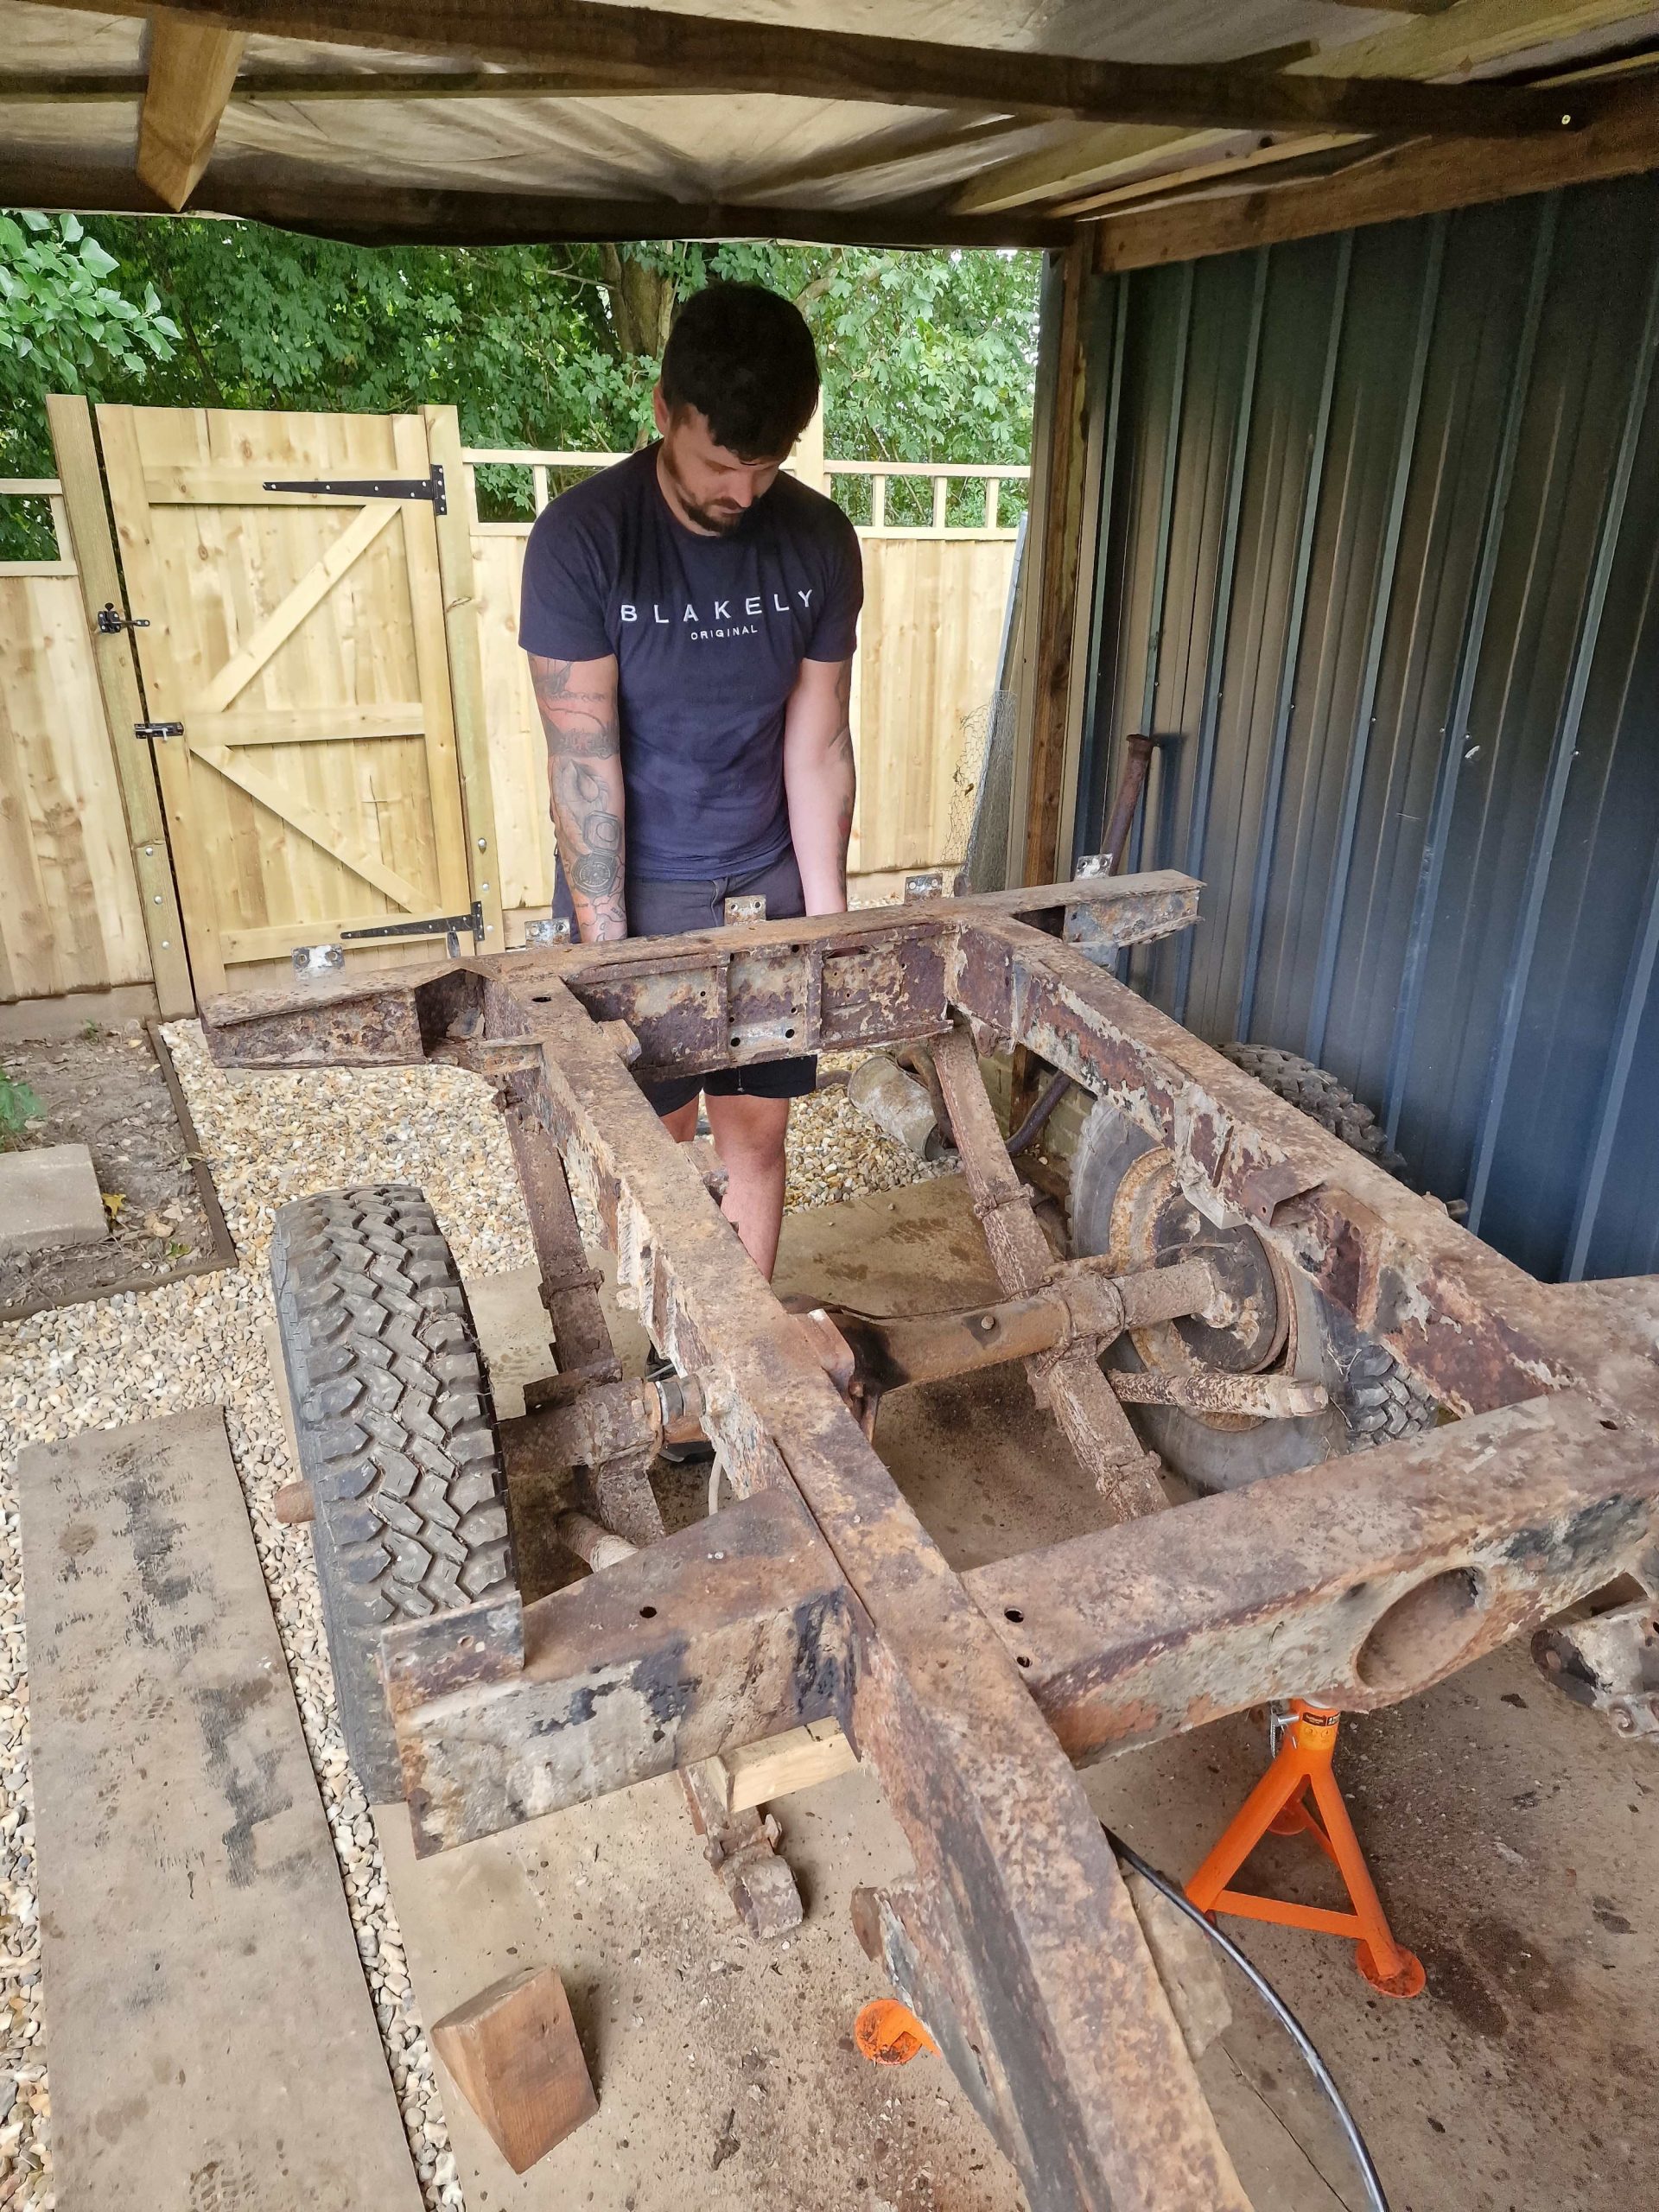
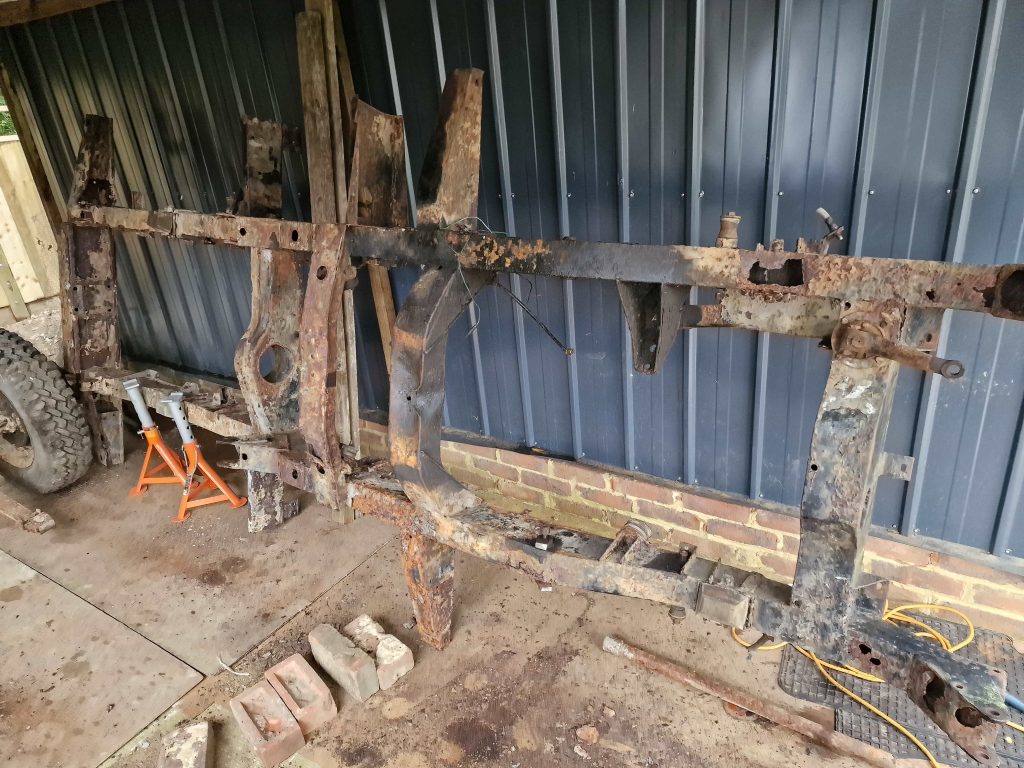
So I now have everything other than a few bits and pieces off the chassis. I have been anxiously waiting for this moment so I can see the real status of the chassis top and bottom. So leant the chassis on its side and got my first proper look at the under side. I knew some work would be required to make it good, but, and its a big but, I don’t think I’ll bother, I think it will be a new chassis.
Now a new Galv chassis is around £2k, that’s a lot to add so early in the project, but is one of the most important parts, so lets break it down, lets say £2k, its a 2 year project so its only about £2.77 per day. Doesn’t sound so bad now.
The final two pics of this article are a close up of the chassis (if you think its worth saving leave a comment), and the final state of Isobel after this weekends work.
That’s It, TEARDOWN COMPLETE. Now I think it will be a little while before the next article, so please be patient, it will come. That’s because I will taking some time out, I need to keep the wife sweet, and it will be the start of the restoration, bit by little bit. The first of those will be the Rear Axle.
Thanks for reading, hope your enjoying it, maybe having a little giggle now and then and maybe finding it a little informative even though this was never intended, and never will be a tutorial.
Feel free to comment below, be good to hear your views on what I’ve been upto.
Leave a Reply