Told you it was a little out of order!
Now the chassis is ready, I can start to think about adding stuff to it. The first of these will be the Rear Axle and Rear Suspension.
I did this some time ago, but the Rear Axle has been completely re-built, new Bearings, seals and gaskets and distance pieces. These are small collars that sit on the Hub Bearing sleeve, they are a press fit and normally put on with a press, which I dont have.


So, I boiled the new distance pieces in old oil, metal expands when hot yes? well yes it does and by leaving it to cook for long enough they went on without any issue at all.
Another new skill to add!
Next was to fit new bearings into each of the Hubs. I had purchased complete OEM bearing kits, that have everything I needed, and some good quality bearings so didn’t want to mess this up.
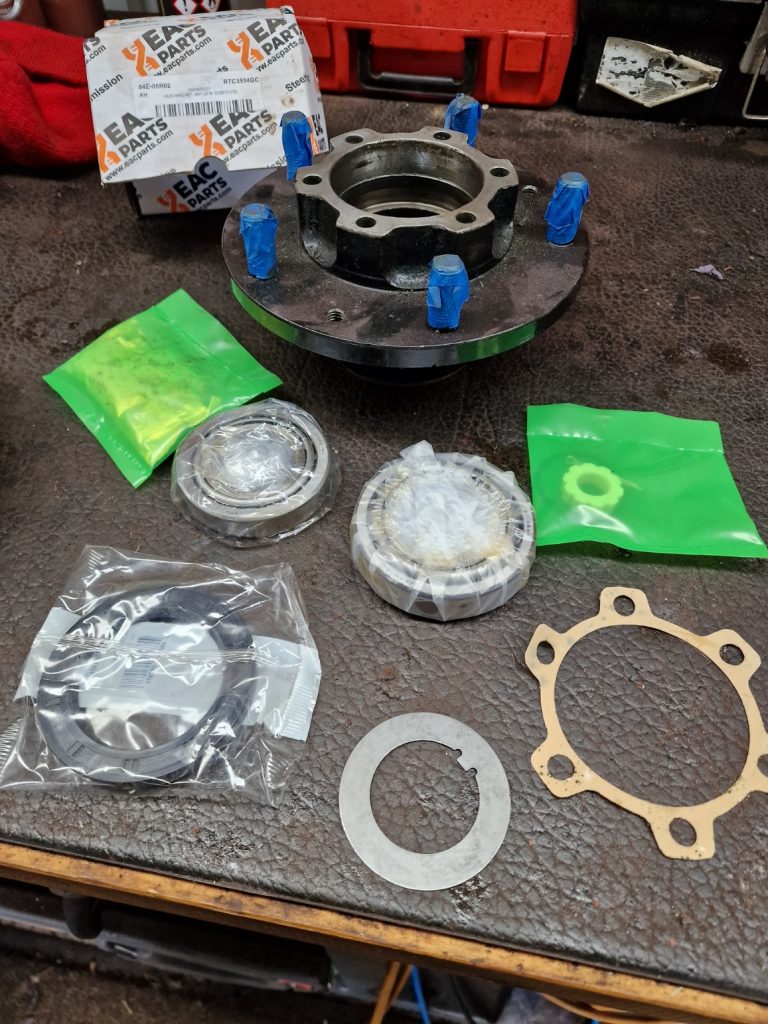
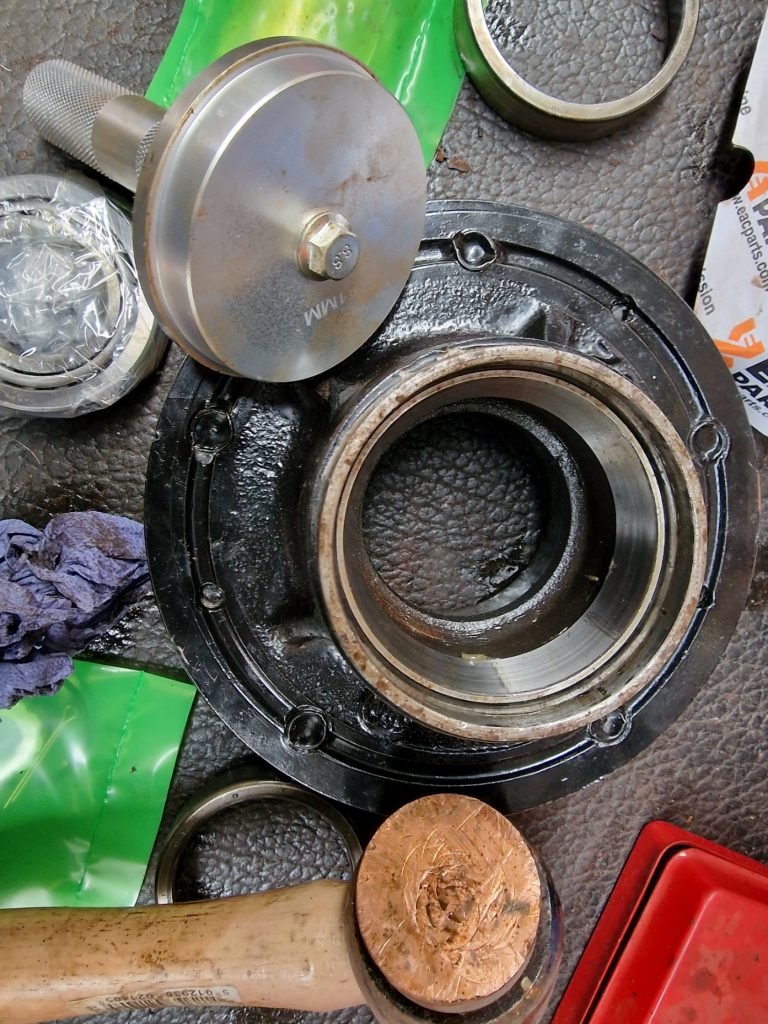
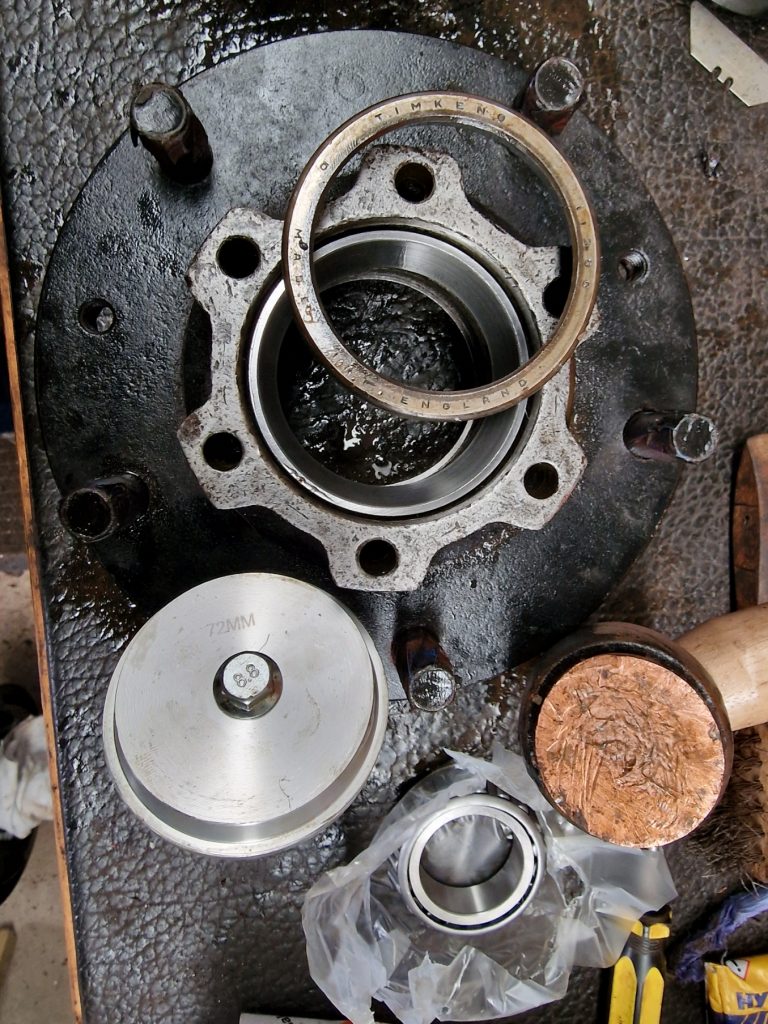
Using a combination of a Bearing tool and old bearing races I got them all in, two in each hub and without too much hassle, also got to use my new copper hammer, which is bloody expensive and probably too big for the job, never mind.. Size does matter.
So now its just a case of putting it all together, Hub Bearing Sleeve onto the axle, and break back plates bolted on, with nice new BZP bolts (which I had forgotten to order in my previous nut and bolt order) and locked in place with spring washers and locking plates.
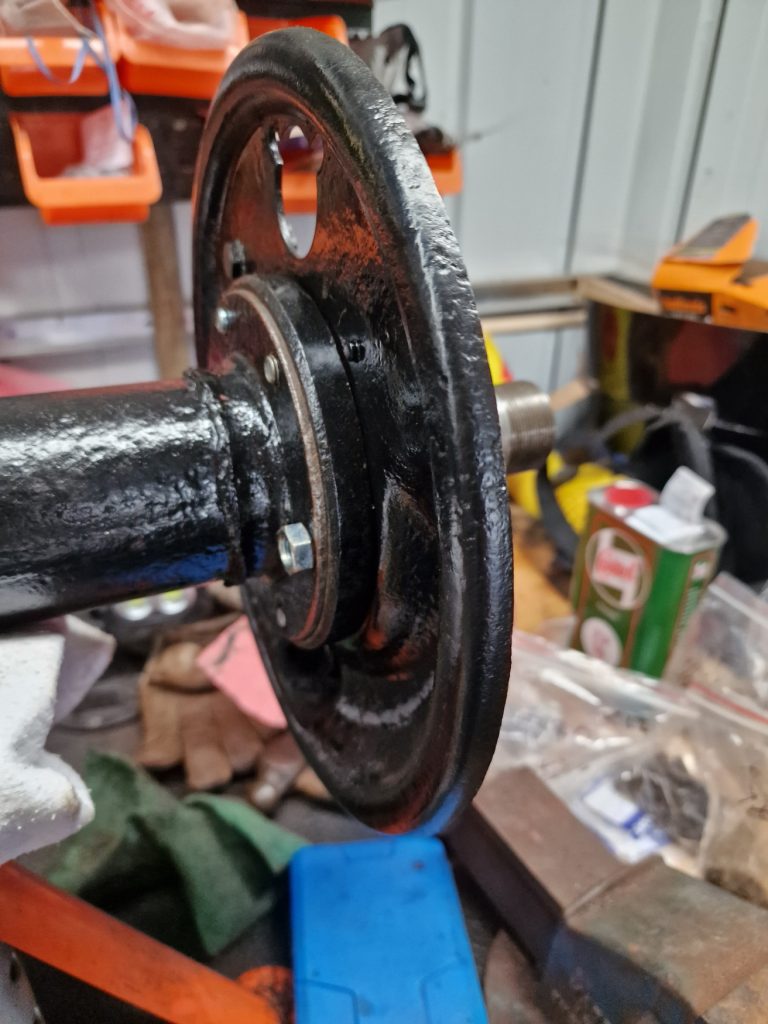
I chose not to fit any of the new brake parts just yet, Isobel is not going anywhere for a while, so would leave them in their boxes until later.
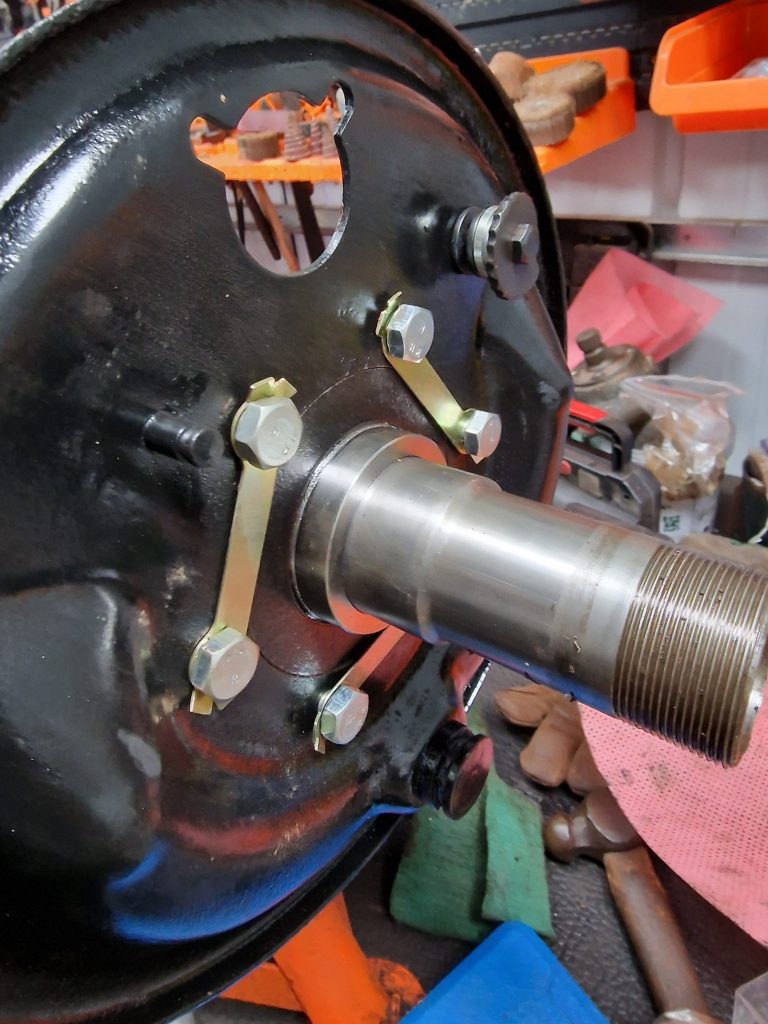
Next was to slide on the newly re-furbished hubs with new bearings, bearing nuts and various washers and locking washers.
And finally set the end float, which I got pretty much sorted.
What I didn’t do was to bend the lock washer, I will re-set the bearing end float when the axles are all on the chassis.
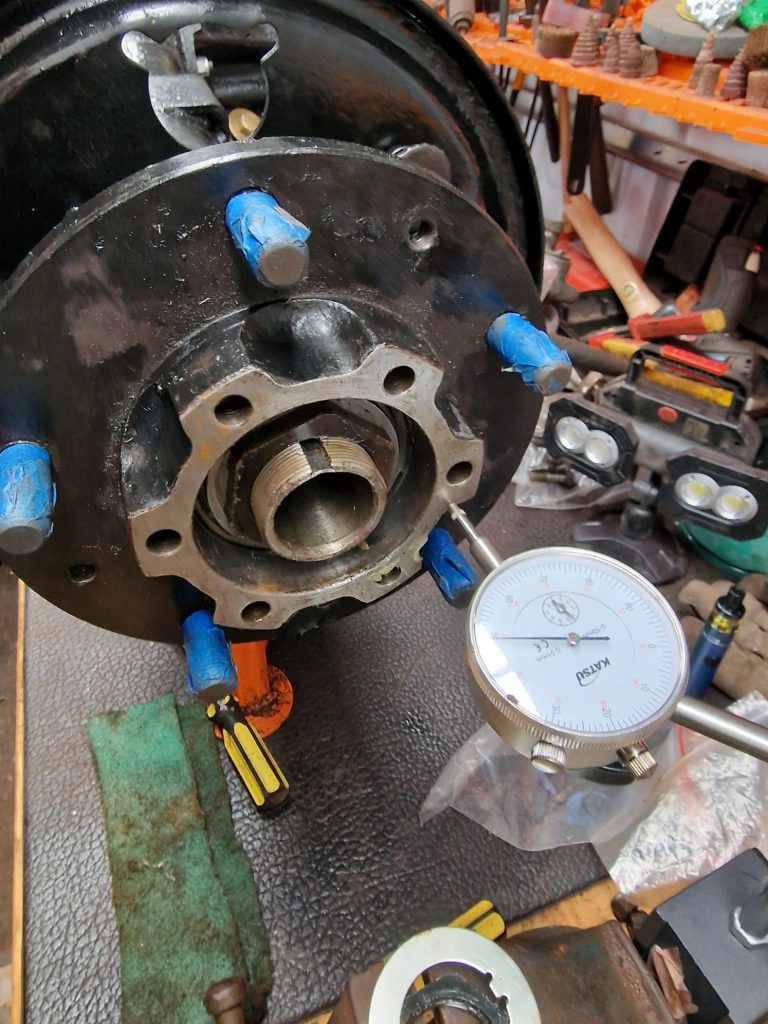
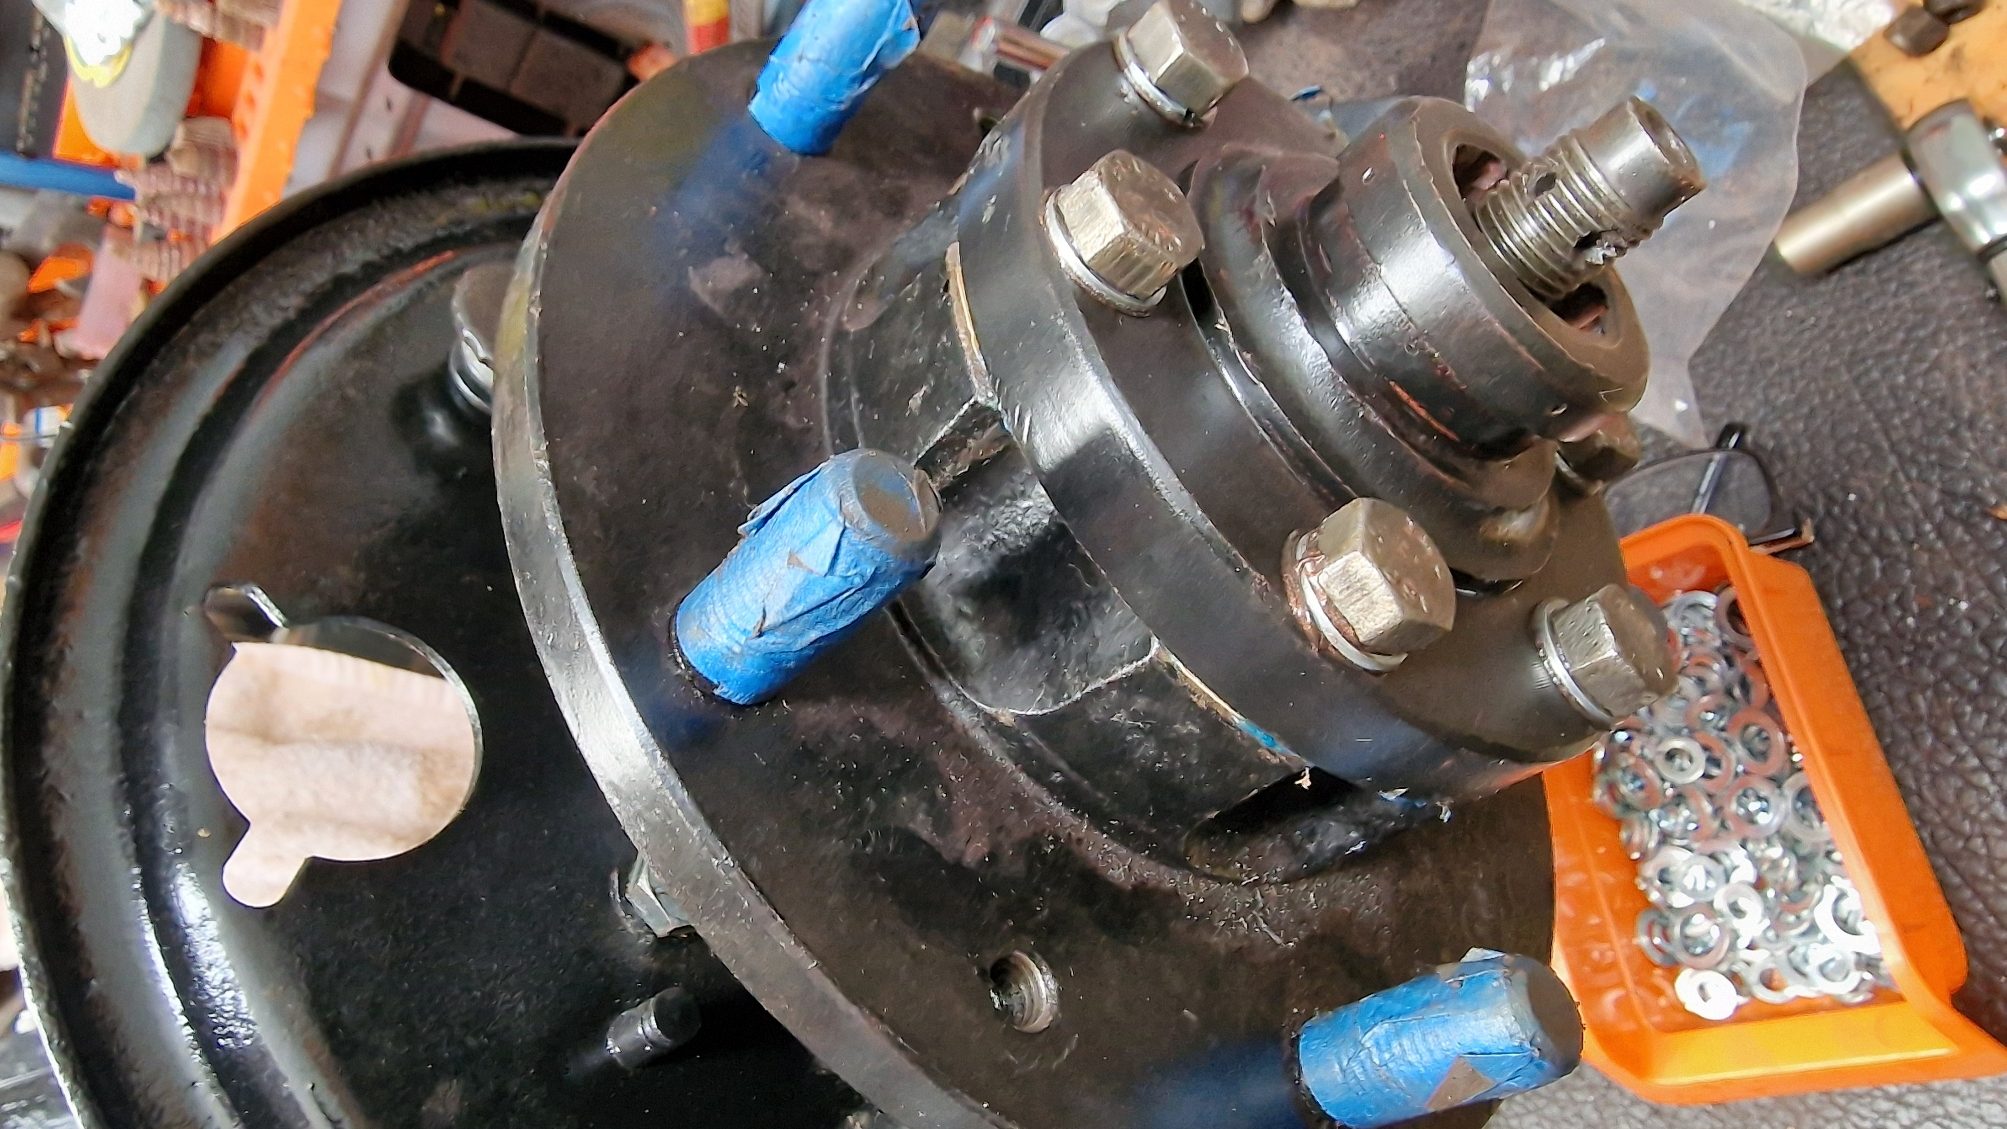
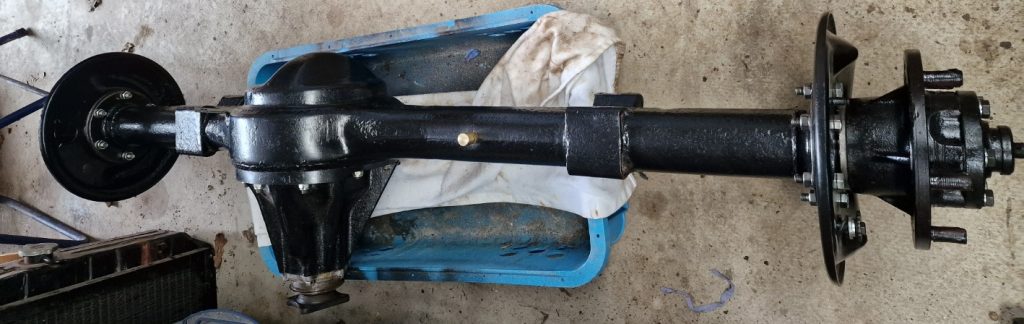
In with the axle shaft and on with the drive member. I should have put a felt washer in the end of this and torqued everything up properly, but as with the bearing end float will re do all this when the axles are all done.
So, have one completed Axle, apart from the brakes, and new brake drums. Will use the old drums for now, no point getting the new ones rusty.
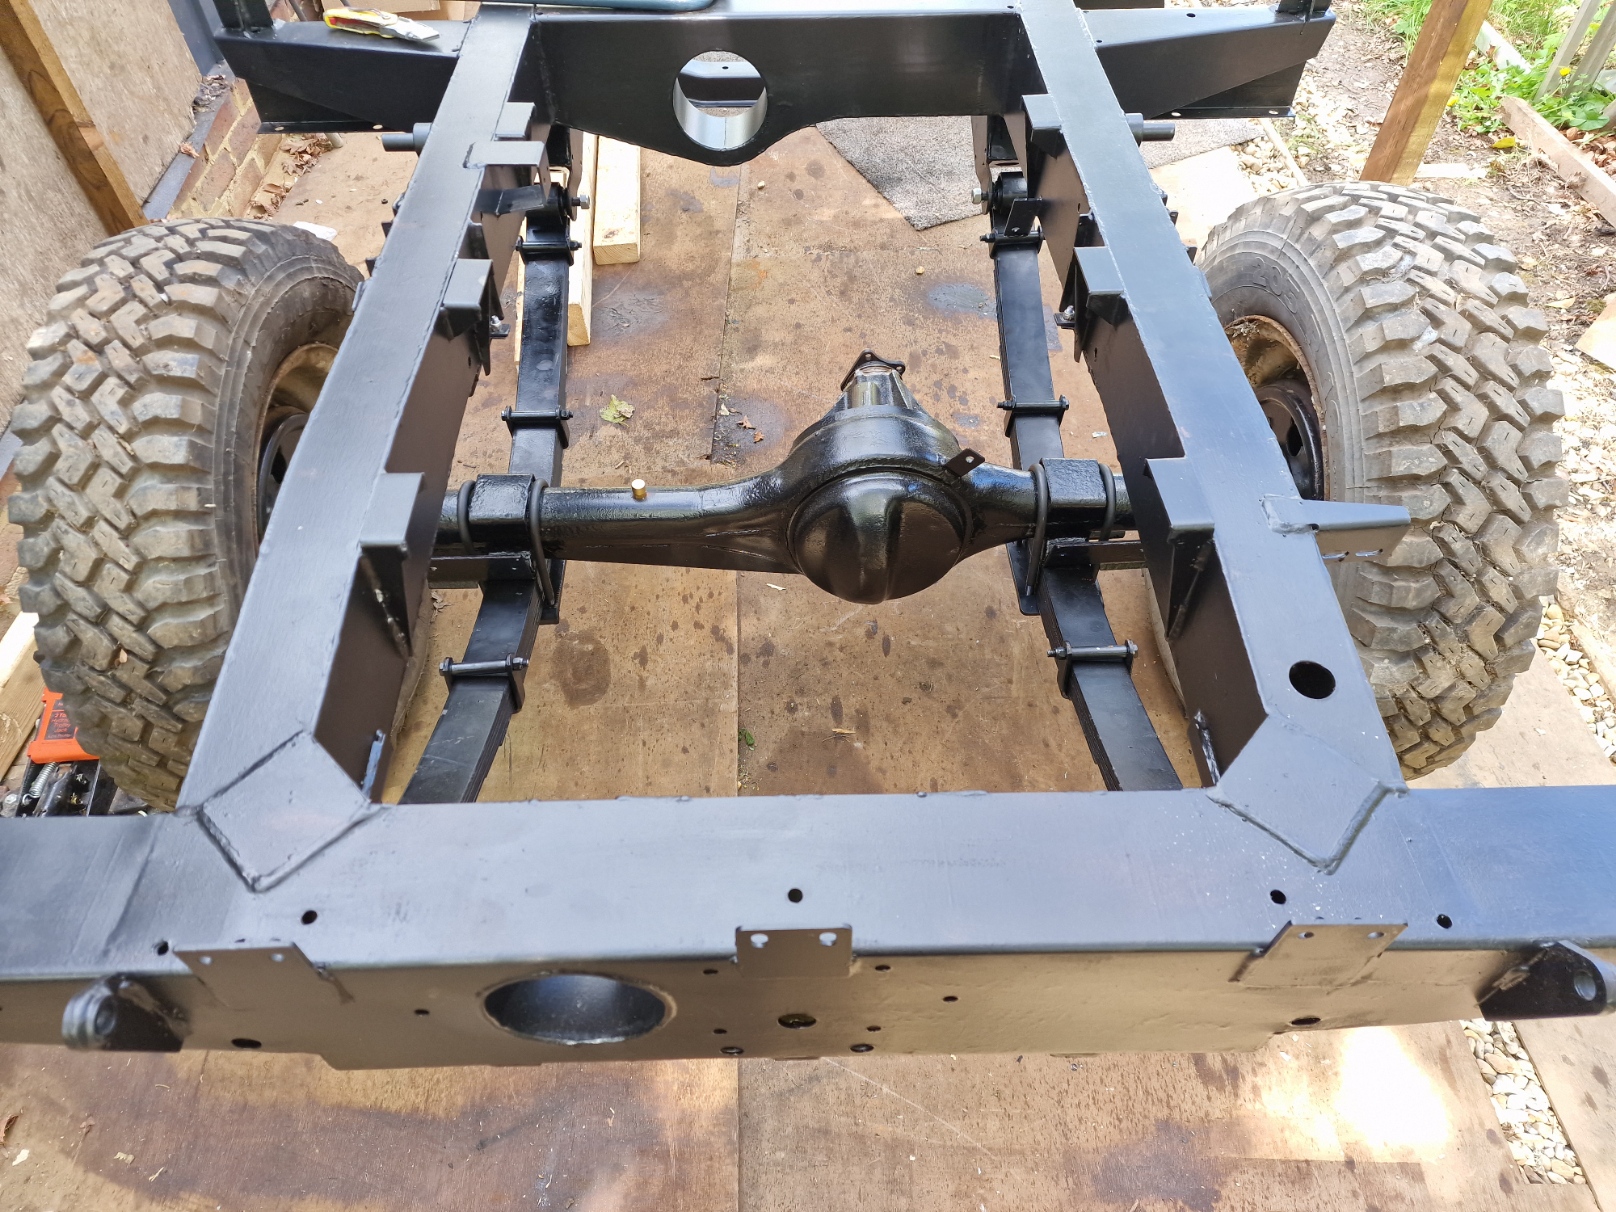
So, next… Get it on the chassis. Now I said this was out of order, I did this axle before the chassis had even arrived, but seems to make sense in this order!
Now, I had done this part before, before I realised I needed to change the bushes, so this time it went a little easier.
Basic process, hang the springs from one end, slide in the axle and then with a jack holding up the chassis, drop the chassis down until the other end of the springs can be attached.
Once the springs are on, can then bolt the axle to the springs with the U-Bolts and bottom plate, with original lockers on the nuts rather than nylocs.
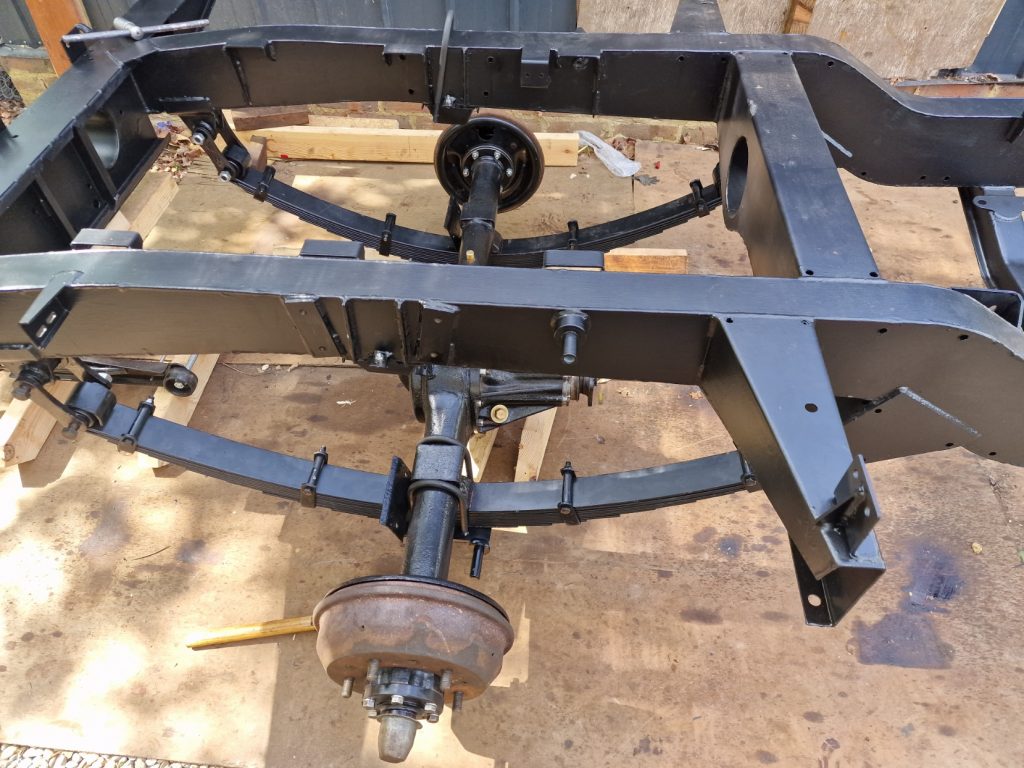

Did get the wheels on for a short while, but there is other stuff to do, before its all ready to be tightened.
- Put shock absorbers on
- Set the springs (Distance from axle to chassis)
- Torque all the hanger bolts & U-Bolts.
- Put the Check Straps on
- and of course, when ready install all the brake stuff (must remember not to forget that part 🙂 ).
So that’s it, rear axle on. Not finished, but enough to move on with the Front Axle, which I have not re-built yet.
One Comment
Felix Meyer
Great job site admin! You have made it look so easy talking about that topic, providing your readers some vital information. I would love to see more helpful articles like this, so please keep posting! I also have great posts about Escort Services, check out my weblog at (Sorry, I have deleted the URL. I am sure some are interested in Escorts, but not the kind you are talking about 🙂 more the ones with 4 wheels, not 2 legs.. )