In the last article, I stripped down and had a good look at the main gearbox, and was going to order some new parts. Well, I got the parts I needed and in this article I get to re-build a gearbox.
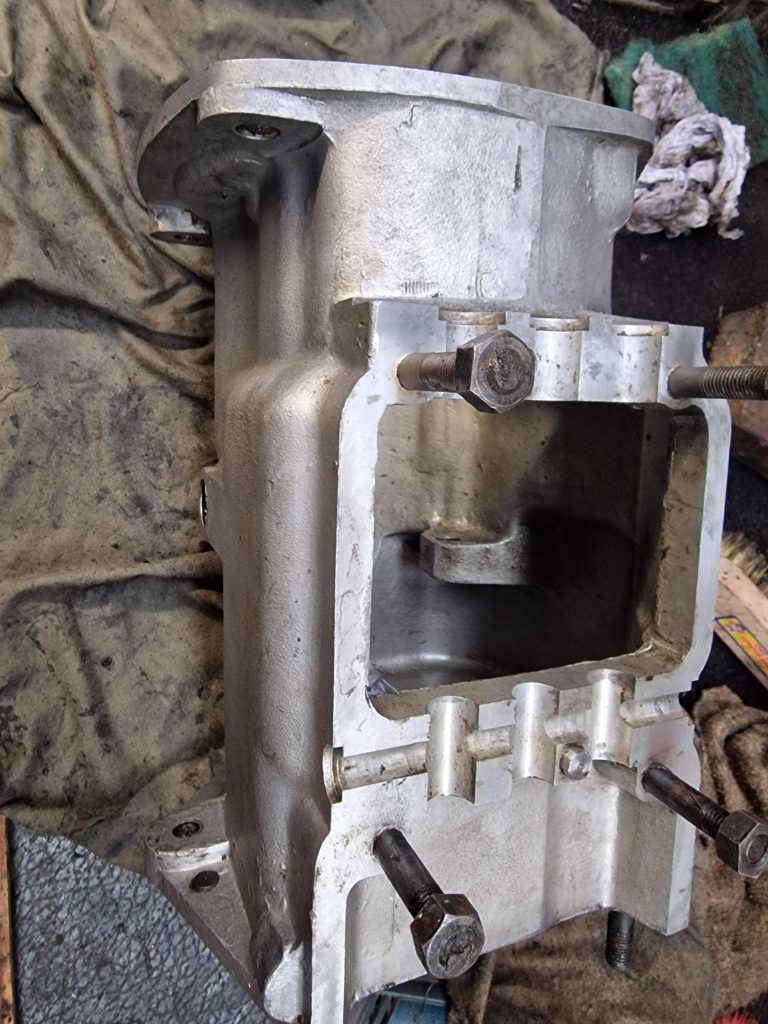
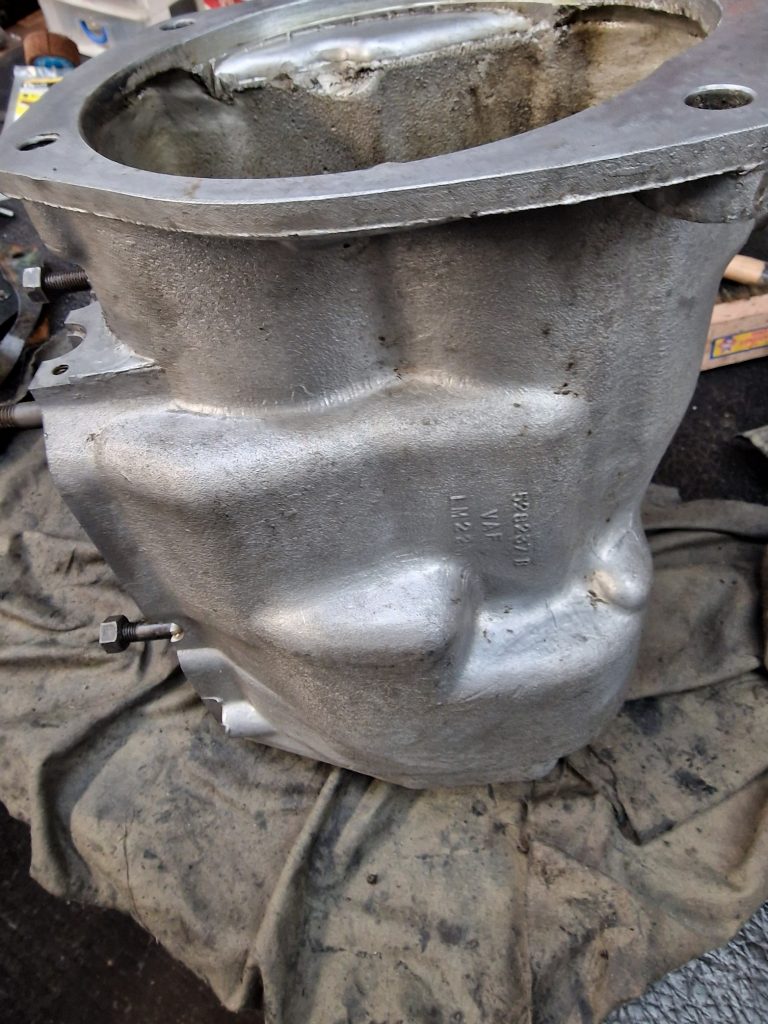
Before I get into the detail, cleaned up the really mucky cases, and gave them a coat of etch clear coat.
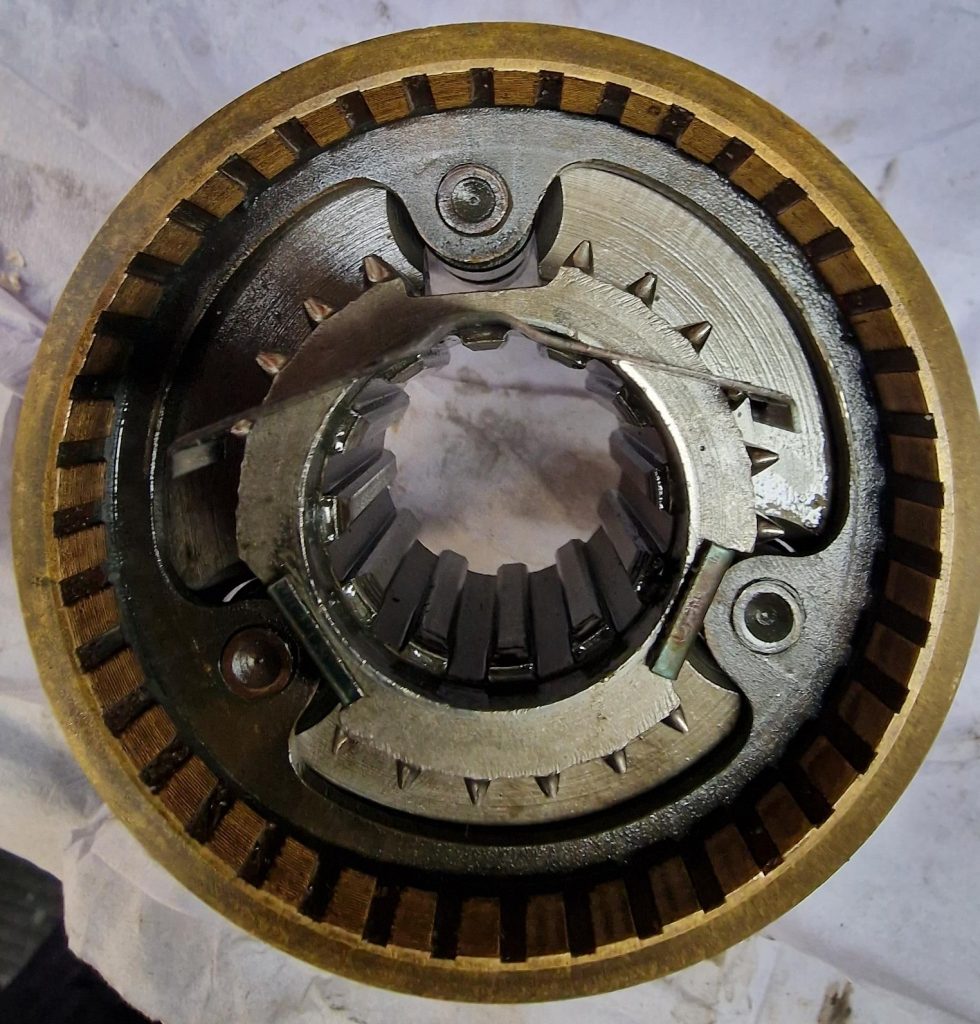
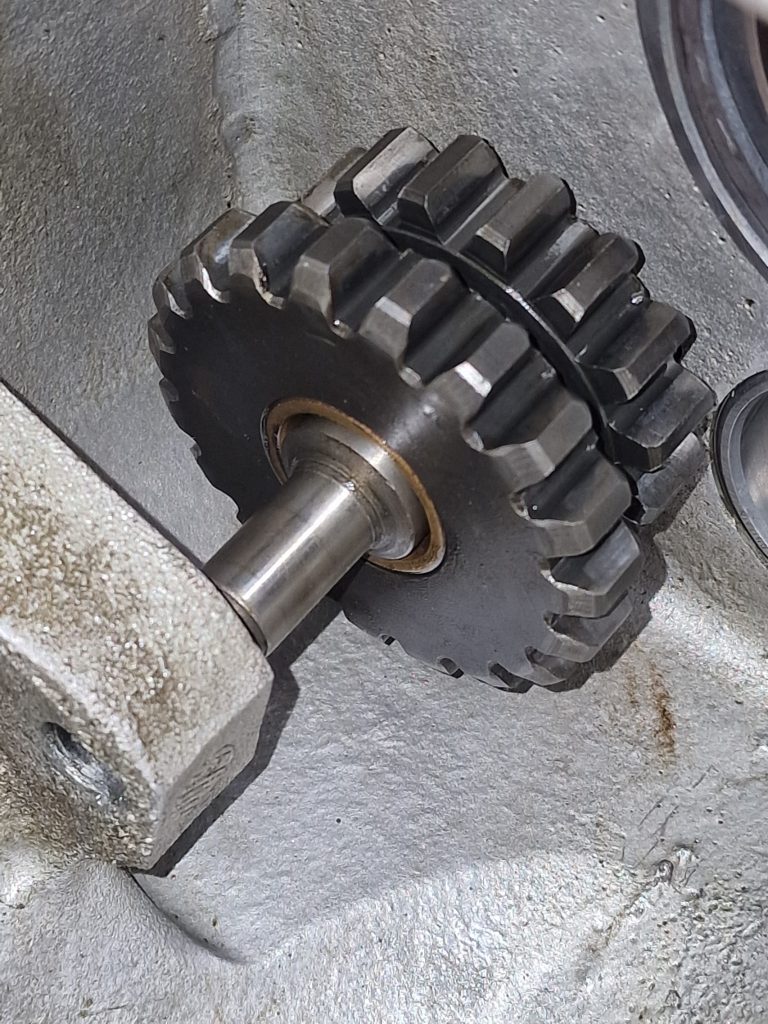
First up, the 3rd / 4th gear syncro. If you remember, one of the springs was missing, its a common issue apparently.
So ordered 3 new NOS springs (All the way from Cyprus! Not entirely sure why I did that, but I did).
Anyway, took the remaing 2 springs out, and fitted the new ones. The picture is just before I put the final one in.
I have heard from various video’s, stories of woe, putting these in, not sure why it was pretty simple.
Next is the 2nd / 3rd gear bush, if you read the previous post, you will know this was broken and in 2 parts. There is an alternative to the all in one, which is to buy it already broken (actually 2 separate parts). I also got some recommendations to use the 2 part option, but, I know best, :-), so bought an OEM 1 piece part, have to say, f’ing expensive. This is the first place where there are certain parameters to meet.
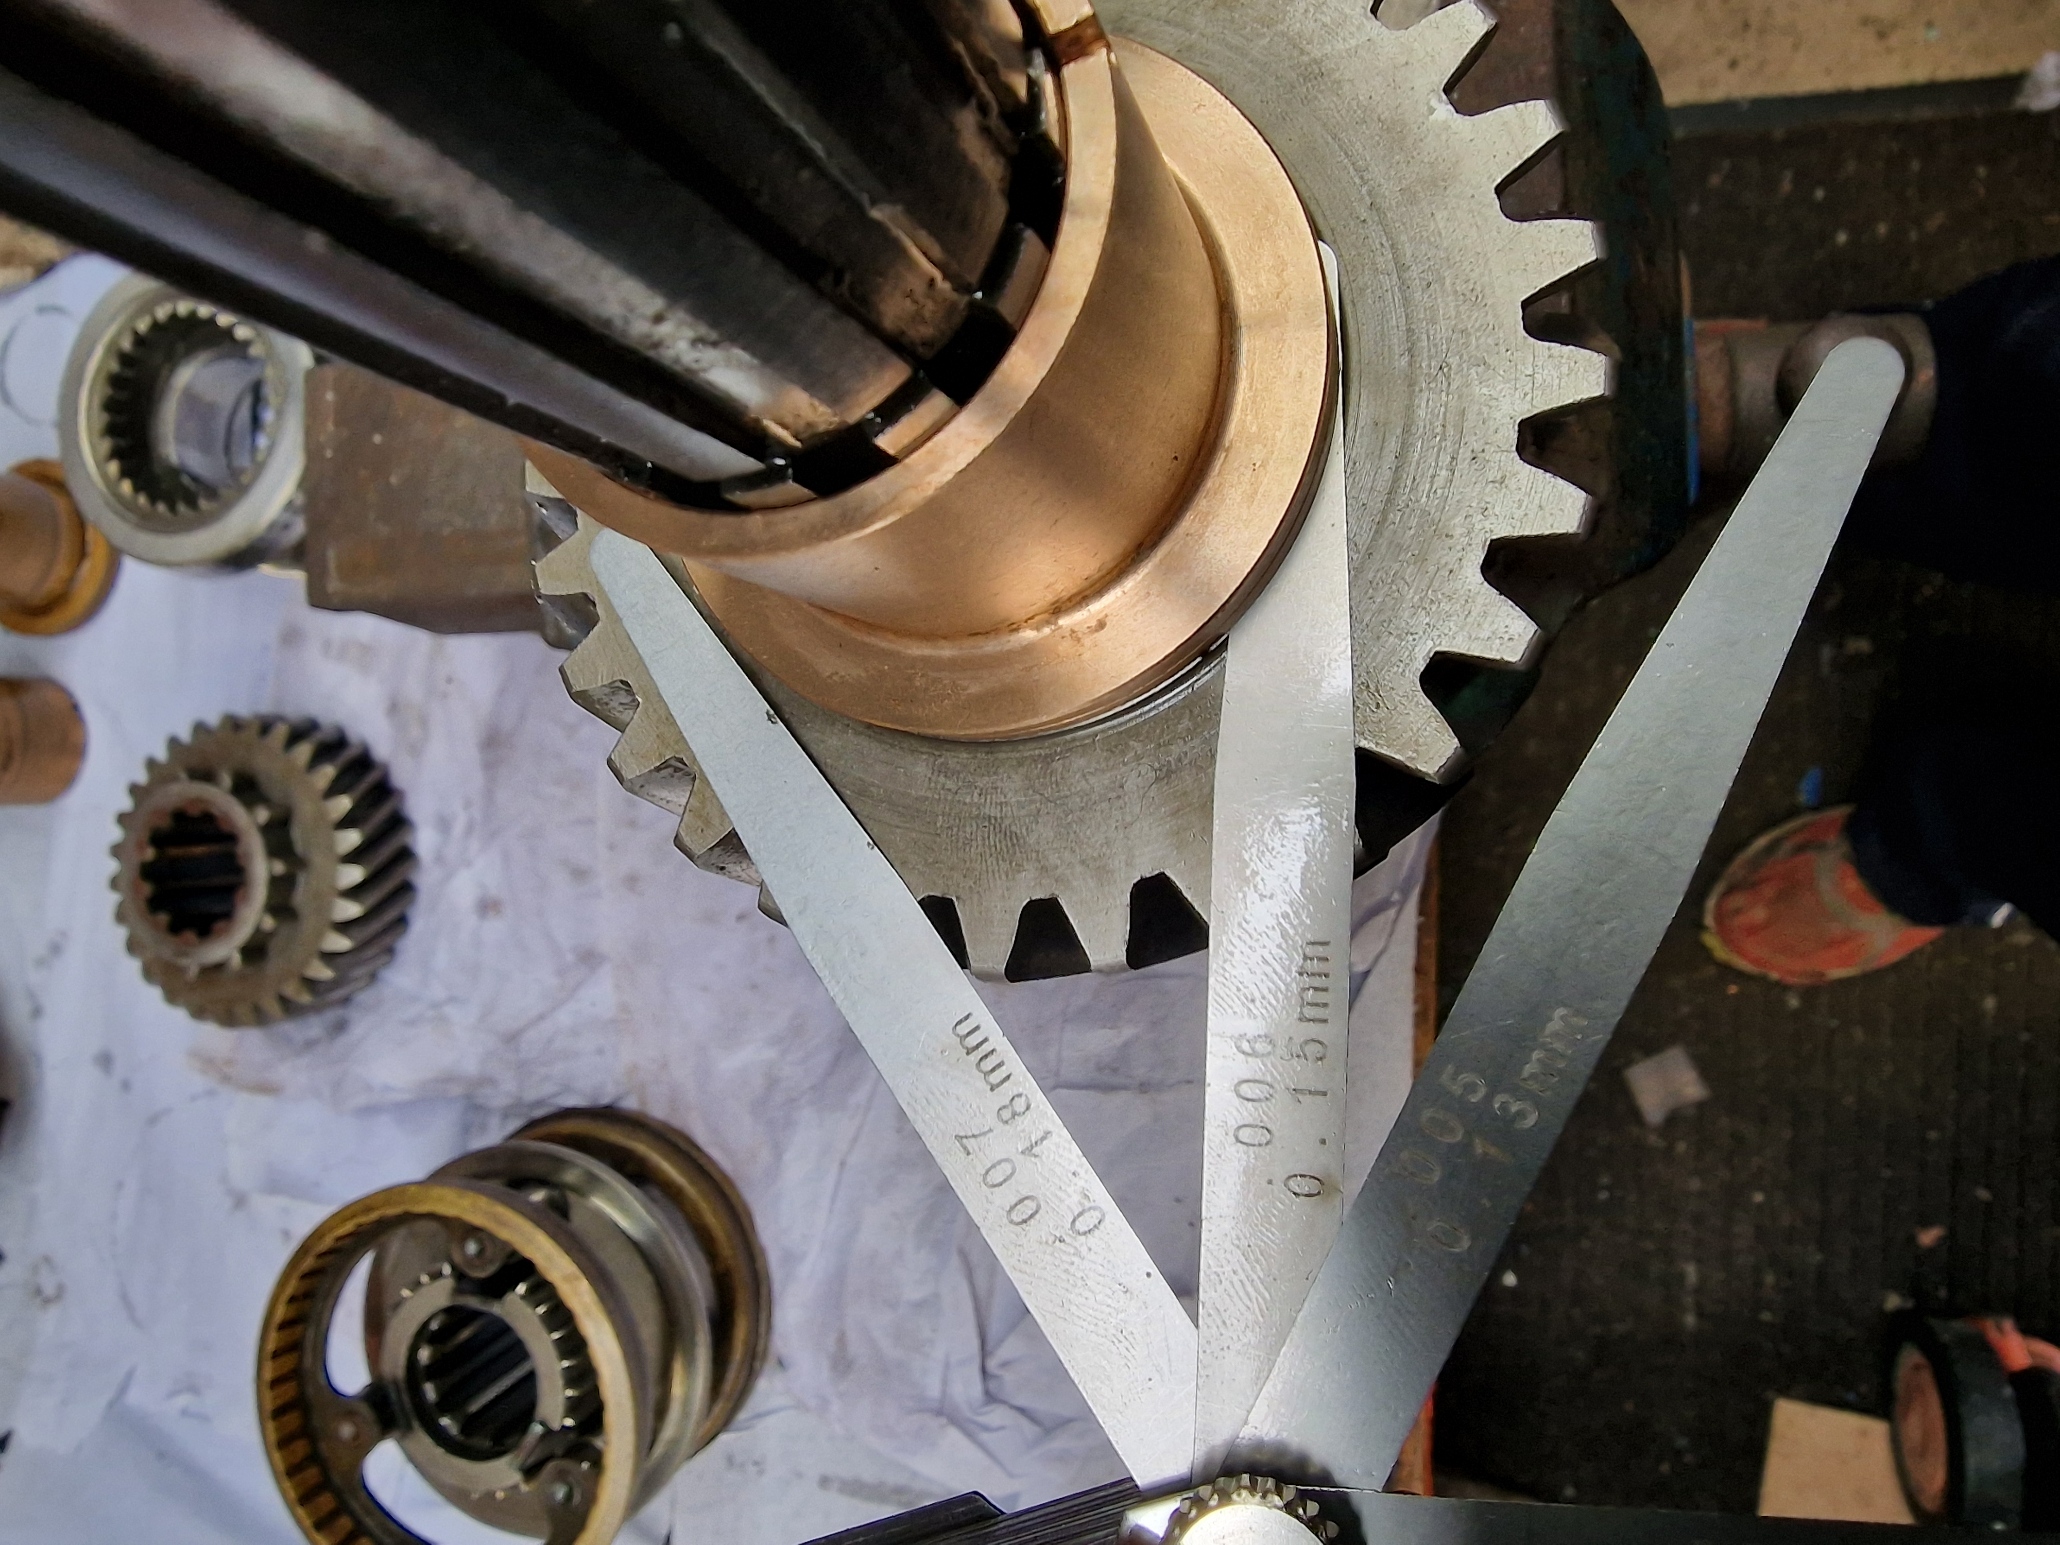

Second gear end float, between 0.004 and 0.007in is needed. It can be adjusted, but in my case didn’t need to be as it was tight on 0.006.
3rd gear end float is the same as 2nd gear, but this time the 3rd gear is inserted onto the bush.
Again, didn’t need adjusting as it came out with 0.004
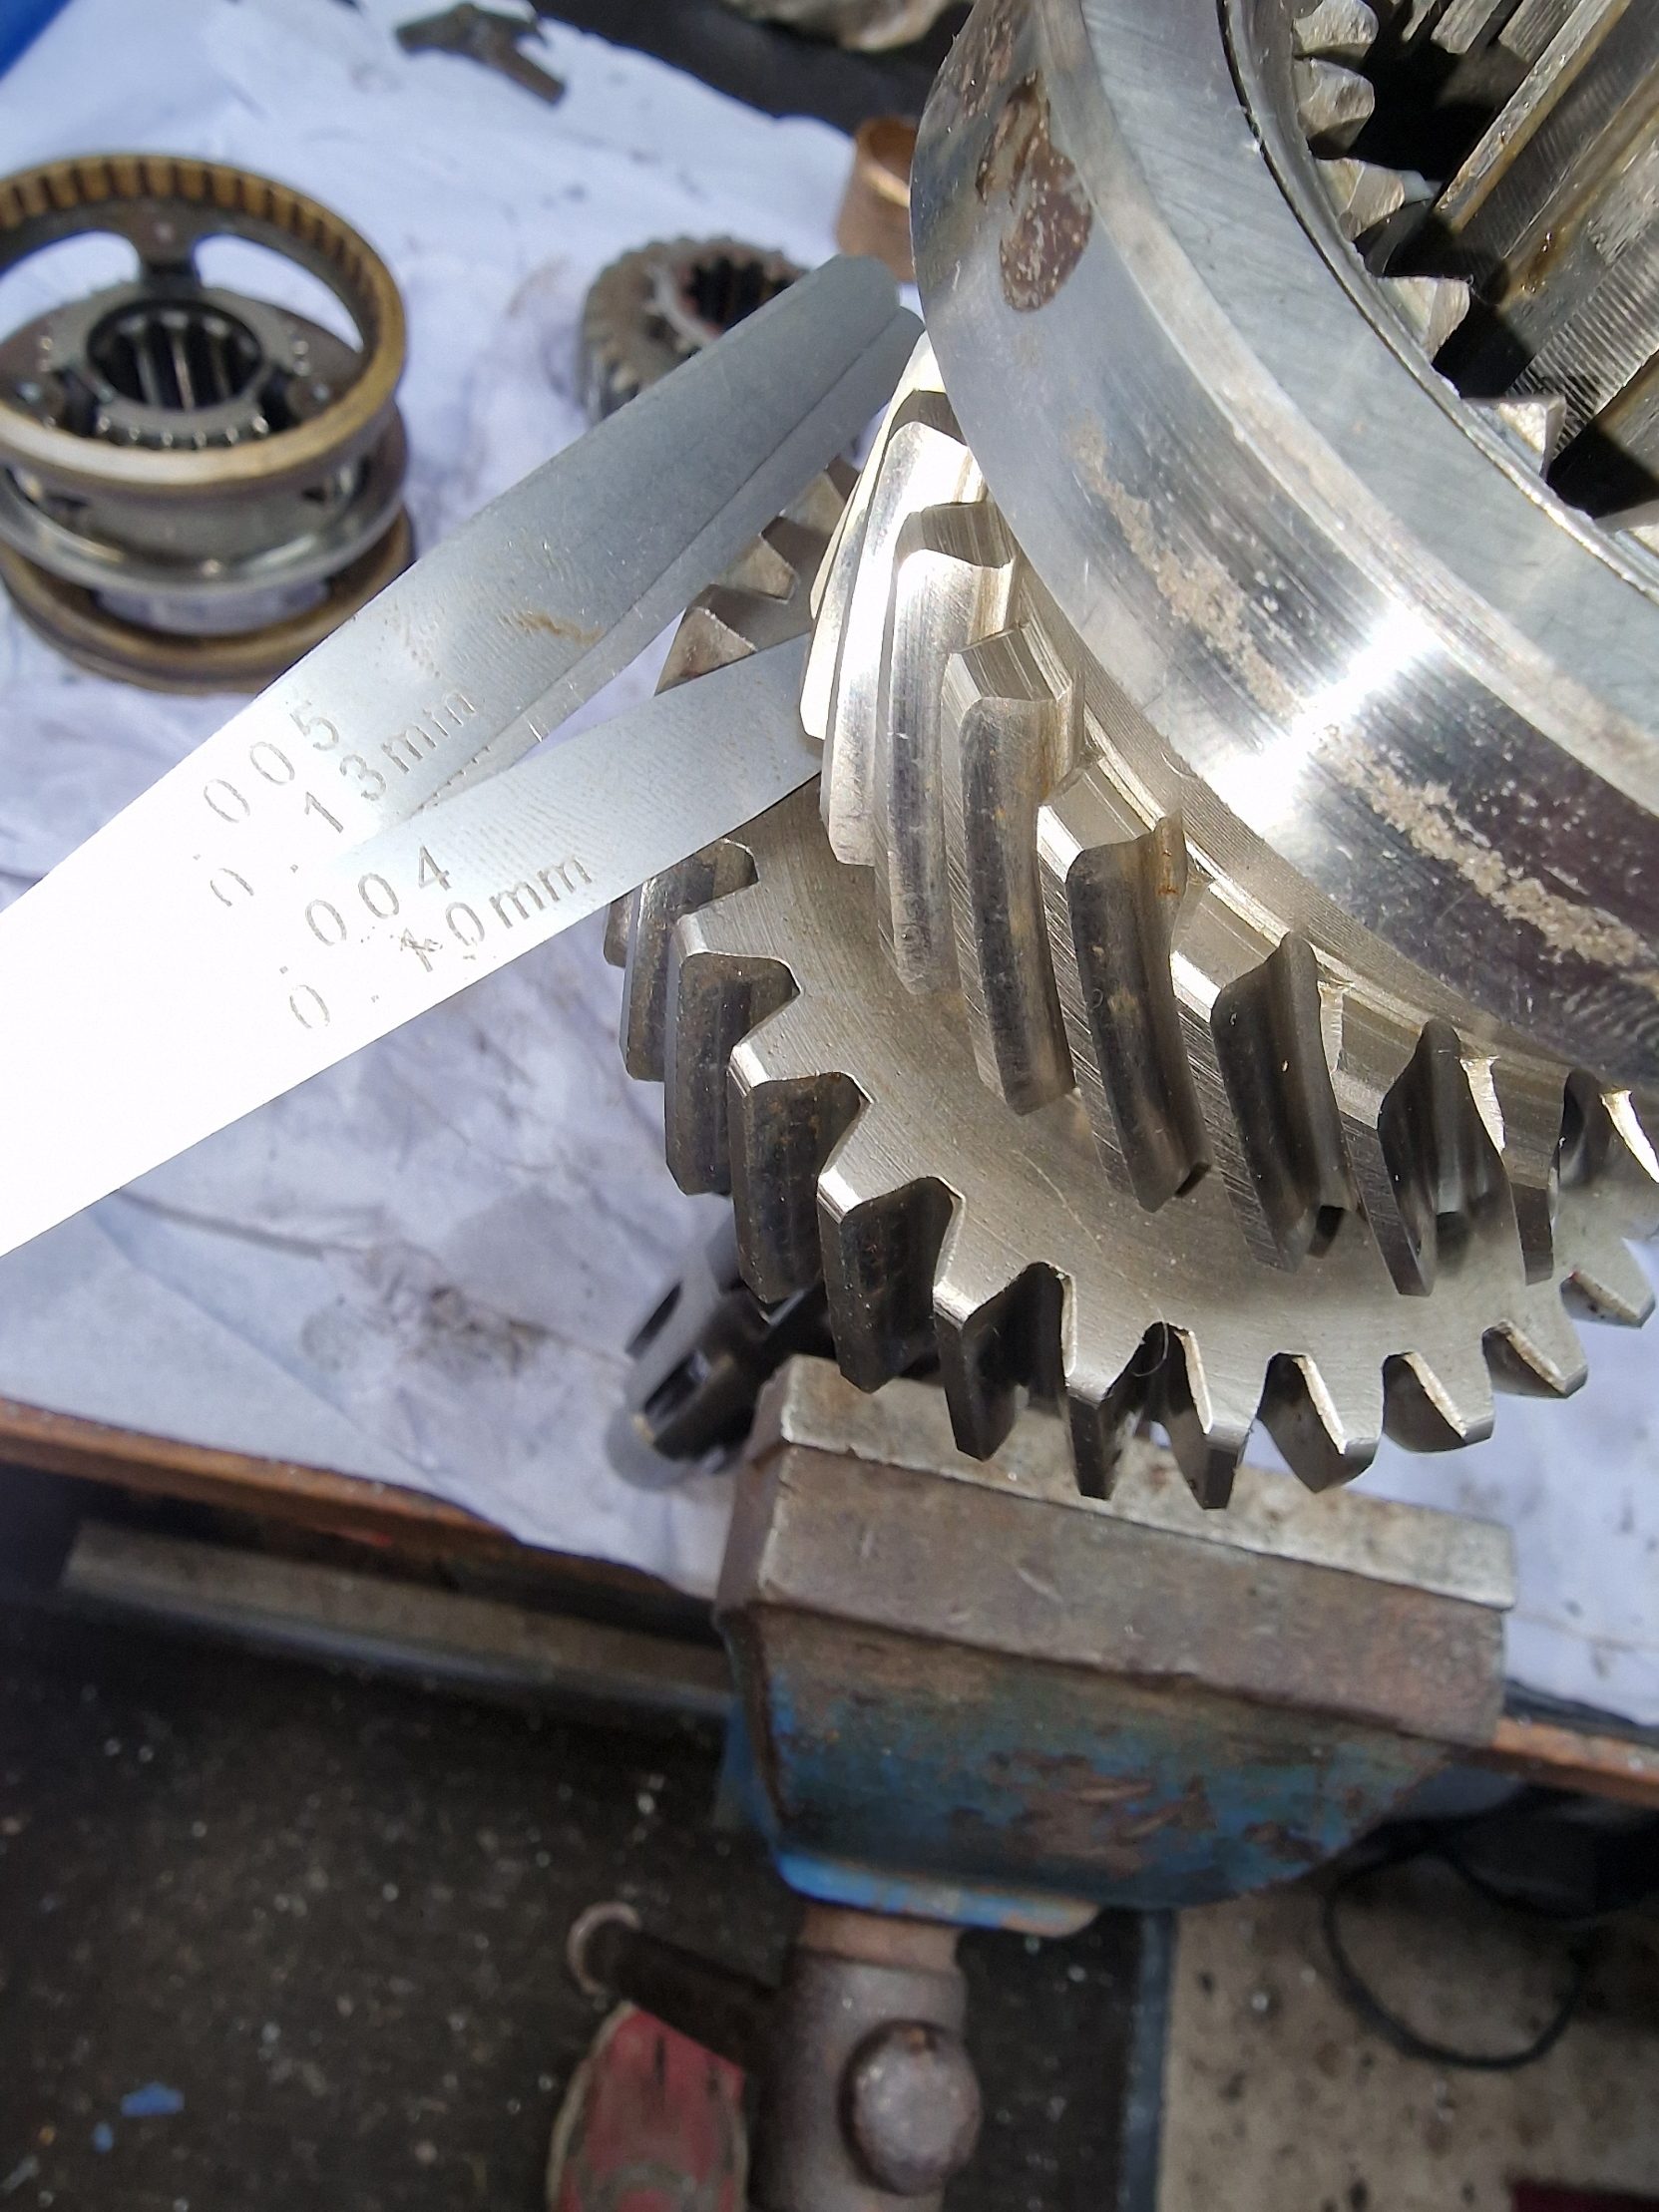
The final one is the bush end float. This needs to be 0.001 to 0.008in.
I did need to adjust this, well actually if I had read the green book, I wouldn’t have had to, by rubbing down the bush.
Ended up with 0.005in
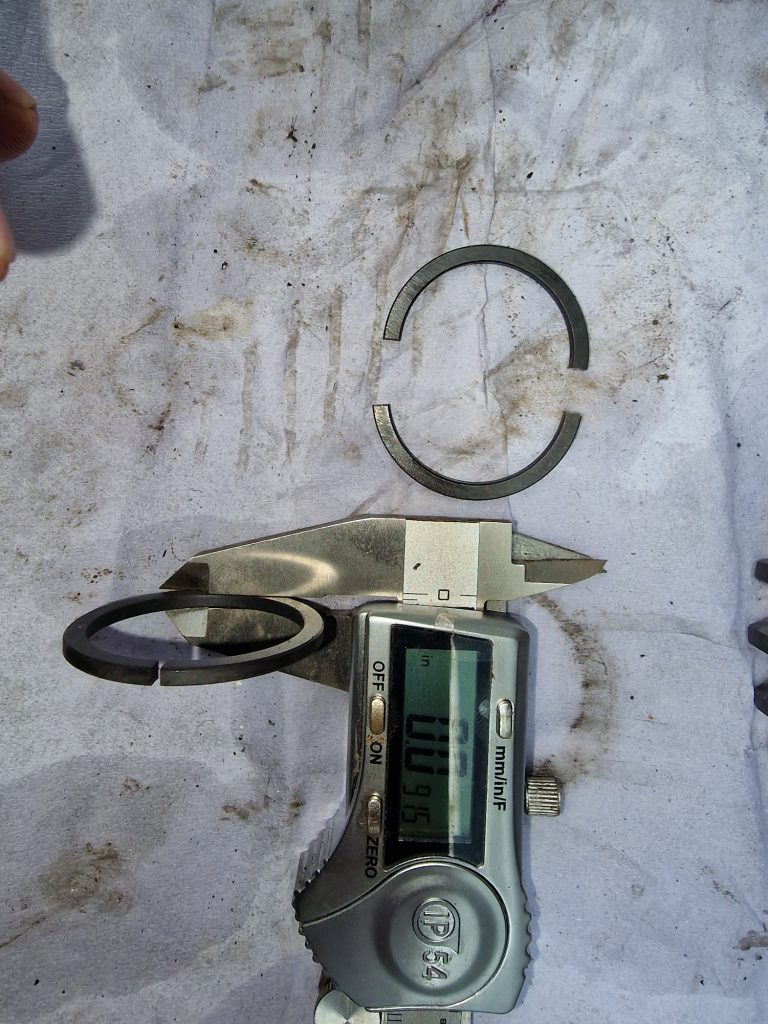
With the bush end float, a spring clip needs to be in-place. These are really difficult to get on and off. To the rescue comes the Series 2 club again. It was recommended to buy 2 clips, that are exactly the same and cut one in half, making it much easier to put on and off while setting the distance, by rubbing down the bush.
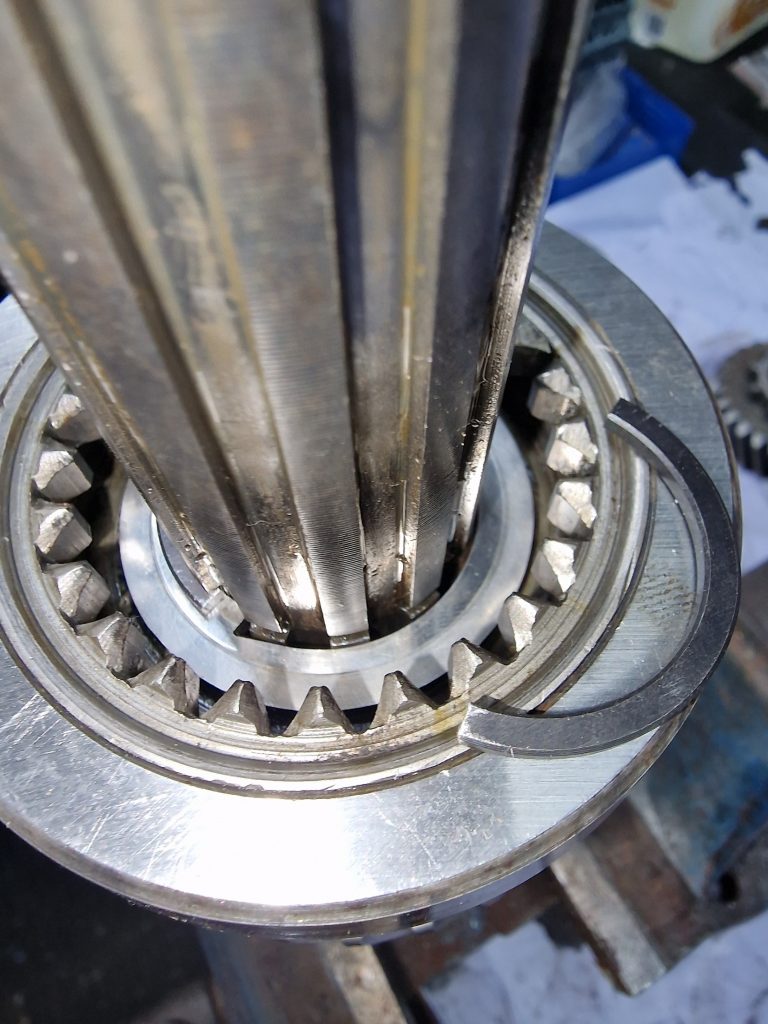
You can see above the half’s of the spring, and perhaps the reason why they are so challenging to get on and off. When everything is good, time to put the 2nd gear and 3rd gear on with the spacer washer and the complete spring clip.
Had me stumped for quite some time, until I came up with this little method, which worked surprisingly well.
Basically used split pins tie-wrapped onto the shaft, that allowed the spring clip to be tapped on over the split pins and down the shaft until home, safe and sound.
Moving on, the next job was to sort out the rear main shaft bearing and bearing housing. Now, I read my little green book and it suggested that the housing needed to be Loctite’ d on, but was contradictory to other parts of the book. Also, a couple of videos I watched, 1 used Loctite, another didn’t. So I took the housing out and ordered some Loctite, and then thought, let me ask the series 2 club again. I had one answer saying Loctite the bearing in, but not the housing, another saying not too. The chap that said not to, I bought my replacement front axle case off, and remember he said “Gearbox’s were his thing” and always gives answers to peoples questions on the forum, so went with that. that did mean of course, I had to put it all back in.
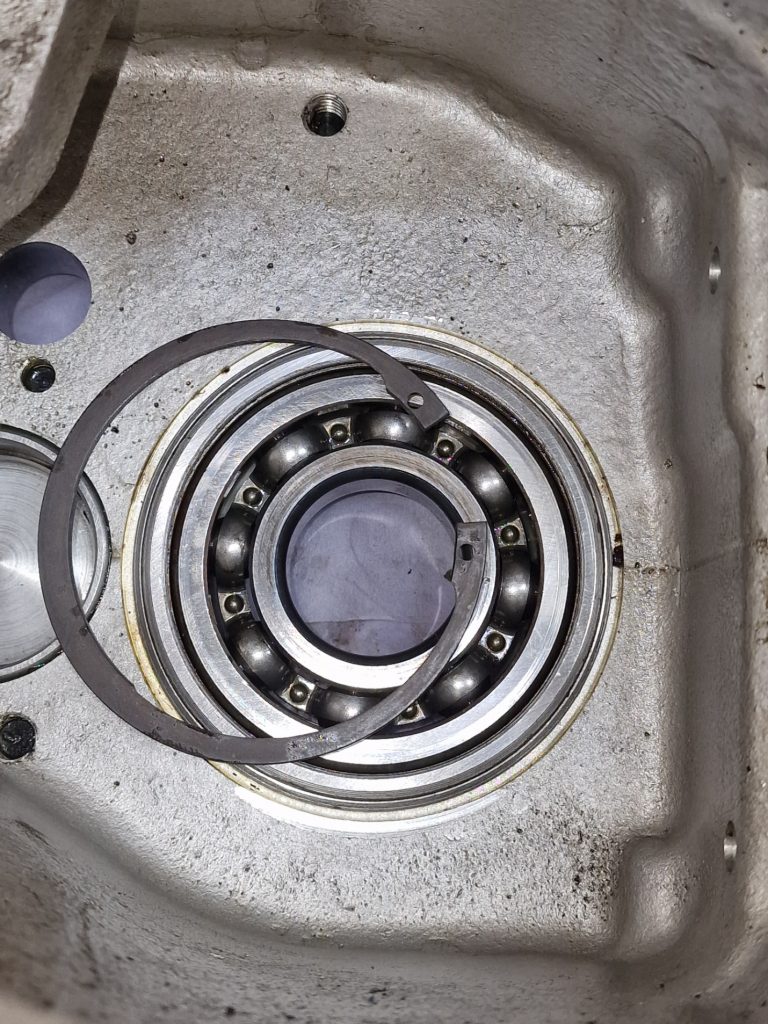
Inside the housing, a circlip needs to be inserted to hold the bearing in-place. When I took the whole housing out, I realised (and the green book says) its much easier to do out of the case, than when its still in the case.
Ignore the gear and the oil thrower and you can just see the circlip on the housing, that holds the housing in the right place.
Out of intertest, this circlip is huge, and pushed my little circlip plyers to their limits.
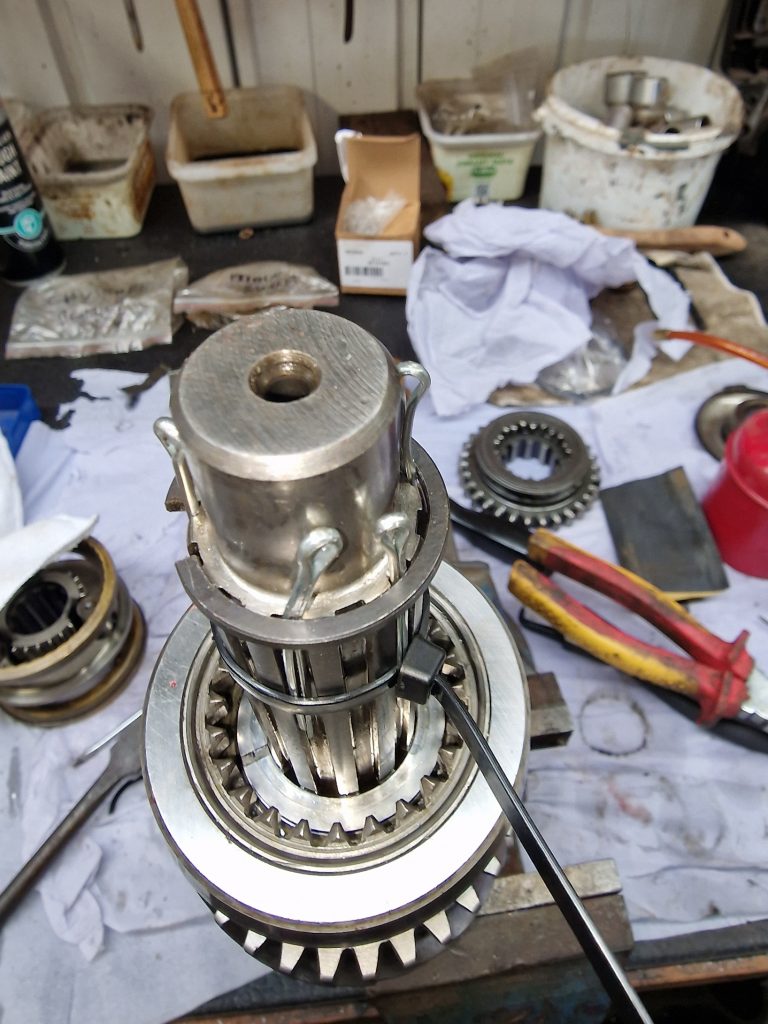
Finally, the main shaft was pressed into the bearing. Again, recommendation was to press it in, rather than brute force, so my borrowed press came in useful yet again.
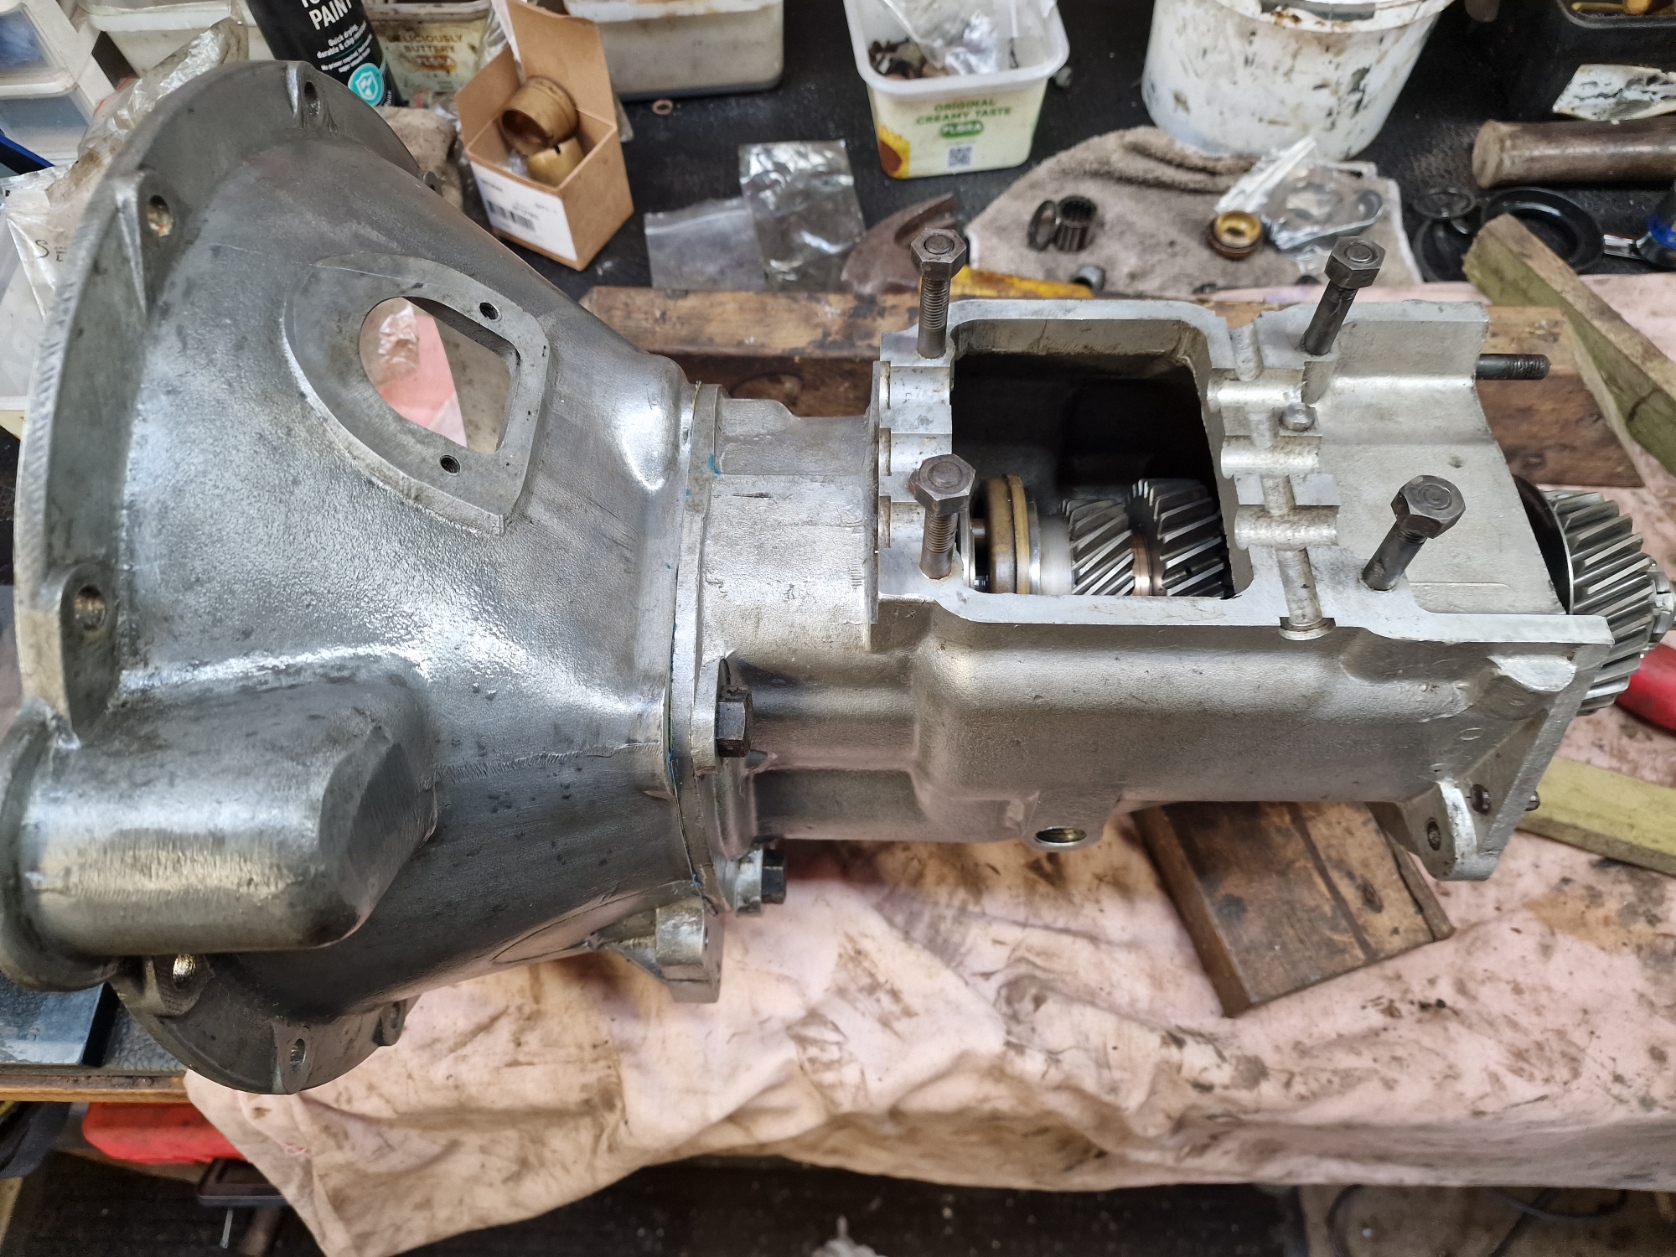
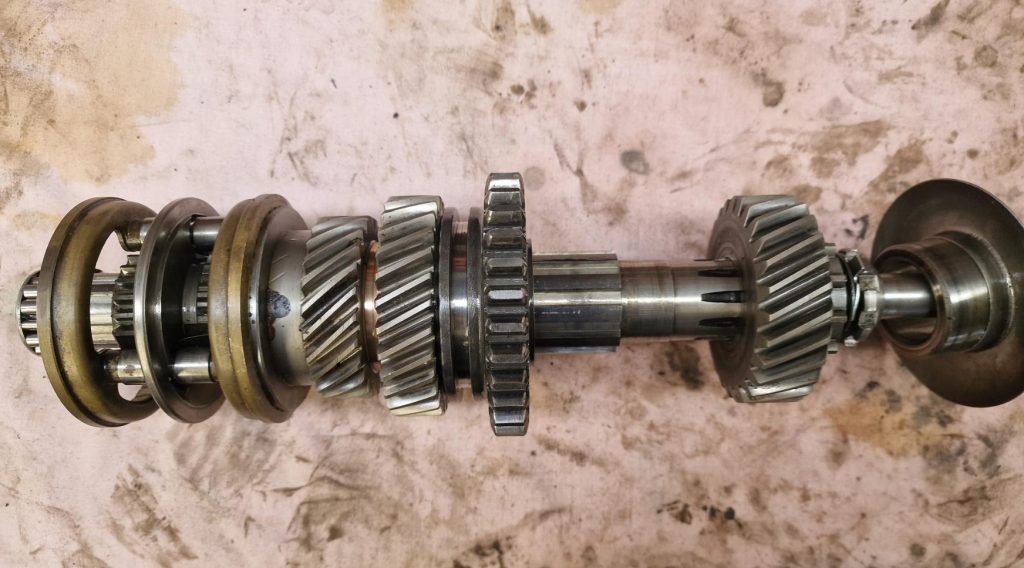
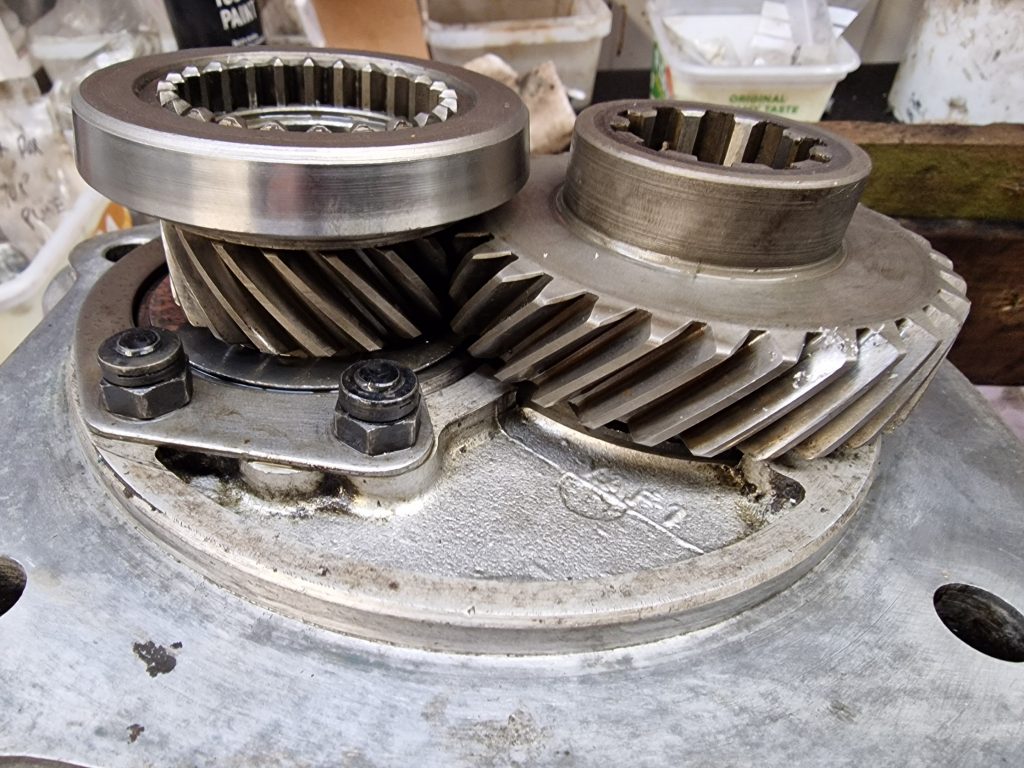
Probably worth a look at the main shaft at this point, so here it is, with all the gears, syncro and oil thrower in-place.
Actually, before I pressed the main shaft in, I put the reverse gear mechanism and gears in. This required a little more brute force than I would have liked, as the shaft, needs pressing in from the back of the case, and it was tight.
A little bit of heat, and a large hammer got it home without any collateral damage.
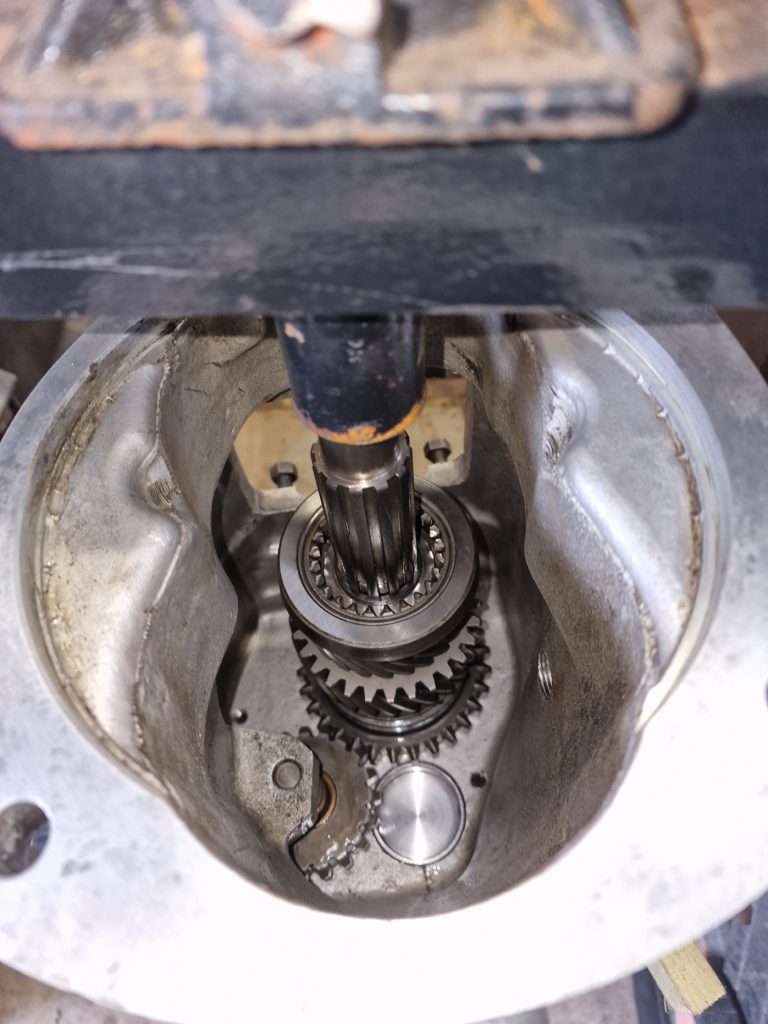
Now the main shaft is in, as is the reverse gear, time to add the lay-shaft. I got it in, after figuring out how too, and tried the bell housing on (Pics of that further down) As with all things, had me stumped for a while. The bell housing would not sit properly, turns out I had put a little roller bearing, that is in the back of the box in the wrong way around!
The Lay-shaft sites in a roller bearing at the bottom, and with a little fiddling, moving gears around, finally got it in.
The Layshaft is the shaft at the top in this picture.
The last part is to put the bell housing on. Again, watched endless hours of videos of people doing this, and almost without exception, everyone said this is really tricky. Why?
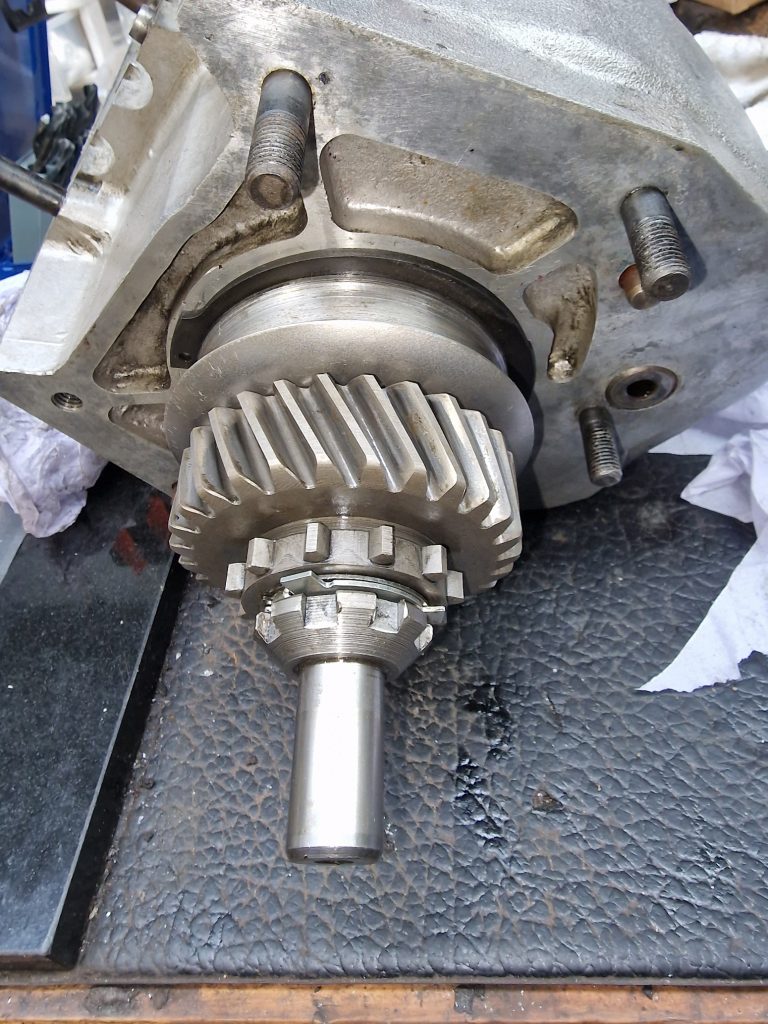
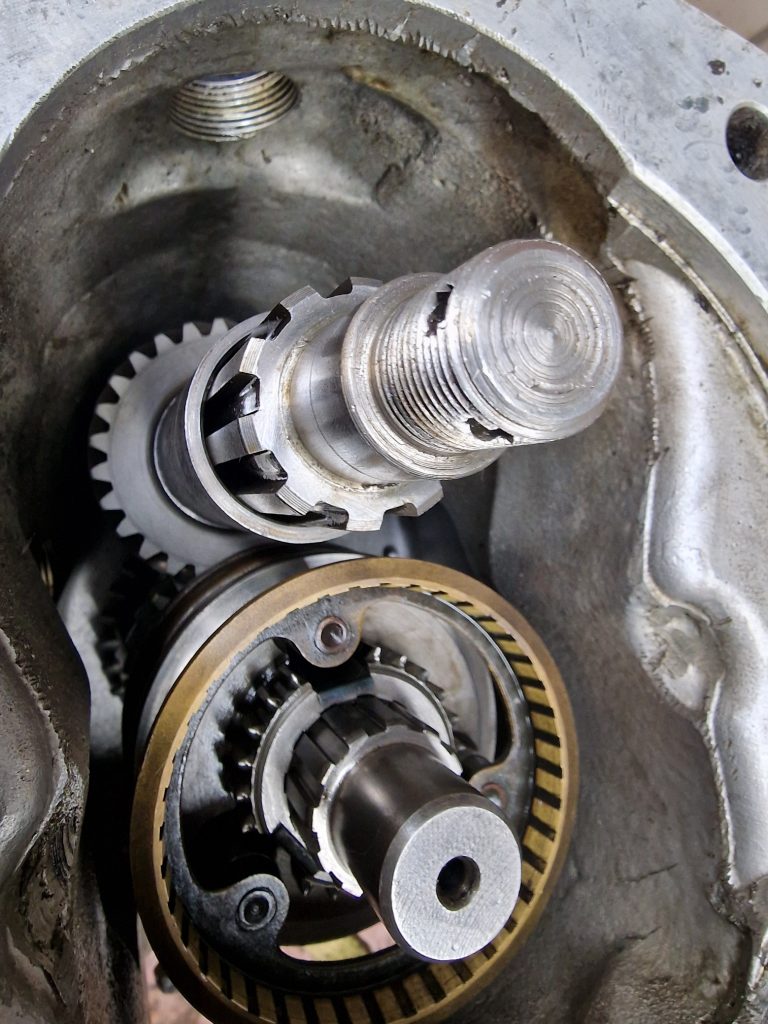
Well, this is the back of the bell housing, already added the gear on the left (Primary pinion), which the main shaft needs to be located in, and the gear on the right (Constant gear) with a spacer underneath needs to go over the lay shaft. But as you can see, its not attached, and needs to sit behind the primary pinion gear.

For context, these are the two shafts the above needs to be located on. (top being the lay shaft, bottom being the main shaft).
Anyway, the little green book (500 ish pages) says to locate the gears as I have them above, and holding them in position with fingers through the bearing, position the bell housing onto the gearbox main case.
I have to say, with a tiny amount of jiggling around, it all went pretty smoothly. So, the moral of the story, dont believe everything you read or listen to on the Internet, use your brain, think and importantly “RTFM”.
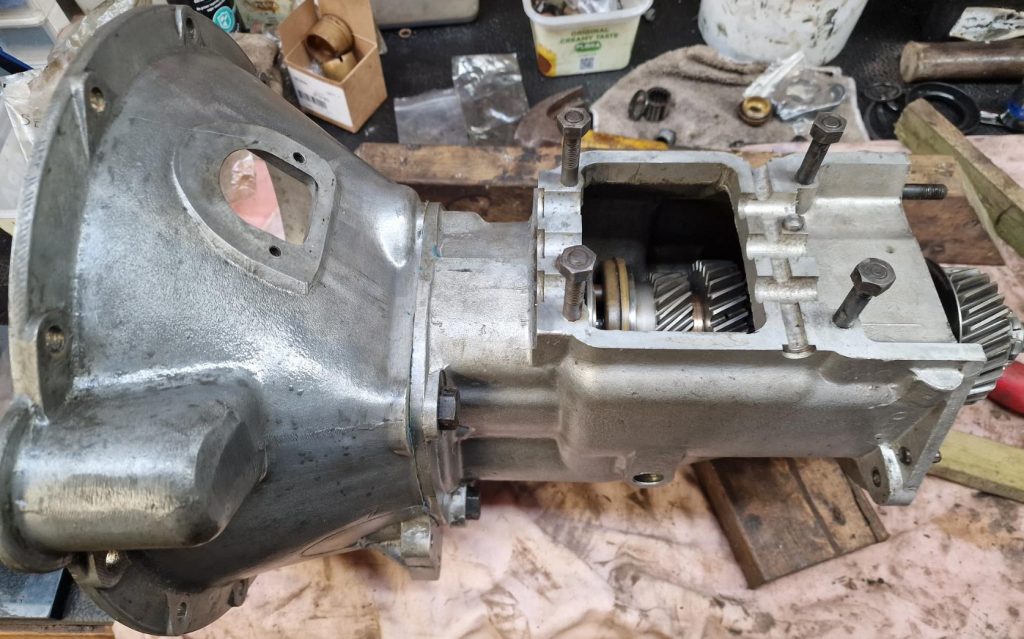
So here it is, the main casing with the Bell-housing attached and all the gears, hopefully in the right place.
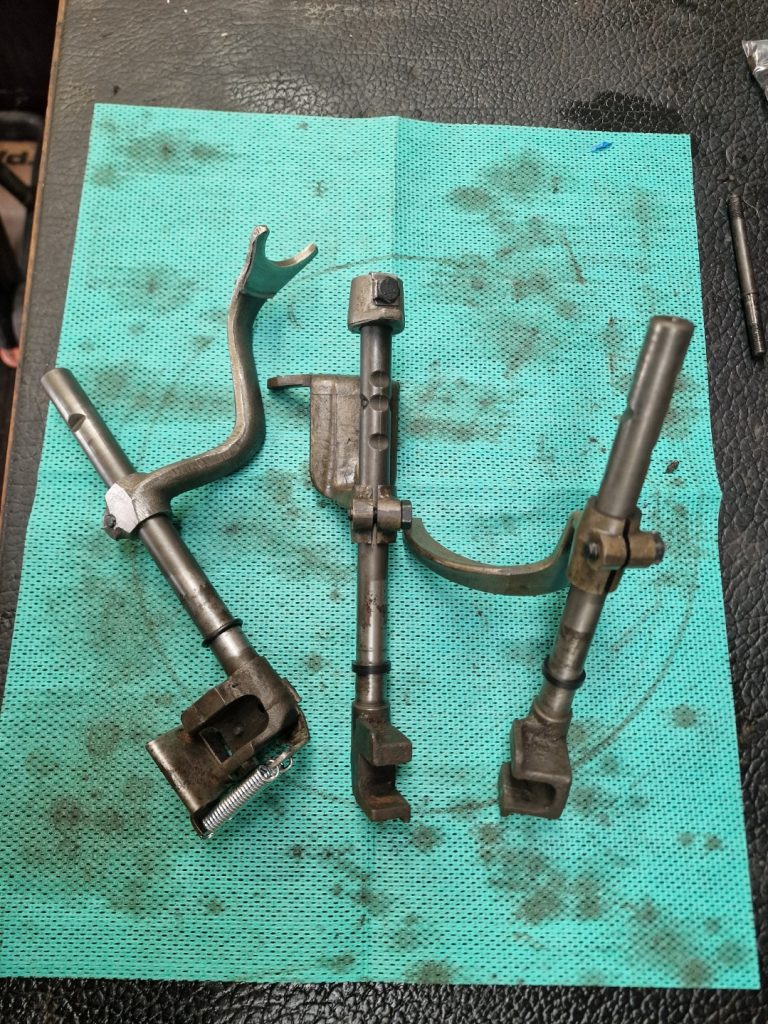
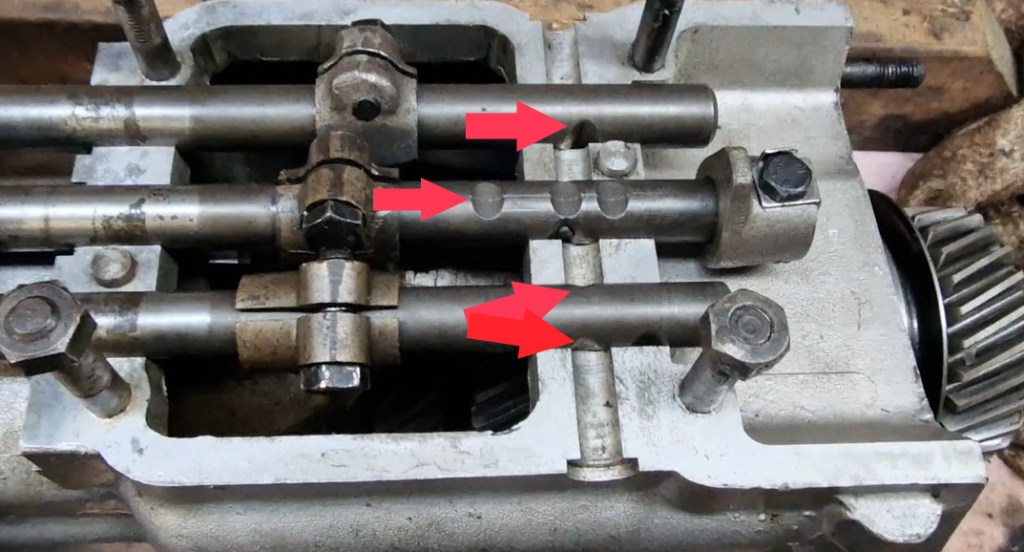
The selector forks need to be inserted, in a specific order. (3rd/4th, 1st/2nd and finally reverse).
Its at this point, I got excited about progress, and forgot to take more pictures, so here’s what they looked like before I cleaned them all up.
From the left, reverse gear selector, 1st/2nd gear selector and finally 3rd/4th selector.
Again, dont believe everything you hear on the Internet, everyone says how tricky it is to get them back in and make sure they are located properly. A little more jiggling, and they were all good.
With the selectors in, I can make sure it all works.
So here it is, selecting gears and “seemingly” working.
I should have stopped at this point, because I need to tighten up the shaft bolts, and that requires the gearbox to be locked up, typically by selecting 2 gears at the same time. You cant do this, for obvious reasons normally, and this is achieved with the next parts I put on. But put them on anyway.
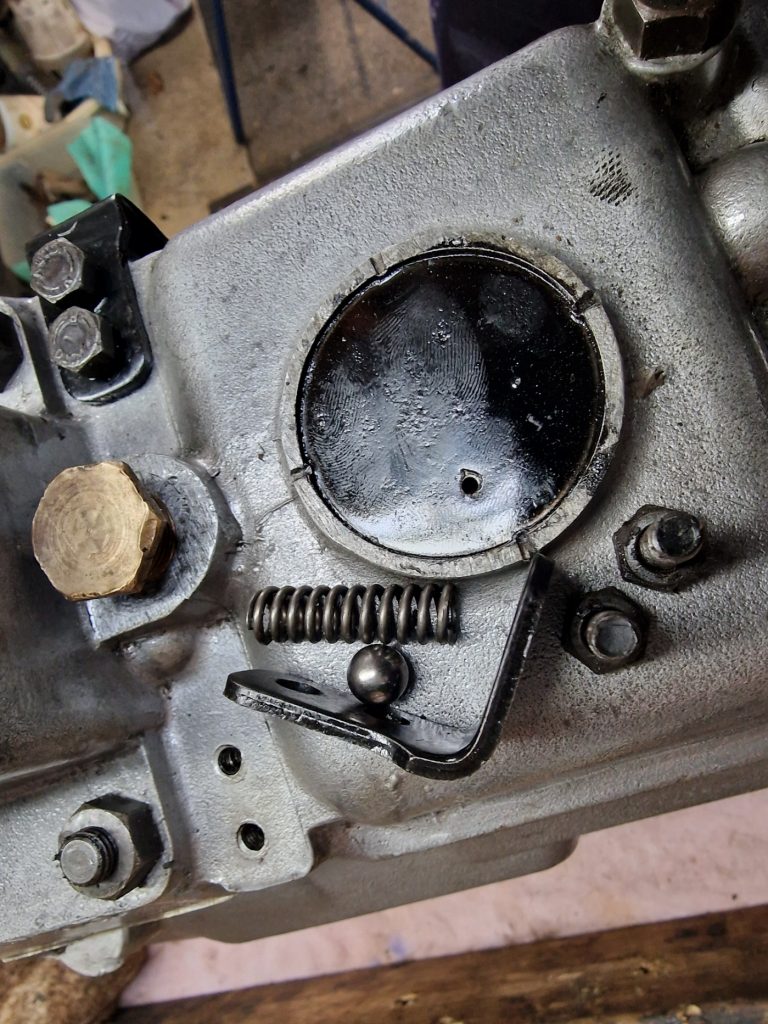
Put the top case on over the selector shafts, and added a series of ball bearings held in with springs.
These stop 2 gears being selected at the same time, by locating in the little grooves on the selector shafts.
One of them is fitted (image to the left) and one ready to be fitted (less a small rubber seal).
There is two oval balls that sit between the shafts, two round ones that are in the sides of case and there should be one in the top, but I couldn’t find the ball bearing to go in there. Nearly bought one for £0.74 + £5.95 shipping, but checked the part number, and its the same as the ball bearings in the steering box, which I replaced, so somewhere in the workshop, I have the old bearings. I haven’t thrown anything I have replaced out yet, so they are there somewhere.
Thats it for now, few things to finish up, add the clutch housing, find that ball bearing and tighten up the shaft nuts, and lastly, put the transfer case (done previously) and this part together to complete the gearbox.
So, until next time, hopefully next weekend, bye for now.
Leave a Reply