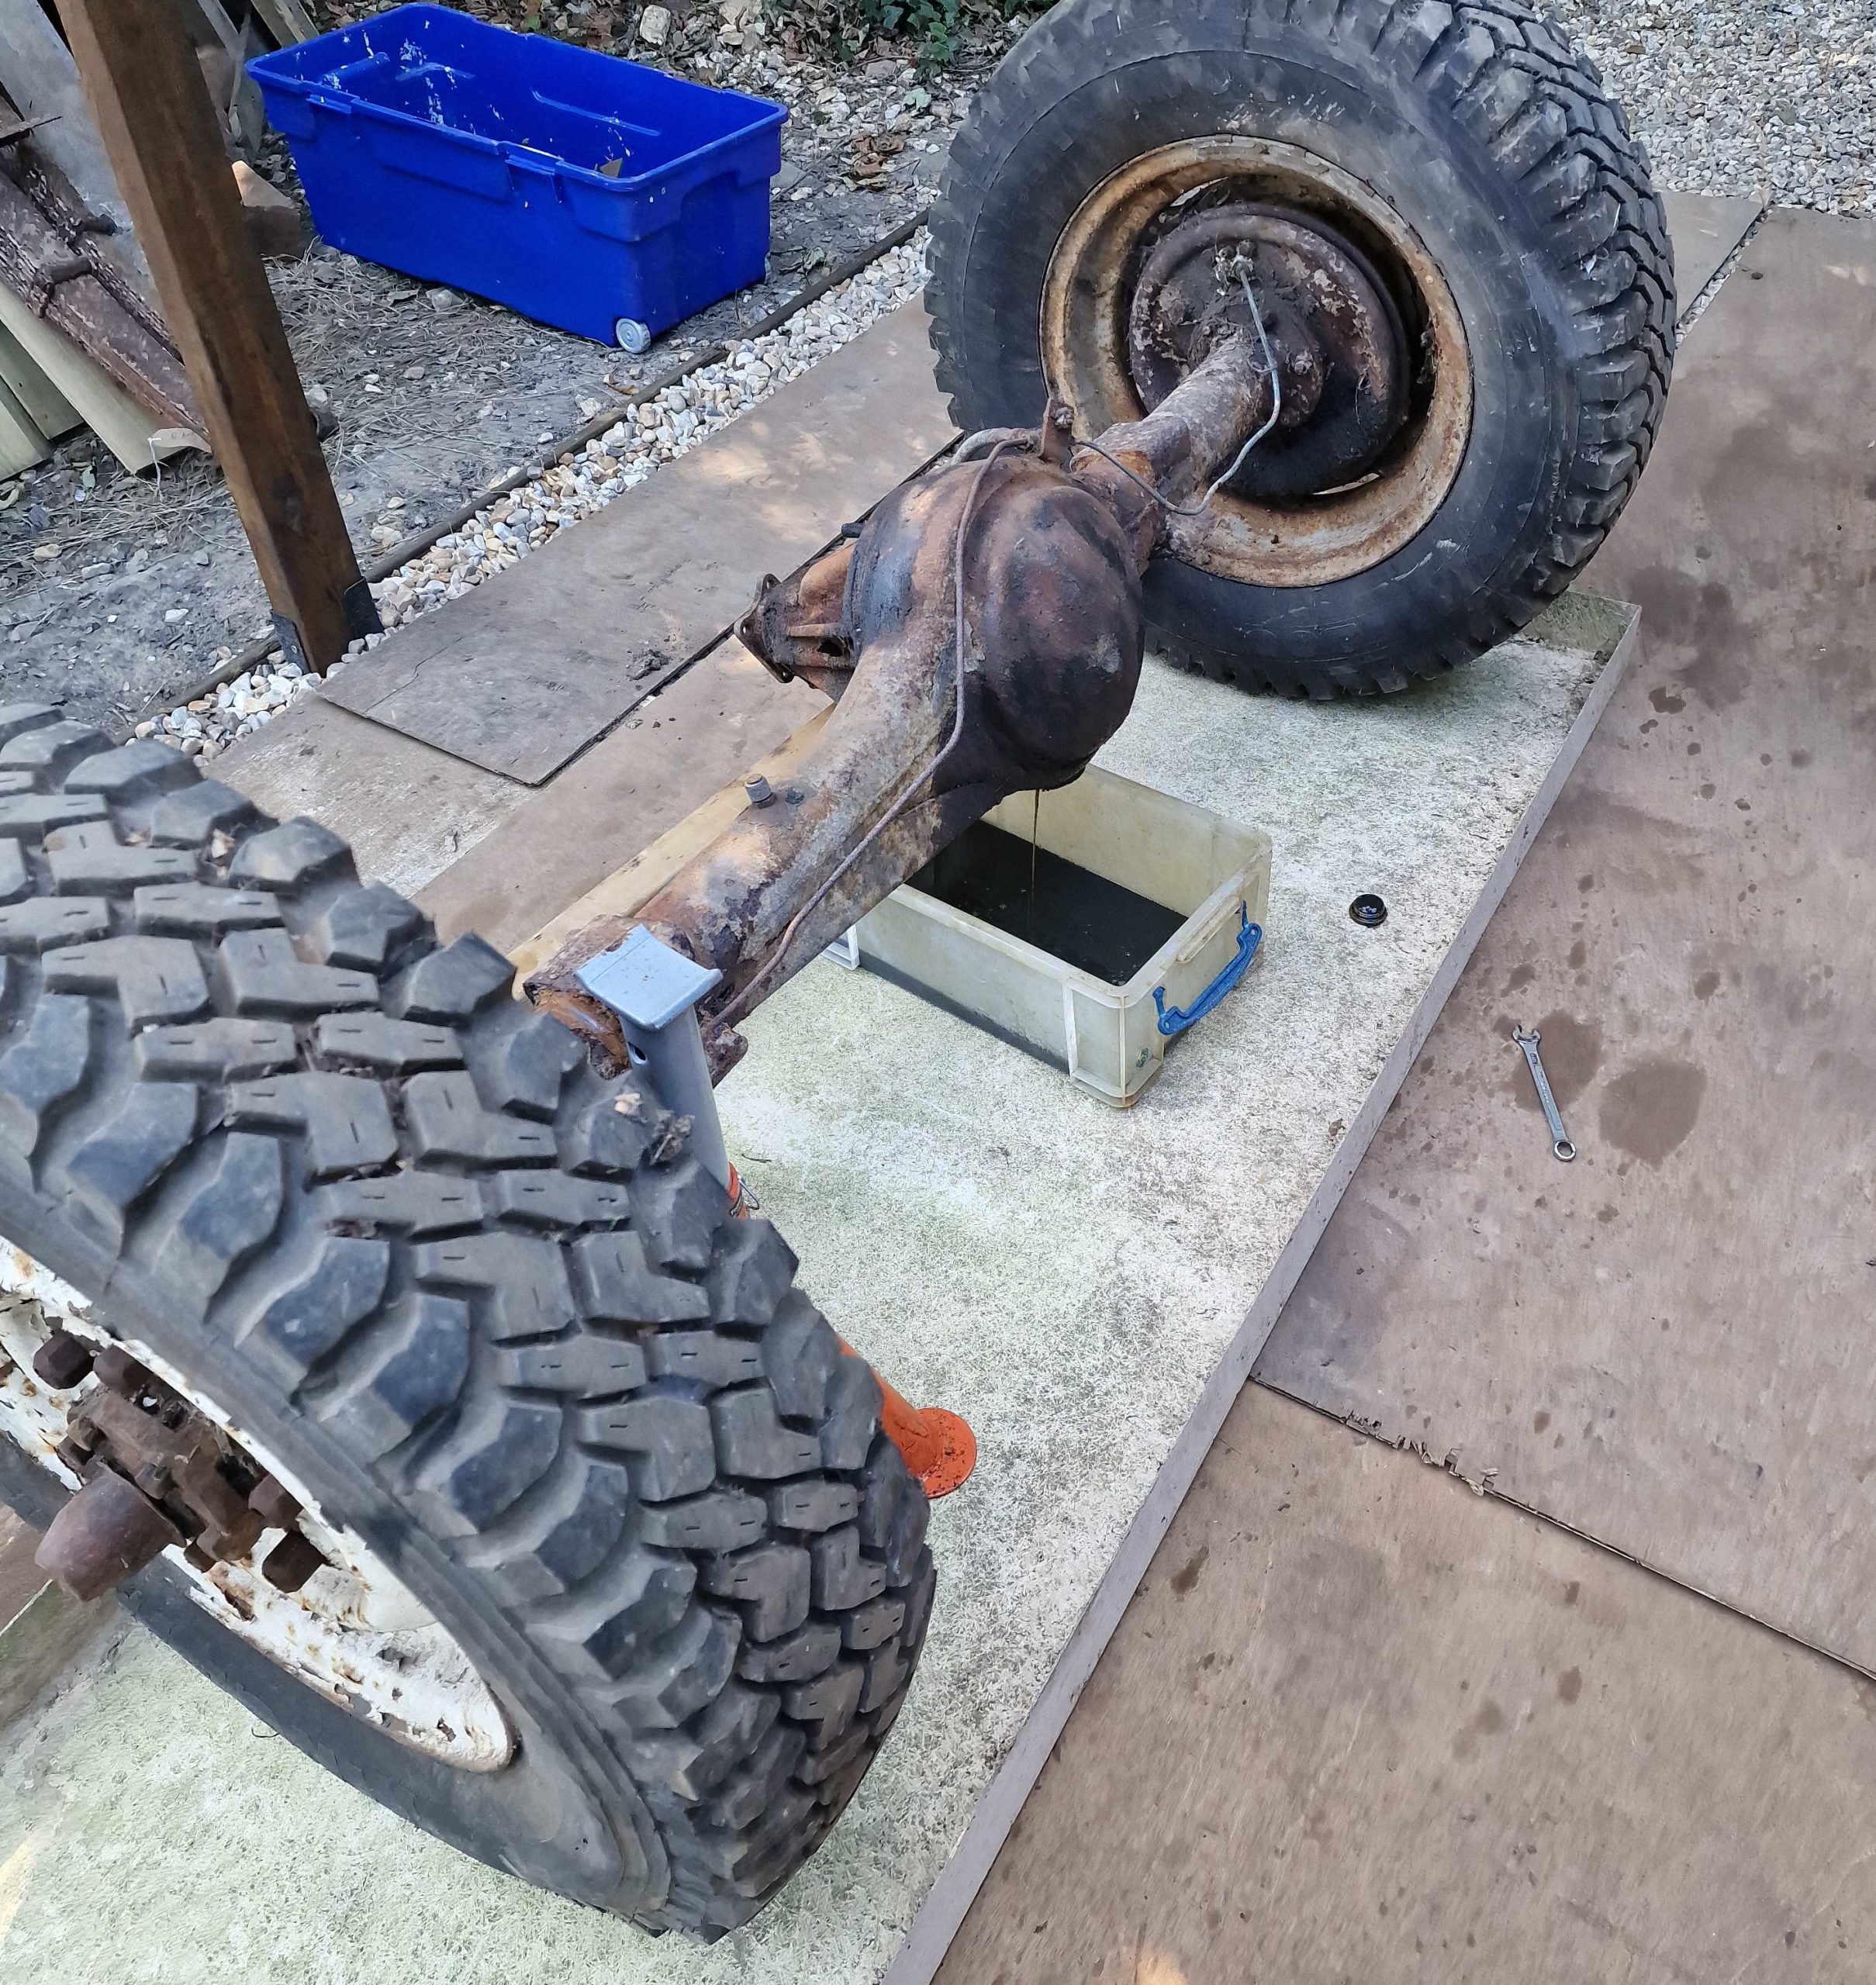
I had always intended to focus on the Axles first, and do them each separately, starting with the Rear Axle first as it should be simpler that the front with the front swivel hubs. However, as I am sure will be an ongoing theme and what I mentioned in the “plan” the plan can change, but the goal stays the same!
I ended up working on both the Axles at the same time, I will explain why in a bit.
So, first thing on the agenda, strip the axles. This was a relatively simple process as I had watched endless hours of videos of people who know, or seemingly know what they are doing. So here’s a few of those videos for reference. I have to say, when I watch these, I don’t take them as gospel, I like to make my own decisions about things.
These videos are both informative and amusing.
A whole series on Land Rover 88 2a, good videos.
Maybe not so in-depth, but good to see the process
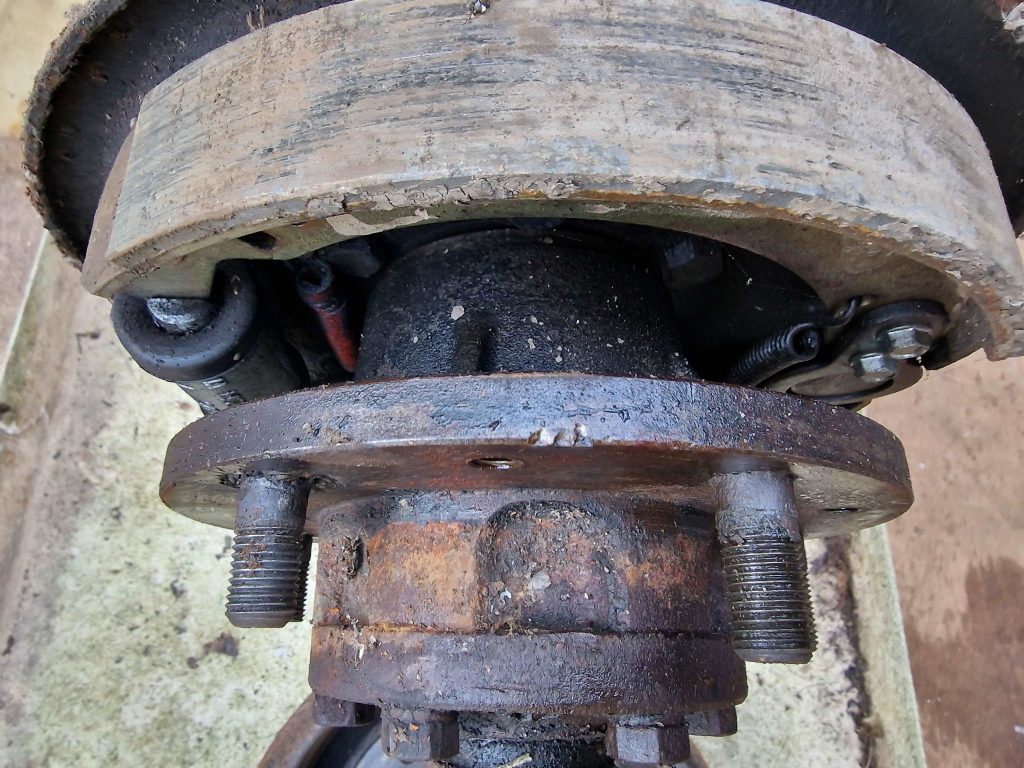
So after draining the Oil from the Diff (Oh, my god that stuff stinks!!), started with the brake drums, another reason to use my Impact Screwdriver.
All except one came off without too much drama, and after looking at the first figured I wont look too much at the others, I can see my shopping list getting quite large, very quickly.
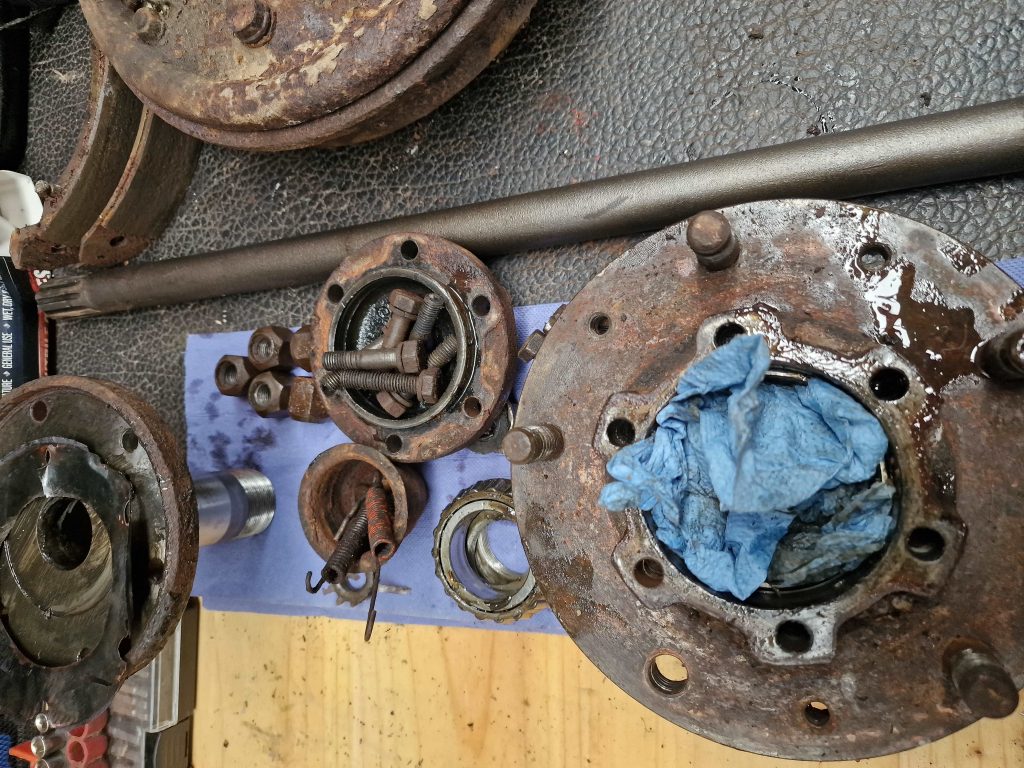
After taking off the Brake shoes, springs etc looked to tackle the Hubs.
First to come off, the slotted nut and drive member. Now if your wondering how I know what these things are called, there is a complete parts list available that details every single part, its name, part number and how many are needed. This will become my bible.
Made very easy using yet another new tool, gifted to me by Peter, my brother in-law, who had this given to him by one of his friends
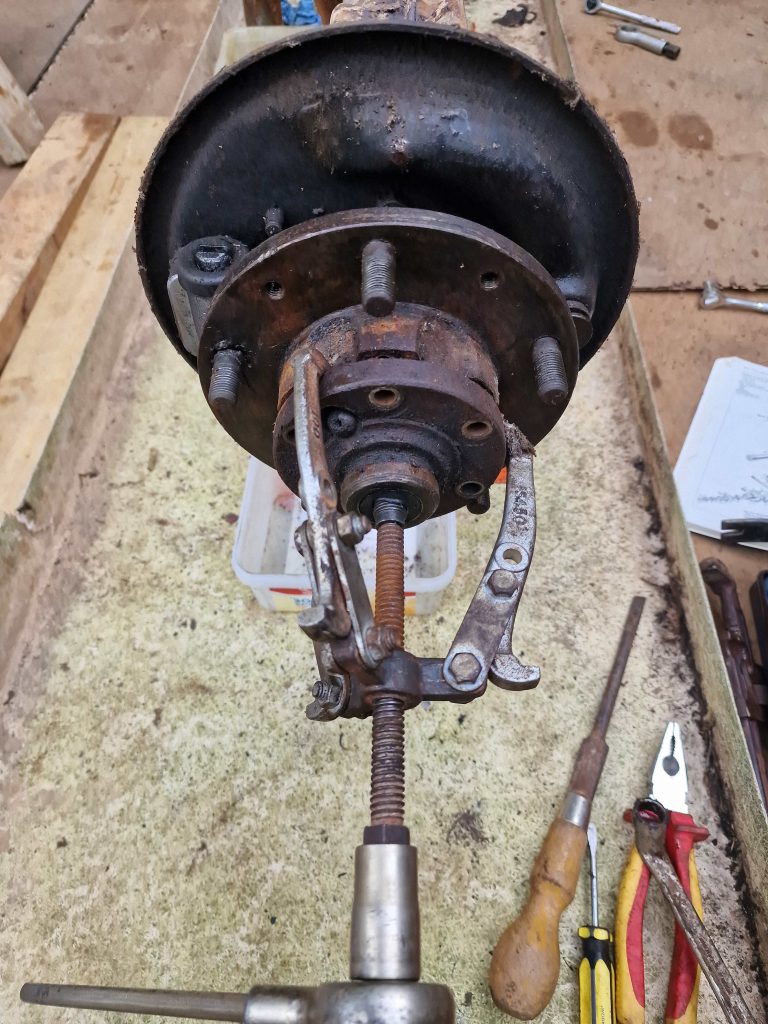
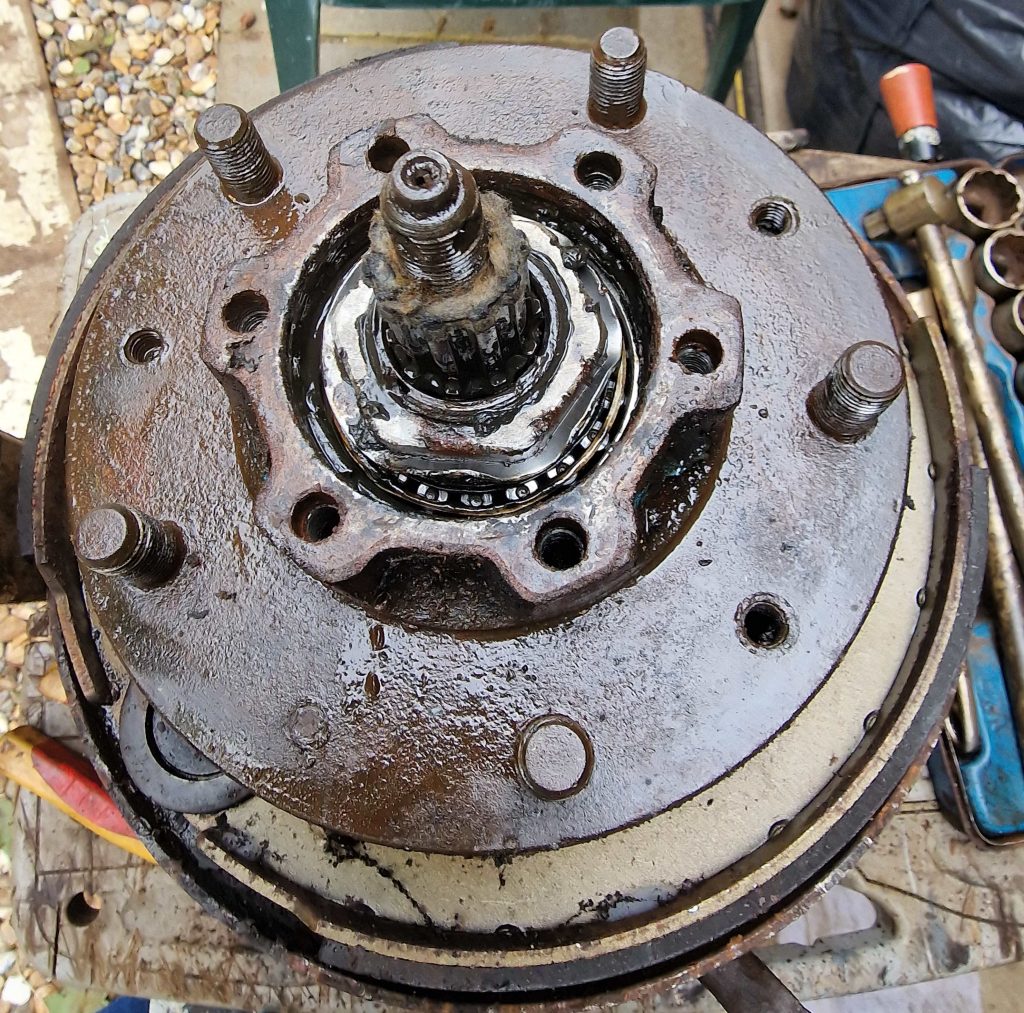
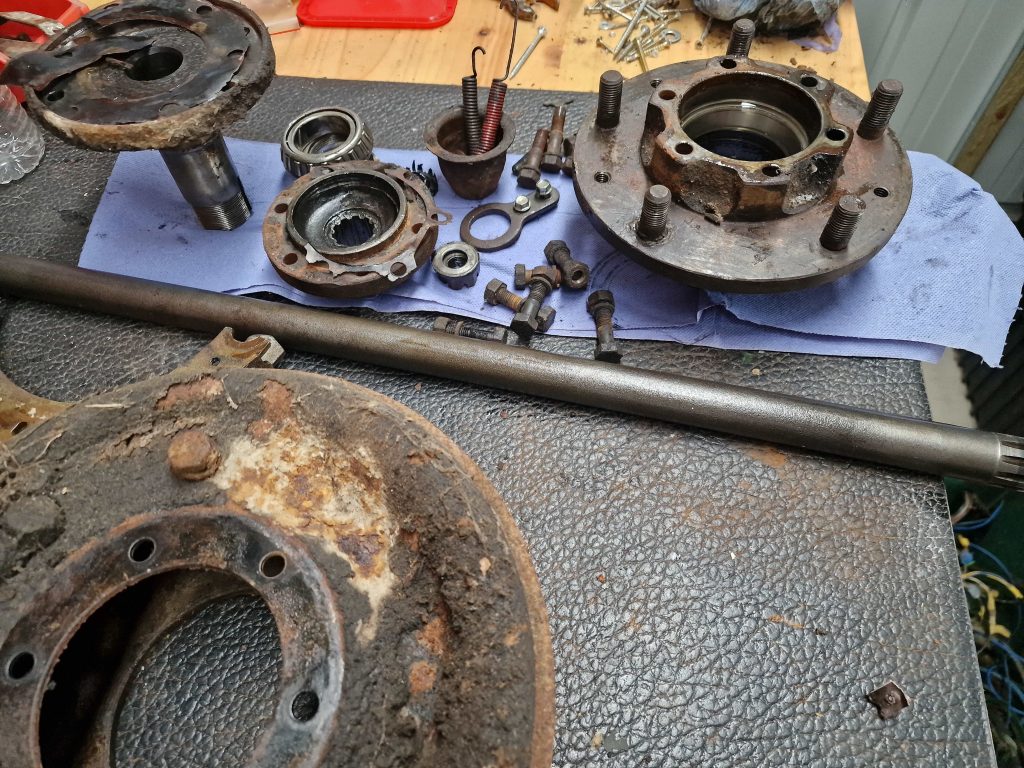
Once the drive member is off, its time for the hub. To get this off there is 1 locking Nut, a washer, another nut and then another washer.
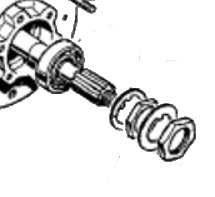
These are there to hold in the bearings, and using the lock washer and tab washer keep it all tight.
Unfortunately on 2 of the 4, the tabs were all bent upwards, they should be bent backwards and upwards to hold the two nuts in-place
I have seen a few things now that suggest someone has had a go at this before, its clear now that they have, and while I don’t know much, whoever did this knows less! That also brings me to why I did the 2 Axles, not just the rear. When I got the front two hubs off, I saw something that made me got Humm, that looks Sh.t. When I took the wheels off for the first time, one or two of the studs came out. From what I understand this is fairly normal as the studs are screwed into the hub and then peaned / pressed over to hold them tight.
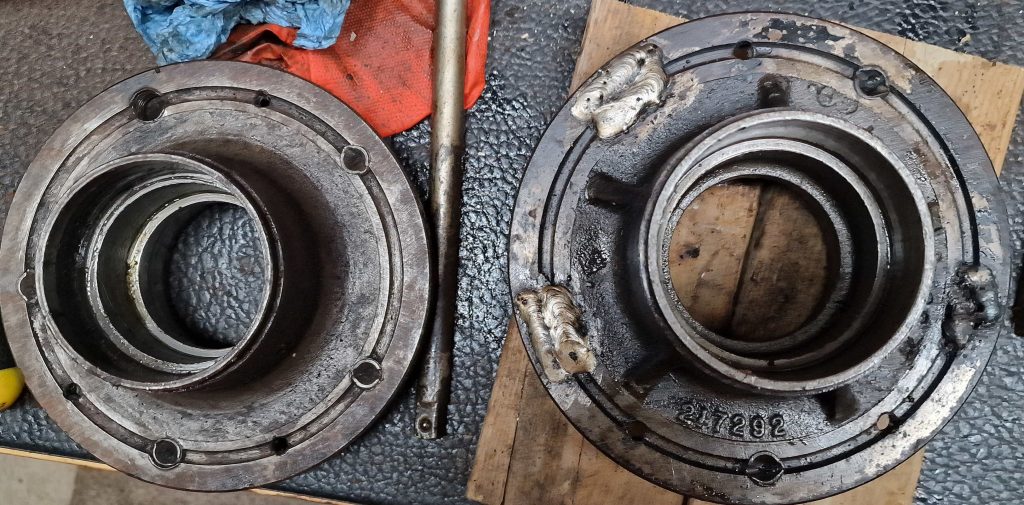
These are the rear hubs, and as you can see the one on the left looks like an aftermarket one, the one on the right original, but with some of the studs welded in! This is why I did the fronts, wanted to see what they were like.
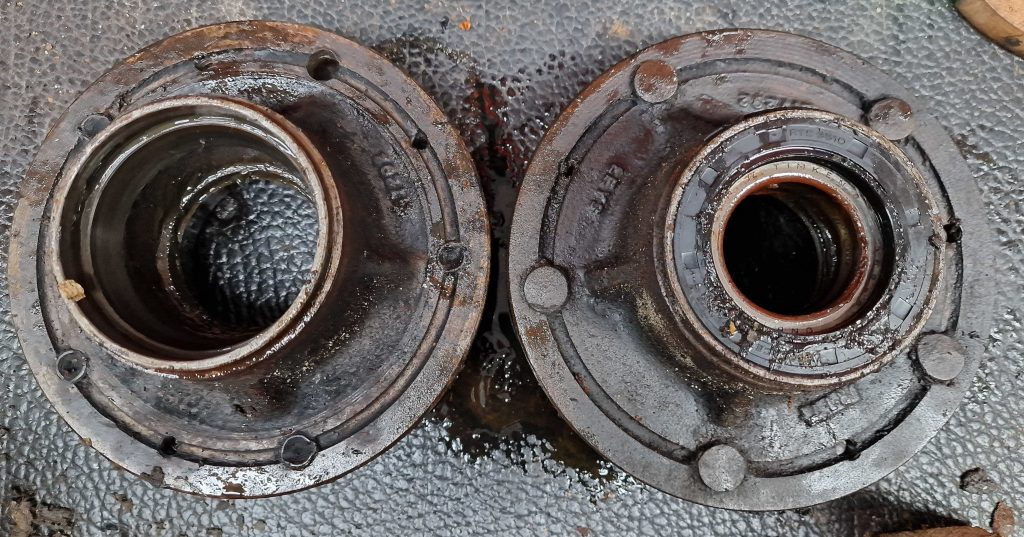
These are the front hubs, both look original however the one on the right has had new studs fitted, and not fitted very well at all.
So now have a decision to make on all 4 hubs.
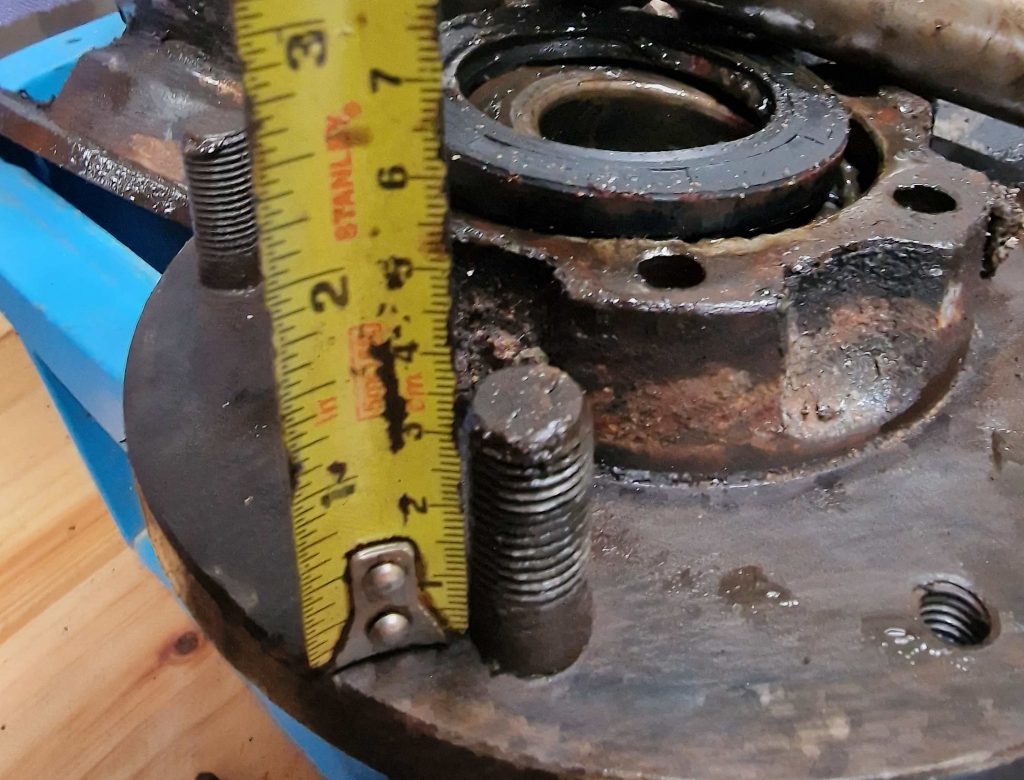

So what are the issues? well as far as I know, when studs do come loose there are a few options to repair them. What I do know (from reading) is that welding is possibly the worst option, welding hardened steel to softer is not great, and when replacing with pull through studs, either get extra long ones or countersink the heads into the hub. Neither of which has been done here! as can be seen in the two pictures.
Now to get original replacement hubs is not cheap. and they are a bit hard to find, and while I am not heading for concours standard I want period correct and I also want the wheels to stay on when I do get to drive it, so will be replacing the 2 rear hubs and looking to get the other two sorted with proper studs, properly fitted. Have an idea who can do that, as I don’t have the equipment to do it properly. Will cover that in a later article.
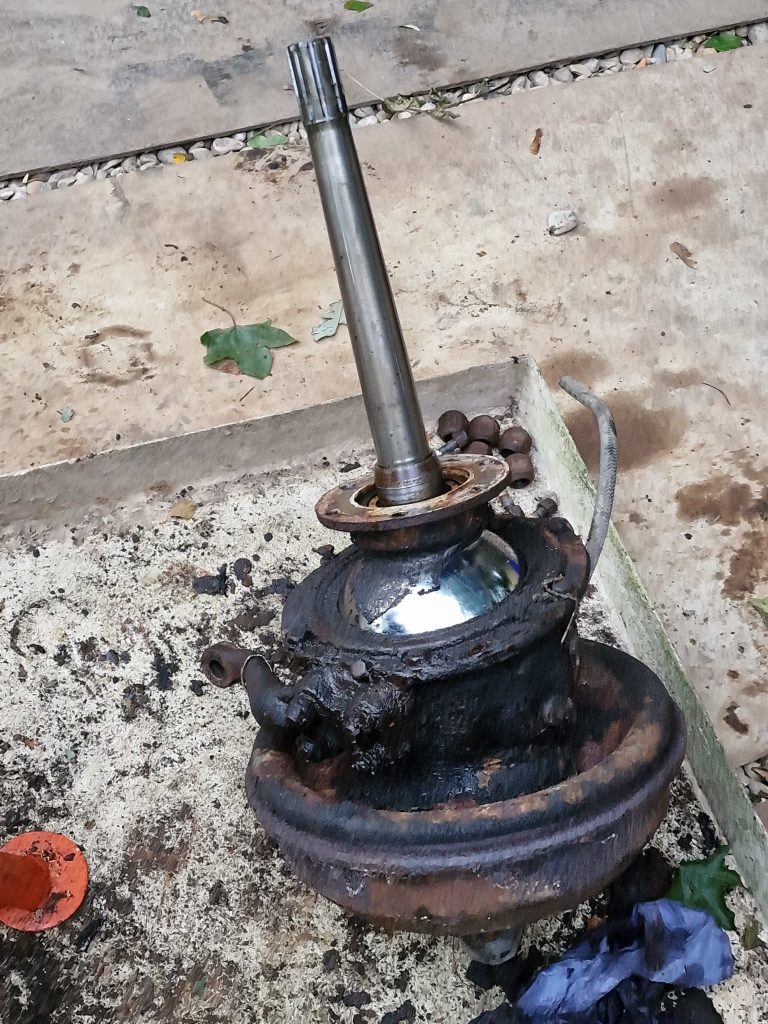
The reason for tackling the rear first was because they are simpler. Having tacked the front as well, this is why they are a tad more complicated. The front wheels need to go around, but also they need to steer, that’s where the big chromed ball thing comes in, with a universal joint inside.
Little more challenging to strip down but nothing too bad, other that stinking old oil pissing out everywhere, and the top and bottom swivel pins which were a little tight.
So that’s both the Rear and Front axles stripped, everything bagged up and put away after a little inspection and a mental note of what seems to be a rather long shopping list.
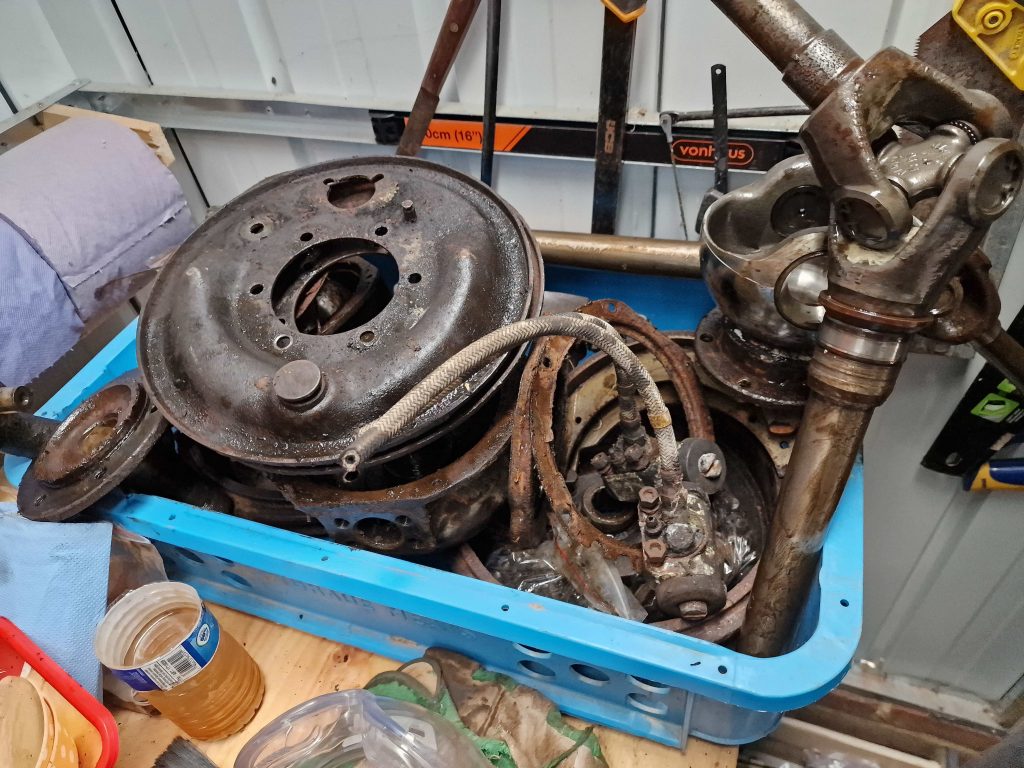
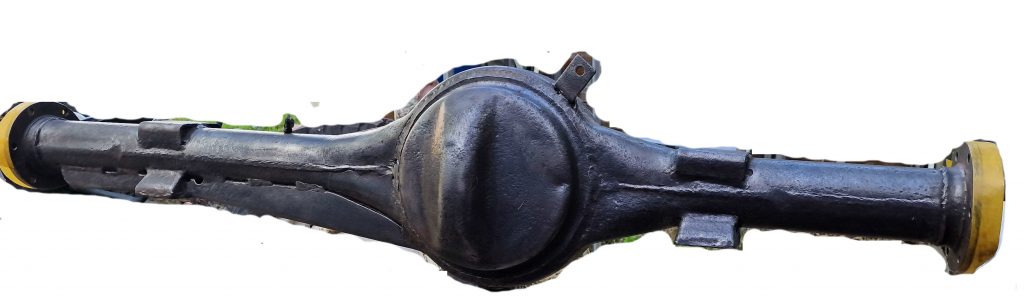
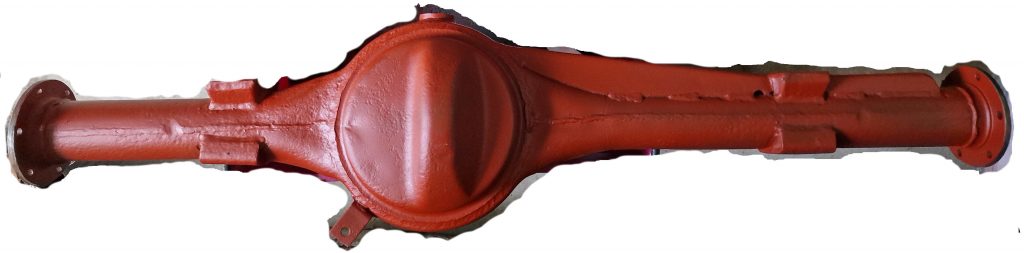
So the next step, while I am sourcing some new bits (and checking my bank balance) is to start cleaning stuff up and getting bit of paint on to stop the rust coming back before I am ready to paint properly.
So after a few hours with a wire wheel on an angle grinder, some degreasing, got one of the axles ready and then painted with a little red oxide.
Need to stop now for a couple of weeks, next weekend off shopping at the Newbury Spares day and my Nephews wedding the week after, Jonathan and Briony.
Hopefully next time, one of the first pictures you see will be a bench full of new parts..
Thanks again for reading.
3 Comments
Charles McGahagin
I found the Site interesting. I have a’69 Series IIA that hasn’t been run in about 30 years but was saving for a retirement project. Trying to decide if I want to make the leap? I’m in the Eastern U.S.
PK
Thanks for the comment on the site, been a little quite recently but more coming very soon. Do it, even if it takes years, as mine will, its great fun and certainly in the UK there is a great community to get involved with.
Steve
Mate you make a boring topic interesting!