Been waiting a while to write up this part, mostly because I was waiting on a few parts. But here we are, finishing off the gearbox. Last time, I completed the re-build of the main gearbox and prior to that, re-assembled the front output housing and transfer box. Now its time to put them all together, and add on the handbrake mechanism and clutch assembly.
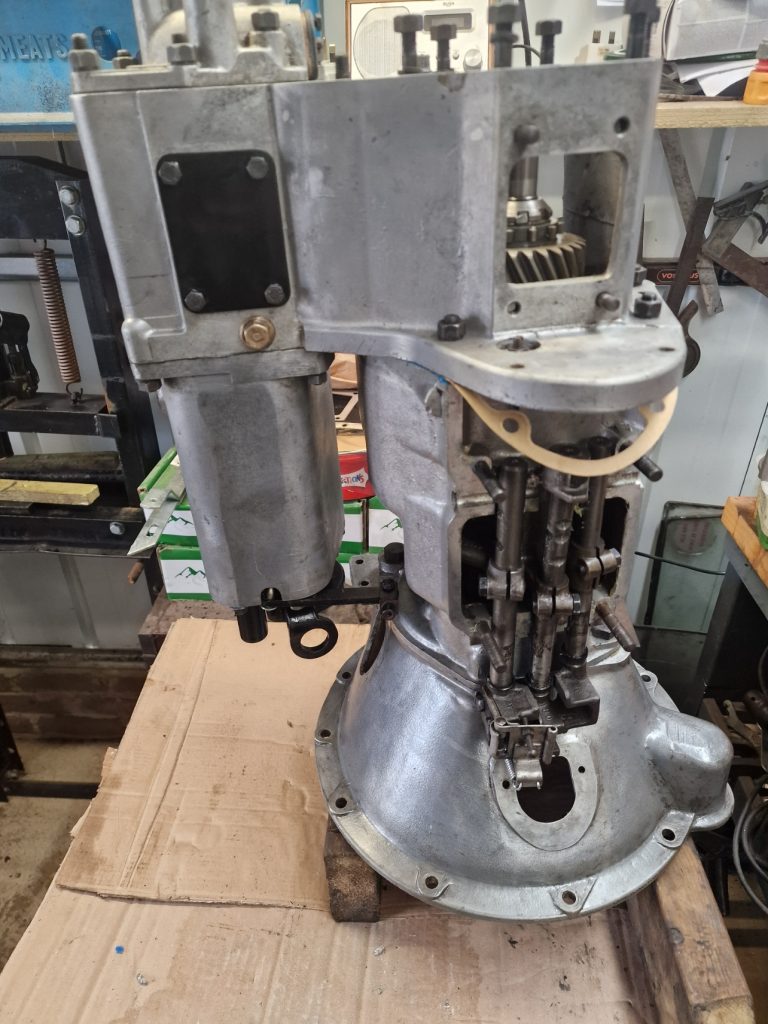
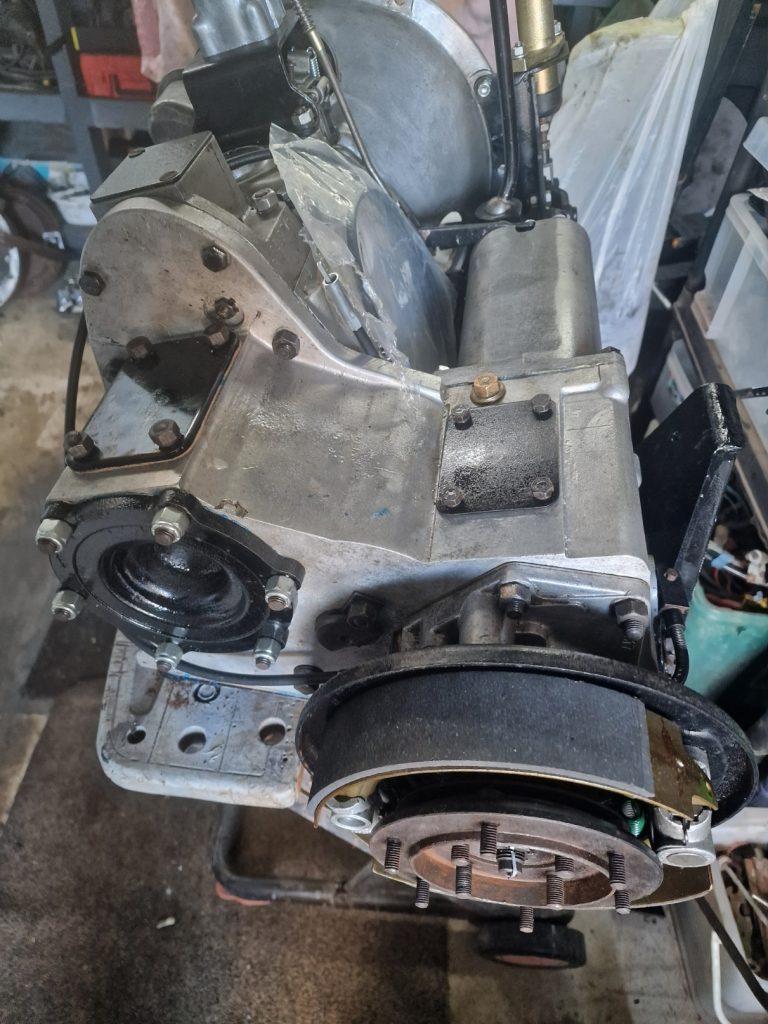
First up, connect the gearbox to the transfer case. Not much to see here, covered most of it before.
This picture is just after they were put together, and to do this had to lock up the gearbox by selecting 2 gears at the same time so I could torque up the front and rear nuts.
Oh, forgot to mention, the reason it has taken a while to get to this point, I was waiting on some new parts, one of them was the front housing seal, which I had put in the wrong way round.
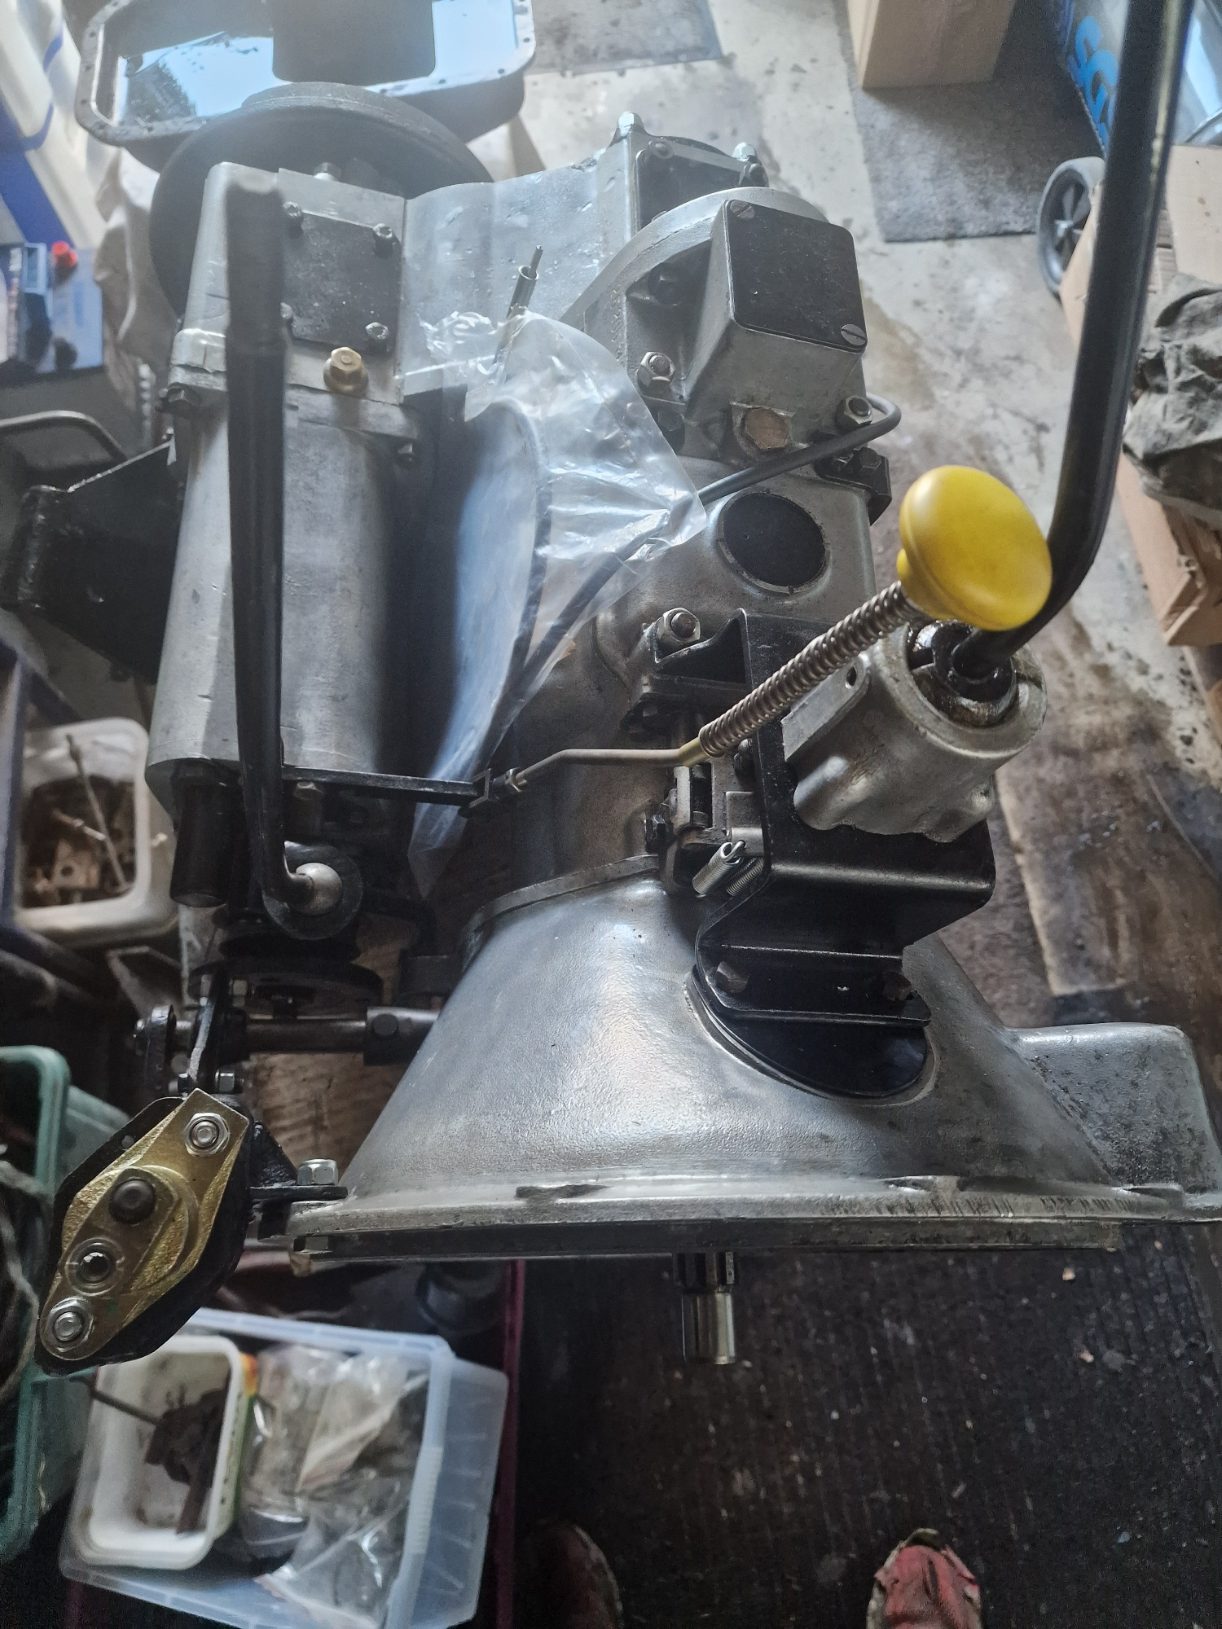
Clutch slave and assembly
This is the support for the clutch slave cylinder.
It connect to the clutch assembly in the bell housing.
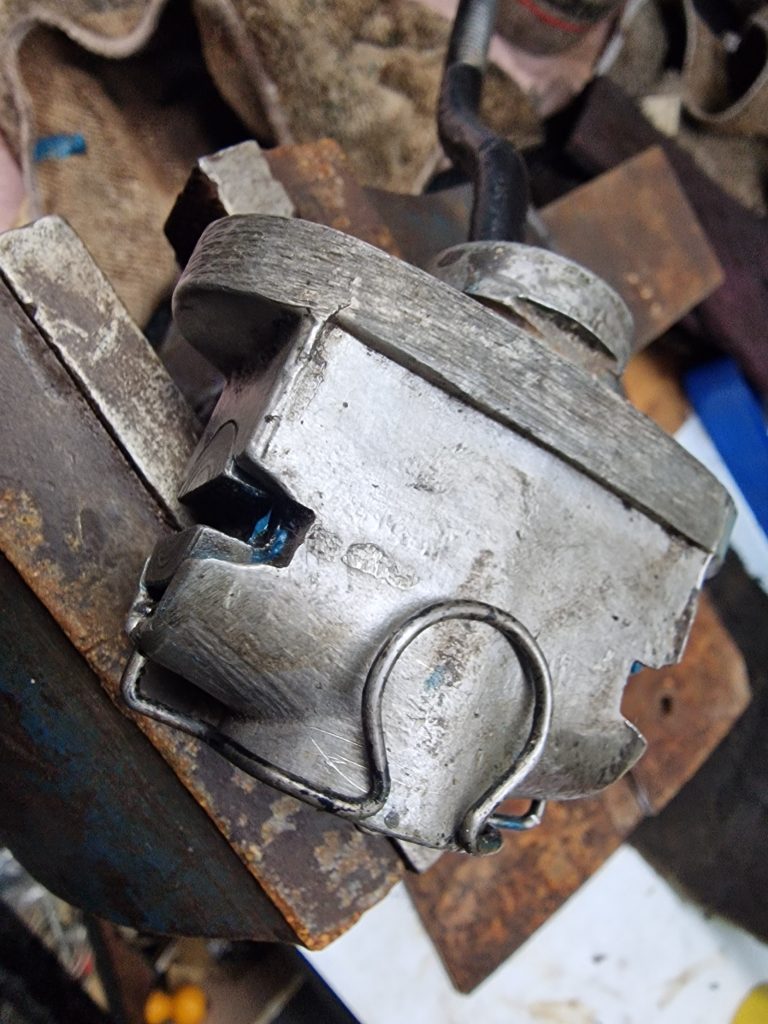
Now, i’m always honest about my mistakes, and there is an obvious one in this image!
Can you see my school boy error?

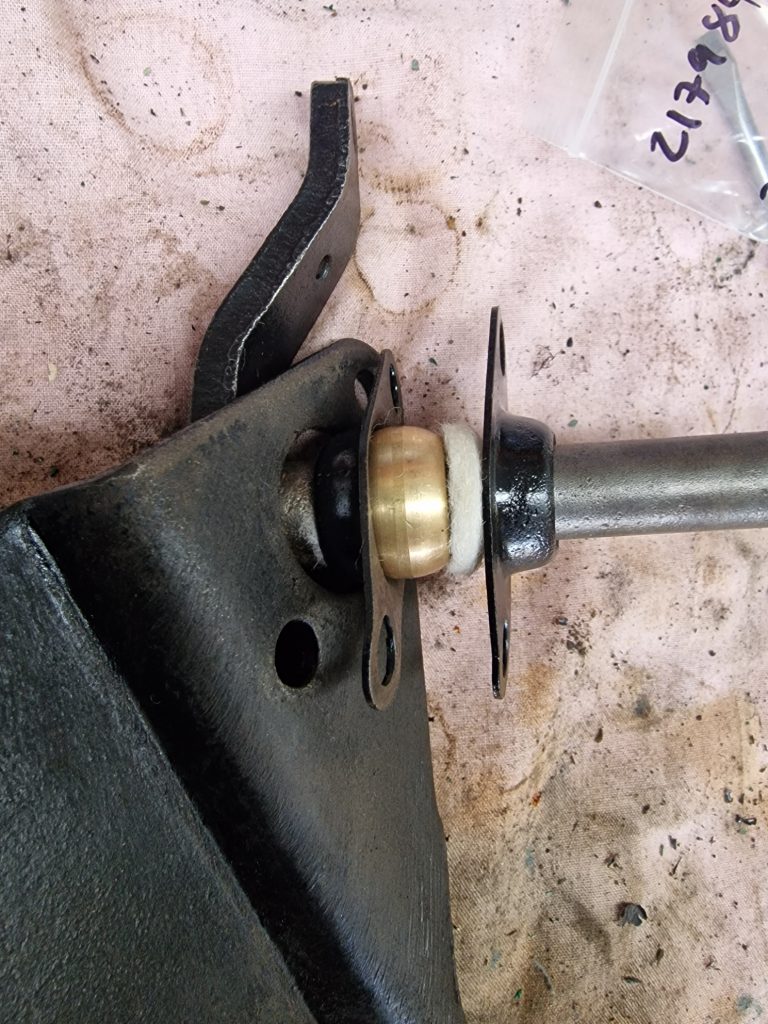
Here’s a clue to the mistake. The arm (towards the top) connects to the slave cylinder, which is shown above. When the slave cylinder is activated, it rotates the bar on the brass ball thats held in-place by the two plates which in turn, engages the clutch.
I will help you out a little, I put the arm and assembly through from the wrong side of the bracket! see, school boy error.
Handbrake assembly
This was a little more challenging than the clutch, even with the mistake. One of the big difference’s is that the handbrake is just mechanical, not hydraulic.
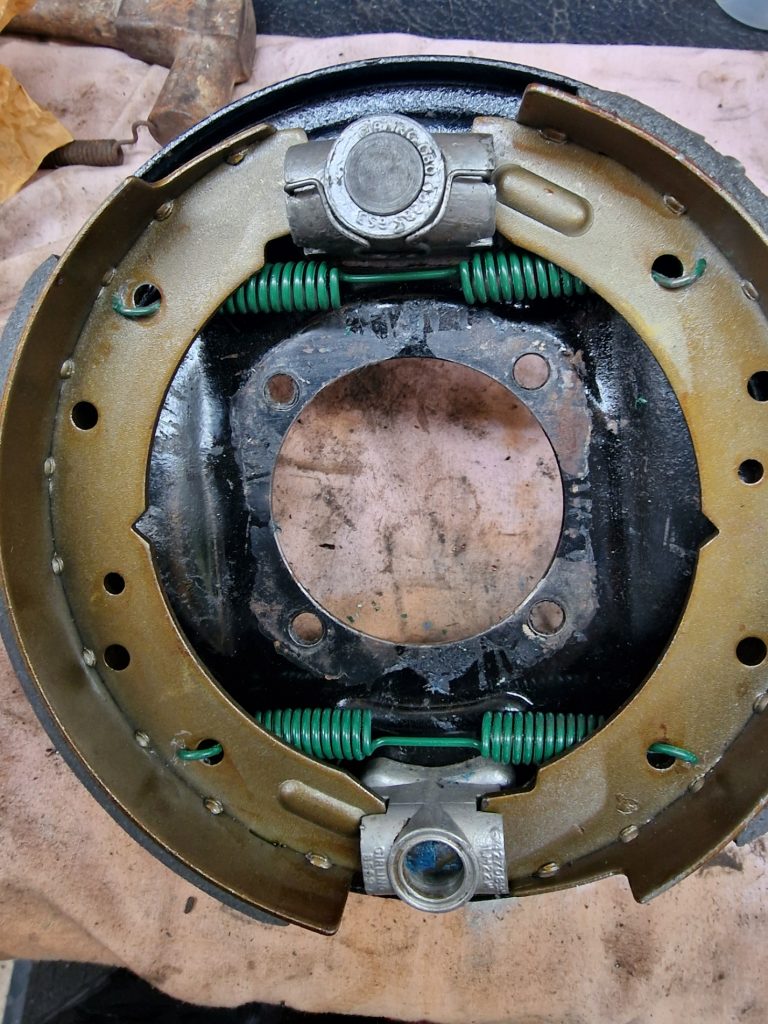
This is the finished assembly.
Basically, the two brake shoes are held in-place at the top and bottom, with two springs.
The bottom bit, is simply a brake adjuster,
The top one, is the part that is activated when you pull up the handbrake, pushing the shoes apart onto the brake drum
So lets look at some of these in more detail.
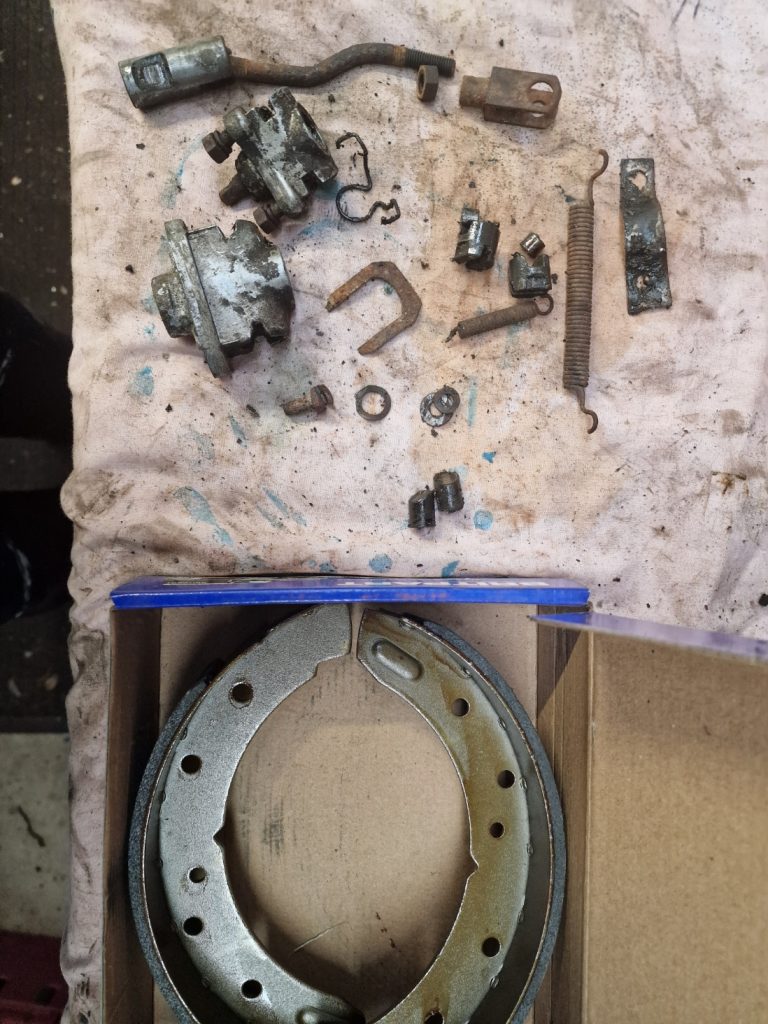
All the bits diss-ambled, with the new shoes, that were one of the first things I bought for Isobel, they were on offer!
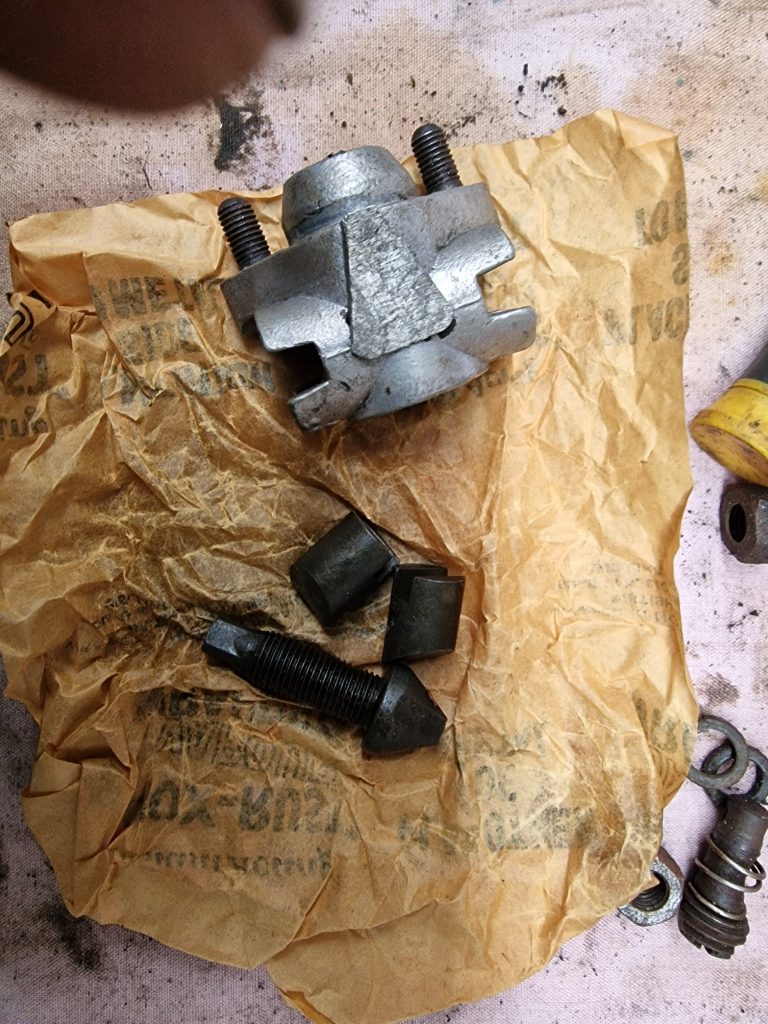
This is the part that pushes the brake shoes apart when the brake lever is pulled on.
This is the adjuster. I renewed the 2 rollers and the adjuster.
Basically, screwing the threaded part in, pushes the sides out, hence adjusting the brake shoes.
Not much else to say about these things, its all pretty simple other than what the completed gearbox looks like after these parts were added.

As with most things I do with Isobel, not totally done. I forgot to order the rubber boot for the clutch on the bell housing, and not finished painting the brake drum. Last but not least, while I can select all gears easily, low/high ranges and 2/4 wheel drive. But wont know for sure it all works properly until its attached to the engine, in the Land Rover and I try it for real.
Can’t wait for that day.
Leave a Reply