Because I had not planned on doing this, well not until I knew for sure I needed too, plenty of reading and watching video’s, just so I would know what to expect. Have to say, that was time well spent.
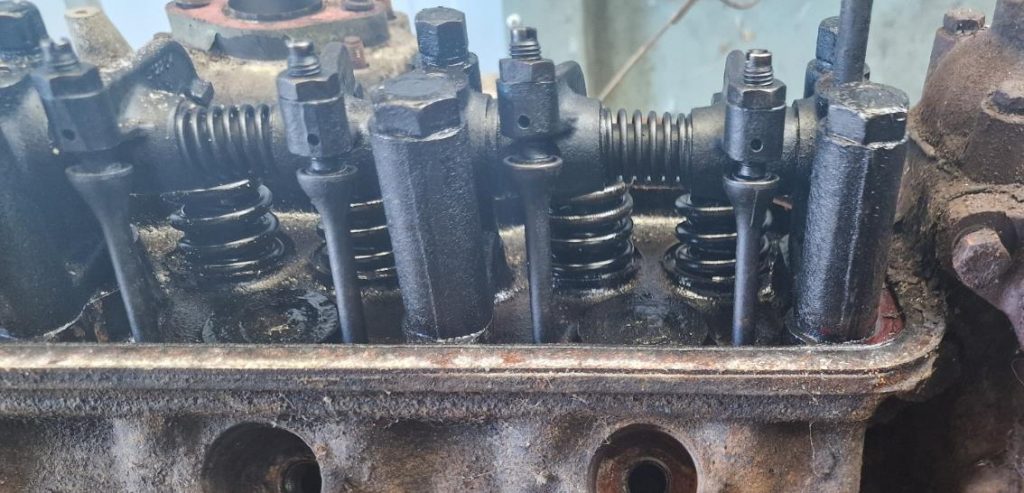
First step was to remove the rocker cover, exposing the rocker assembly.
One of the things I did learn by reading and watching was that things need to be kept in the same place from where they came off.
Using the rocker cover upside down, keeps it all together.
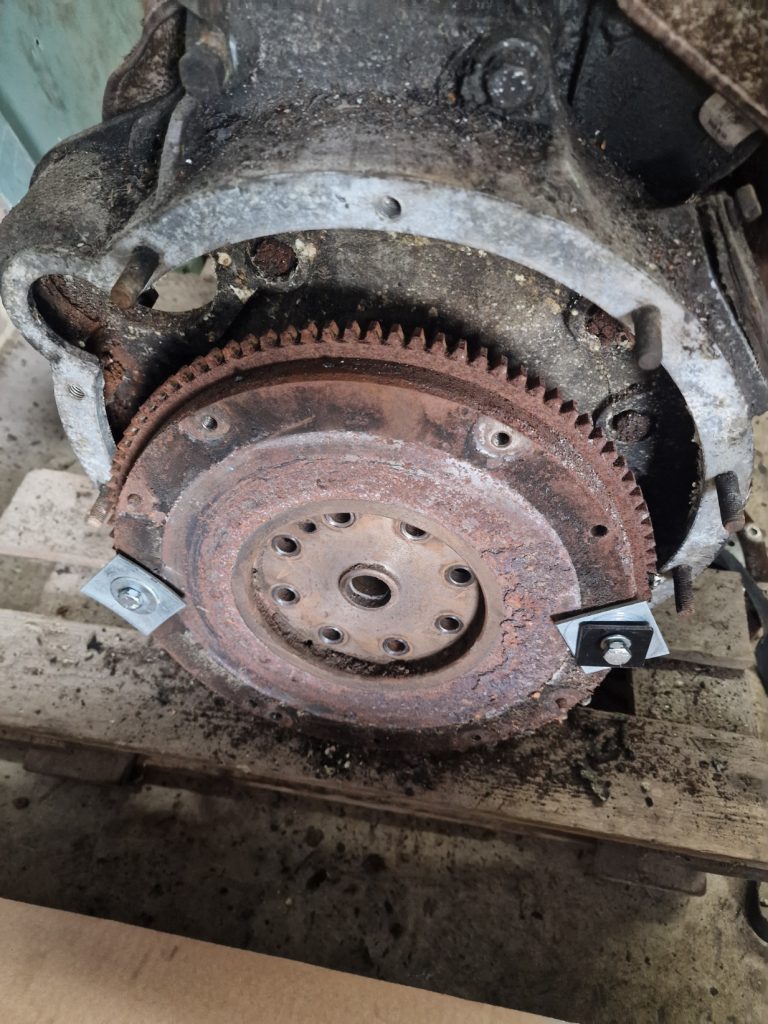
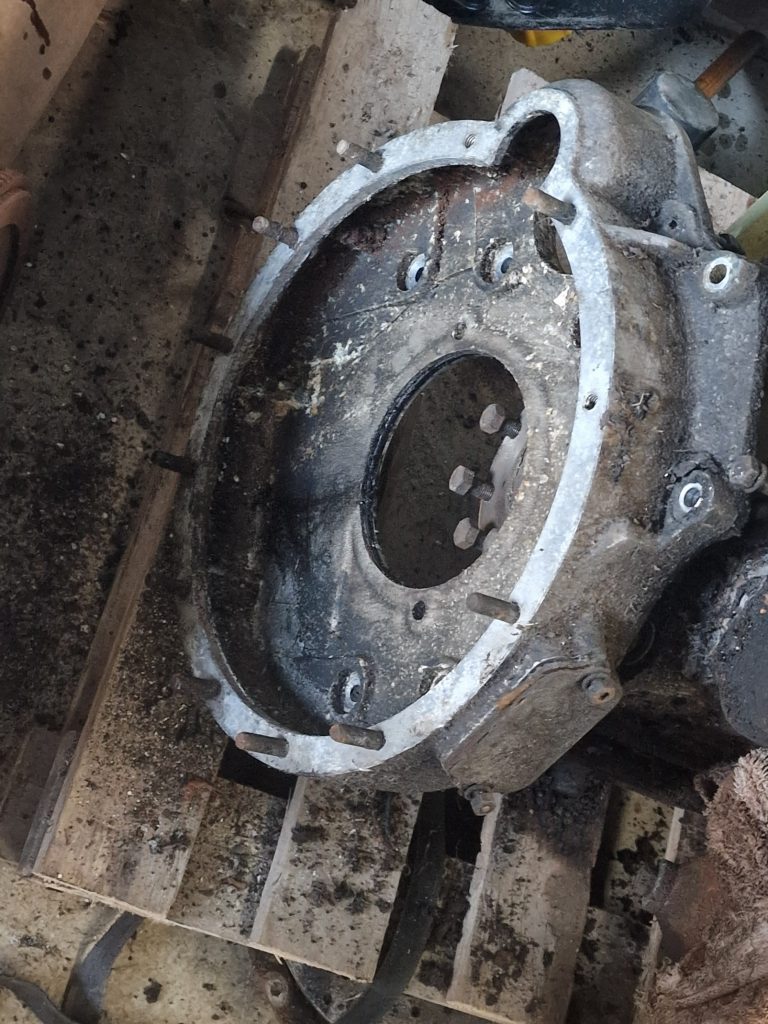
Off comes the flywheel. Another tip taken from videos, was to use two bolts, a selection of washers to pull the fly wheel off. That all went pretty easily.
Then removed the fly wheel cover.
Then it was a case of removing all the other ancillary parts, the oil filler pipe, distributor, heater pipe tap, engine mounting brackets, oil filter assemby and various other bits.
Once all those bits were off and safely stored, next was to tackle the head. Taking care to undo the bolts a bit at a time and in exactly the right order (reverse of the order used to tighten them).
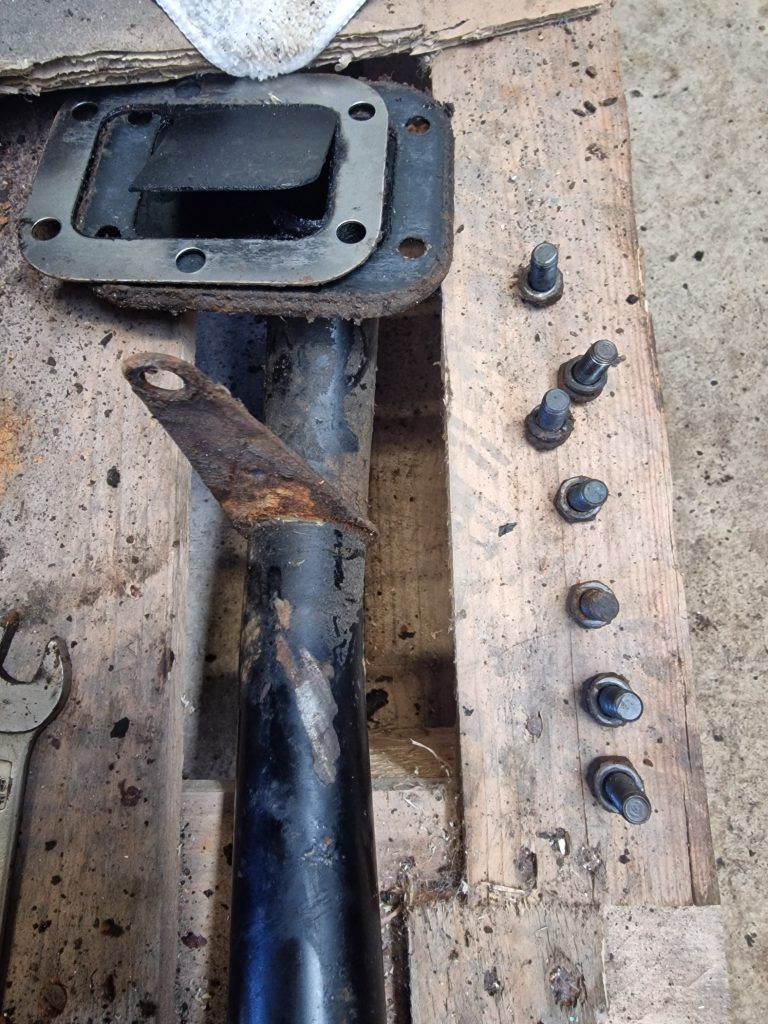
With the cylinder head off, it was time to take off the inlet and exhaust manifolds.
Humm, even me with my little knowledge knew this would not be easy, but I was surprised! the bolts started coming out fairly easily, until that is 2 snapped.
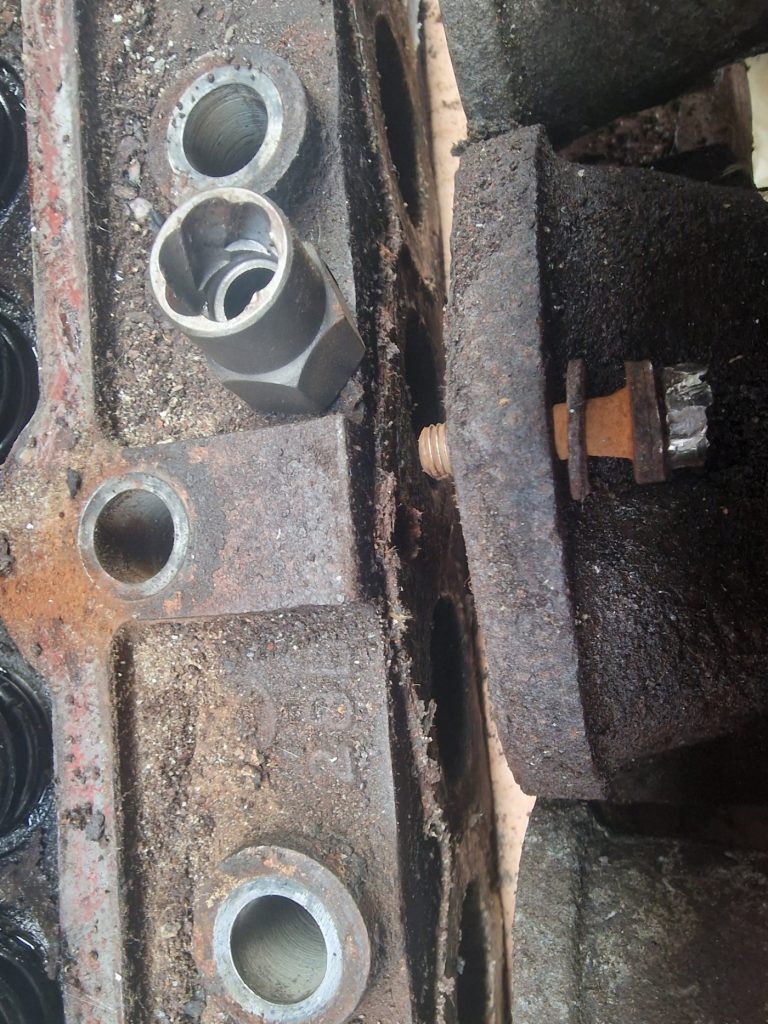
Then there was one bolt that I could not get a socket on, and could not find a spanner with grip to undo this little bugger, which had a slightly knackered head.
So, looked for a tool that would help and found these little things, sockets with a spiral inside that grip the bolt head, and small enough to fit in the gap, just.
With the help of an extension bar, out it came.
Thats it for the cylinder head for this one, will cover the rest of that in part 2 when I have bought yet another tool, to remove the valves.
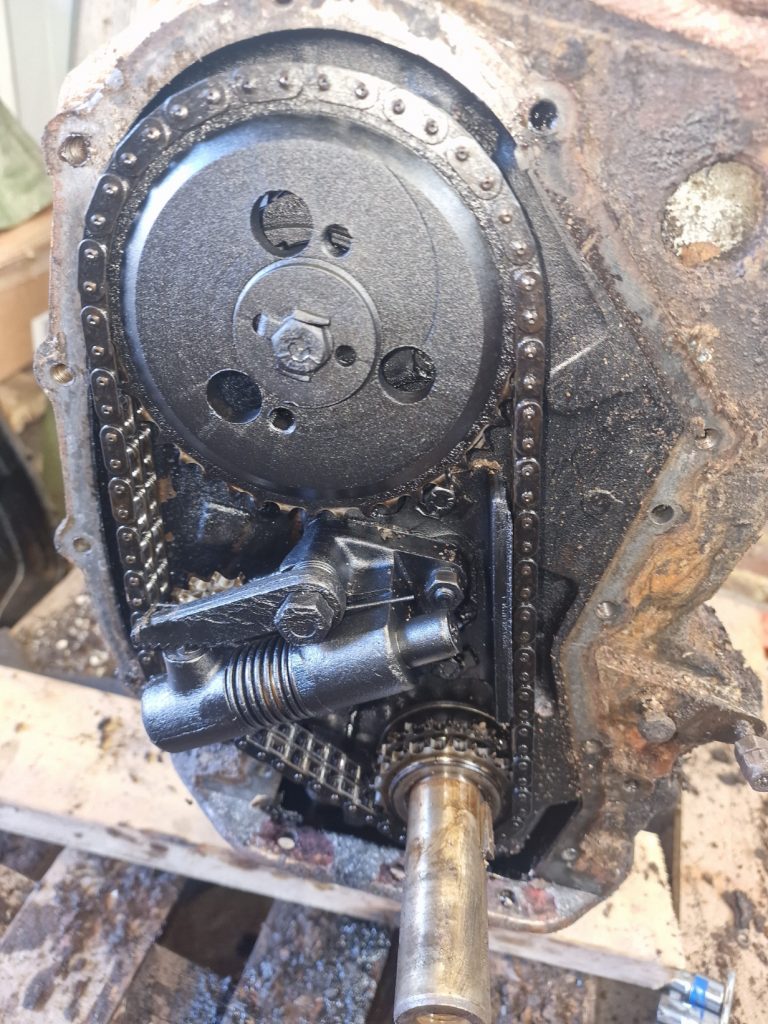
Next, the timing chain. Removed the timing chain cover, which needed 4 bolts removed from the sump.
Now, the right way to do this, is to set the engine to TDC (Top Dead centre) on cylinder 1, and mark where the gears are to maintain the timing between the crank shaft and the cam shaft.
Because the engine had locked up, I couldn’t do this so will have to re-set all the timing when it goes back together.
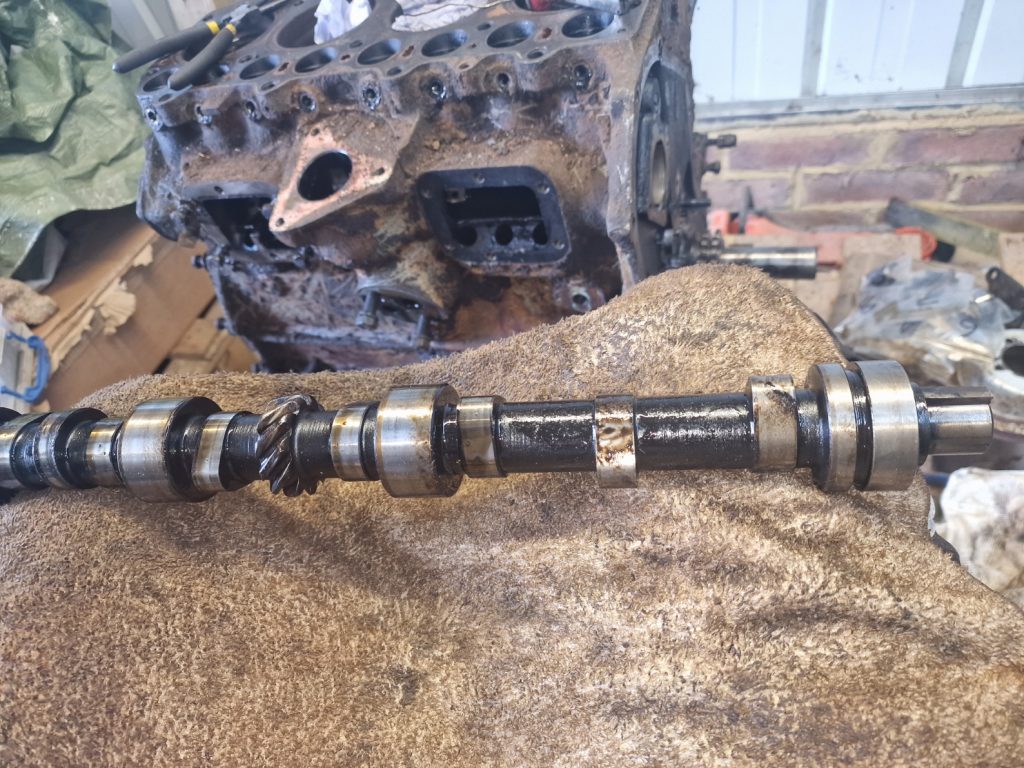
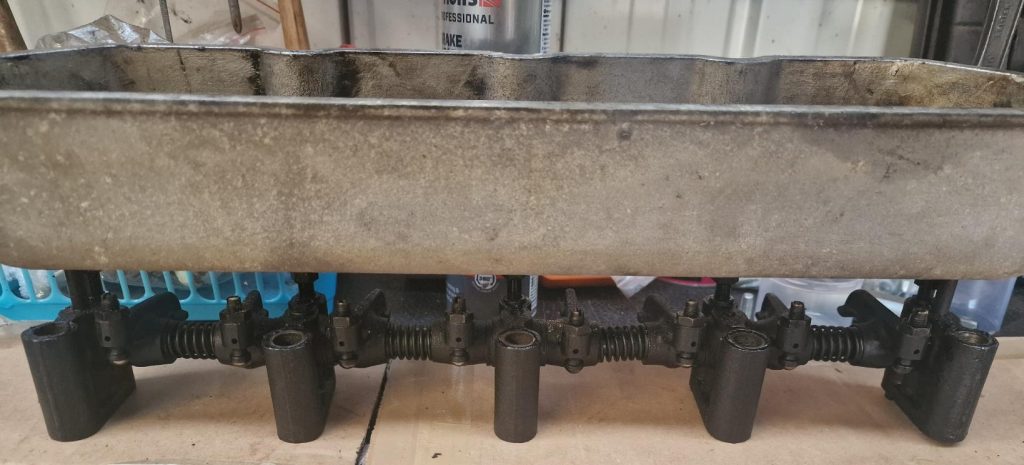
With the timing gear off, the cam shaft can come out. To do this, all the rocker parts need to be taken out first.
Again, all these were bagged up in separate bags to keep them in order.
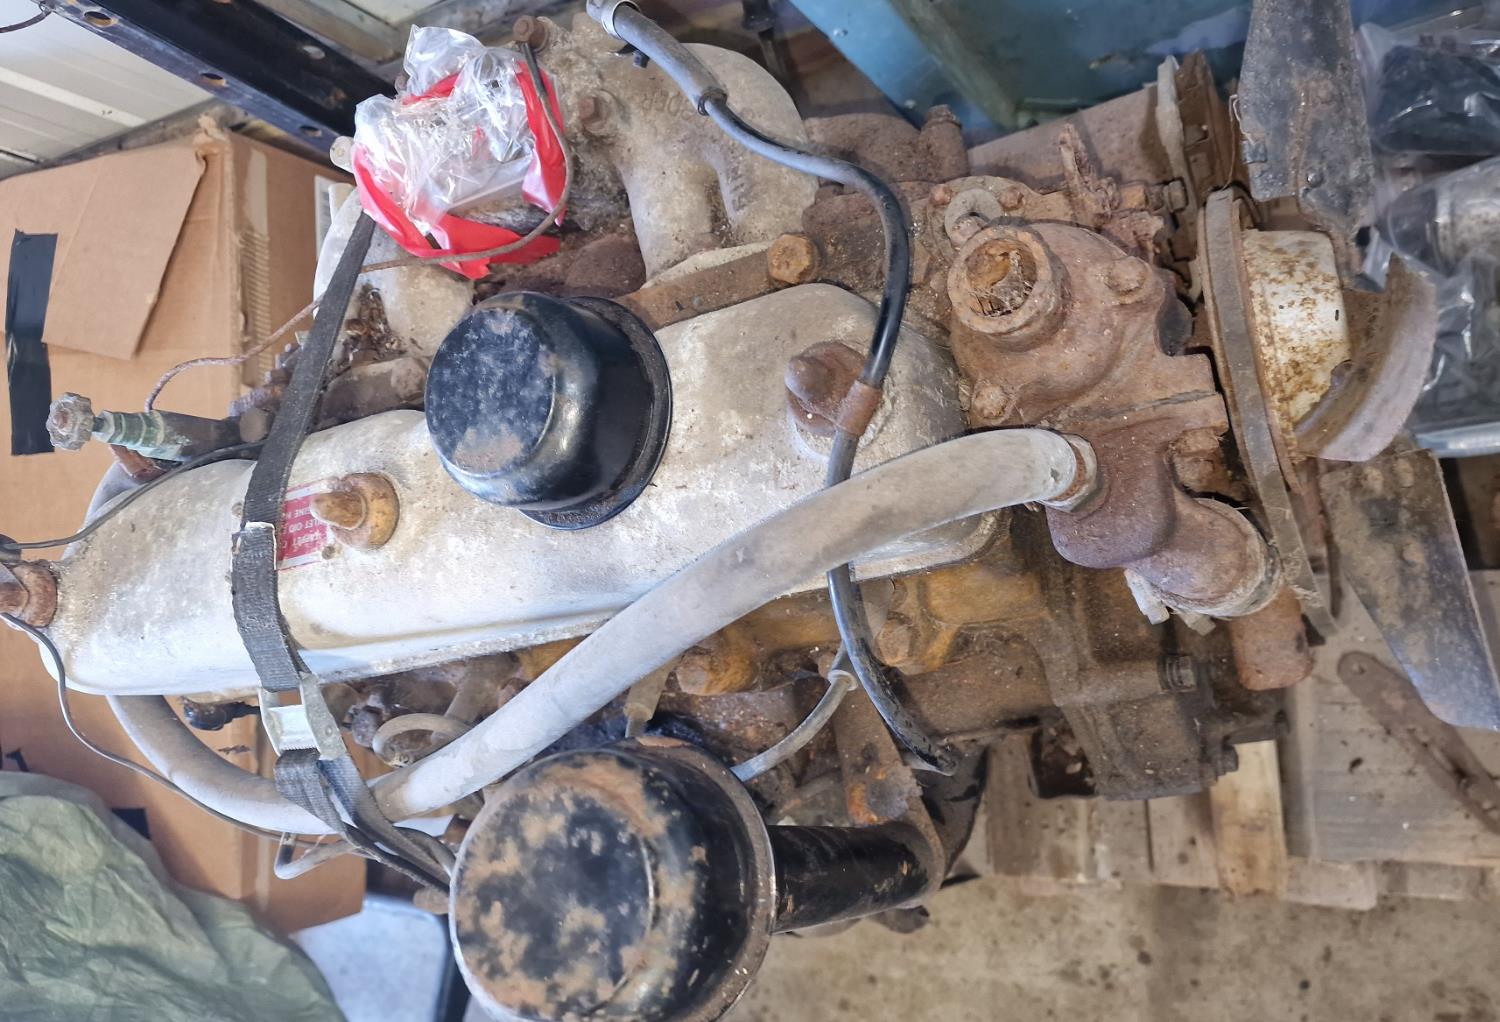
So, back to the main block.
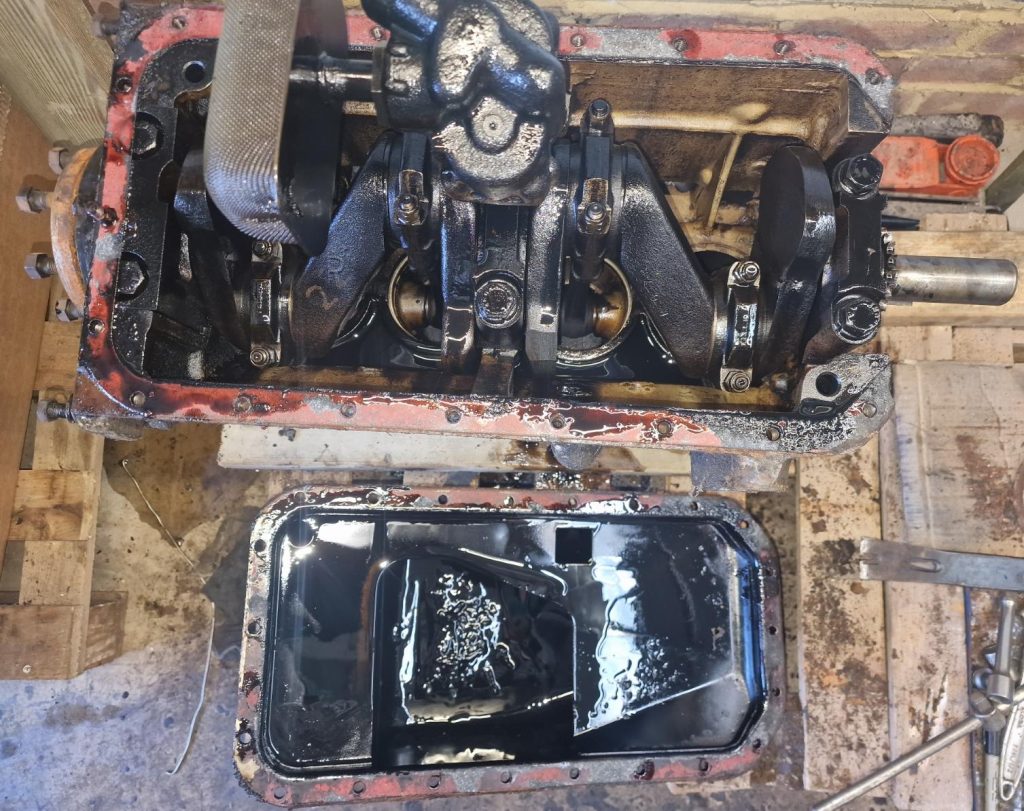
Next then, is to remove the sump, so I can get at the crank shaft, main bearings and ultimately remove the pistons.
Cant quite see it here, but in the bottom of the sump is a collection of small metal bits! Something somewhere has gone to poo!
I kind off stopped taking pictures at this point, my hands were covered in old oil, and the gloves I bought are next to useless.
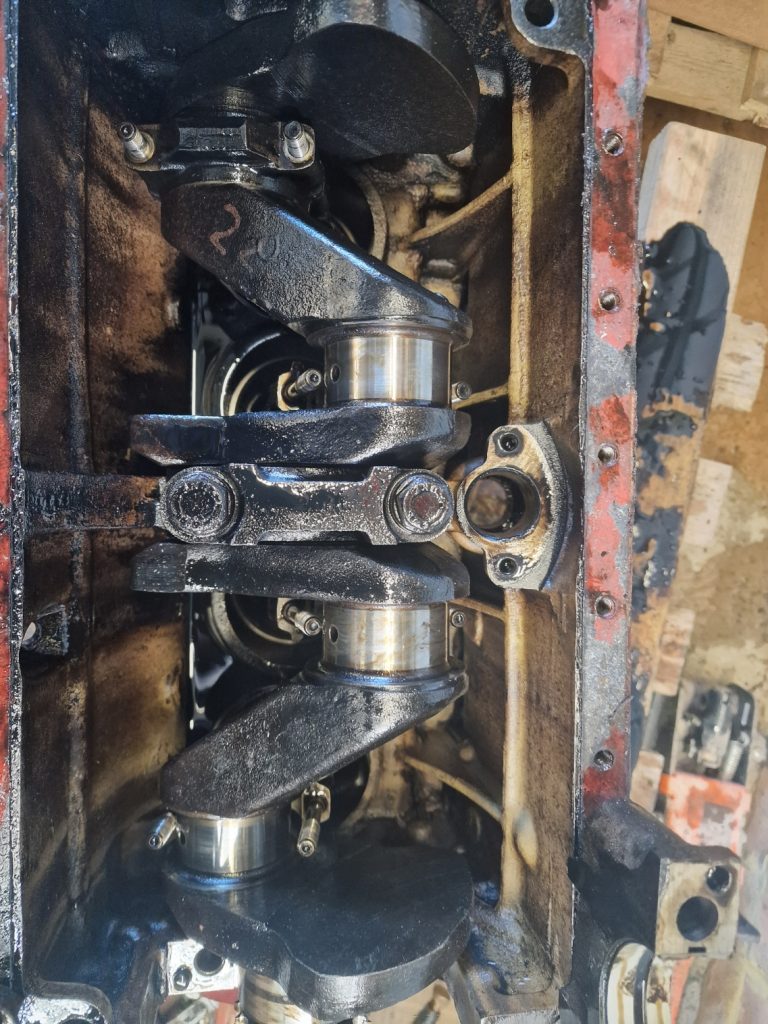
Removed the top of the piston connecting rods, keeping all of them in separate plastic bags.
This should allow the pistons to come out the top of the block.
Difficult to know how much work this engine has done, but suffice to say enough to create a small lip in the piston bores to make this a bit of a challenge.
A little cleaning with some emery cloth, and got all the pistons out eventually, except number 4, which was the one that had caused the engine to lock up.
With three out, I was able to remove the crank shaft, which gave me better access to No4, which eventually came out.
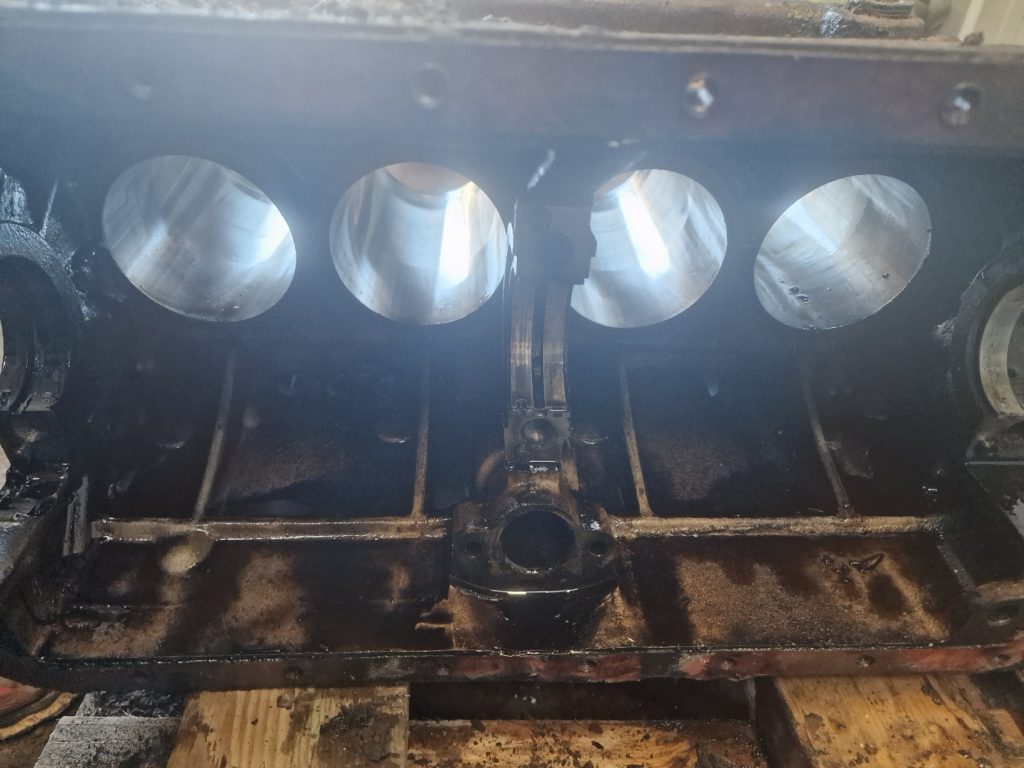
There it is, an empty block, bags and bags of bits and old Oil everywhere. Didn’t mention, before I started needed to drain the oil out, which kind of worked, until I moved the container, not realising the oil was spilling onto the floor.
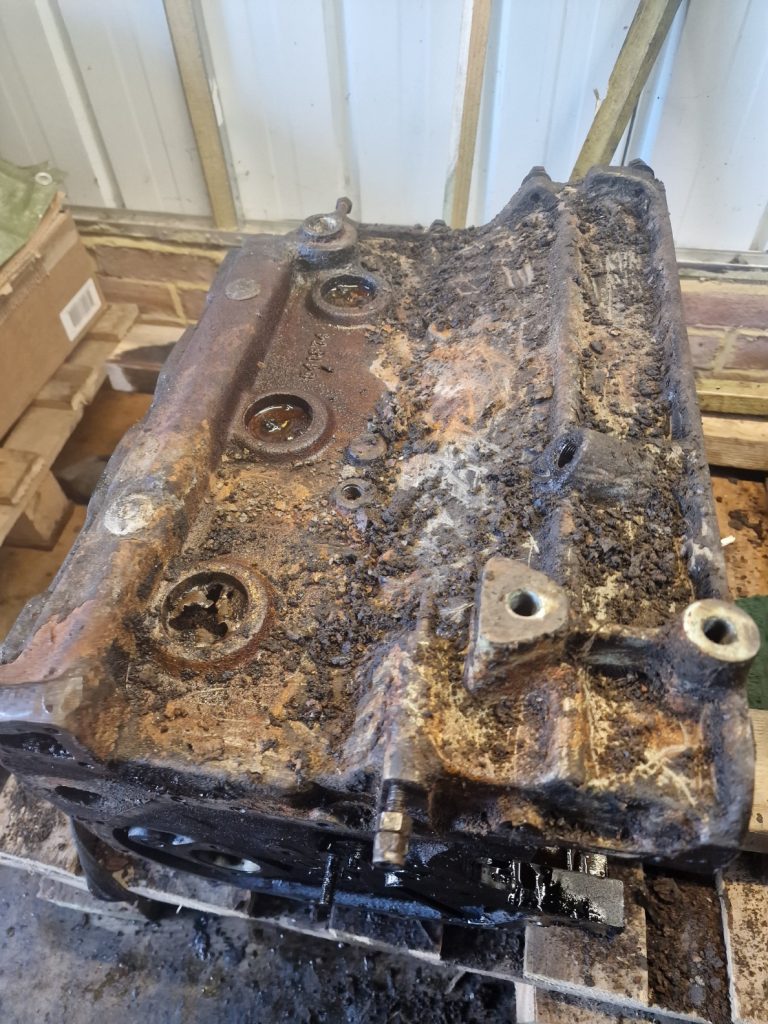
To finish up, cleaned up the case a little and took out three of the casting plugs.
Will re-new these during the rebuild, after the block gets a nice, original coat of paint.
Thats it for now, will do the head next time and then focus on cleaning everything up.
This brings me to the plan, what am I going to do with it all now its in bits. Well, this is where the budget will get spent. It will be going off to an engineering company, probably in Portsmouth (based on a recommendation from my Nephew Lee) to be looked at in detail, tolerances, condition etc. and come up with a plan.
My gut feel is that at a minimum I will be looking at:
- Head skimmed
- High temperature valve seats in the head, to deal with modern fuels
- Re-bore of cylinders or even sleeved, with new cylinders
- Check cam shaft and cam bearings and renew if required
- Re-skim flywheel (if tolerances allow)
- Remove broken studs from head
- Give it all a really good clean (inside and out)
And when that, plus any other issues are dealt with, will start to put it all back together, and then get it into the chassis, along with the gearbox. Now that will be exciting.
Leave a Reply