Was a couple of weeks ago, I last wrote about progress, and thats for two reasons. firstly, I was procrastinating over whether the engine was a little tight, when turning over by hand, and secondly went away to a lovely part of he country, Devon, for a week’s holiday with the entire family, Wife, Kids, almost Step Grandchildren (Son and his partner not married just yet) and the dogs (yes, Dogs plural, we have another dog).
Back to the first point. when turning over by hand, it needs a spanner on the starting dog to turn it, it’s a little too tight to turn it by hand. With the spanner, it turns nice and smoothly, but was unsure if it was a little too tight. My Nephew has said he will pop round to see it for himself and give me his opinion, but he and family are on holiday this week, and we were away last week, so cant look just yet.
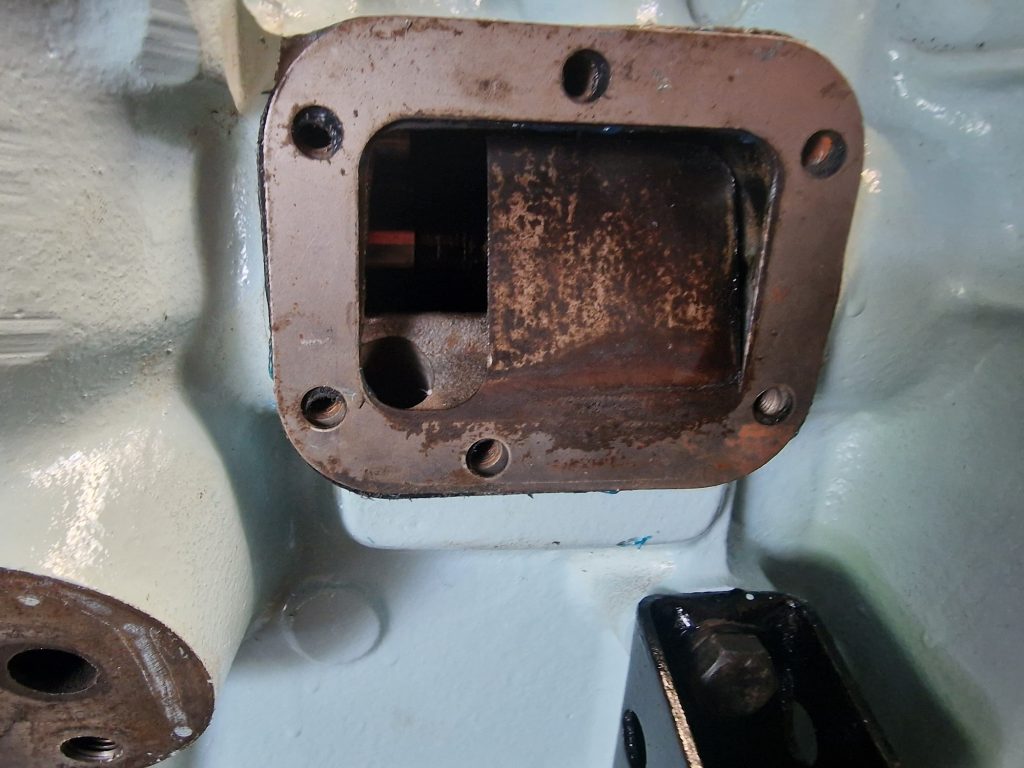
Before my Hol’s I had almost made up my mind what I would do, so ordered a second set of bottom end gaskets, just in-case I do need to / decide to strip it down a little. My main concern was the T seals in the rear main bearing housing, they need a special tool to put them in normally, which helps to compress them before they are pushed into the block, but I didn’t use one, I used a thin fealer guage, which was not ideal.
So first thing was to make something similar, cut two strips of 2mm sheet steel and bent them just over 90 degrees, and drilled two hols to bolt them to the block.
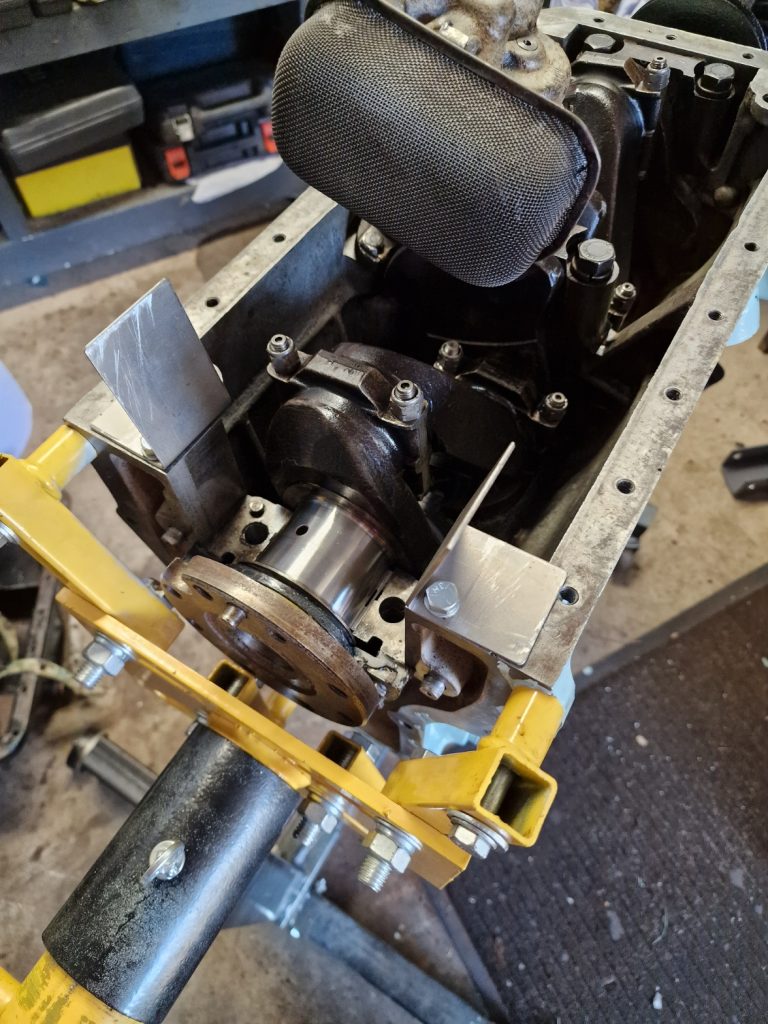
With the two pieces bolted in place, when the bearing cap with the T seals are inserted, they compress and slide in much easier.
So, job done I think.
Re-cleaned everything, applied some assembly lube and put it all back together. The crank is still a little tight, but its smooth, and doesn’t take huge amounts of effort to turn, and have to consider, It has all new bearings, new pistons and rings, new cam chain, new camshaft bearings and loads of assembly lube, so have taken the view it is good to proceed. Will get Lee to come have give me his opinion at some point, and if needs be, will strip it and do it all again, but dont think that will ne necessary, jut need the piece of mind.
Right, so onto the stuff I’ve done.
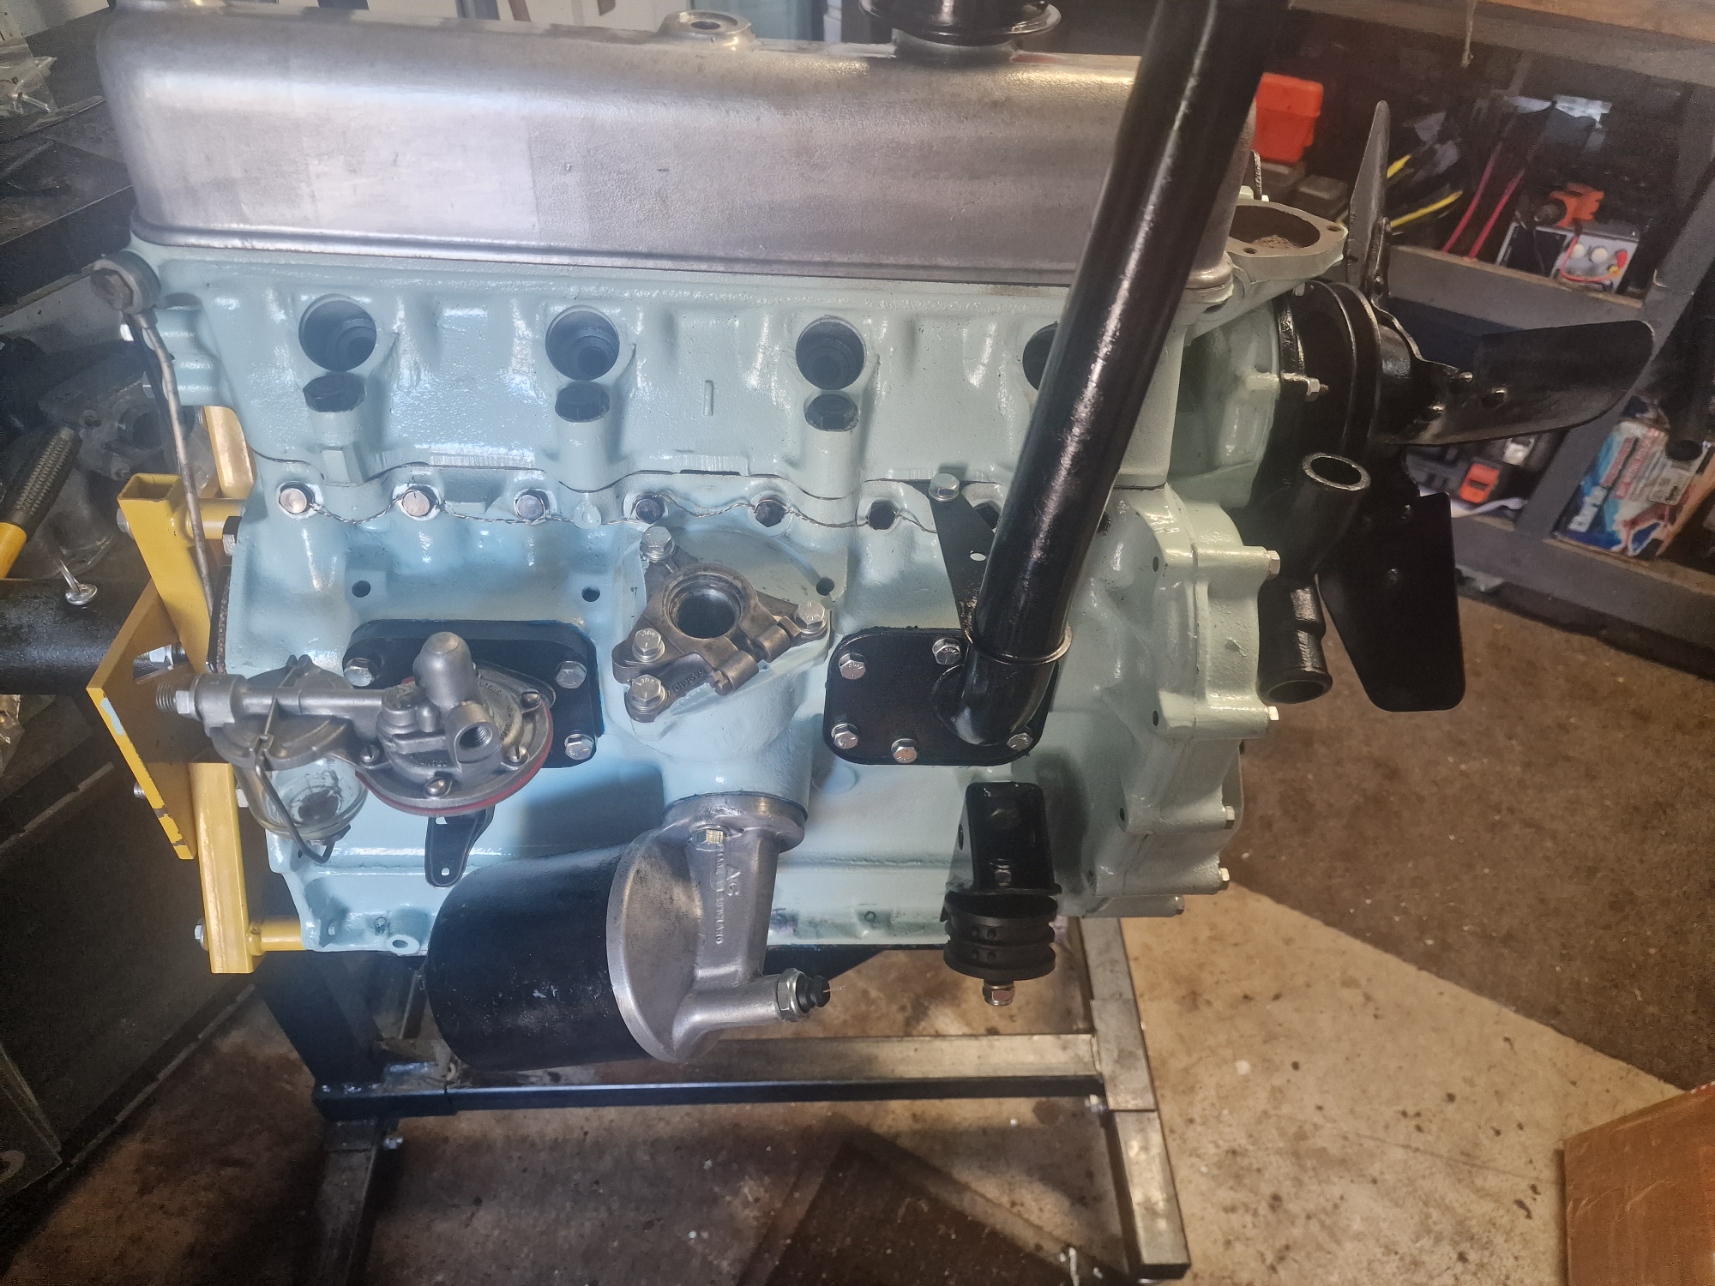
First up is the Oil Filler. First part to go in in a plate that clearly is designed to divert the oil (technical name is baffle). Now, I had a set of gaskets, but only had one to fit, so luckily, have bought another set, had the two that were needed.
All that goes on next is the long black tube, with a filler cap on top.
Finished off with some new bolts and spring washers, as I will be doing with all visible bolts.
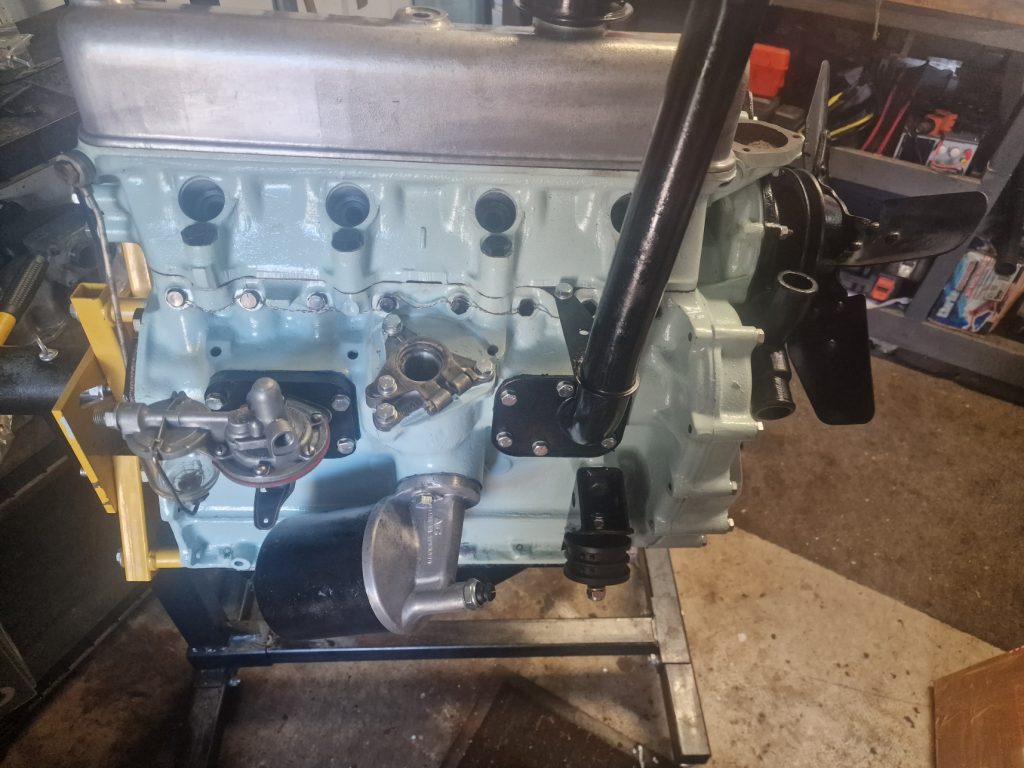

moving on, on goes the oil filter. Pretty straight forward, gasket first, then bolted on.
Just as a note, all gaskets are coated both sides with Hylomar Blue. There are lots of discussions online as to what is best, I dont really know and everyone has an opinion, so sticking with this for now, until its all together and leaking like a sieve.

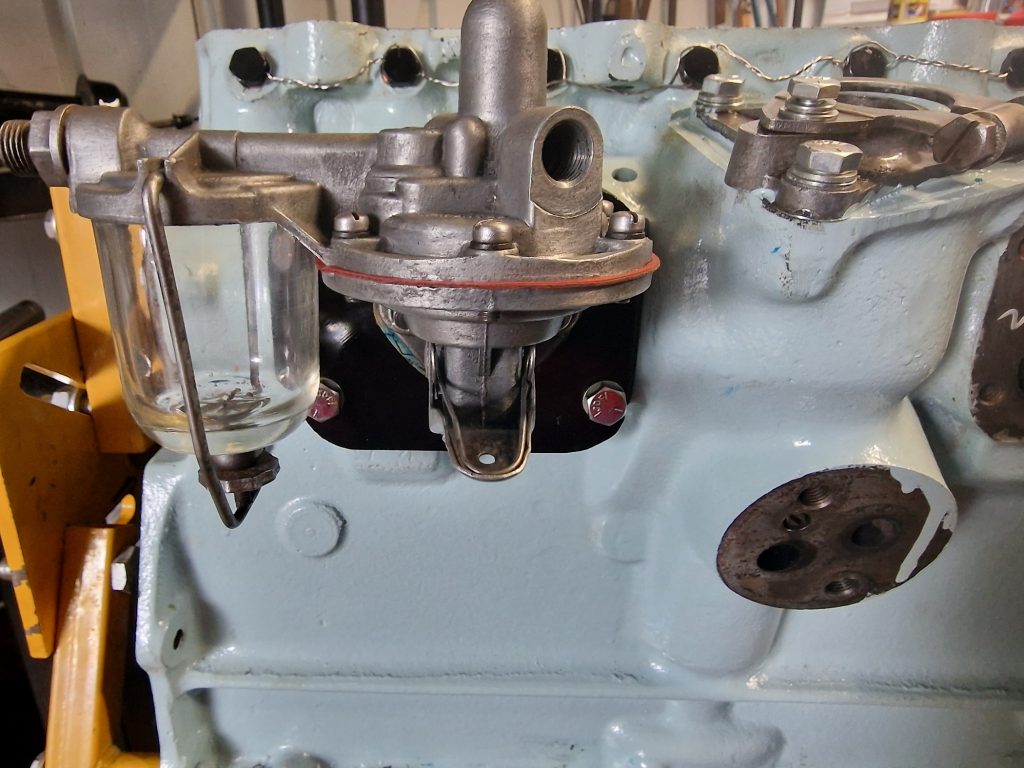
Fitting the Fuel pump, like the oil Filler is two parts. The backing plate, which is bolted to the block, and the pump which is attached to the backing plate. I did this twice, as the first time I put the plate on then the pump, but realised that the arm of the pump, was not sitting on the camshaft lobe responsible for creating the pumping action. Took it off, attached the pump to the backing plate and put them both on together, making sure the arm of the pump was sitting on the camshaft lobe.
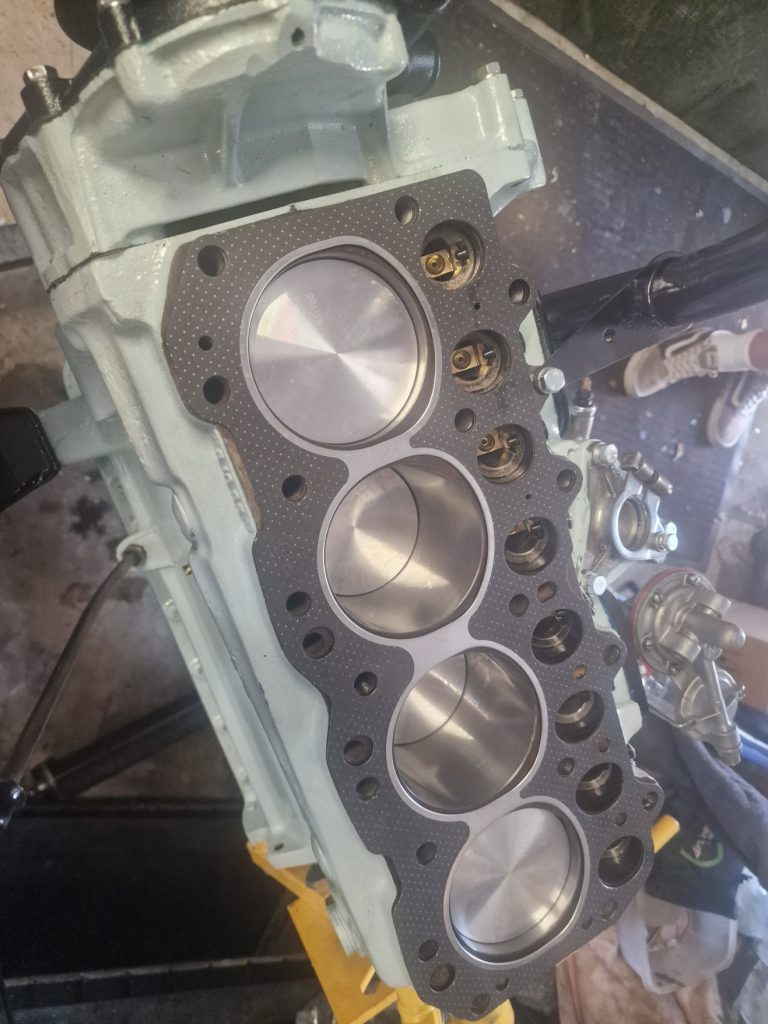
I perhaps should have done this before the other bits, but, didn’t. First on the Head Gasket, which is simply laid on the block. the Head, which sits on this is heavy, so lining up the bolt holes without pushing and pulling the head around is not easy. Some people use old head bolts with the end cut off to act as a guide. I dont have any spare, so called upon Reuben to give me a hand.
I held the head over the top, while he located two of the bolts to ligned it up perfectly, before placing the head down.
To bolt the head down, the rocker also needs to be put on (I did clean this up again, and lube’ d it up with assembly lube and some oil).
All 18 Bolts were located in their respective holes and tightened finger tight.
To fully torque them up, to 65 lb ft, with the smaller bolts on the rocker to 12 lb ft (Actually in the book I used, this was quoted as 18 lb ft, which is what I did them too).
To tighten the bolts, there is a specific order to do them in.
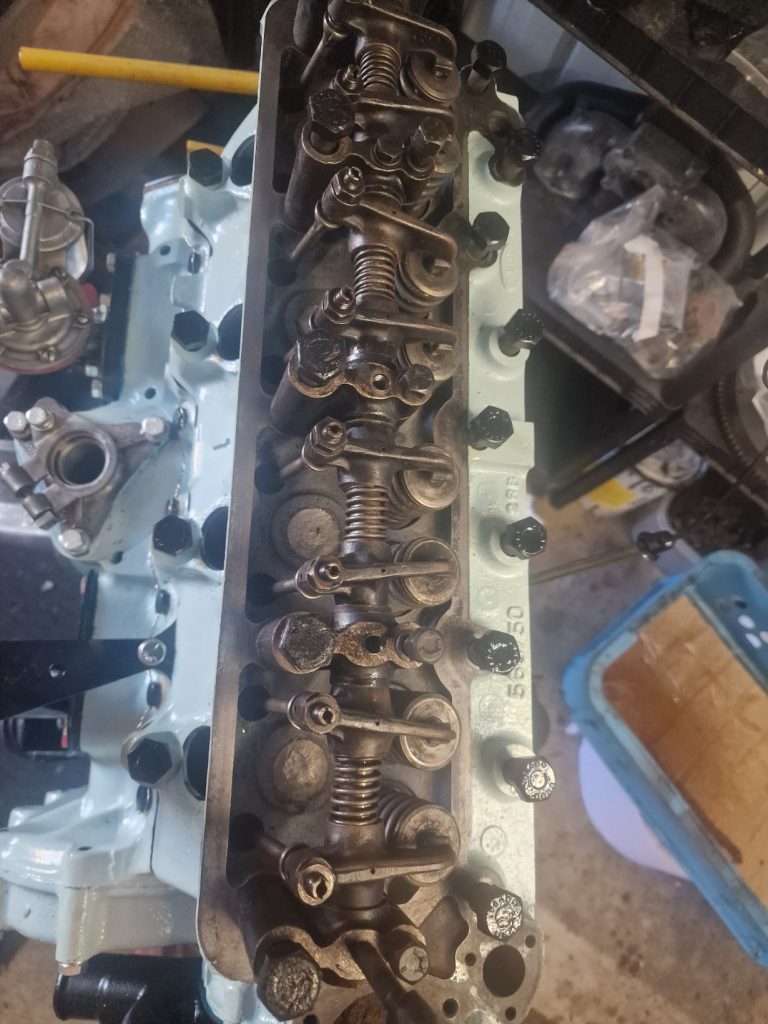
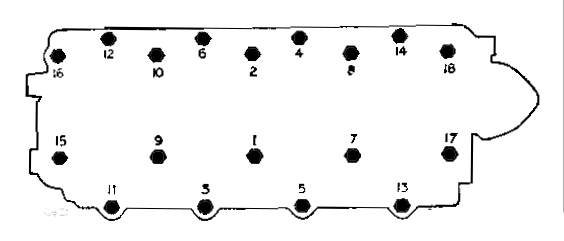
The order is shown here. each one was dont little by little, until hitting the torque setting, and then all were checked again.
Finally, torqued down the rocker bolts to finish this part off.
I didn’t do this straight after, got distracted by some other bits, but the next step is to set the gaps between the rockers and the valves. What I didn’t mention above, before putting the rocker assembly on, the push rods needed to be inserted, which were done, coated in assembly lube and made sure each one was properly seated in the tappet.
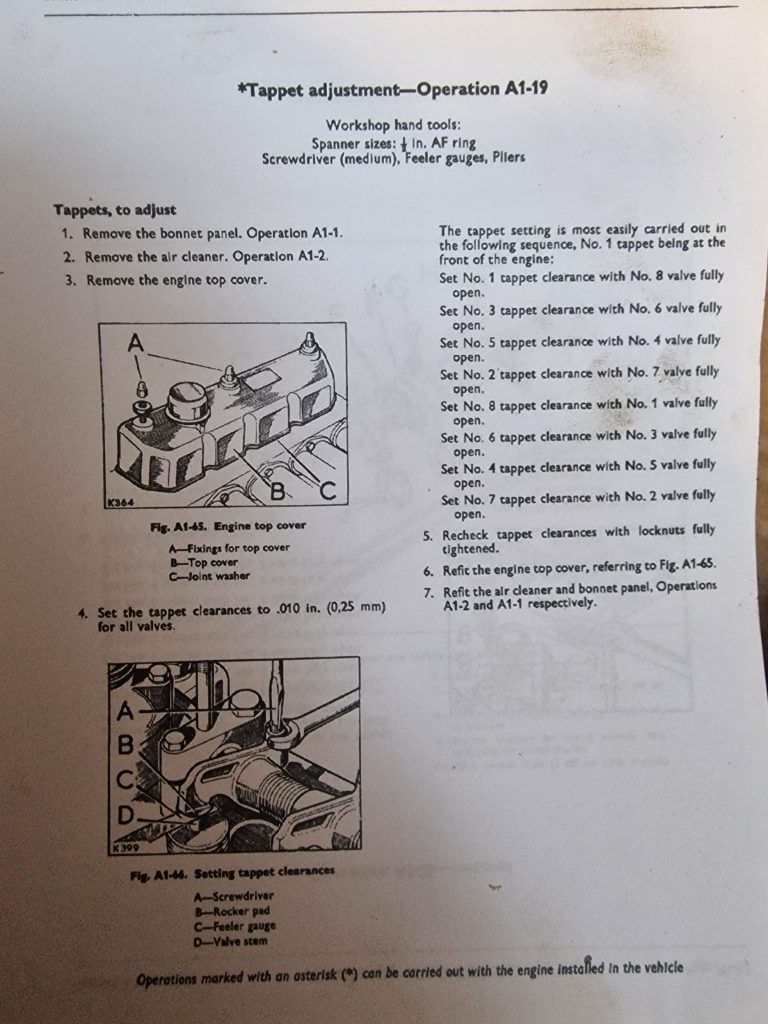
As with the head bolts, there is a specific order these need to be done in. I have seen other methods, but decided to stick to the book’s method.
Basically, you rotate the crank until one of the valves is fully open (down) and then set a corresponding gap.

To find when the required valve is fully open, I used a dial gauge, which required the crank to be turned over slowly until fully open. Once set, the corresponding gap between the rocker and valve can be set to 0.010 in (.25mm). Once set, tighten the locking nut, and re-check after it is fully tight. Fairly straight forward, if not a little laborious.
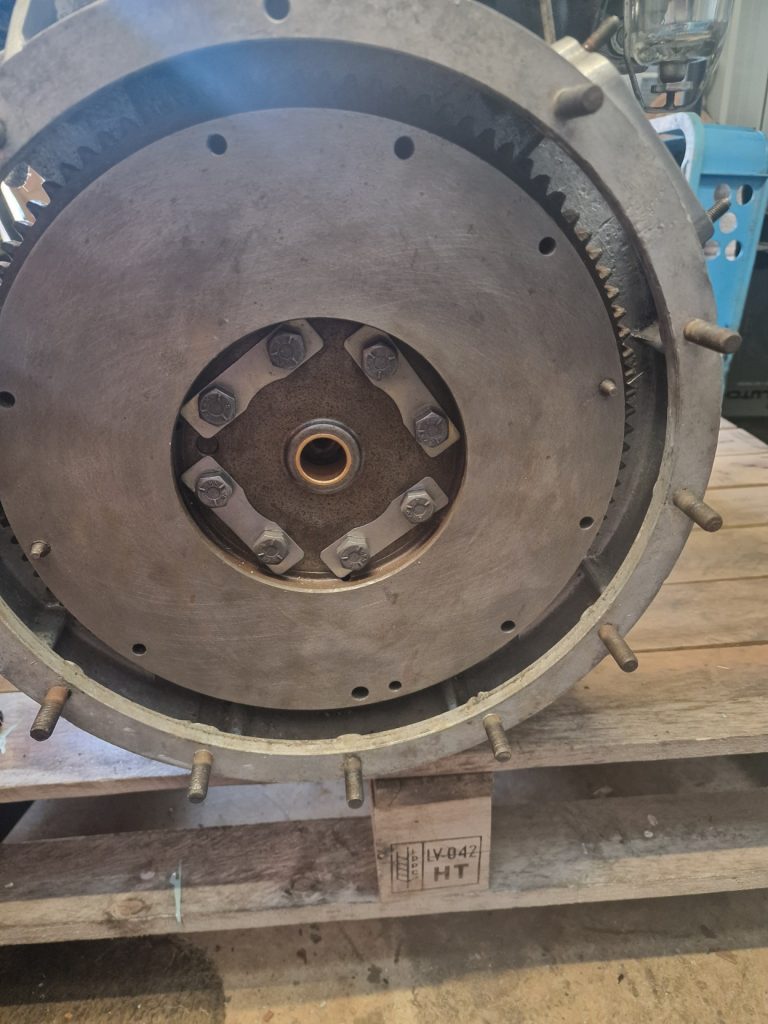
Last bit, is the Flywheel. Fairly simple, but one thing needed to be changed, the bonze bush in the middle. Now this is funny (well I found it funny) since i stripped down the engine, there has been a bronze bush floating around the workshop, and it had no idea where it came from, until this point! It had fallen out of the flywheel.
First, apparently the new one needs to be soaked in oil for 24 Hours, so did it, cant do any harm. Also, I recently bought a new clutch from LOF, which I didn’t realise also has one of these in the box. Hey Ho, have a spare now.
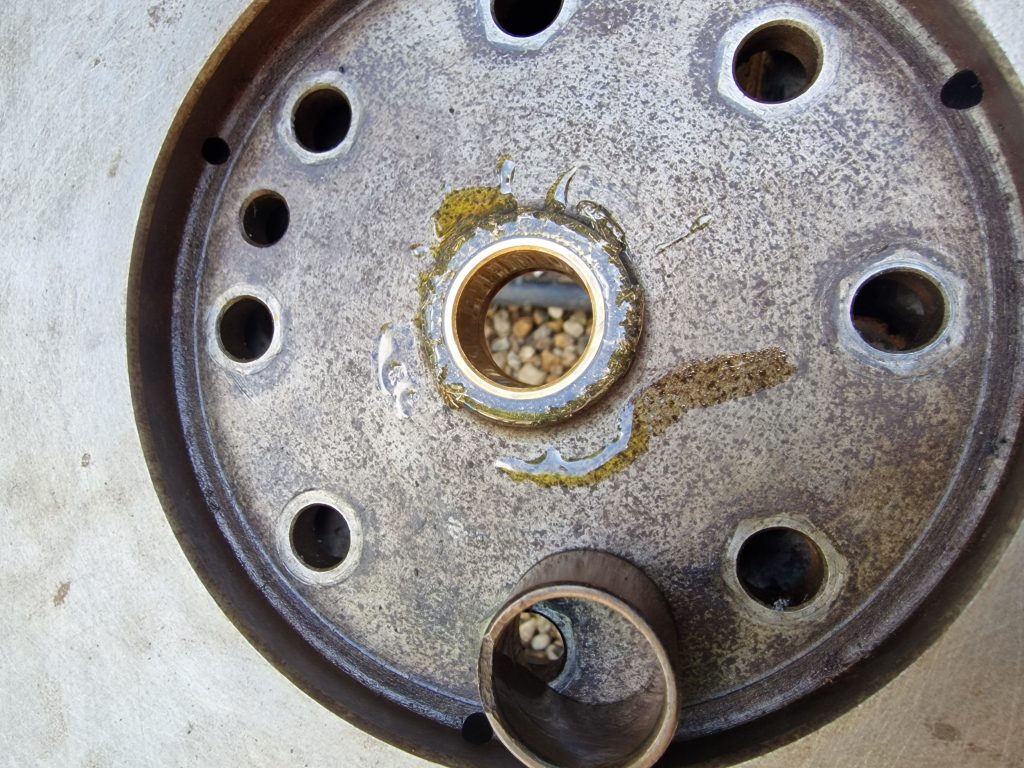
To put it in, simply used a bearing tool and carefully, but firmly knocked it home.
A bit out of sequence now, but wanted to get the flywheel on the engine, but to do this it needs to come of the engine stand. Also, the engine is getting rather heavy, and I dont want to leave it dangling for too long. When I took the engine out, I hired a Engine Hoist, and was planning on doing the same to put it back in. But I thought about it, and while I could put the engine and gearbox in with the Bulkhead in-place, it would be much easier with it out of the way.
Knwoing full well I wouldn’t be able to get it all done within a sensible hire time, bought myself a engine hoist.
Not expensive, in-fact no more than two days hire costs. So, put it to use and took the bulkhead off, steering box and all.
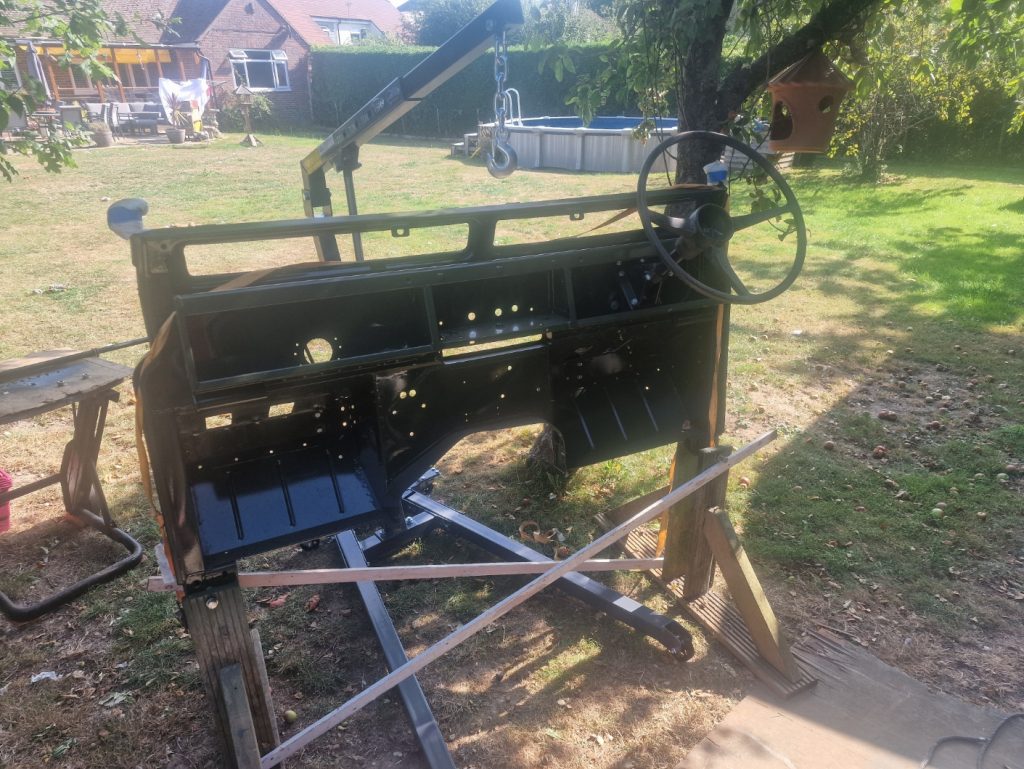

Using my new toy, I was finally able to get the Engine of the Engine Stand, and settled down on a pallet, sat on top of the engine hoist legs.
All ready for when it goes into the chassis, which I thought would be today, but ran into a bit of a problem!
I dont have the right size bolts for the engine and gearbox mounts, so yet another order of bolts to be made.
Back to the flywheel, put the flywheel case on, and using some new Fly Wheel bolts and locker tabs put the flywheel on, torqued it up and bent over the locker tabs.
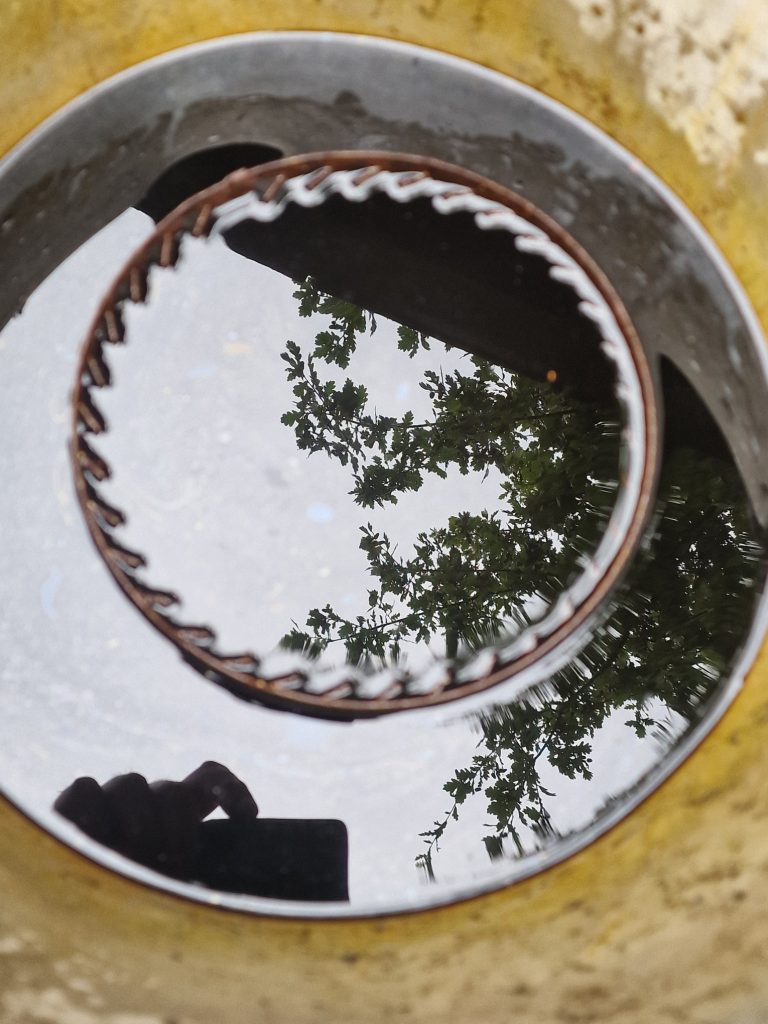
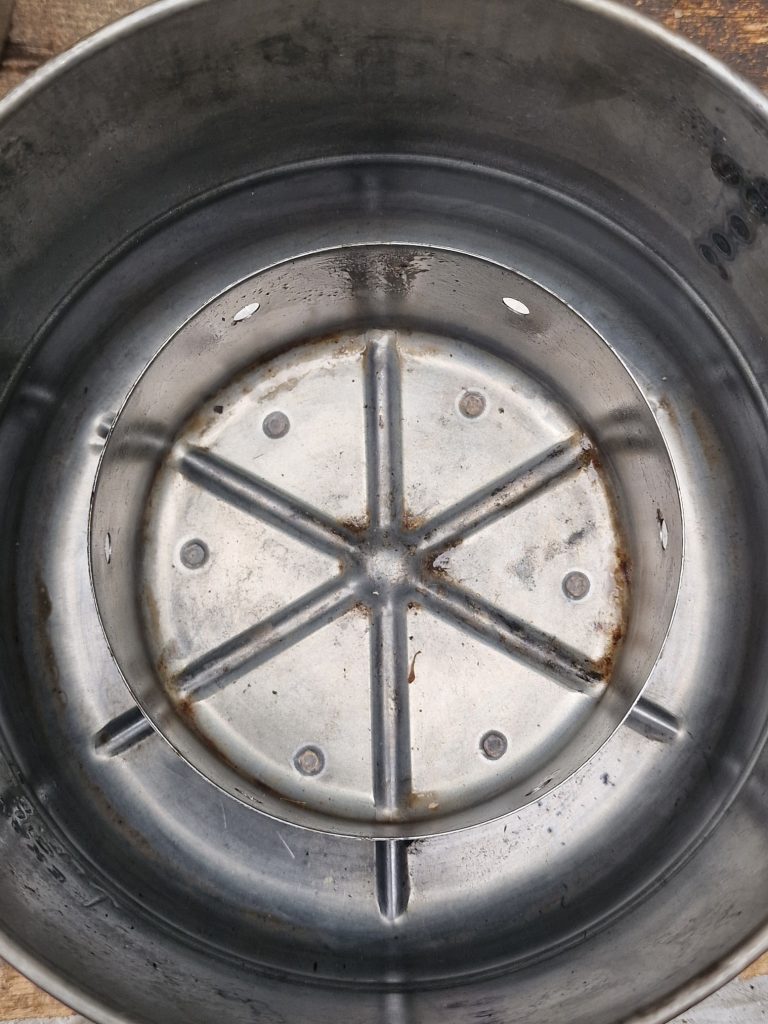
One of the tings I got distracted with, was the Air Filter. Its been sat on the shelf since I took it off, so decided to clean it up and paint it. I couldn’t decide if it should be black or silver. Decided on spray on Galv. Few pictures of it, but nothing much else to say.
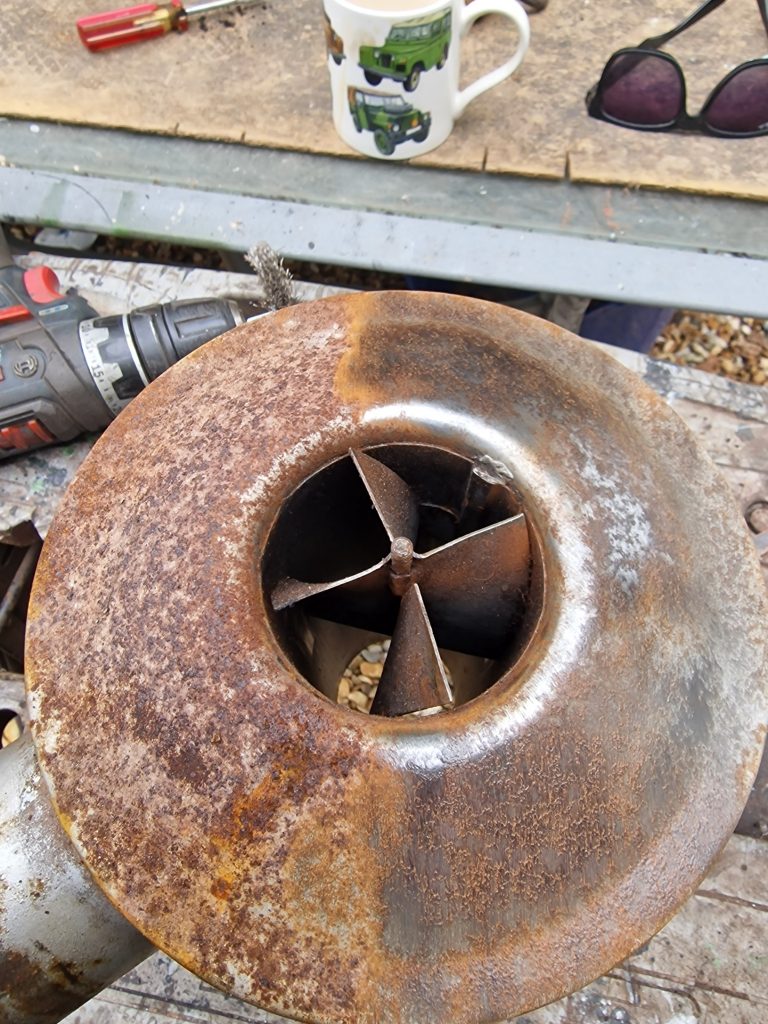
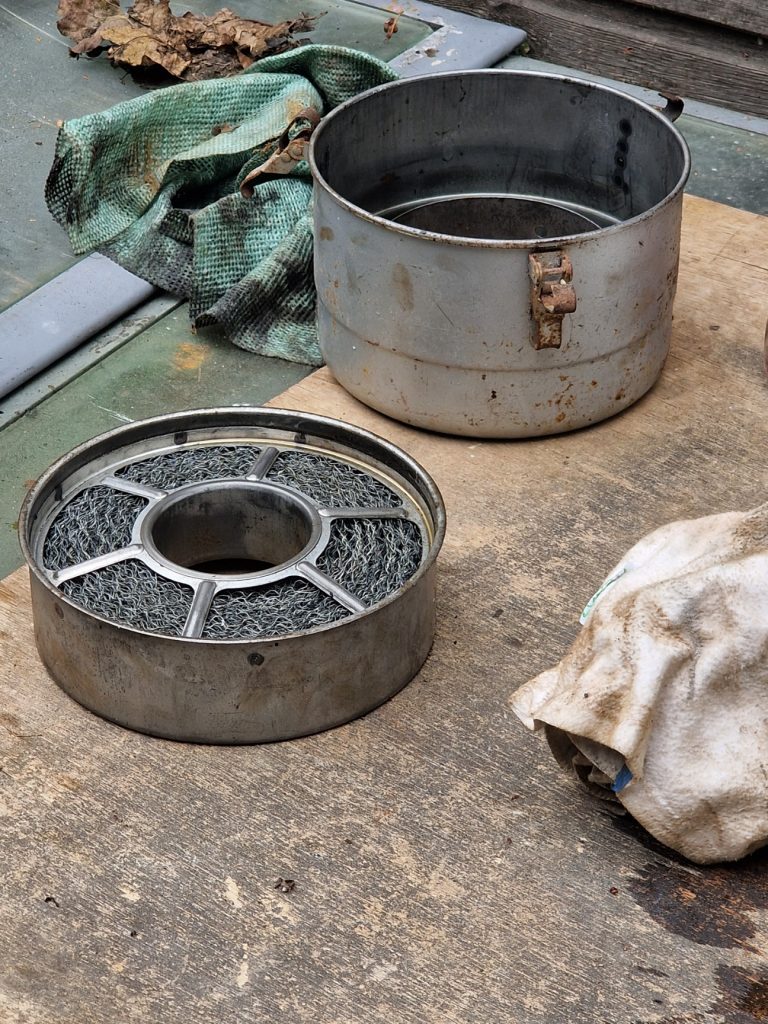
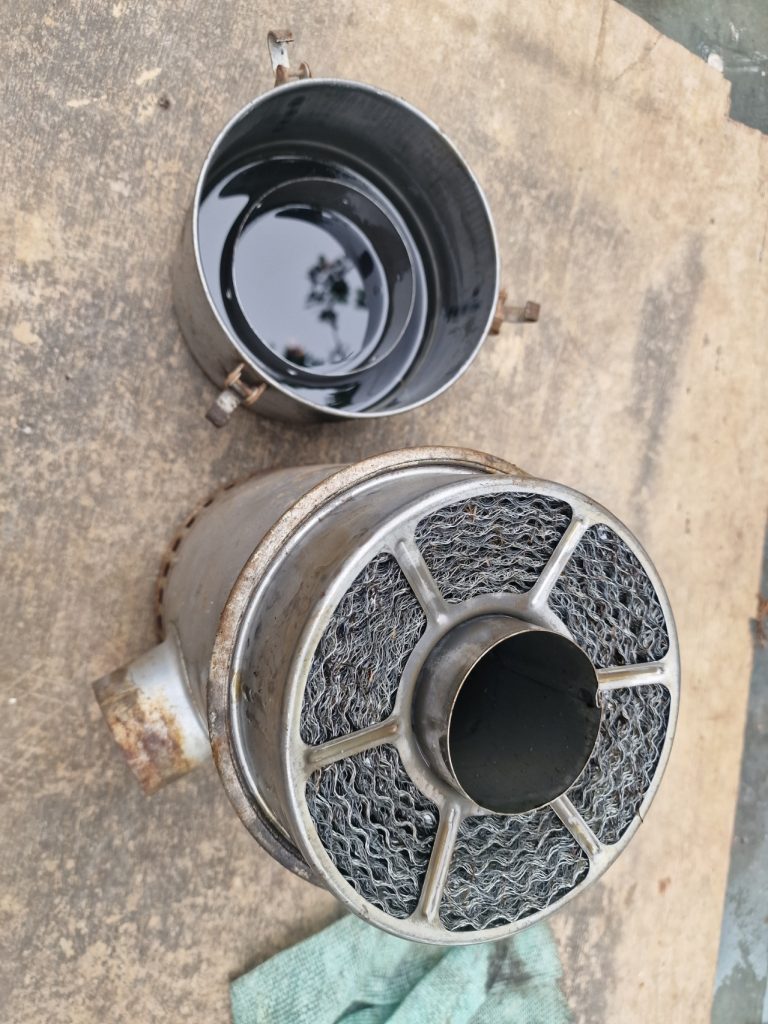
Actually didn’t take a picture of the finished item!
I did do a couple of other bits over the last couple of weeks. totally out of context with the Engine.
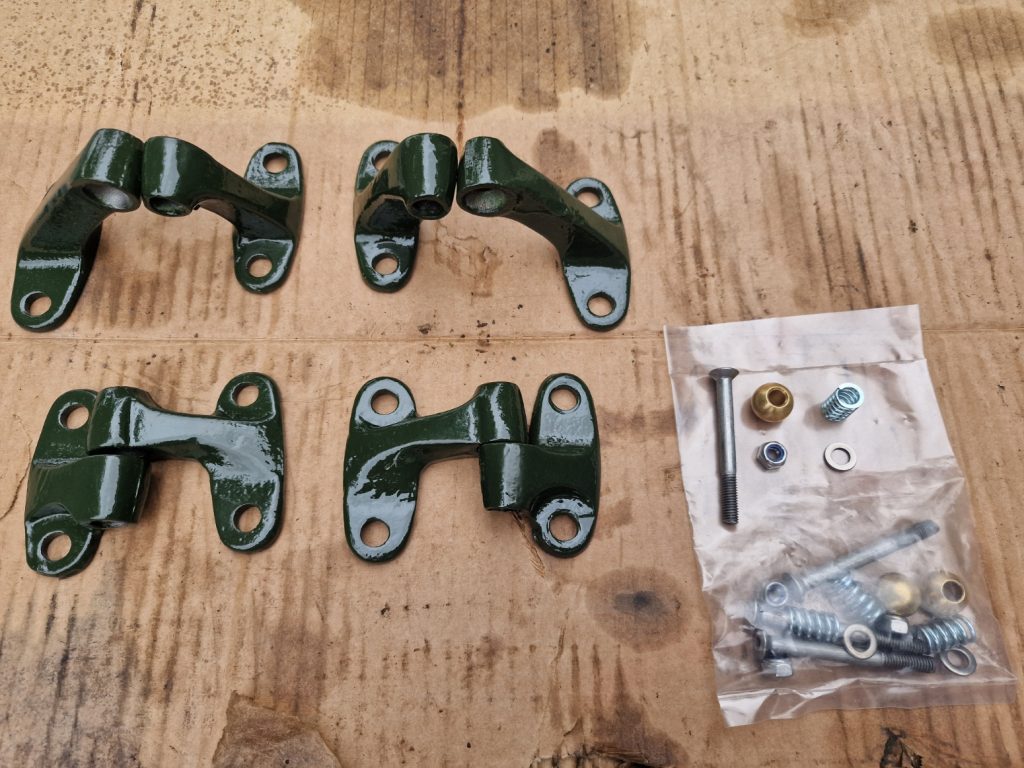
But bought the bolts to secure the door hinges, and put them together.
A bought these from a company called Emberton Imperial they do some really nice stuff. Now I mention that because the pack was missing a couple of items, one being really key, a brass ball. Emberton sorted it without fuss, and quickly.
Thats it for now, I was going to put the clutch on, and hoped to get the engine in the chassis, but didn’t manage both, so back to it, probably next weekend, although I have some more decorating to do, so that might take precedence.
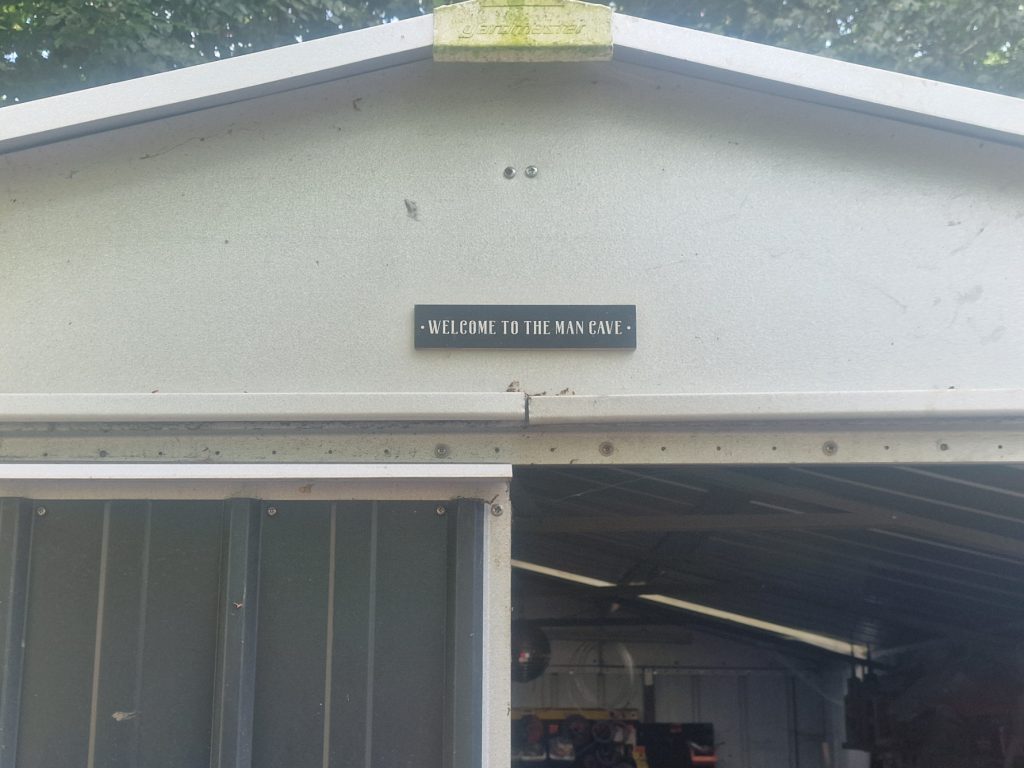
On a final note, our “nearly” step grandchildren bought me a Kim (my wife) a pressie for taking them on holiday. Mines in pride of place, above the workshop doors 🙂
Leave a Reply