
After the main bottom end bits were in, started on the camshaft. If you remember, I had Turner Engineering put my new Camshaft bearings in, so time to make sure my camshaft actually fits 🙂
Putting the camshaft in is a very simple process, clean it and the bearings, lube it up and gently, without hitting the bearings, slide the camshaft home, front to back.
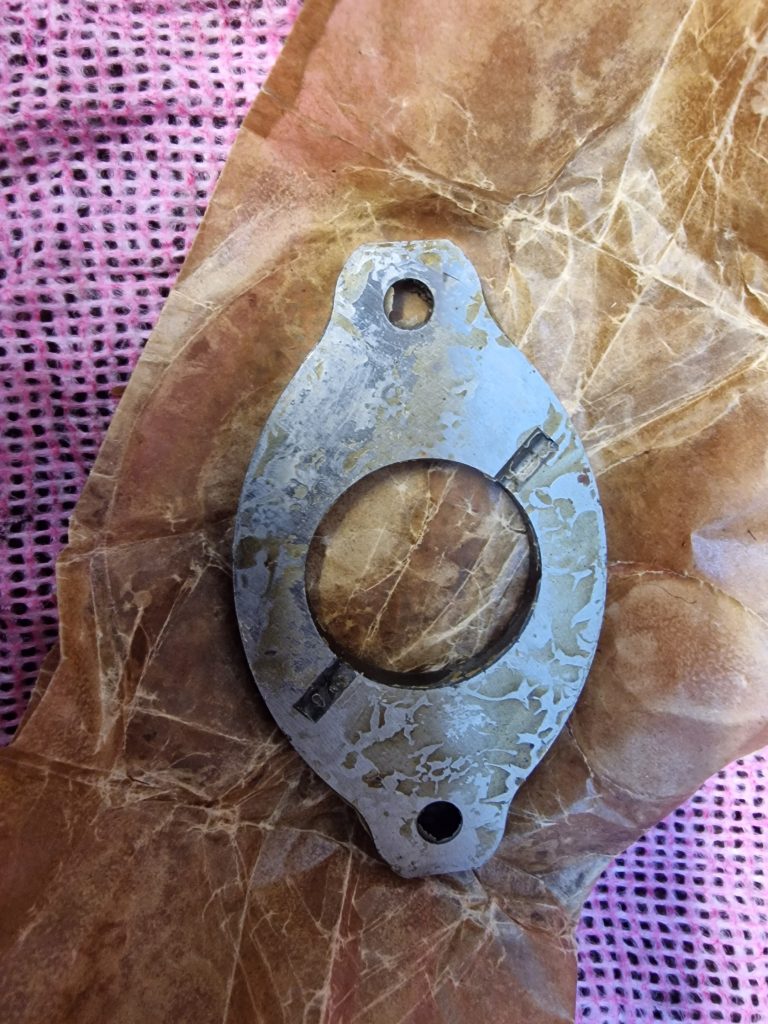
The retaining plate was a new one, and even that needed a good clean before being put on.
Plenty of Lube, both sides this time.
This is quite important, as it sets the end float of the camshaft.
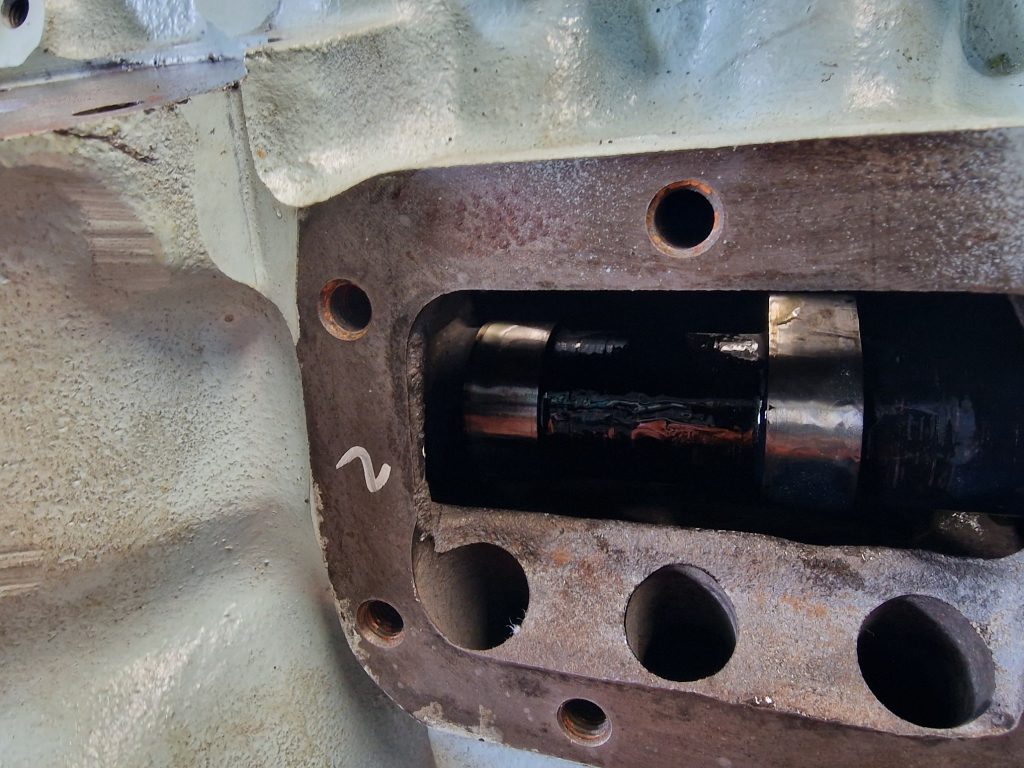
Thats the easy part done, the next part is to fit the Cam Chain Wheel, and the Cam Chain. Now this has to be done right, as it connects the Crankshaft to the Camshaft. the crankshaft moves the pistons up and down, the camshaft opens and closes the valves, but the timing of those two things need to be bang on.
I had to take the engine off the engine stand to do this, as I needed to temporarily fit the flywheel housing and the flywheel.
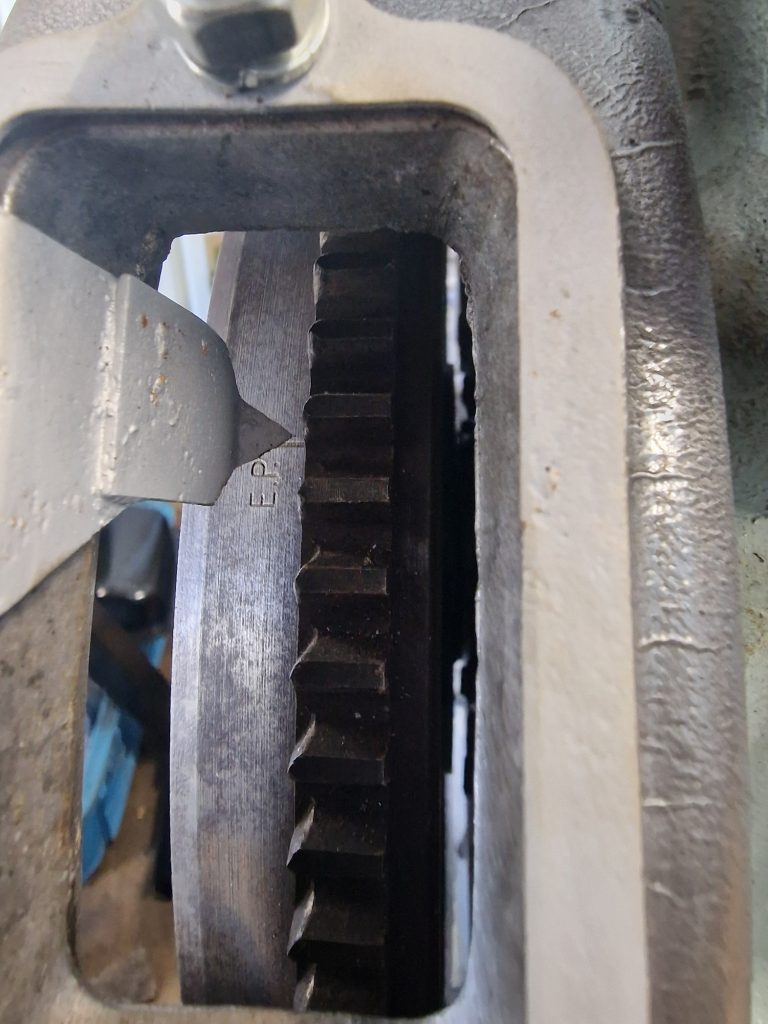
On my Engine, the timing marks are on the flywheel,not on the front pully, as it is on some.
Step 1, after doing that, is to rotate the engine, in the correct direction until the EP mark is lined up with the pointer. EP stands for Exhaust Peak.
Thats the Crankshaft, and Pistons in the right place
So now I need to make sure the camshaft is in the correct position. Now to do this, exhaust valve 1 needs to be fully open (at its peak). Normally this is done with the head and rocker on, but my head is not on, so I put in the tappet assembly into Exhaust valve 1, so I could put a dial gauge on it to ascertain when it is at peak (fully open).
There is a routine for this, where you mark the chain wheel and the case when Exhaust Valve 1 is nearly at peak, then rotate the camshaft until you read the same on the dial Gauge, and then split the lines, aligning it with the first line on the case. Phew, simples…
When its all lined up, new chain goes on, making sure it is tight down the right hand side.
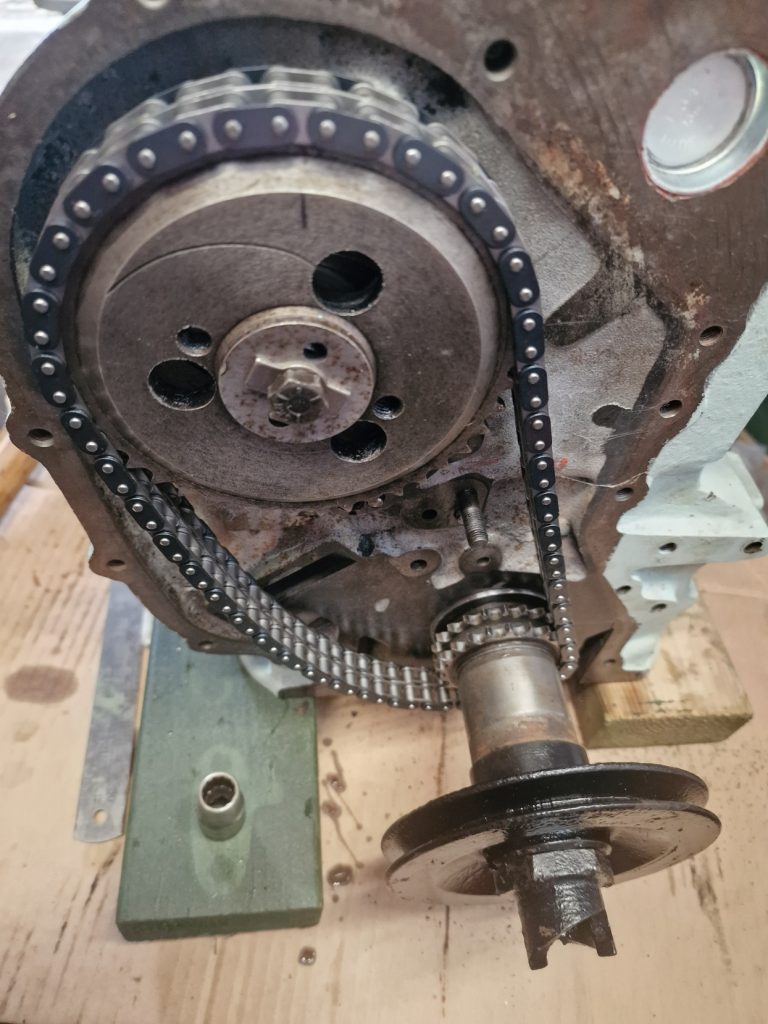
Cam Chain wheel on, new chain and the chain tensioner all fitted.
You can also see a new Vibration Damper, which also needs to be lined up correctly, i.e. no more than (cant find it again in the manual, but think is 1thou”) away from the chain.
Now that wasn’t too difficult, I just hope I’ve got it right. I am going to re-check the cam timing when the head and rocker gear is on, to be sure.
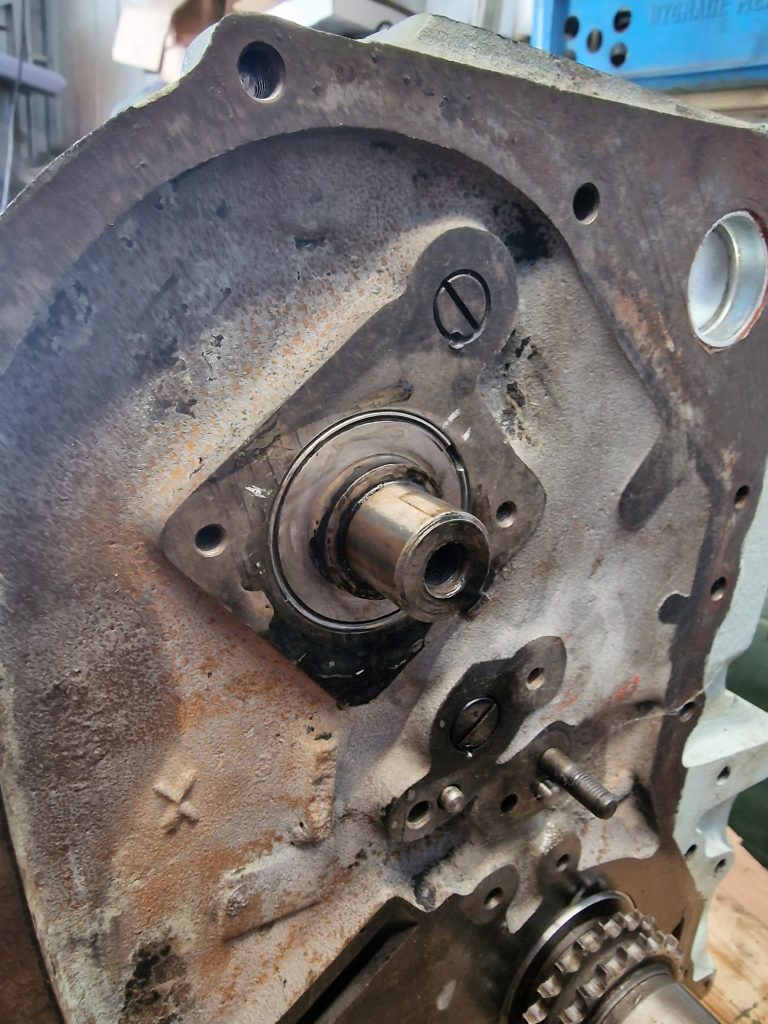
The other part of the timing, is the Distributor, i.e. the things that creates the spark, on the right cylinder, at the right time. I cleaned up the Disti a while ago, so set about installing the distributor assembly. Humm, easy yes, well actually not, took me hours.
First thing is to line up the flywheel with some other marks, in this case it is 6 degrees before Top Dead Center. this refers to when piston 1 is at the absolute top of its stroke, and the point at which the ignition is fired. 6 Degrees before TDC, is to cater for todays fuel (according to the book).
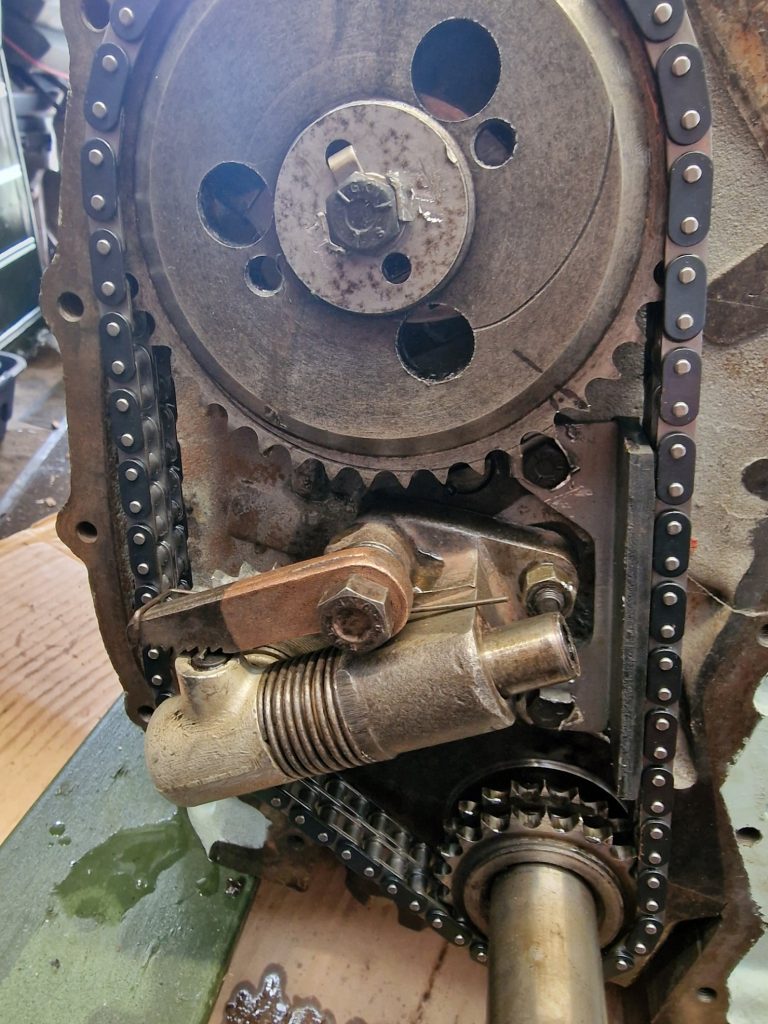
Before I did this, as you can see I fitted the rest of the tappet guides, rollers and tappets, all fairly straight forward, except getting the bolts into a retaining hole in the slider case. These bolts need wiring togther at some point.
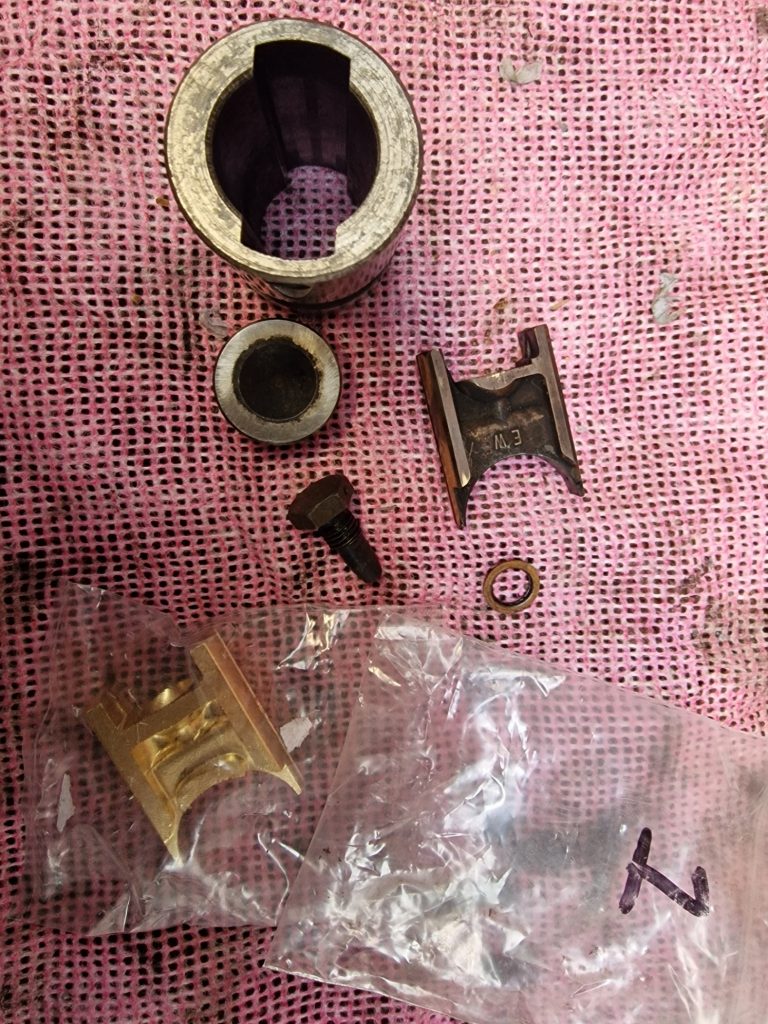
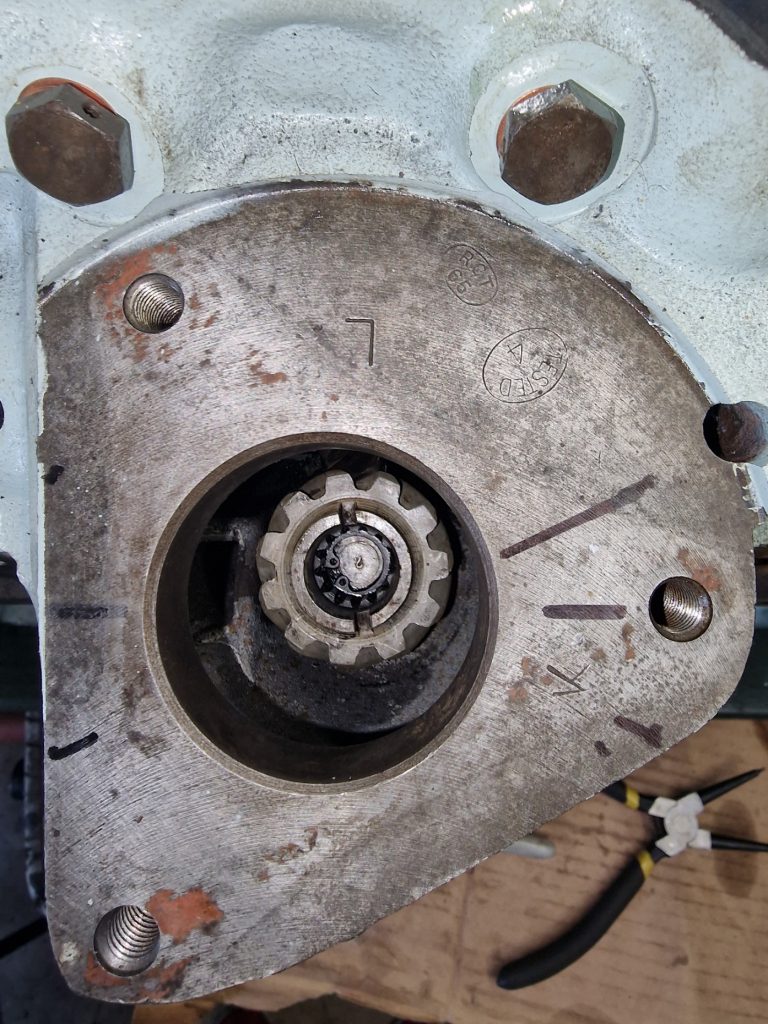
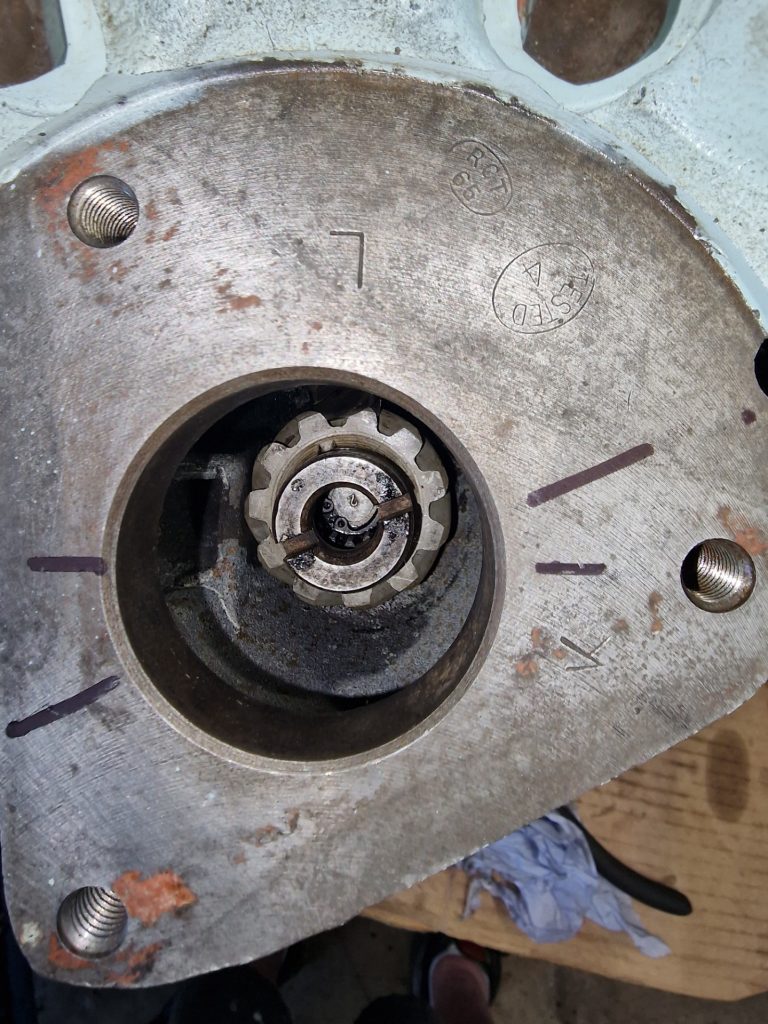
The thing sitting on the block, is the distributor drive gear, and this is what caused me some issues.
It has to go into a hole, and the gears connect up with the gearing on the camshaft. But as you can see they are a spiral gear, so when it goes in, it twists, and this causes two problems.
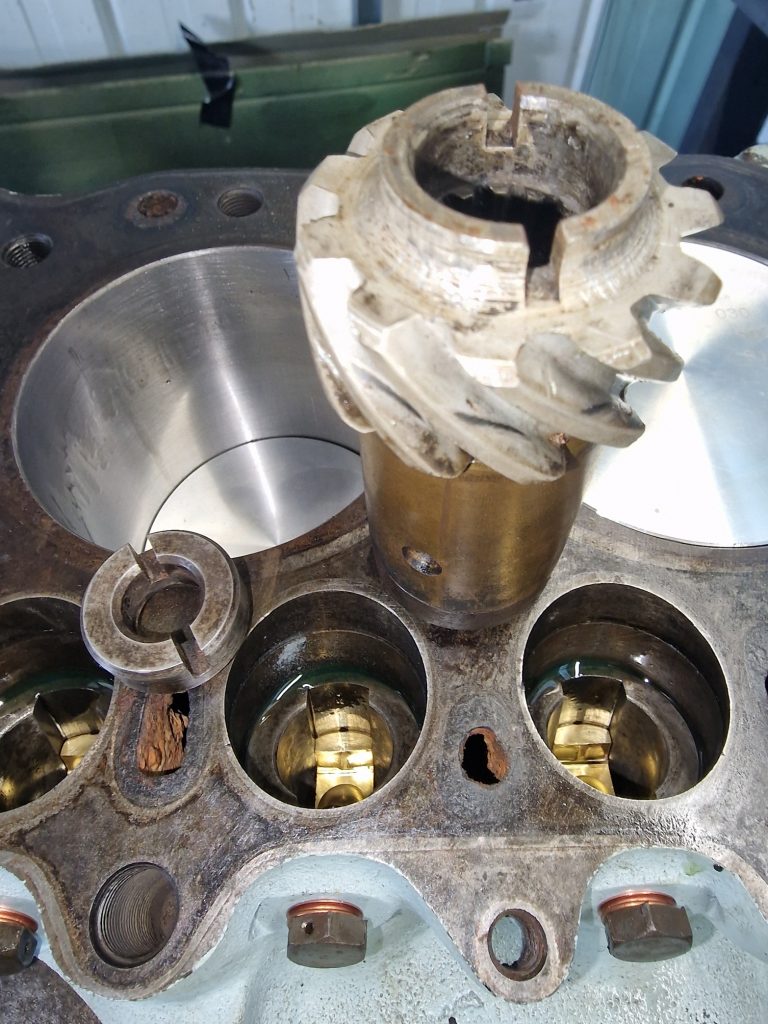
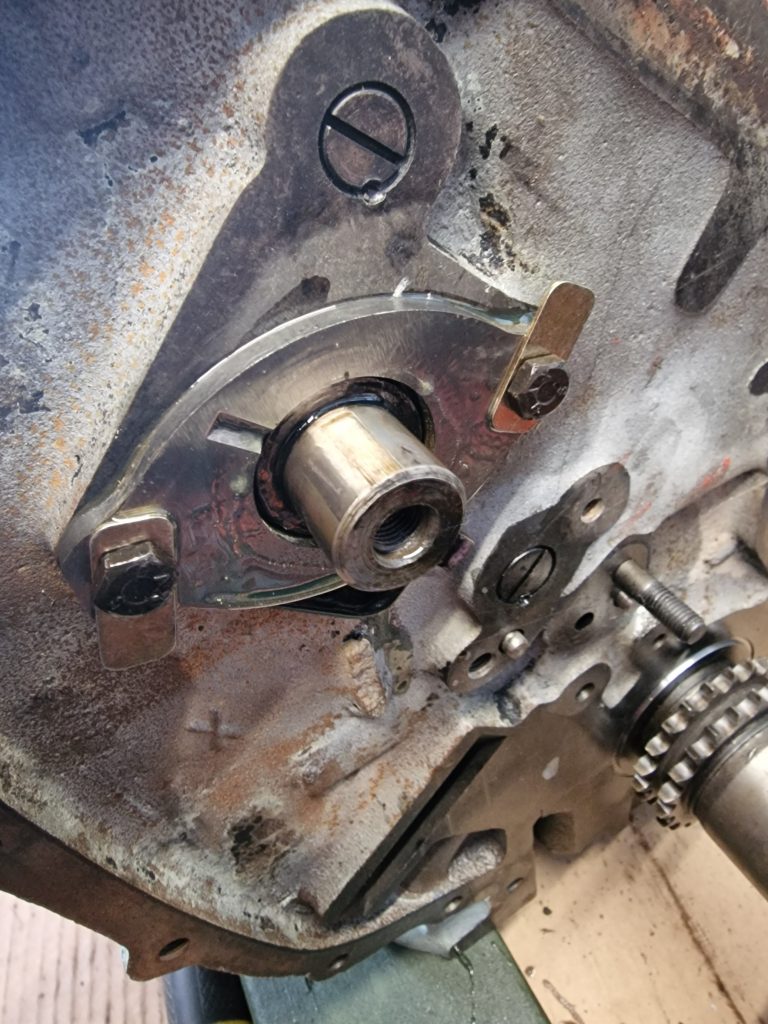
First problem, the spline in the centre (it has 1 larger spline on one side) has to point to 20 degrees form the engine centre line. You can see my poor attempts to mark it here.
Challenge one. As the gear goes in, it rotates, so it takes a few attempts to get it in, and end up pointing in the right general direction.
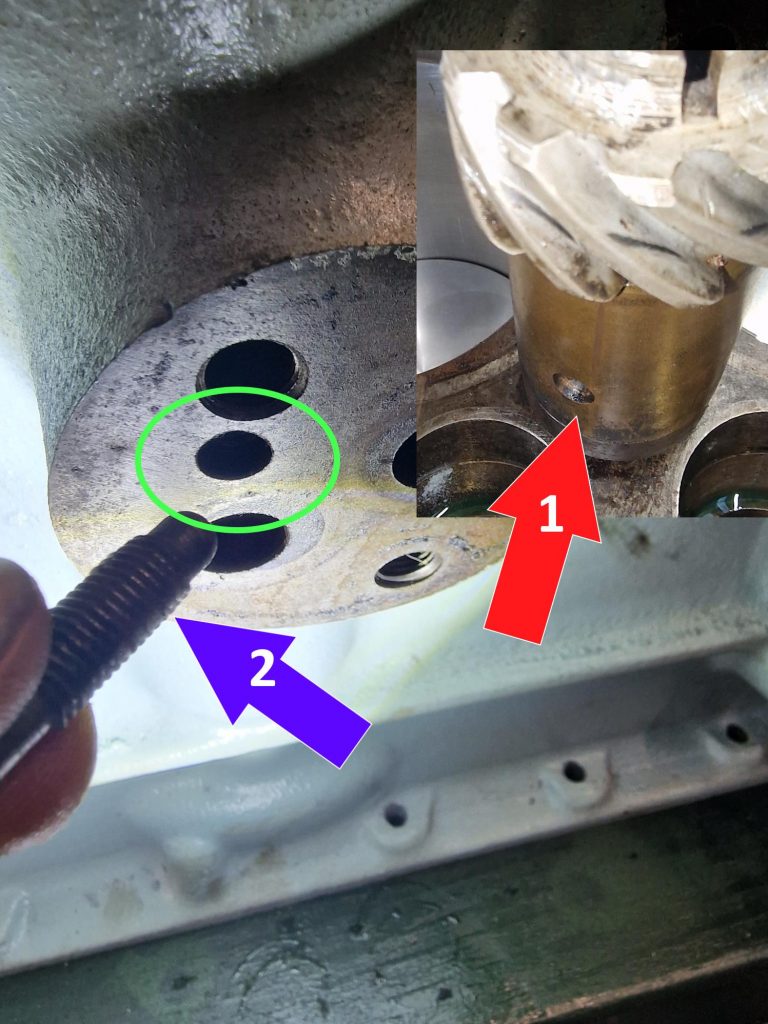
This is the second and more trying challenge. Simply put, the little grub screw (2), needs to go though the Green hole, and locate in the brass sleeves hole (1), it stops the brass sleeve rotating as the distributor spins.
Easy hu, well no, the brass sleeve rotates on the shaft, so as the gear goes in, you have to account for it rotating on the camshaft gear, at the same time the brass sleeve rotating, and also, as I found out, if it goes in a little too far and needs to be lifted a little, changes the orientation and alignment, but also makes it really hard to find the hole.
Anyway, got it in the end after many, many attempts…. I think.
Next is to put a little drive coupling on the top, which changes the orientation of the slots to take the distributor.
The coupling is shown on here, with the slot riunning in a different direction, actually pointing at cylinder one, as this is the one that needs to be firing at this time in the timing.
I did put the distributor on temporarily and it seems to align correctly, i.e. firing on cylinder 1.
Thats it, camshaft in, cam chain on, Distributor drive gear in and hopefully in the right place, but we’ll see, when I come to start it. I’m not so worried about this part, if its wrong it just wont run, or run very well. the cam chain on the other hand, if I have that badly wrong, it could be the end of my engine.
On Hols for a couple of weeks, so hopefully will get to, or close to putting the engine back in the chassis, I can then seriously start to think about getting it running. Oh, thats when I have done some of the electrics, sorted out the carburettor and probably a load of other jobs I’ve not even thought about yet.
Leave a Reply