
In the last post, I had just got my engine parts back from the engineers, and purchased a few new parts. Before I start putting it all together i thought the best strategy will be to ensure it is all as clean as clean can be.
Before I do that, there was something I had not don before it went off to the engineers, a fairly innocuous thing, but as it turned out quite a challenging thing. In the block, the tappets sit inside a tappet guide. I had taken everything off, except the guides.
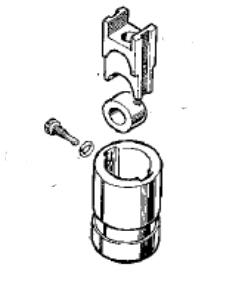
The tappet is the top part, which sits on a roller which rides on the camshaft. The pushrods for the valves sit in the top of the tappet.
The guide, as mentioned is a push fit into the block and held in position with a special bolt.
Now when you see people put new guides in, they just slide home, so I thought, they would slide out! Nope, could not have been more wrong
To get them out needs a special tool, which is basically a slide hammer, with a bit on the bottom that can slide in, rotate and lift the tappet guide out.
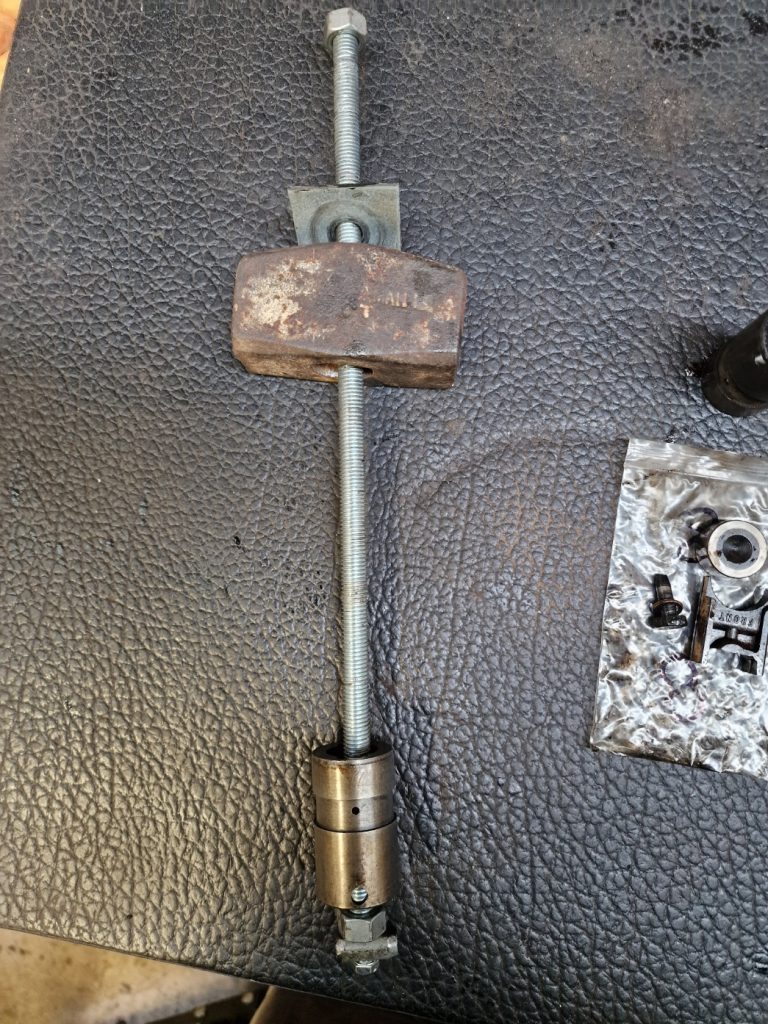
So, not wanting to spend more money on another tool I will likely use 1 time, made this masterpiece.
Basically a bit of 16mm threaded rod, a small “thing” bolted to the end, further secured with a nut, and on the other end the remains of a club hammer.
It mostly worked, although did have to modify it for a couple to pull the guides out, which unfortunately resulted in one being broken, so need to replace one.
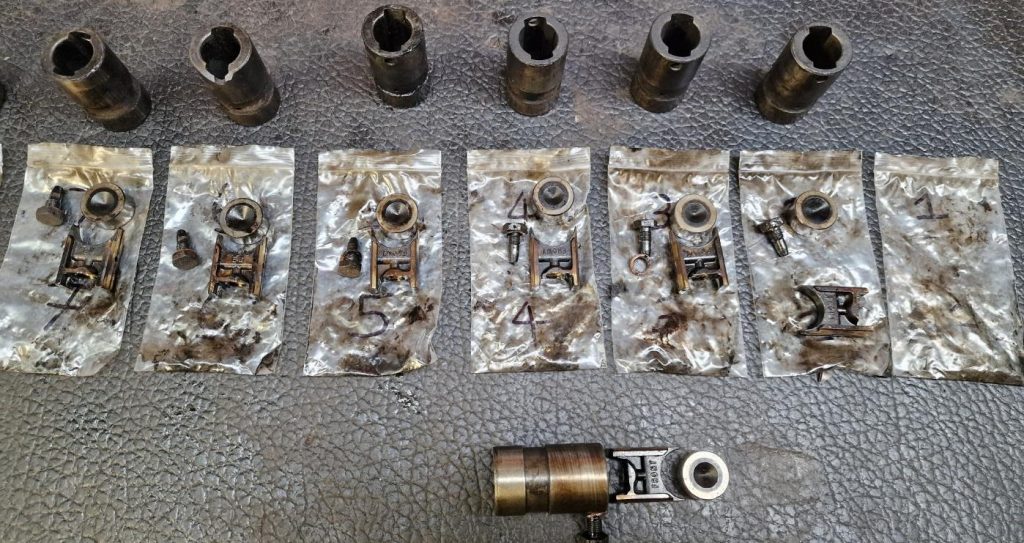
Finally got them all out and inspected. Need to replace all the tappets as quite worn, but the rollers and all but the broken guide are good to go again.
Have to be honest though, half way through I was doubting the decision to take them out. But given they are all caked in old sticky oil, with the oil ways partially blocked, think it was the right decision.
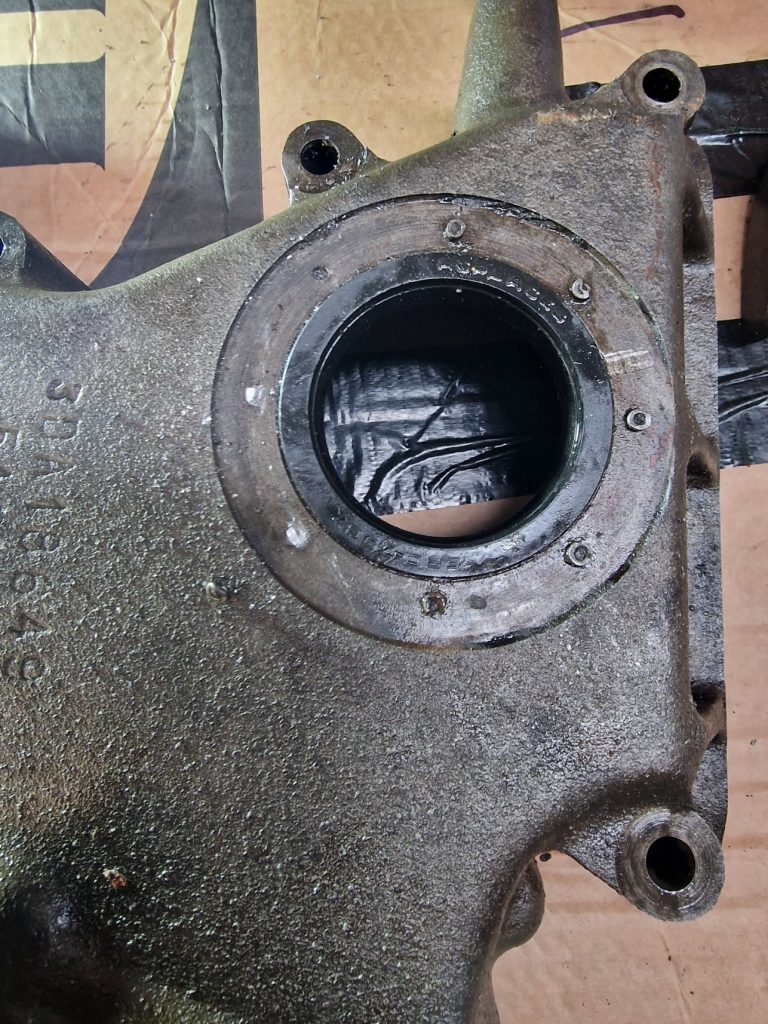
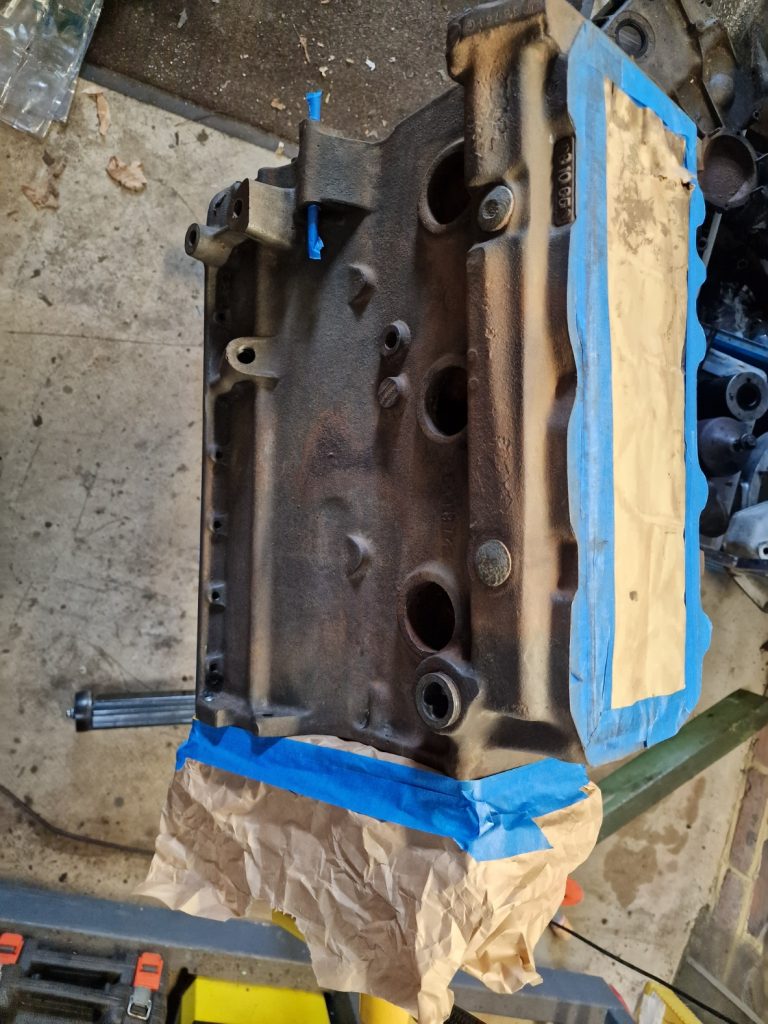
The final bit of disassembly was the front timing cover. While it didn’t go off the engineers, there was a part that I decided to replace, the Oil Seal. I didn’t really think about it when I took the cover of the engine, but realised there is a bit missing. There should be a mud excluder on top of the seal, in the left picture below, so will need one of those. The other odd thing is that this is held on with some sort of rivet. Apparently, when replacing the seal, to put the mud excluder back on requires tapping out the holes in the cover and using self tappers. Will think more about that later, might see if I can source replacement rivets.

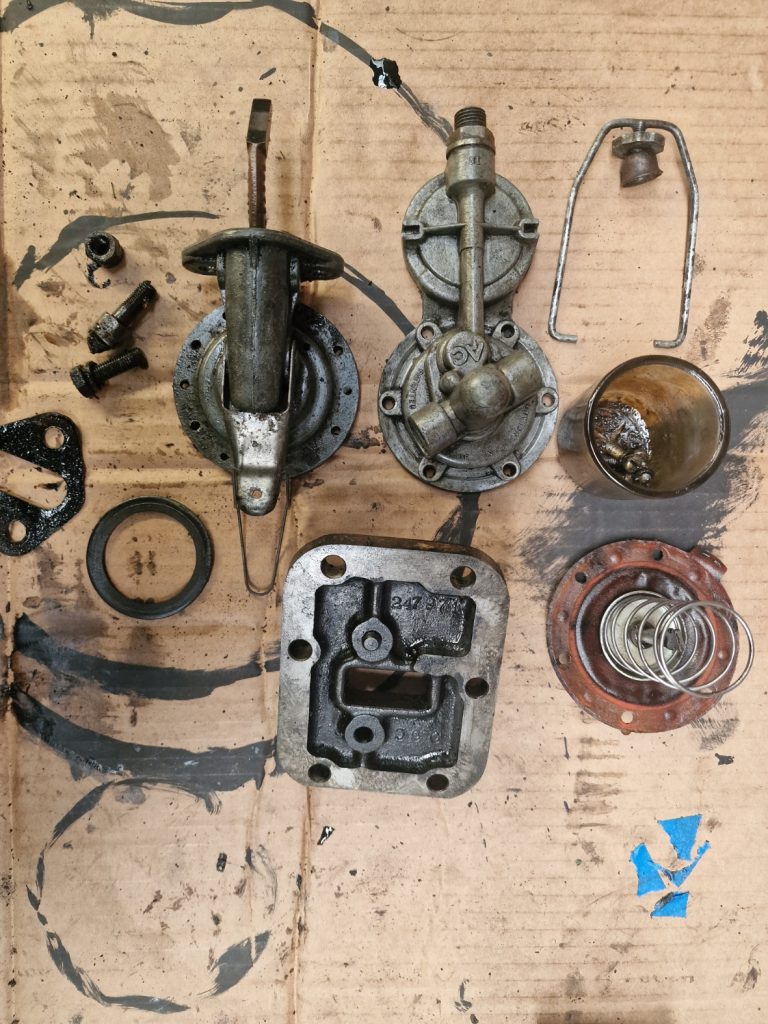
Now I can start cleaning everything, scrapping sticky oil off, scrubbing, de-greasing and then repeat. And while I was at it cleaned up a few other bits also, including the fuel pump, which was covered in old grease and oil.
Not much else to say on this just yet, suffice to say my shopping list is growing yet again.
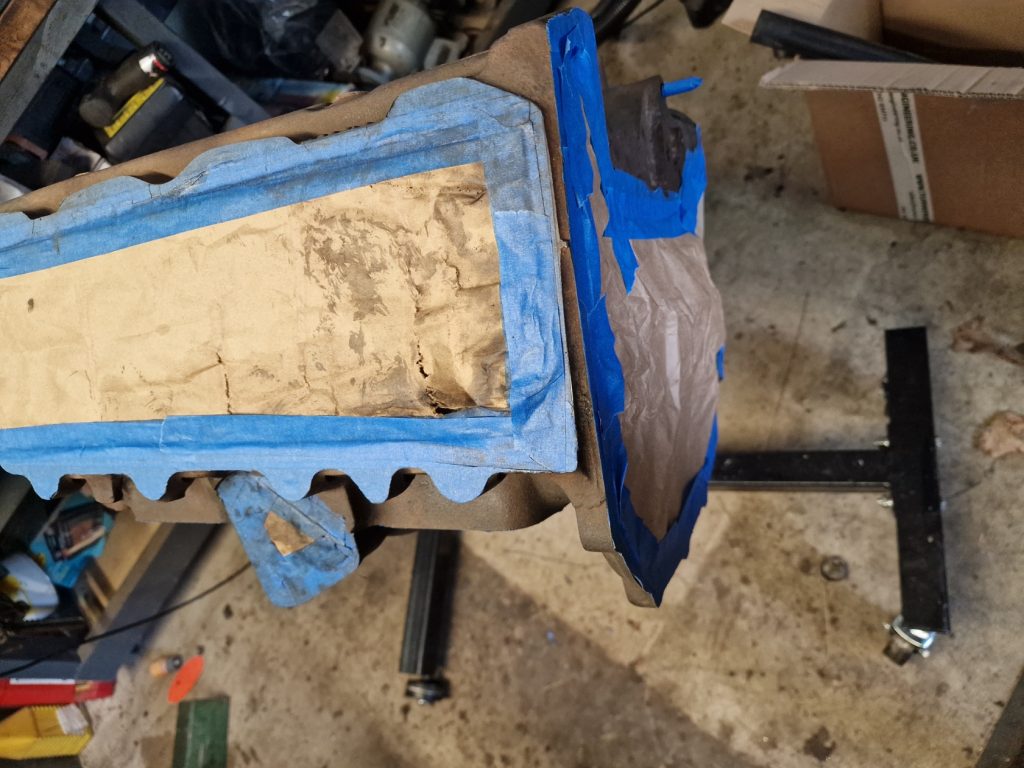
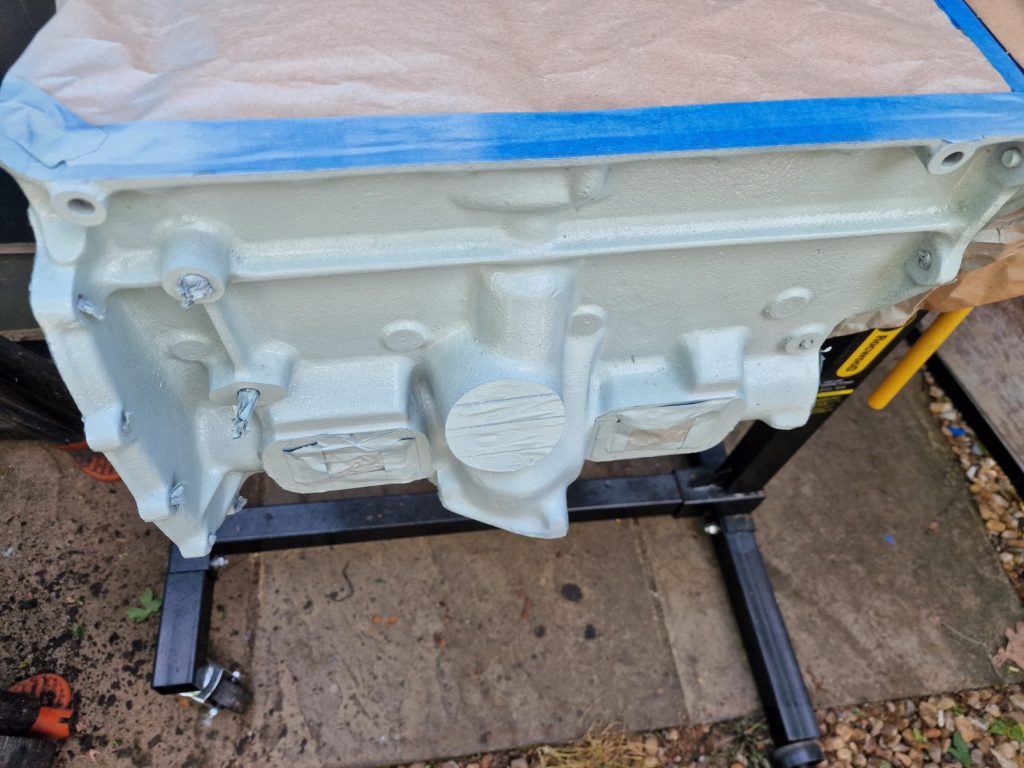
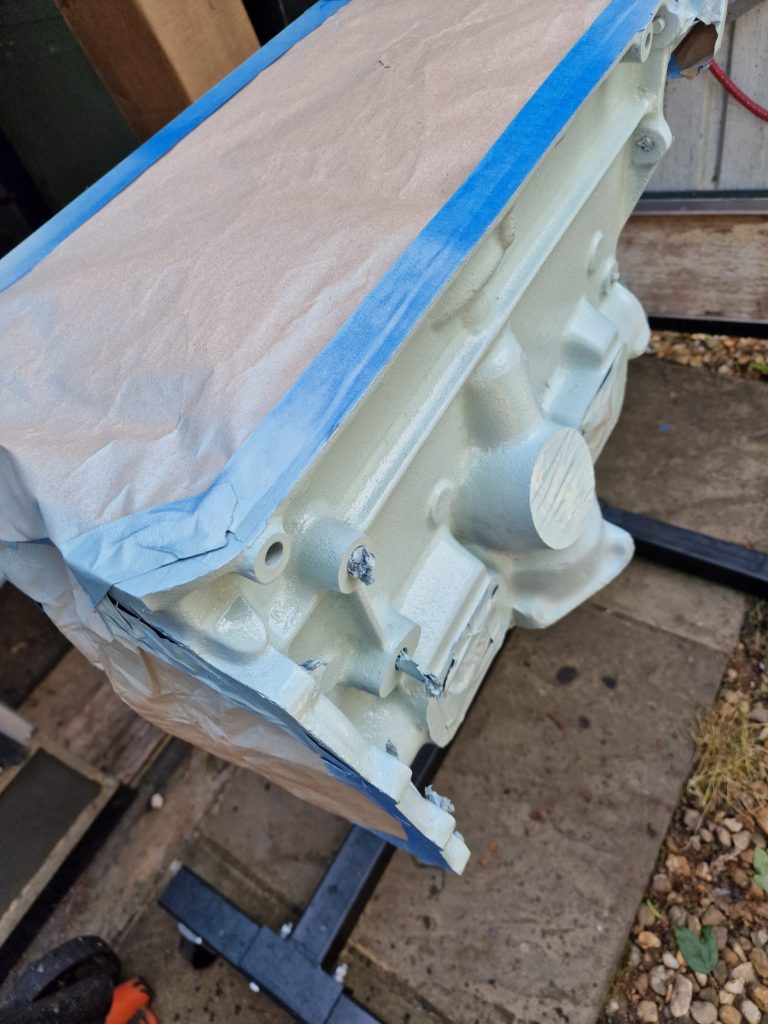
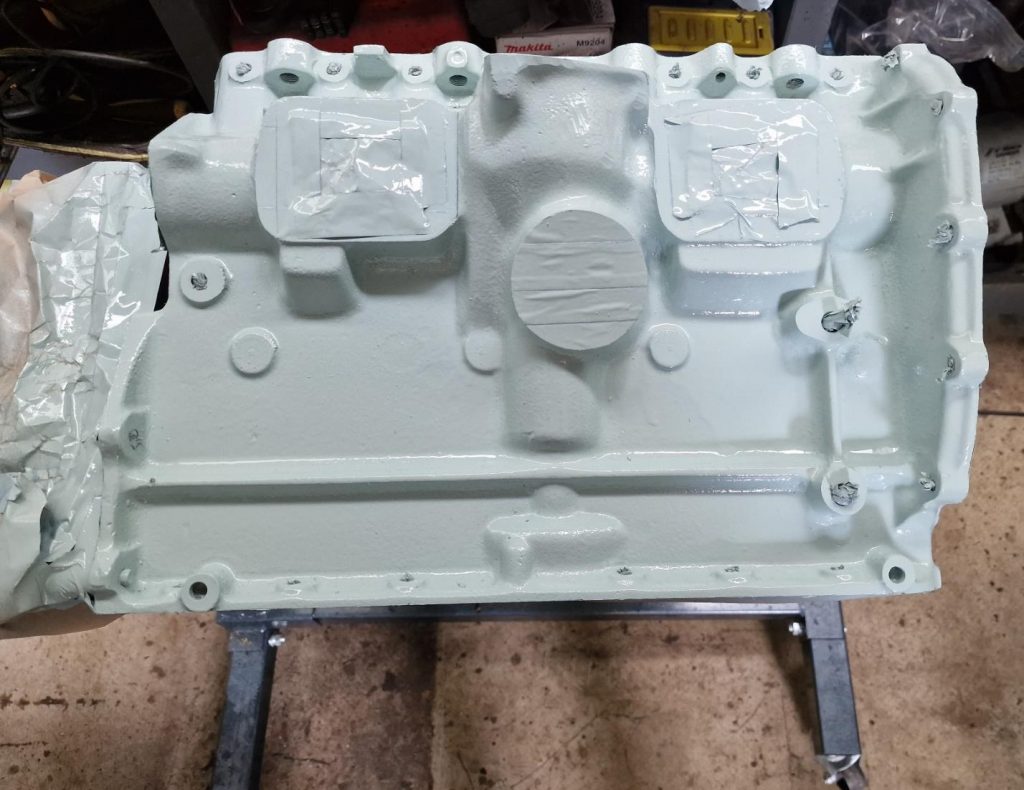
So onto cleaning, and masking up the engine block, head and front cover in preparation for some colour.
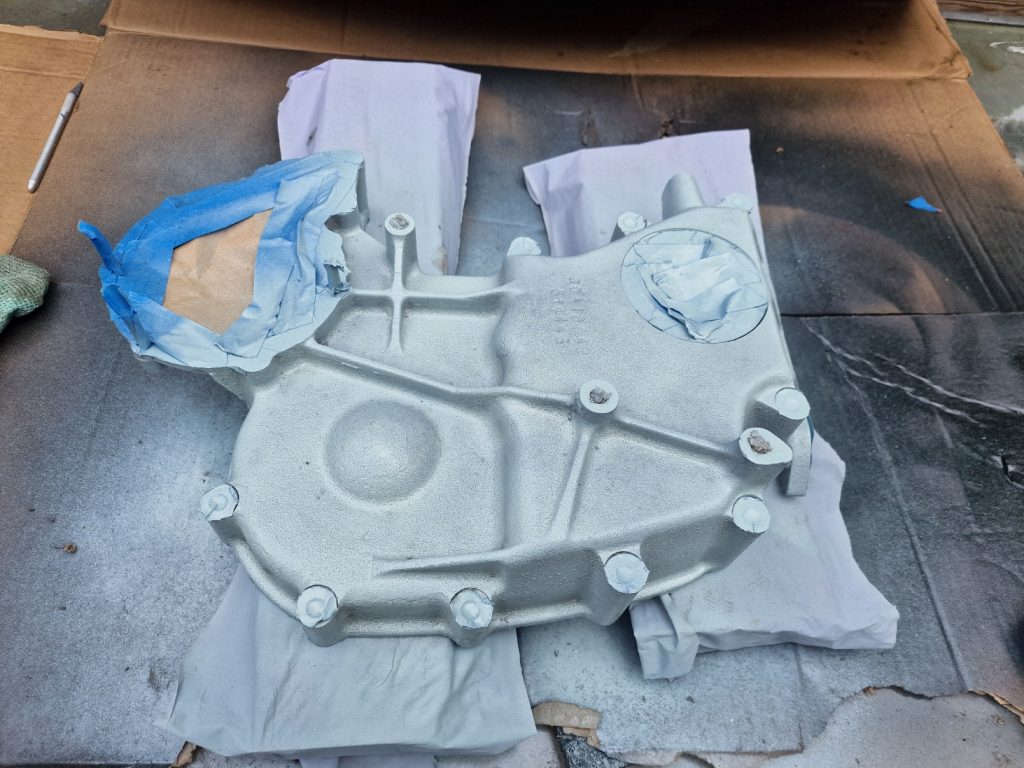
And finally some colour. I used Engine paint from Paintman, and should be pretty close to original Land Rover 2.25 Petrol engine colour. While it was not ideal spraying weather, bit windy, I’m happy. Will see what it looks like over the next few days.
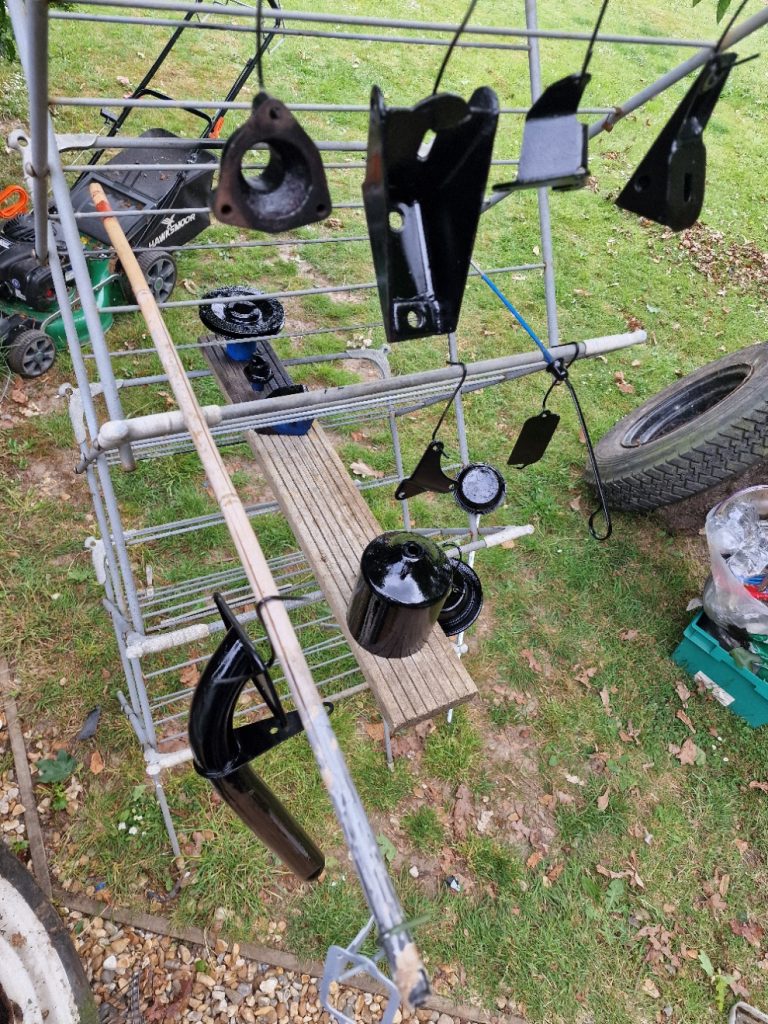
And while I was at it, thought I would paint some of the other engine parts, this time in Shinny Black, again using engine paint, although these parts probably didn’t need it, cant imagine they get too hot.
So what have we got here, well starting from the top, Water Pump housing, engine mounts, another bracket (forgotten what thats for at the moment), cover for timing mark on bellhousing, Oil filter case, Oil Filler pipe, Front crank shaft pully, water pump pully.
Think thats about it, oh, not quite, didn’t take a picture but also got some black on the sump.
Not sure if I will be ready to start re-building next weekend, have a few bits to do first, like put in new core plugs, and paint the head (didn’t get that done, ran out of time). Also have decided to replace the camshaft bearings. so will need to hire a special tool for that job, and will write that one up as a seperate post, as I will for the main engine re-build parts, which I think will start with Crankshaft then Pistons and then, who knows? will work it out later.
More to come soon!
Leave a Reply