The last post was all about the carburettor, and while not entirely straight forward was completed, prior to that I wrote about the final engine build parts, which were not totally completed. I also mentioned that I had a bit of an issue with the manifold’s. So thats where this one pretty much starts.
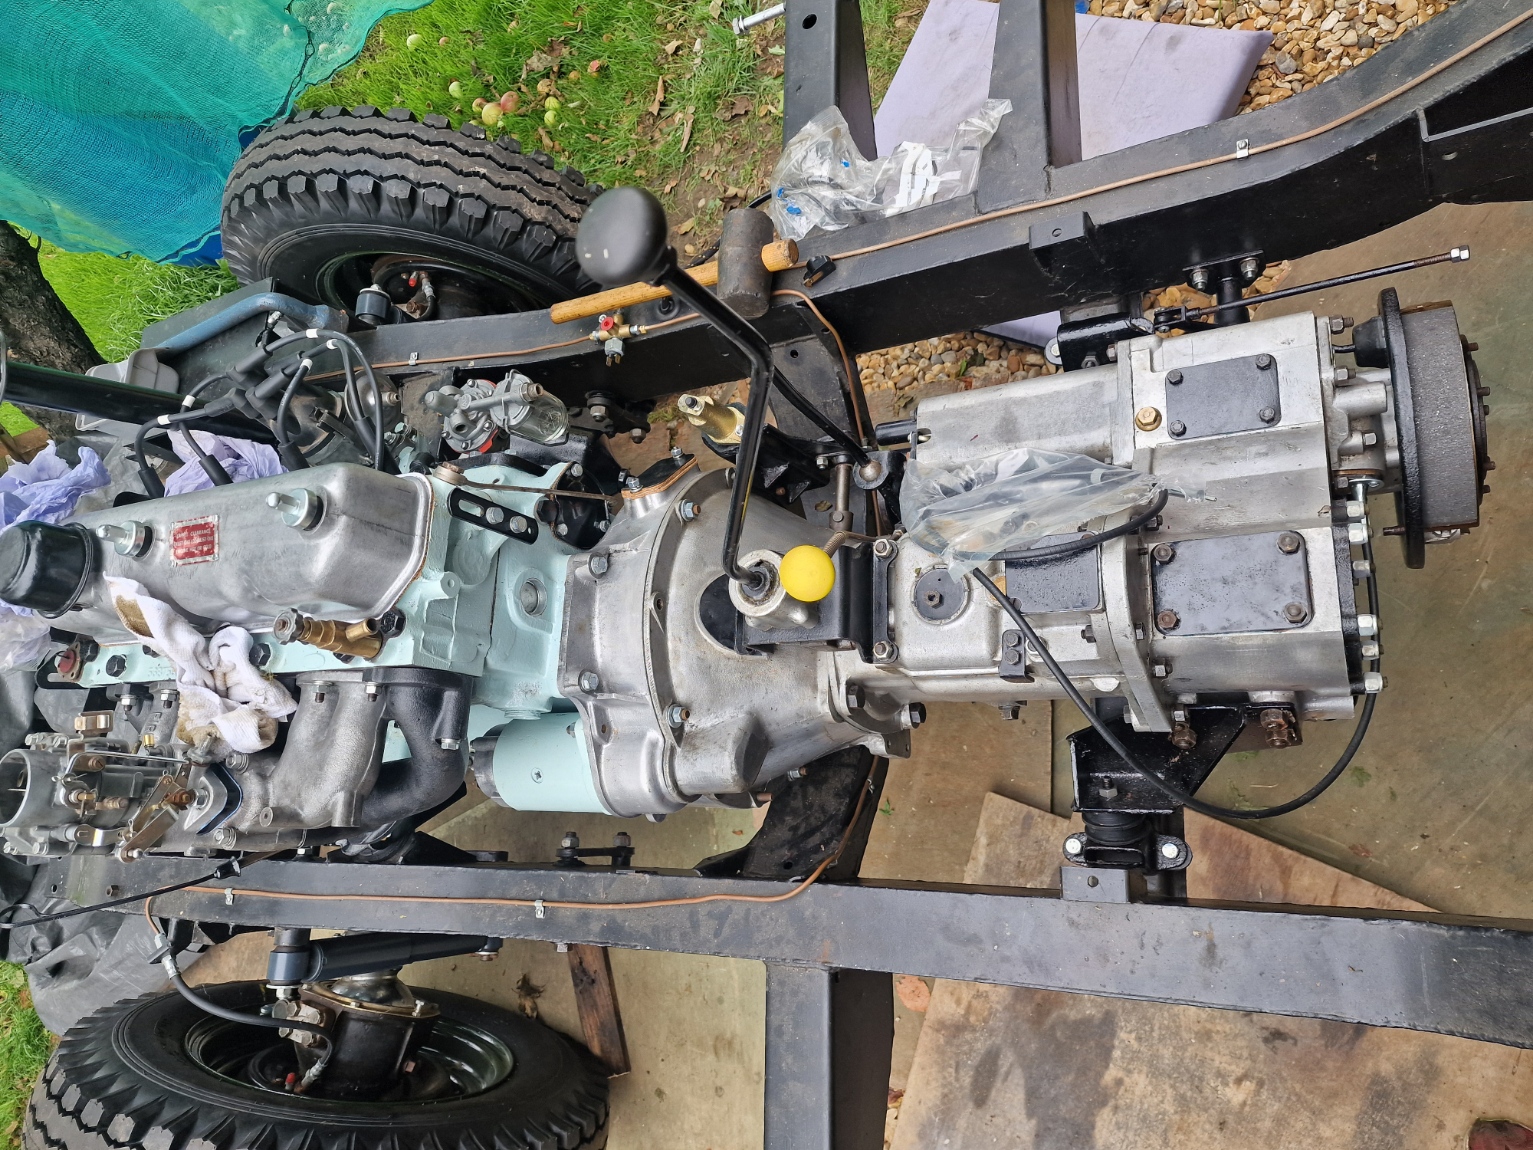
Before I start with that, I decide to put the Engine into the chassis, for 2 reasons, 1 clear out the workshop a little, getting a little crowded in there, and 2, will be easier to add the other parts.
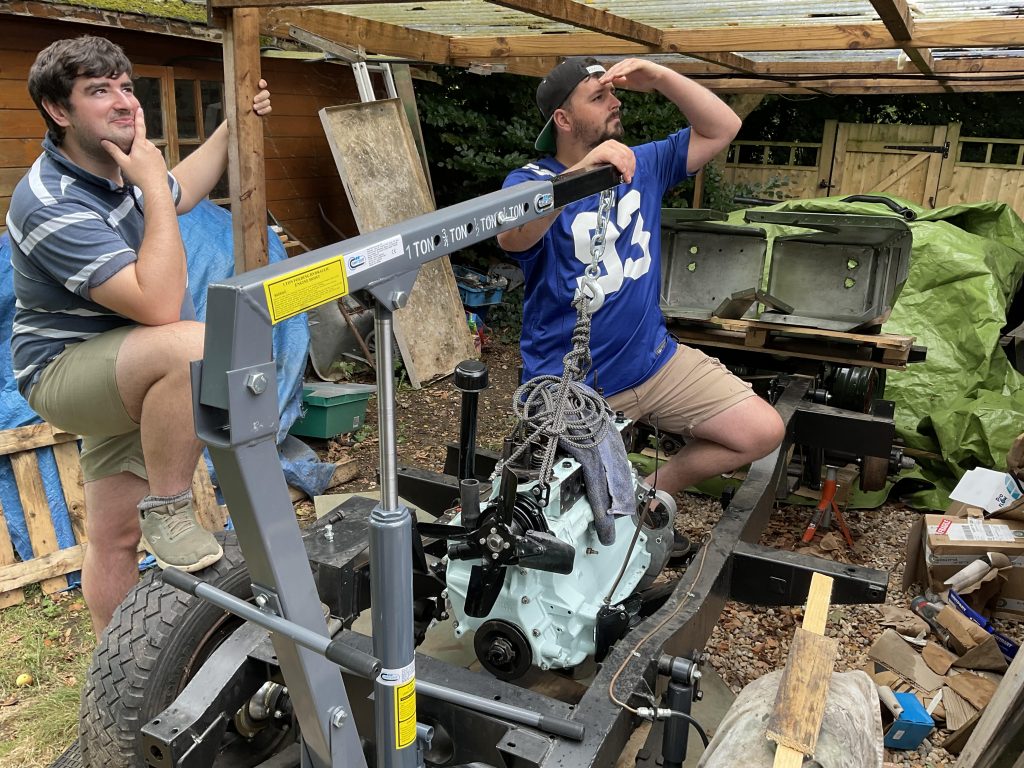
So employed a little help from Dan and Alysda, although wasn’t expecting the posing, I only wanted a simple picture.
Was very grateful for the help.
With the engine in, 1st addition was going to be the manifolds, Exhaust and Inlet. This is where things started to go a little wrong, in fact, it was a weekend of things going a little wrong. 1st up, totally my mistake and demonstrated perfectly my lack of knowledge, I put the manifold studs in wrong way round, and spent ages trying to figure out why it wasn’t working. turns out, the short threaded part goes into the head, not the long. stupid mistake. Took the studs out, and because i had messed a few up replaced them with bolts, which all went in perfectly.
I torqued up all the bolts, no issue and then went to torque up the nuts on the studs that hold the Inlet Manifold onto the exhaust Manifold. this is where it continued to go wrong, 1,2,3 all good, number 4, humm, feels a little odd, and doesnt feel like its tightening up.
SNAP…. the f’ing stud sheared off.
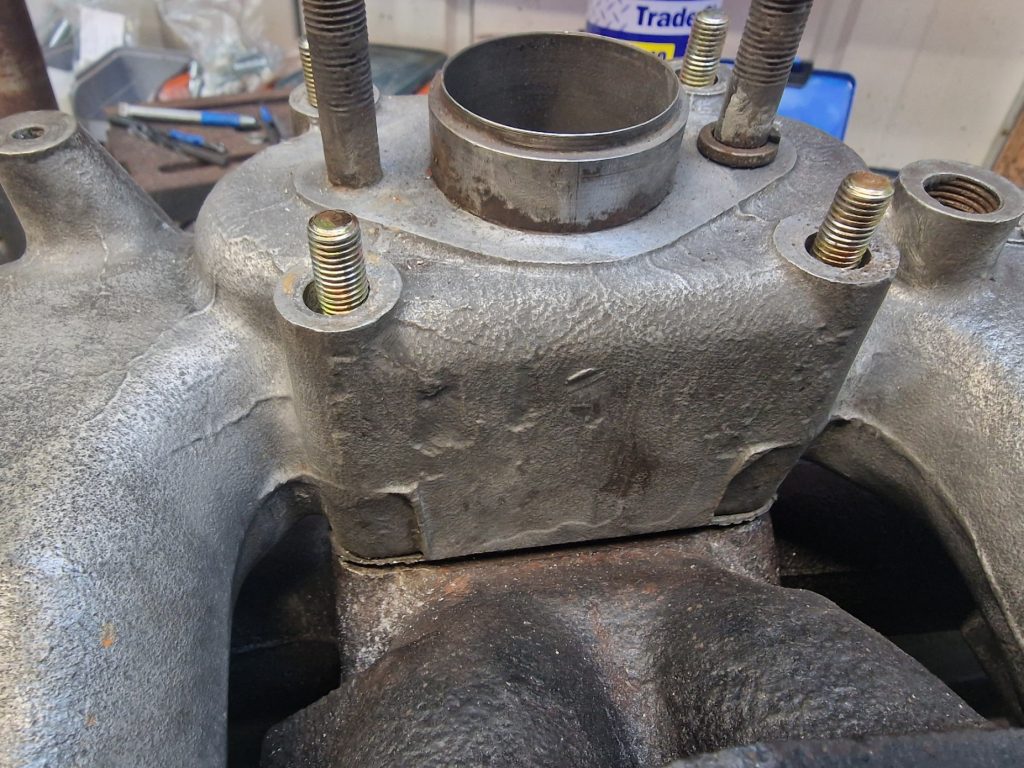
Oh, crap was my first thought, how the hell am I going to sort this out the next thought, and then came the bright idea. Cut them all off, drill them out and re-tap the holes and put new studs in.
So I did!
Cut them all off, drilled the old studs out on the pillar drill and re-tapped the holes.
Got some new studs and put them in.
Now they weren’t perfectly straight, but good enough to put the Inlet manifold on.
So, went to tighten them up, and 1,2 & 3 fine, number 4 however didn’t like it, it stripped the thread in the manifold..
It was at this point I was thinking, OK, so I dont have the skills or tools to do this properly, but what I can do, is spend money (like it’s going out of fashion), and bough a new Exhaust manifold and some new studs.
Long story short, got the new studs on, joined up the manifolds, put new studs (the correct way around this time) into the head and put the manifolds on, with a new gasket. torqued it all up and finally….. its done.
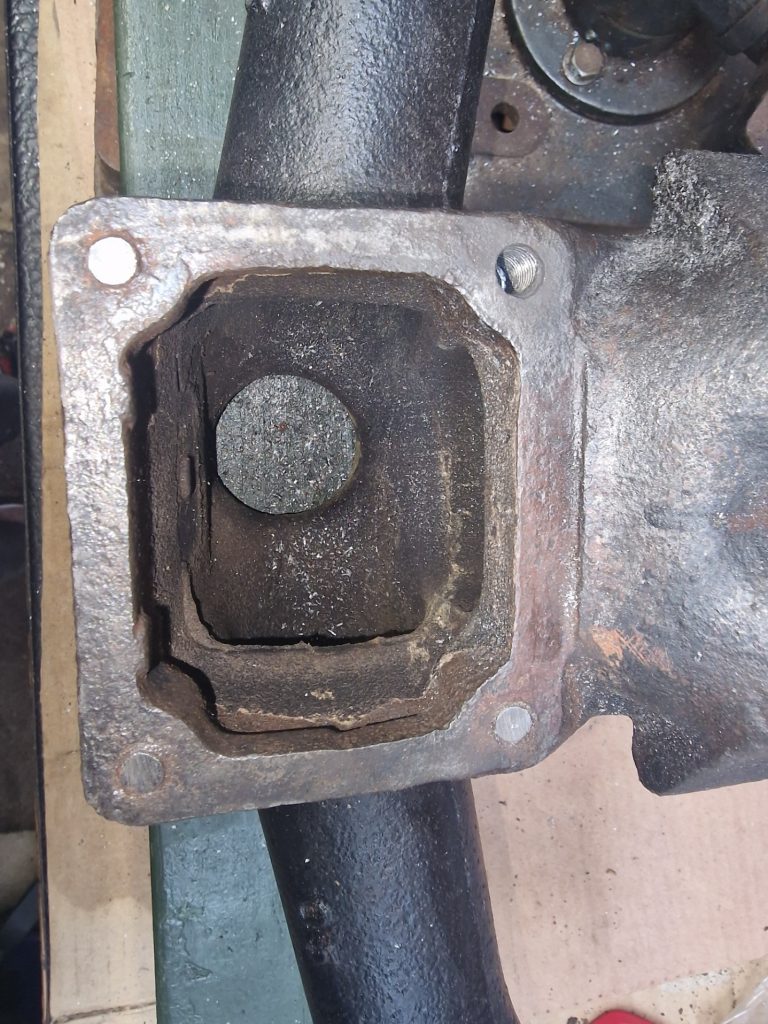
The next thing to go in is the Distributor.
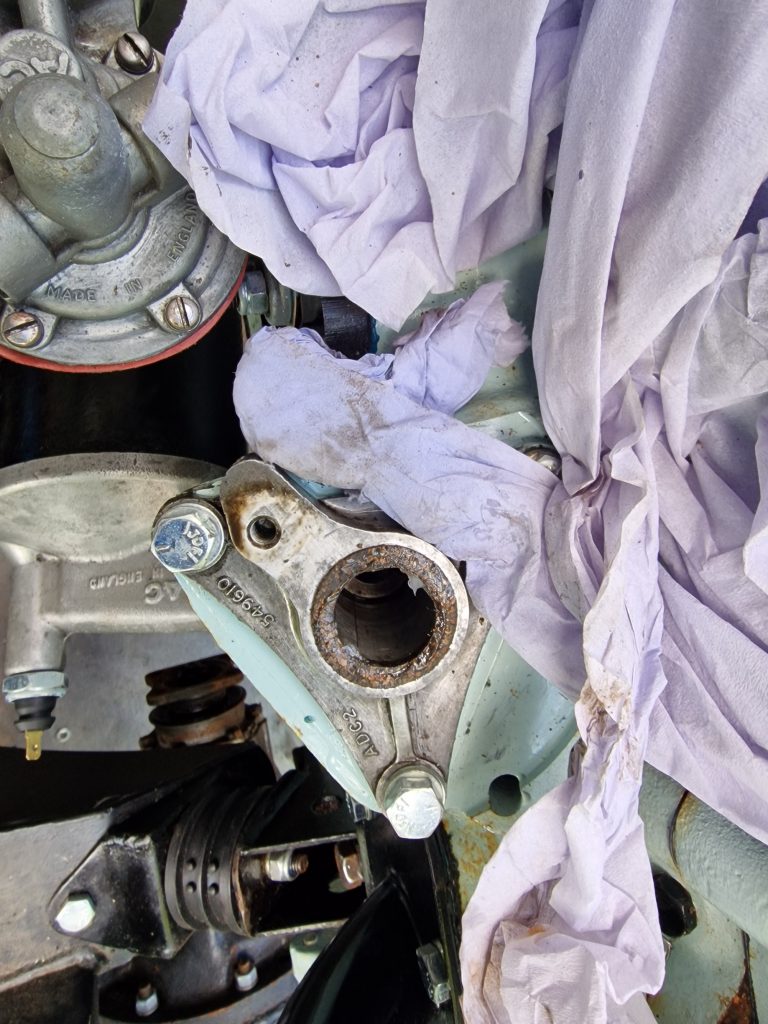
This should be really easy, just slide it into the hole Shown in this picture ->
BUT! you can just about see it, there is a cork gasket that sits in a recess, that the distributor slides through, except it doesn’t, it is super tight and took a bit of gentle sanding, some silicone grease to finally get it in and seated properly.
Lets block up some more holes in the engine!
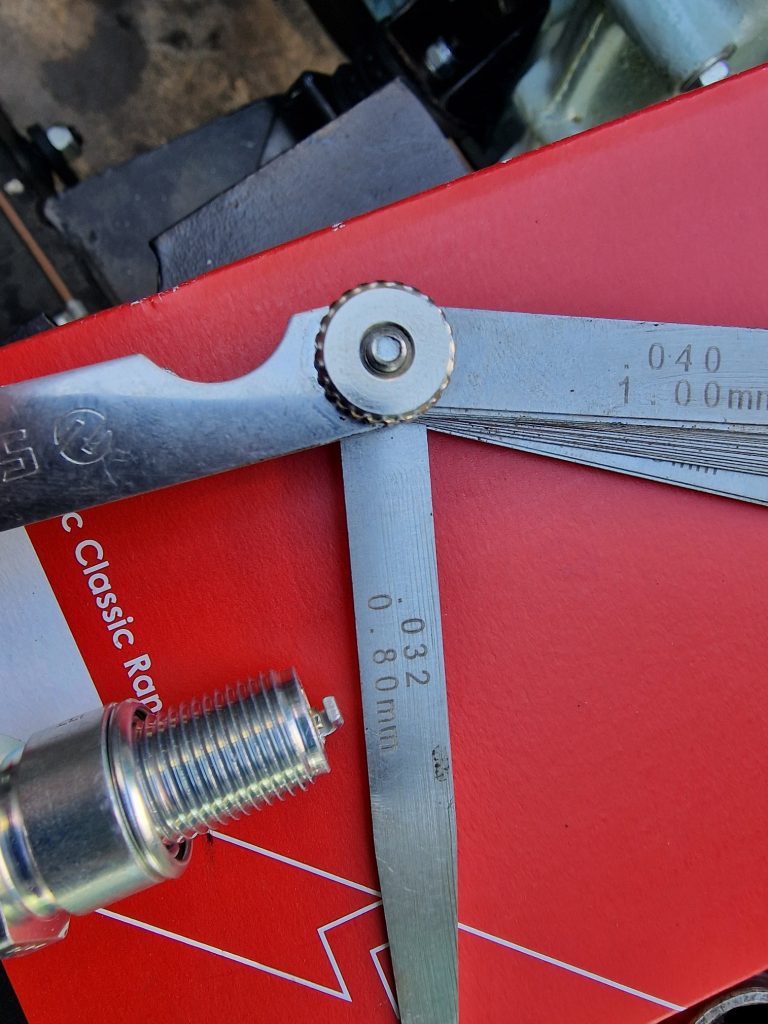
Spark plugs, with the gaps set according to the book to 0.8 mm.
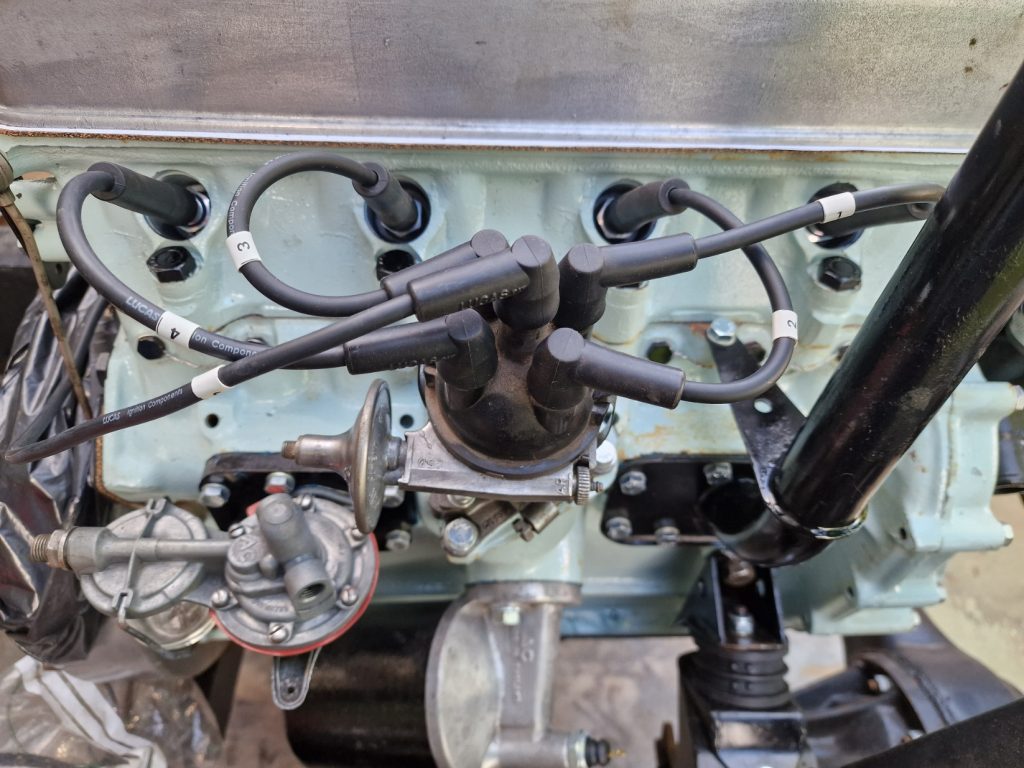
And then finally new points and rotor arm, but forgot to order a new condenser and disti cap, so they will go on later.
Used the old cap, and fitted the HT leads.
Thats the engine in, all fitted out with the important stuff, including the starter motor. One thing left to go on, and thats the Dynamo, need to figure out exactly how the brackets fit together as its not entirely obvious. Hopefully, Mine and Kims trip to Amberly Museum, to a land Rover show will give me the opportunity to see some finished engine’s so I can take loads of reference pictures for stuff like this.
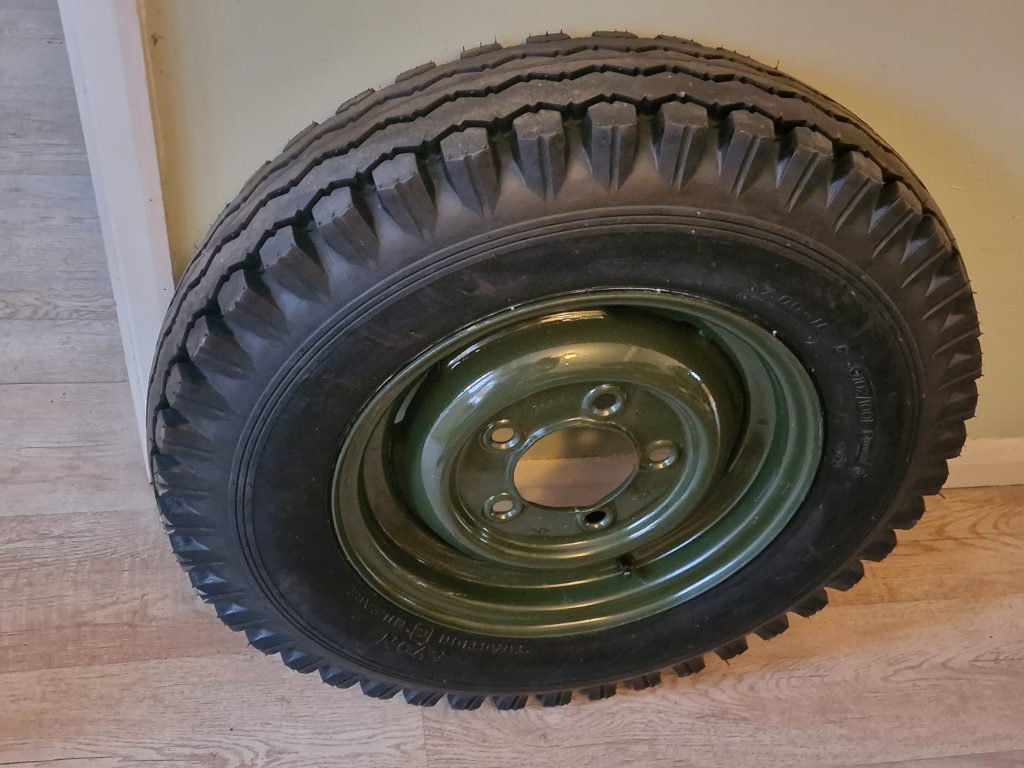
Talking of museum’s and a little side topic, took my wheels to beaulieu, Vintage Tyres who fitted some new Avon Traction Master 7.00 X 16 102/100L tyres. as close to original as I think is possible these days.
Bit taller than the 6.00’s that the Land Rover might have come out of the factury with, but still a standard size..
Tyre choice is a topic in its own right, so might write about that separately.
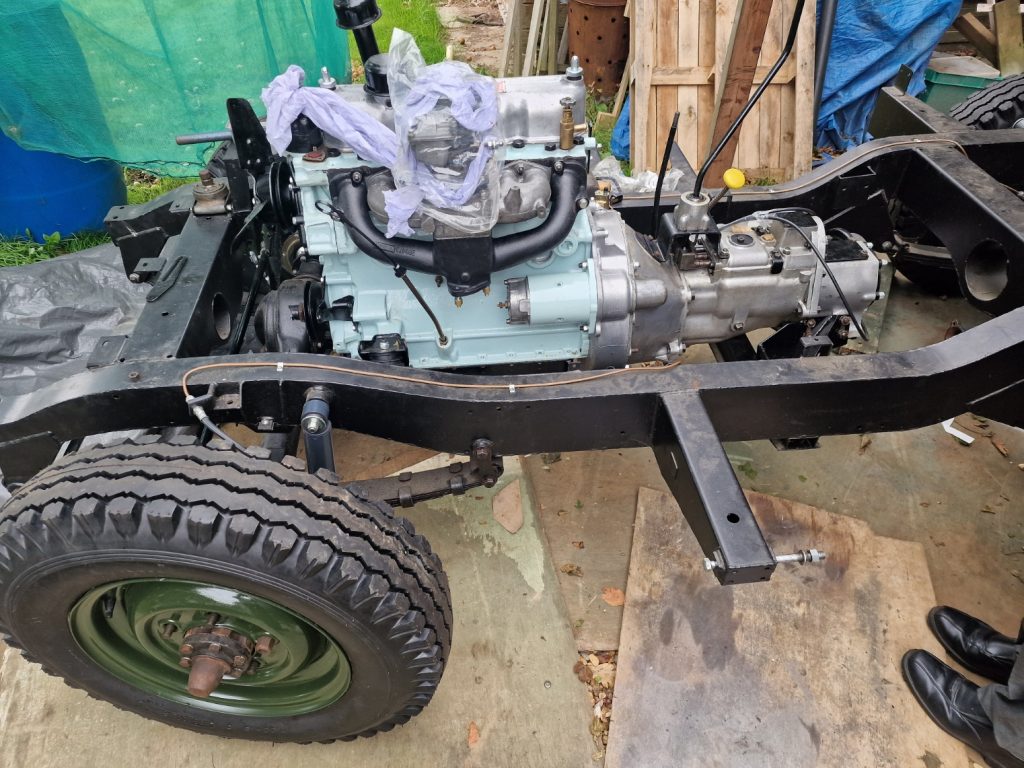
Back to the engine, well actually the Gearbox. Decided to put this on, now I have 4 wheels again and can move Isobel to where I can get the hoist into.
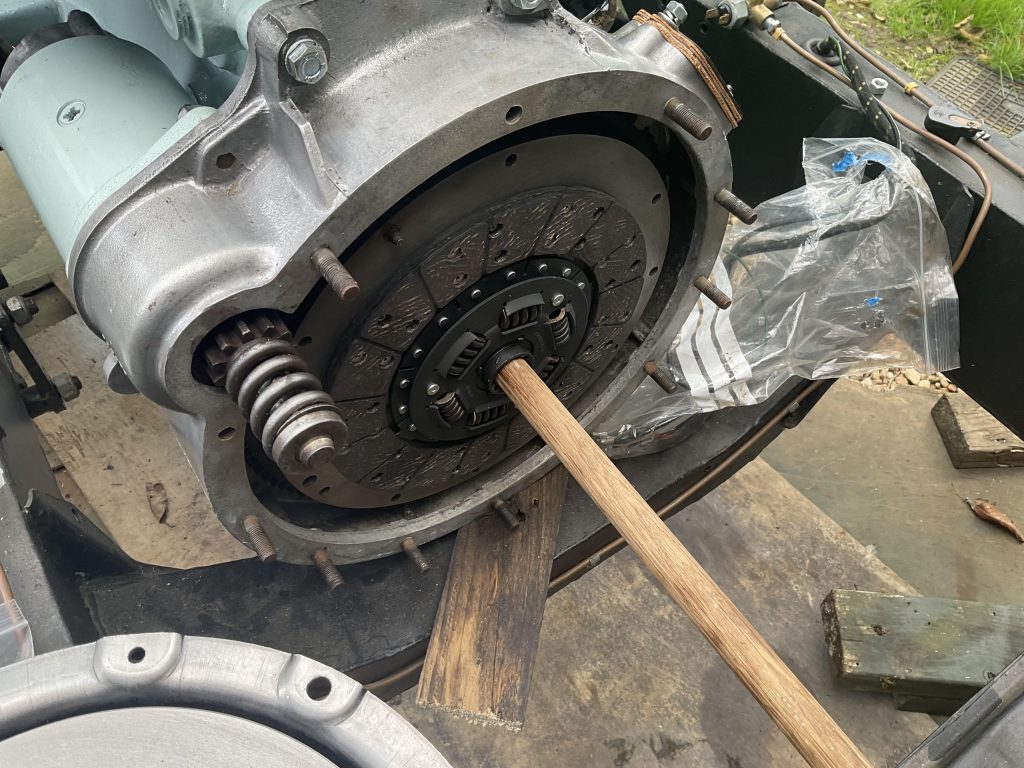
Started with the new Clutch, using a piece of dowel, exactly the right size to keep the clutch plate lined up while I bolted on the clutch plate cover.
Using the Hoist, and again some help, got the Gearbox lined up and attached to the engine. Really pleased with the way it look, just hoping it all works as good as it looks.

A couple of bits to finish off, gearbox mounts to be properly bolted up, a few more nuts and bolts to hold the gearbox in the engine, oh, and take the gearbox back off, as I forgot, in the excitement of getting it on to grease up some of the clutch mechanism. That should be relatively easy, but will need to wait for next weekend.
Getting closer to the real test of all this work, and thats seeing if I can get the engine started. Before I do that, will be building up the Bulkhead with pedals, and some other bits before that goes back on and then should have everything needed for that attempt at starting it, exciting, but something I’m extremely nervous about.
I think from now on, these posts rather than being topic based, which is what I’ve tried to do, they will be more about the process, i.e. as things happen, we’ll see.
Leave a Reply