I mentioned in the last one, that it leads nicely onto this one. Well no in terms of topic, but in terms of Isobel moving under her own steam. Well, to do this Isoble needs some electrics. So, started today to fit parts of the new Autosparks wiring loom, namely the earth straps, battery and starter cables.
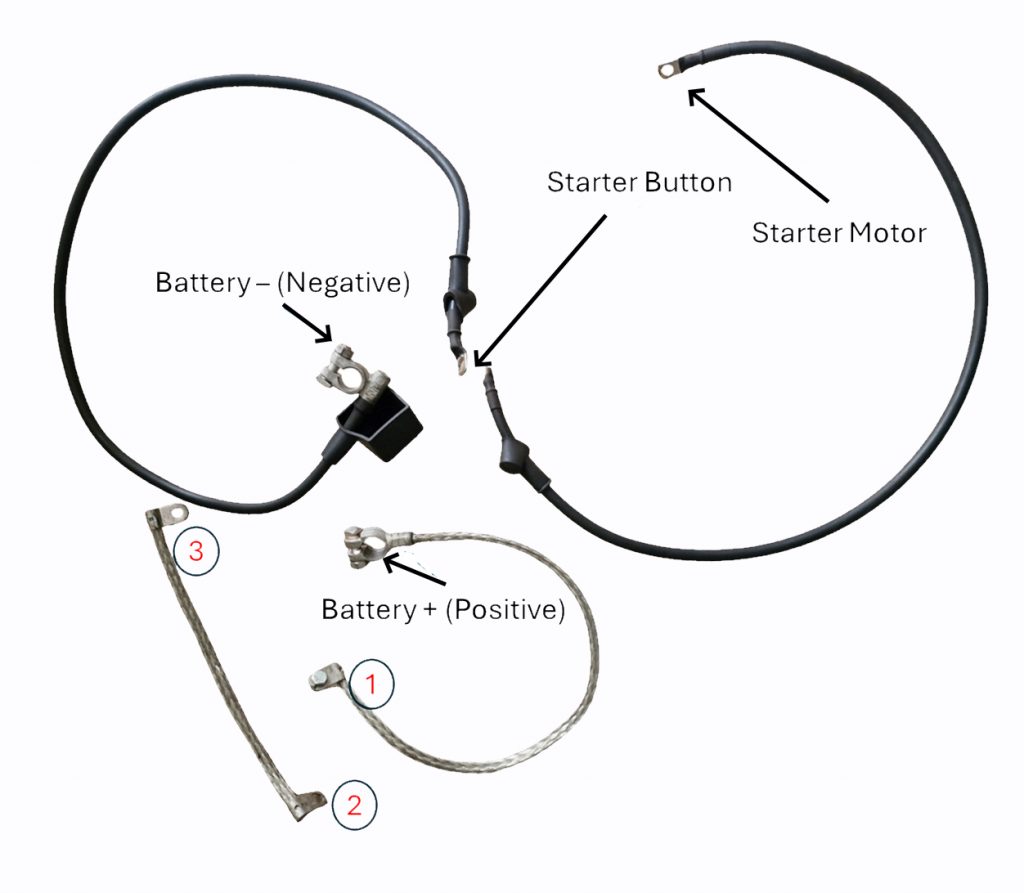
These are the cables in question.
I created this image, to share on the Series 2 club forum. I was pretty sure I knew where most of it went, but wanted to check the earth straps.
And as per usual, clear and concise answer came in pretty much directly. Series2a club costs me a little money every year, but worth every single penny.
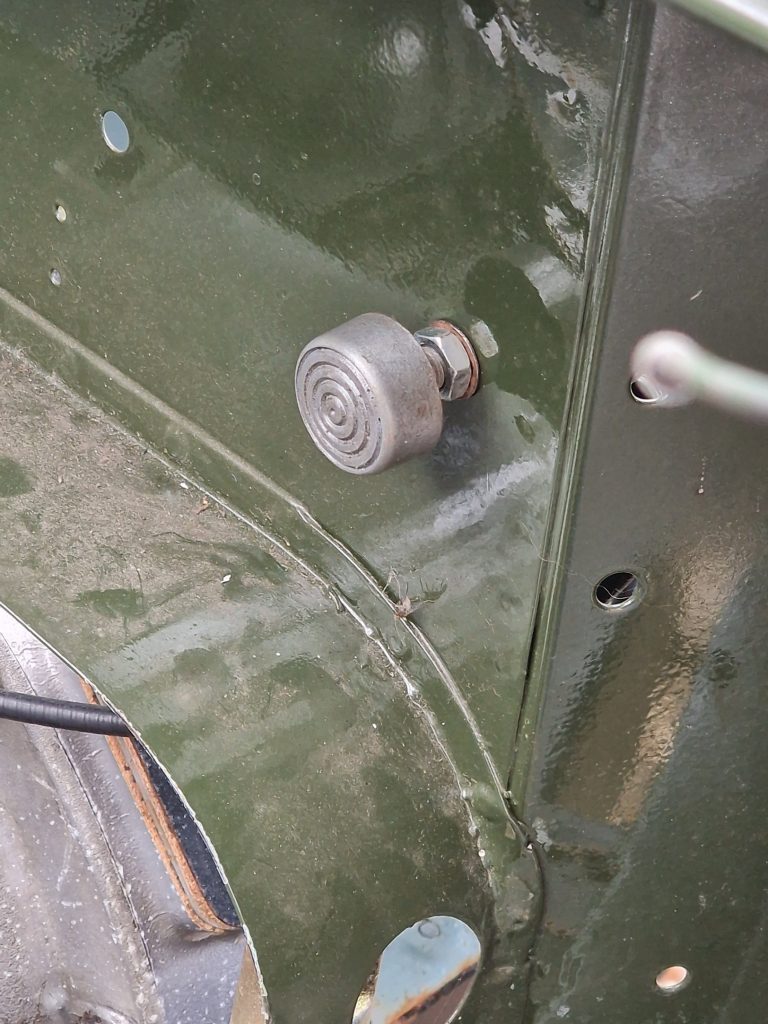
The first one to go on, was a strap between the chassis and transfer box. Now, this is a positve earth system I’m installing here, as per original, but in any case earthing is a critical aspect of the wiring, because without it, nothing will work. The principal is that the battery (in this case + terminal) is connected to the chassis, and then this strap, connects the gearbox, engine and accessories like the starter motor to the chassis.
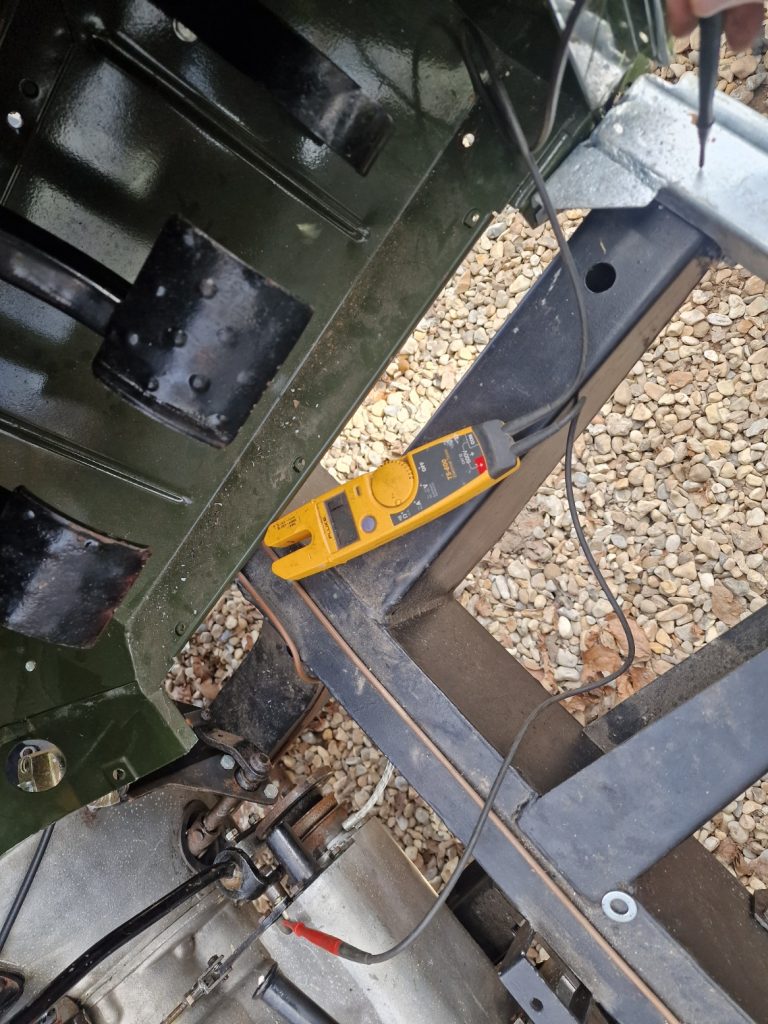
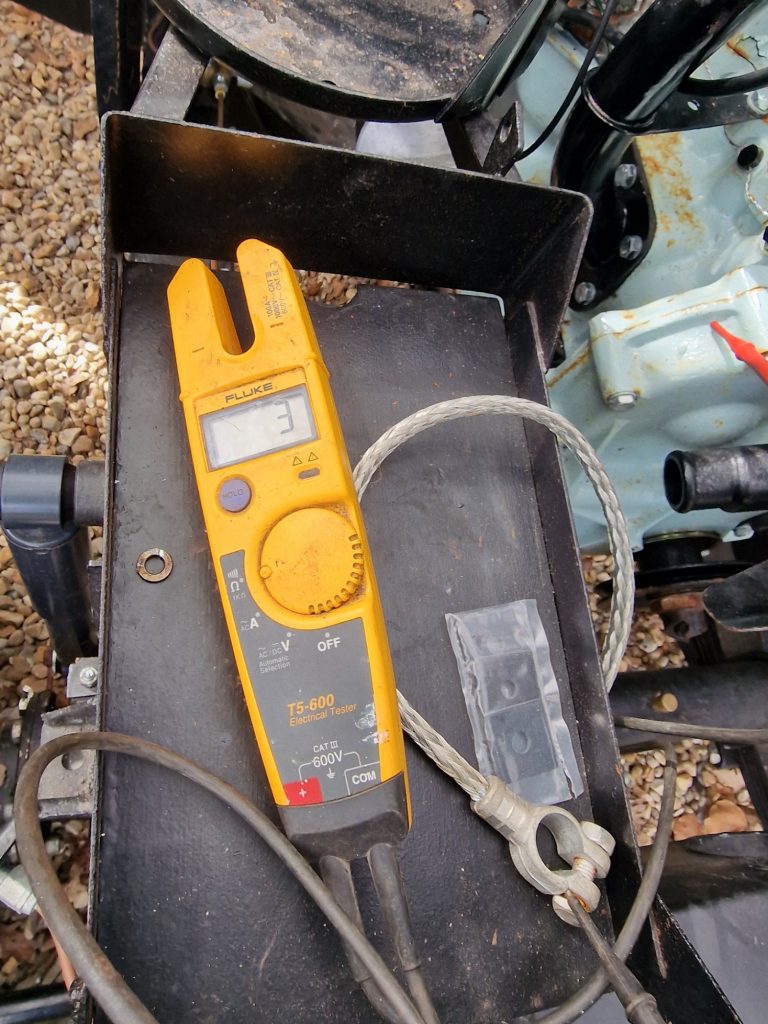
What I did do is check for continuity between said items, and it was really good, very little resistence.
I will be adding another earth strap (when I buy one) between the chassis and engine.
The reason, the starter motor will draw alot of current, and the more straps the better, otherwise the current might just try other routes, like the clutch cable and speedo cable.
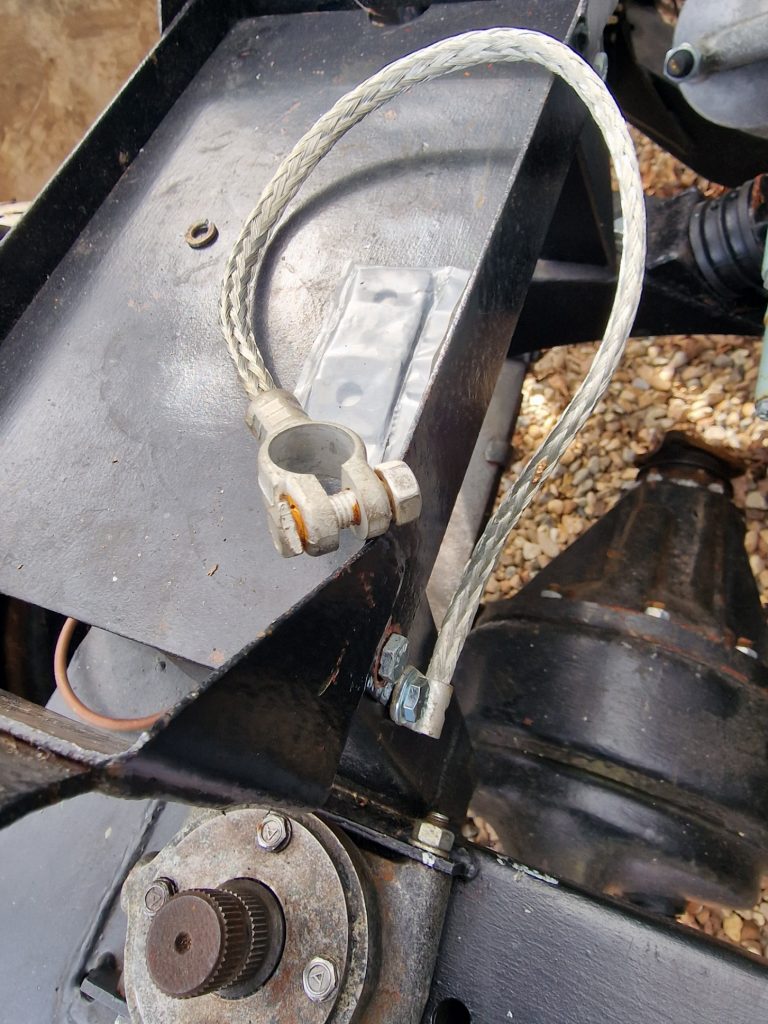
I then fitted the battery earth strap.
This is conected to the battery tray leg, so cleaned up the paint, and bolted the strap on.
Again, checked continuty between this cable and various bolts on the engine and again had very little resitence.
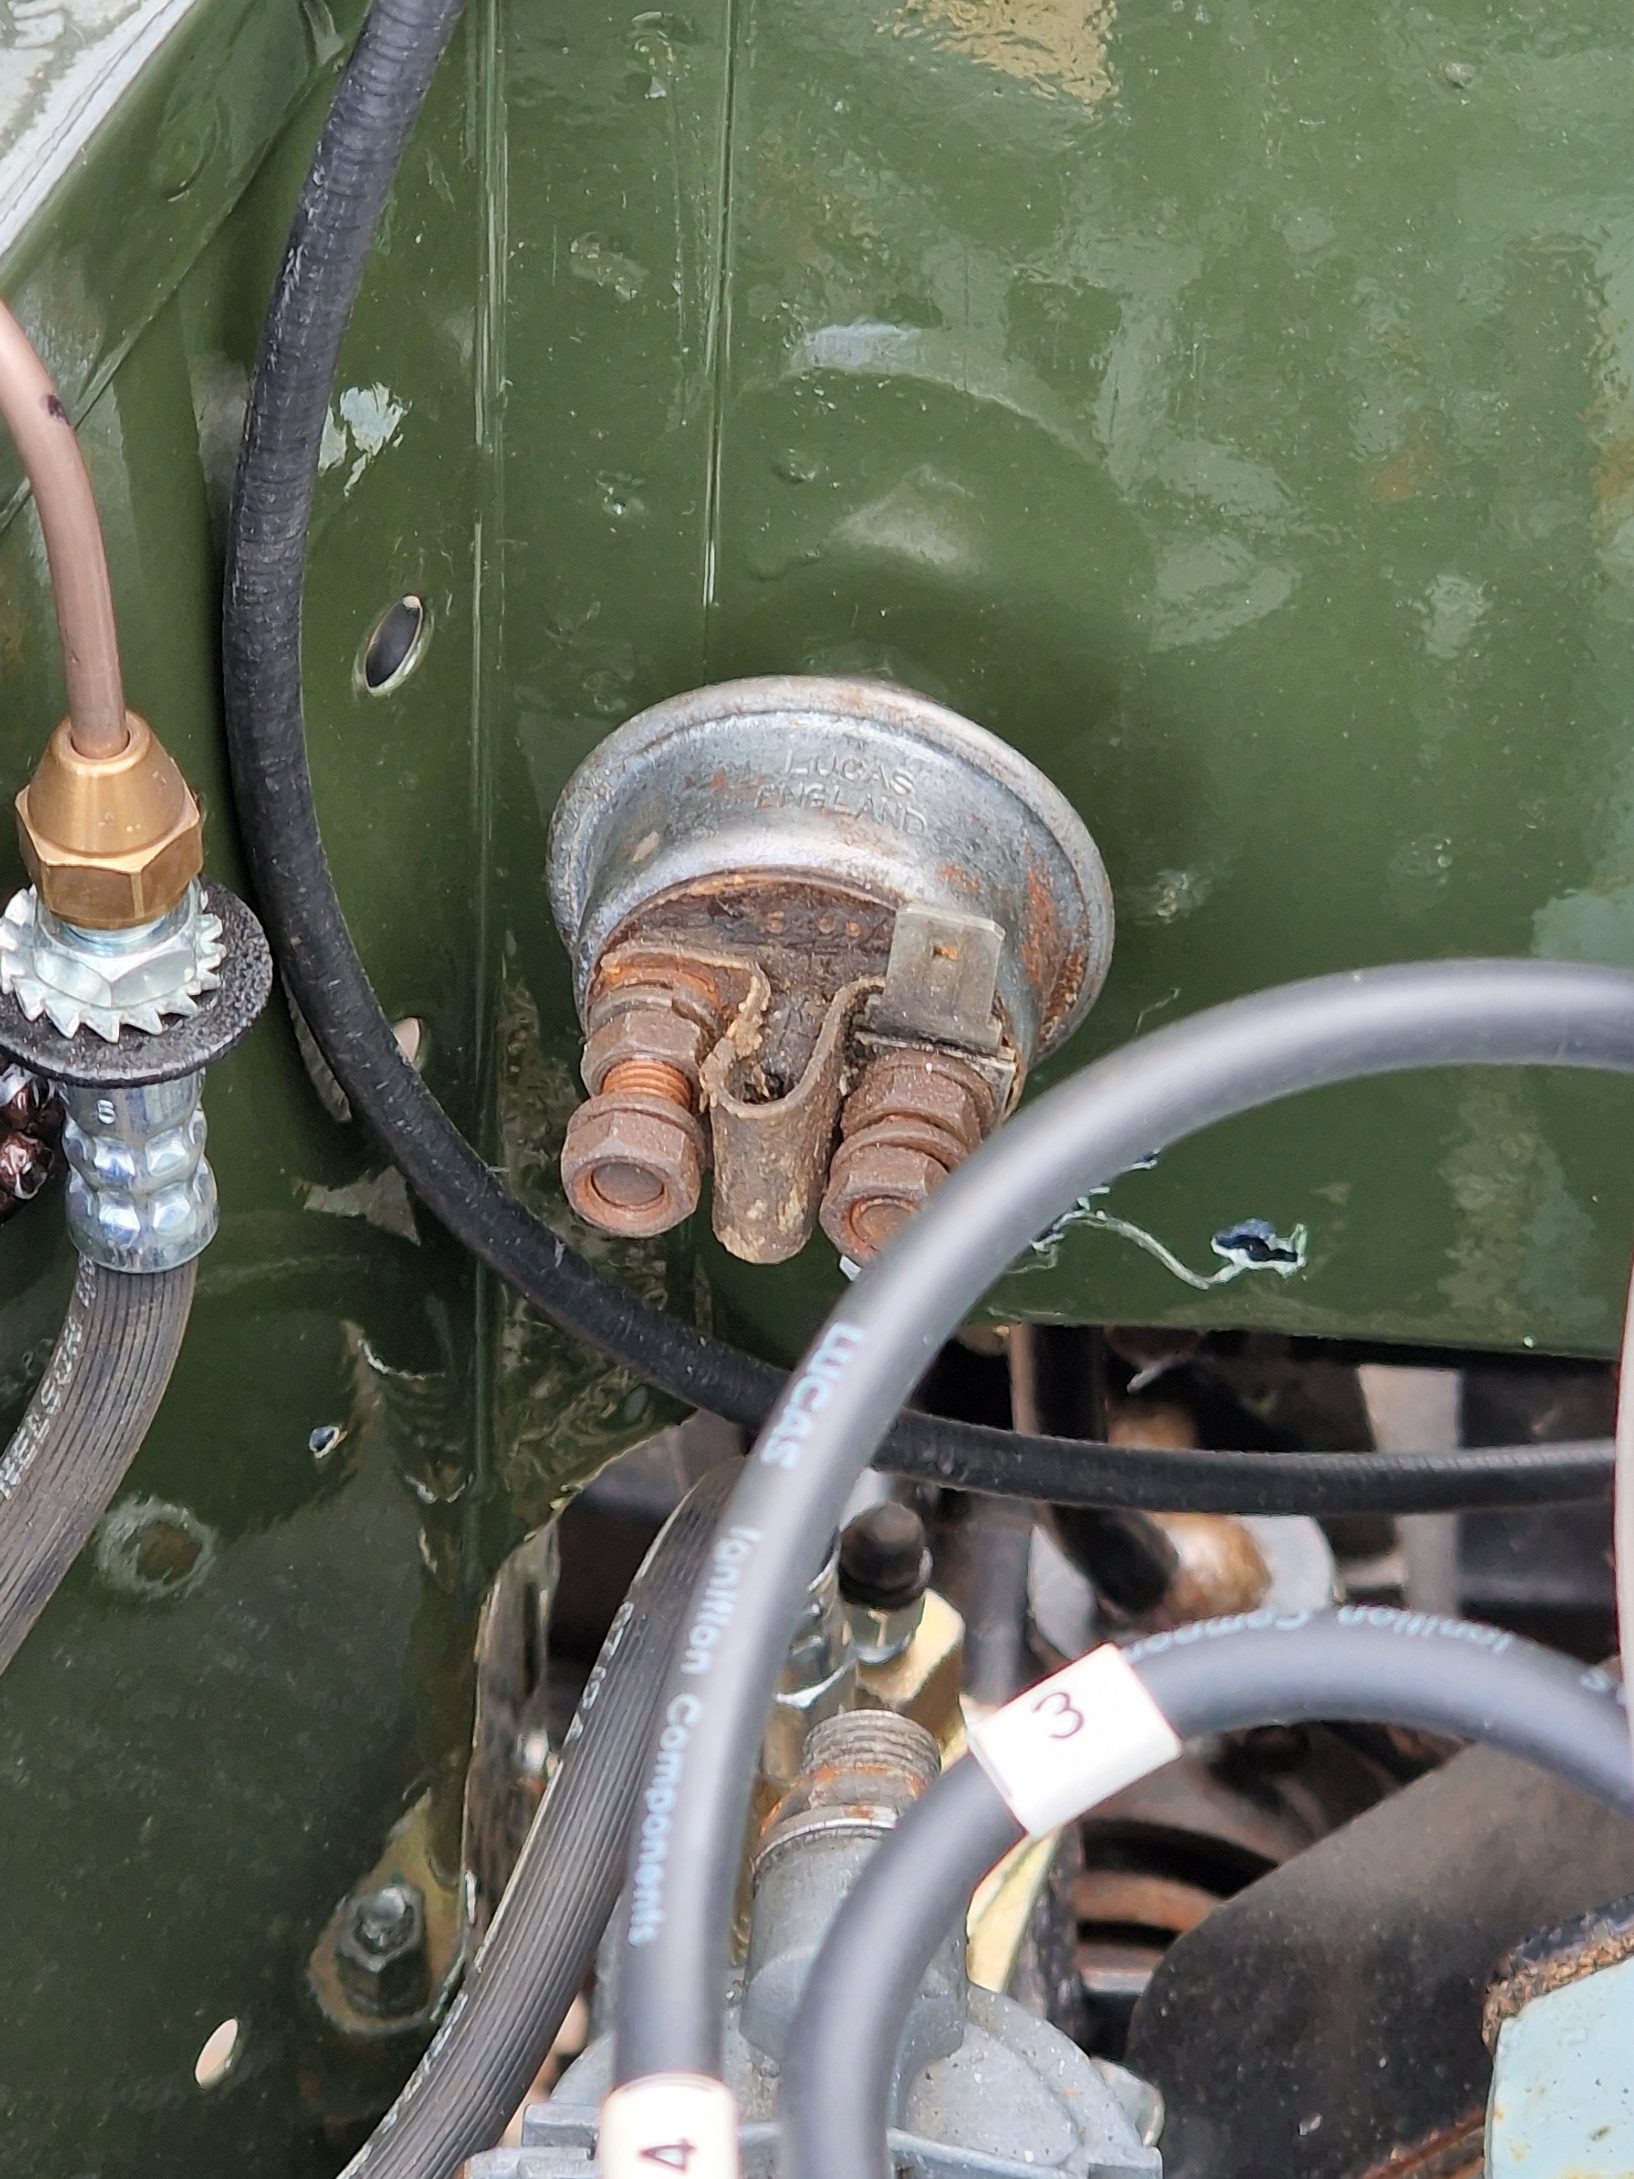
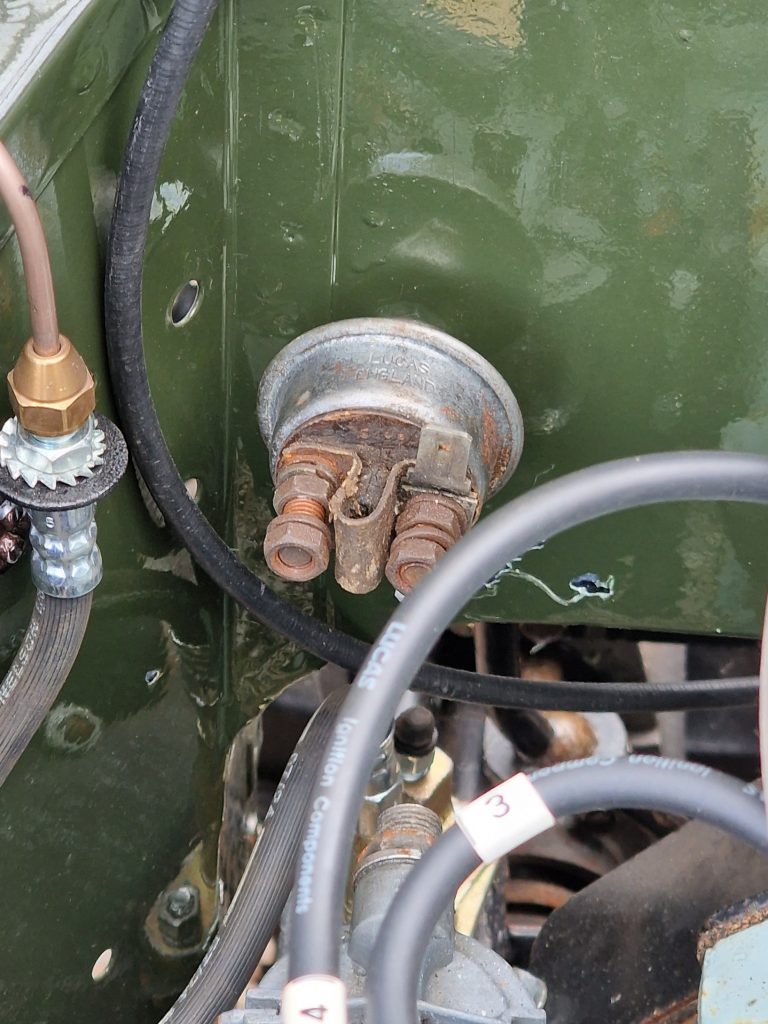
Next up was the starter motor leads.
Before doing that I fitted the starter button.
You can see from the picture, there is a bit of folded card, to seperate the terminals. This was acually broken, so I removed it, as the new cables have rubber covers, which will serve the same purpose.
This is the button inside the cab.
I have actually owned a car that had this same setup before, so its not that unusual for me.
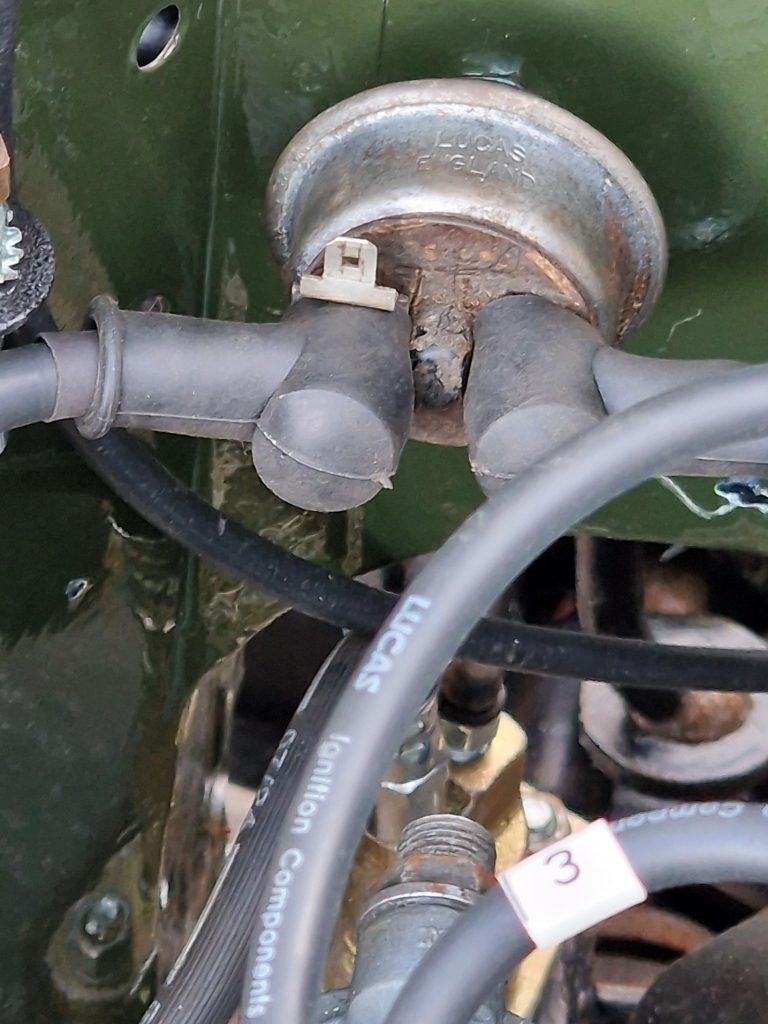
This is the final connections with both cables on. The one on the left coming from the battery, the one on the right straight to the starter motor, with the supplied rubber boots.
So thats it, the starter motor is now connected, the starter button is in-place, all I need is a battery and I can think about turning over the engine. Might do that tomorrow, will see how I feel becuase that will be the first real test of my engine rebuild.
To finish up, I fitted the dynamo.
Now this was bloody awkward, and I am not sure that the arm you see at the top should be on that side of the dynamo, but fitting it on the other side seemed less right, and by placing a straight edge from the crank pully and the water pump pully, it seems to be perfectly in-line.
So I will leave it like this until someone says to me, what the f have you done there.
I did go to fit the fan belt, but have bought the wrong one, way too short, so quickly ordered another one.

Thats it pretty much for the day, although I did take the doors off, to make access a little easier into the cab, took the front grill off, again for ease of access, and re-fitted the steering column brackets that I had to remove to align the bulkhead, so all in all, a pretty successful day.
More to come tomorow I hope, maybe even a little video of the engine turning over on the starter, if I can get some charge into an old battery, which will be both exciting and nerveracking at the same time, that is after I have taken on some sustinance, in the form of a full english breakfast with Kim, Caleb and Reuben.
Leave a Reply