When I say continued, maybe I should say it will continue.. I started looking at the wiring loom today, partly to make sure I position the components, Voltage Regulator Fuse Holder and Ignition Coil in the right places, but also to start to understand where everything goes. That was of course after I took the wife and 2 remaining “kids” at home out for Breakfast, which I think we have found our new favorite breakfast haunt, Swanborne Lake Cafe in Arundel.
BUT!! before I get into all of that. I did mention I “might” try to see if the engine turnsover. Well I did, and while not very exciting for most… was a great moment of relief for me, to know that at the very least, it does turnover on the starter motor.
I did remove the spark plugs and also removed the rocker cover before trying, and I also squirted a bit of oil into the piston bores and over the rocker, just made me feel better.
Guess what? it sounds like an old engine turning over. Hopefully next time I try this, it fires up and goes brumm brumm, and does not sound like an old engine.
As well as looking at the loom to figure out the locations, I also took a look at my old rotting bulkhead to see if that helps. It did a little, so took some rough measurements.
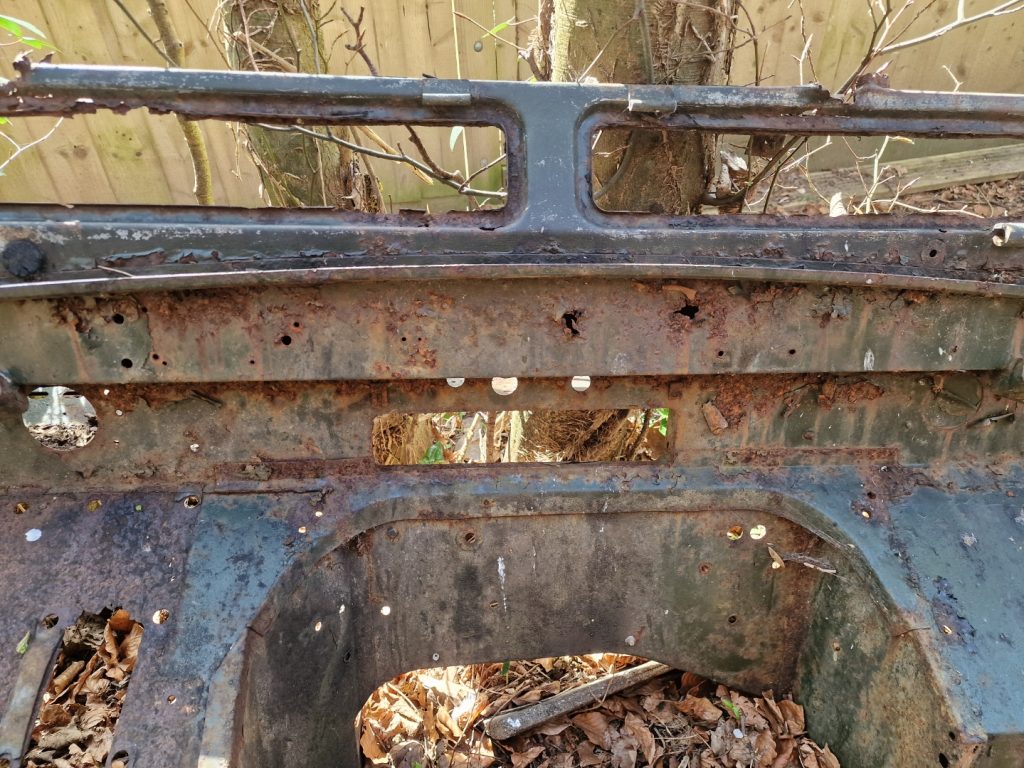
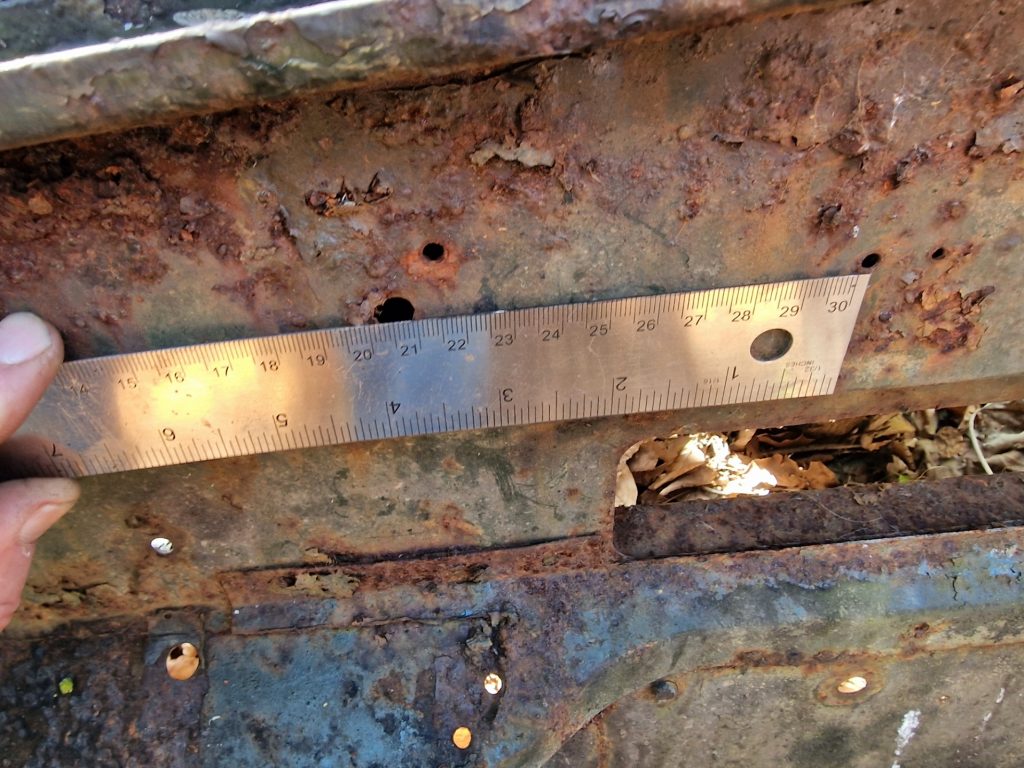
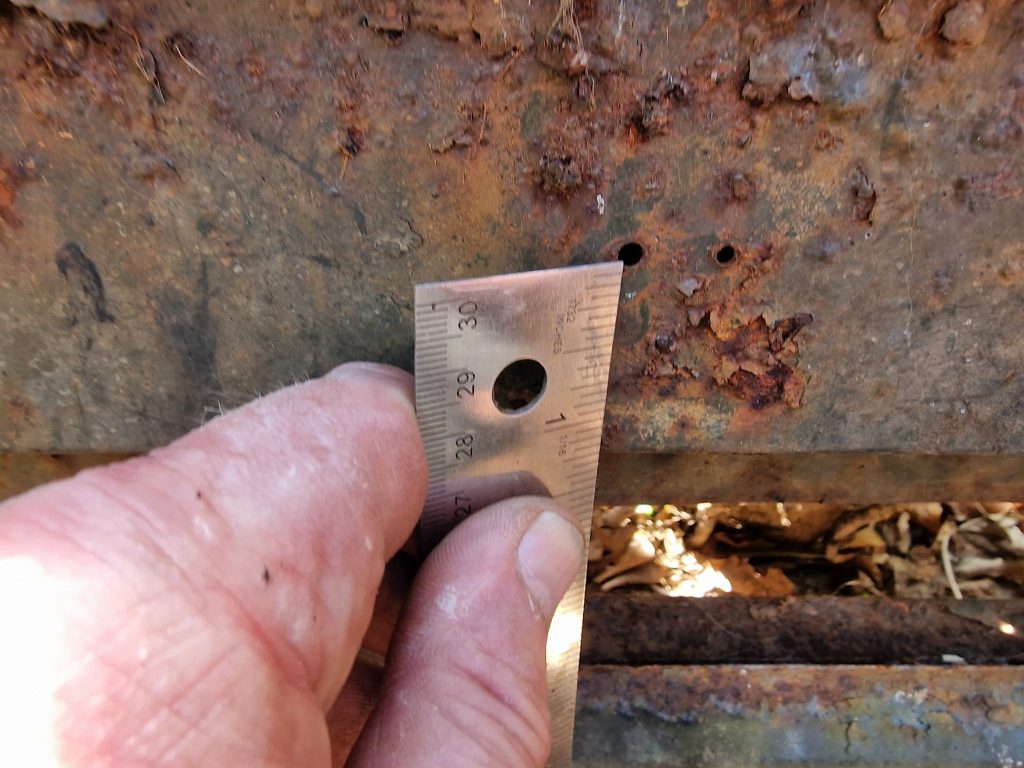
What this did mean, which bothered me a bit, is that I need to drill some new holes in my nice new, painted bulkhead. HeyHo, they have got to be fixed somehow.
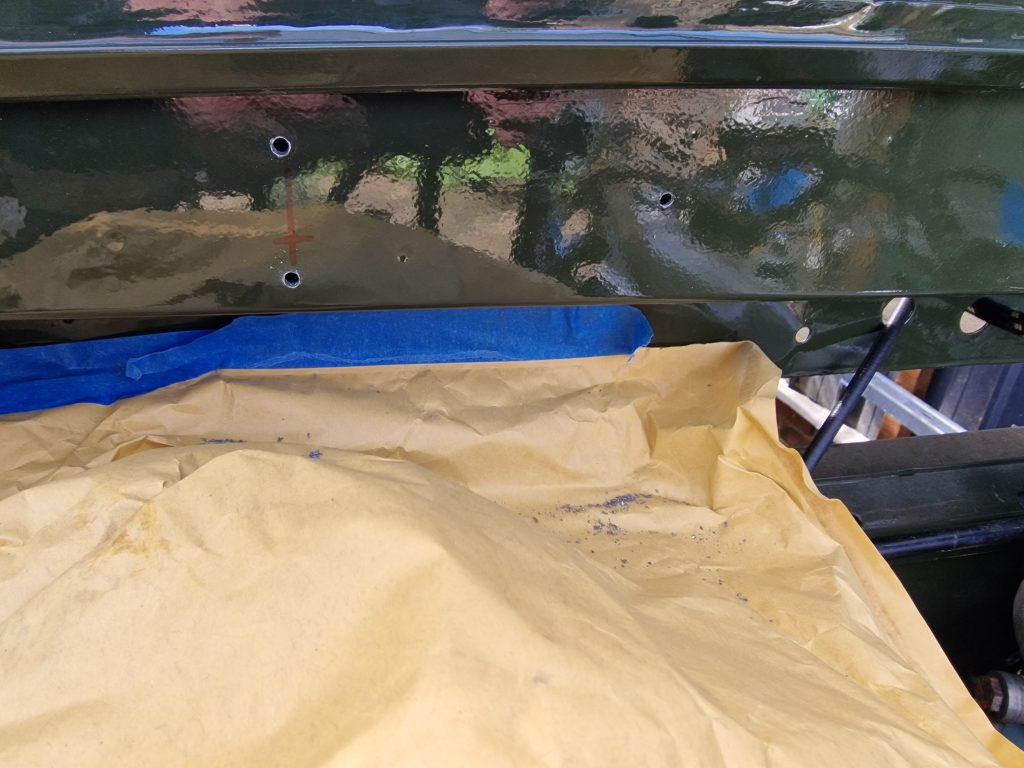
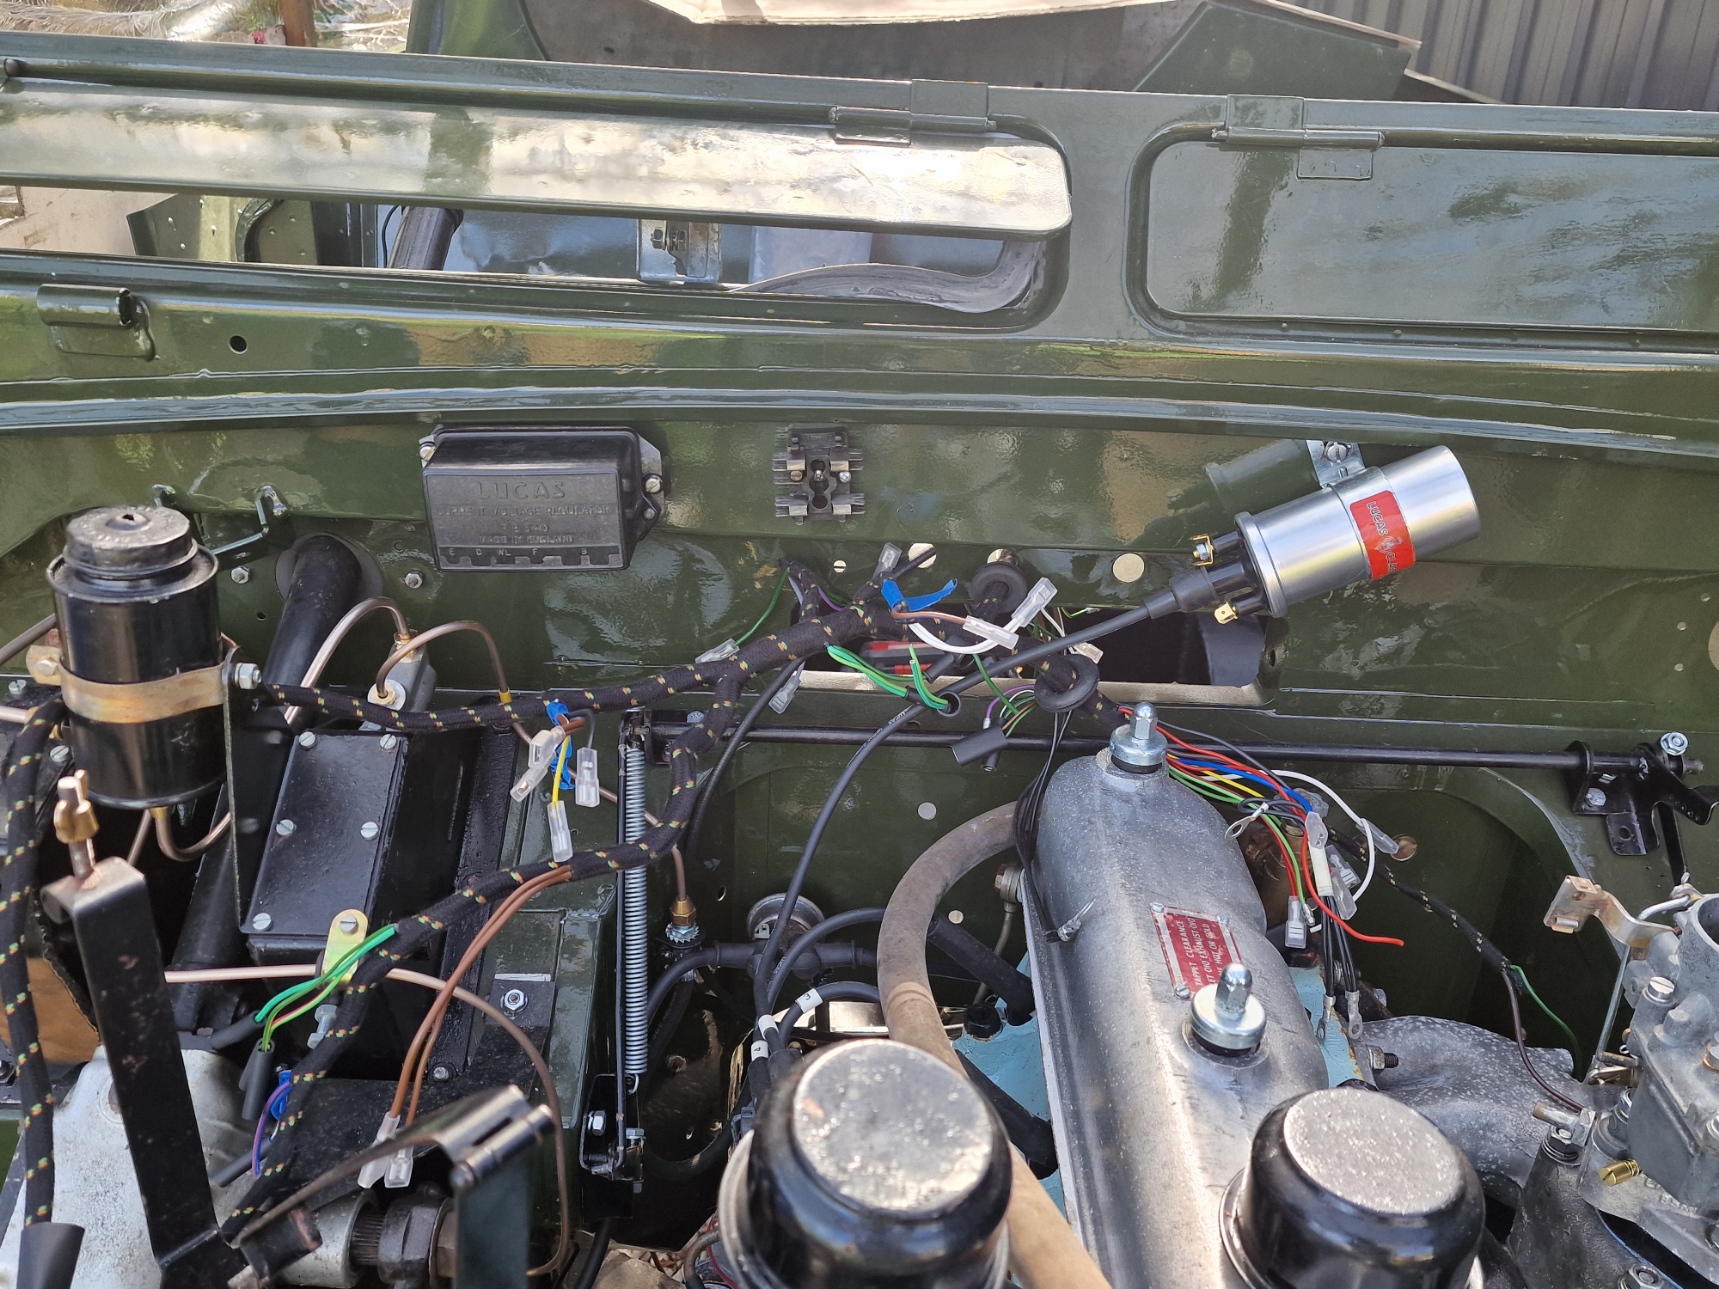
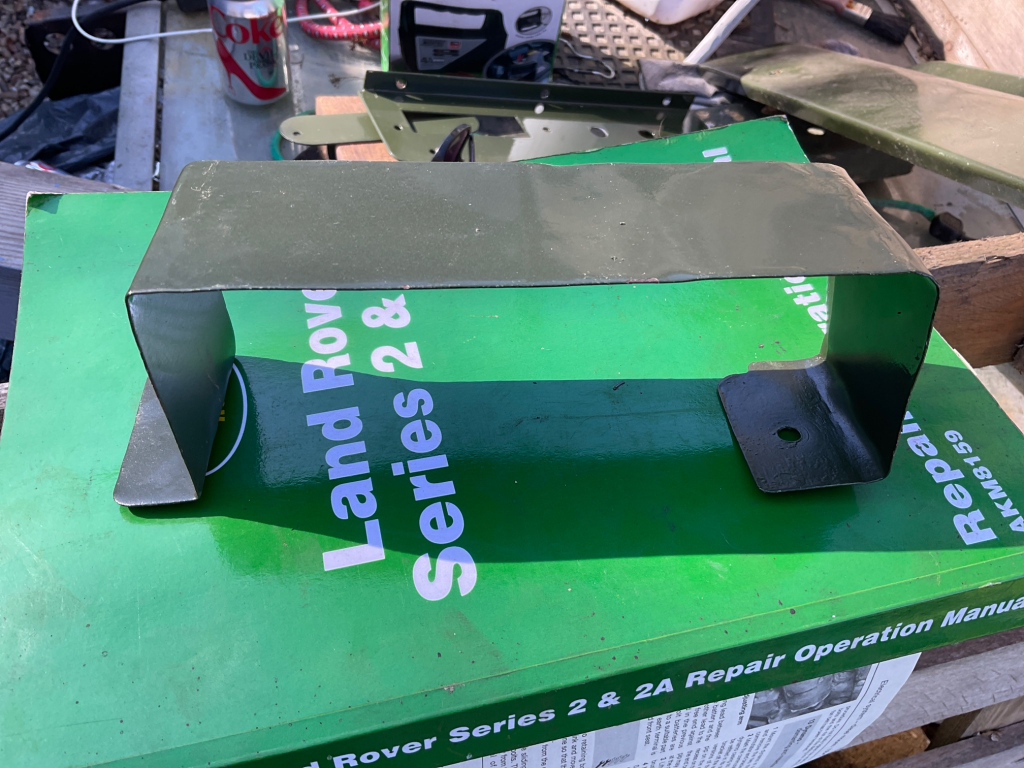
Sorry for the large, not very intresting picture of, well holes and a padded envelope to catch the metal bits :-). When I did screw the parts on, I did cover them in copper ease, hopefully to stop the freshly exposed metal rusting. Here goes, another large picture, bit more interesting this time, showing the bits fitted.
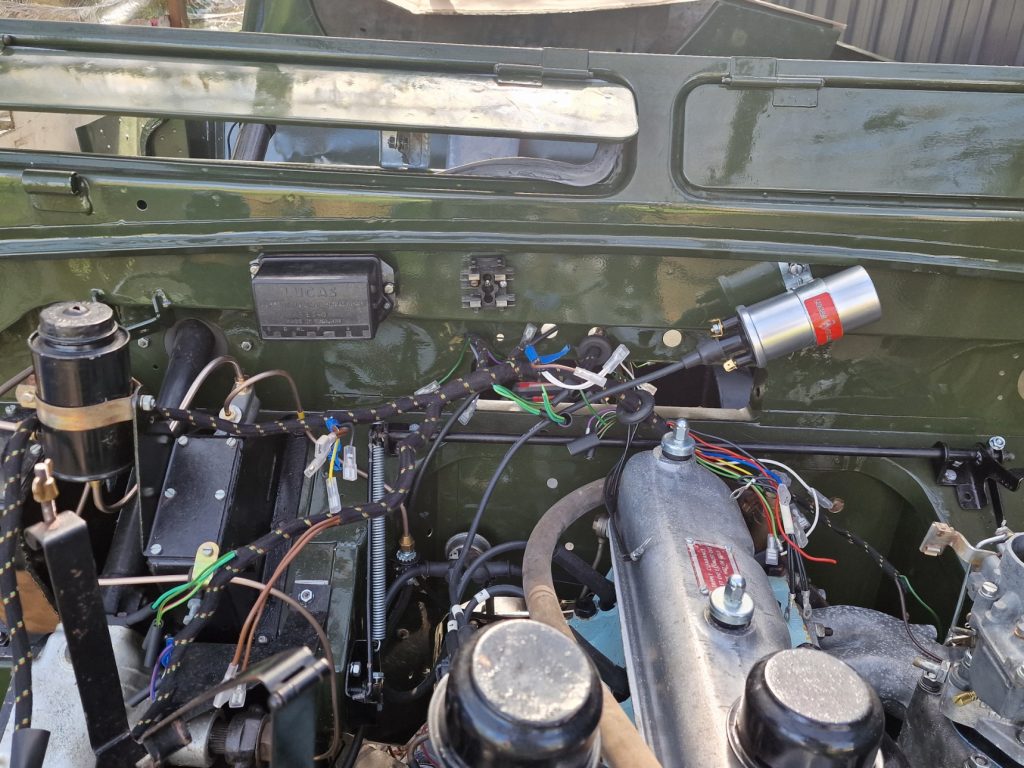
From left to right:
- Voltage regulator
- Fuse Holder, oh, yes, this car as 2 fuses… everything else relies on well, a little bit of luck and good fortune to not catch fire.
- My new Ignition Coil, as I had no idea if the old one ws any good.
- and scattered over the engine, my main loom
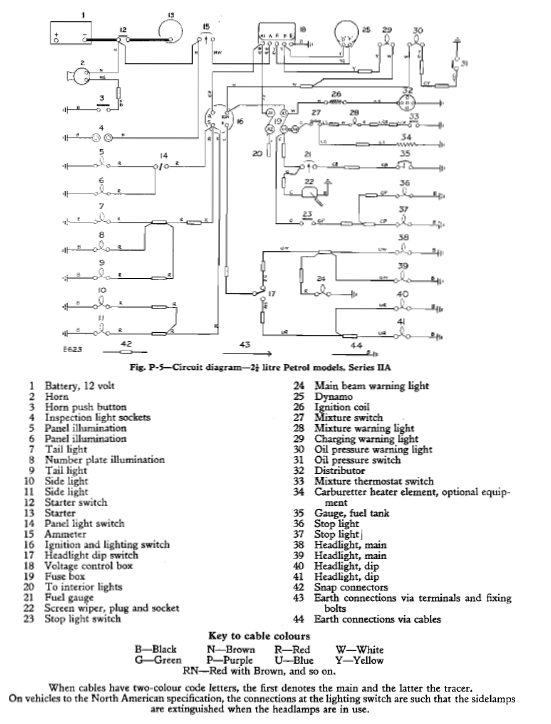
Thats pretty much it, I did spend quite alot of time staring at my wiring loom, and then more time trying to match it up to the diagrams online, in the haynes manual and my land rover workshop manual. I even turned to AI, and asked if it could find me a definitive diagram (the others should really have been enough) and it did, it found an autosparks one.
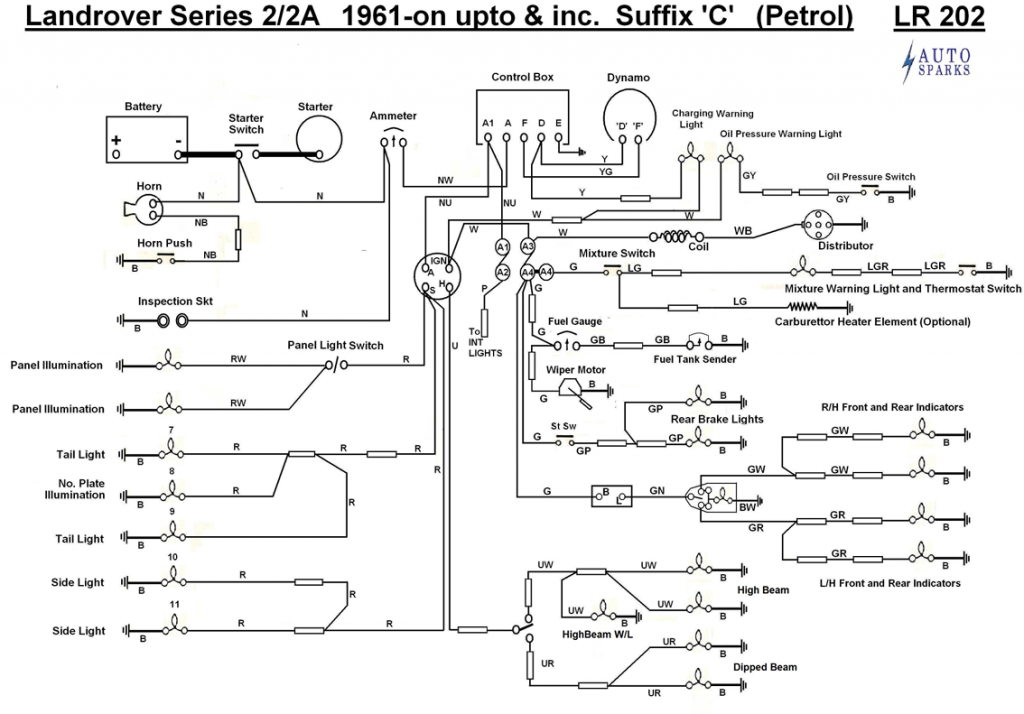
Here is a snip of the Autosparks one. (Sorry Autosparks, if you dont want this here, let me know, I’ll remove it)
Anyway, the full file can be found here: https://www.autosparks.co.uk/media/pdf/LR202.pdf
I am sure there are more, but I’m only interrested in this one. It can be found when navigating to the loom your interested in, and clicking Further Product Information
I will look to see if tey have more of the ancillary looms also.
For completness, heres a snippet from the workshop manual. Bit difficult to read this one. Pretty sure is from a scanned copy of the manual, but even my purchased manual is not easy to read, so the autosparks one could be useful.
Anyway, heres my main loom and acillary looms.
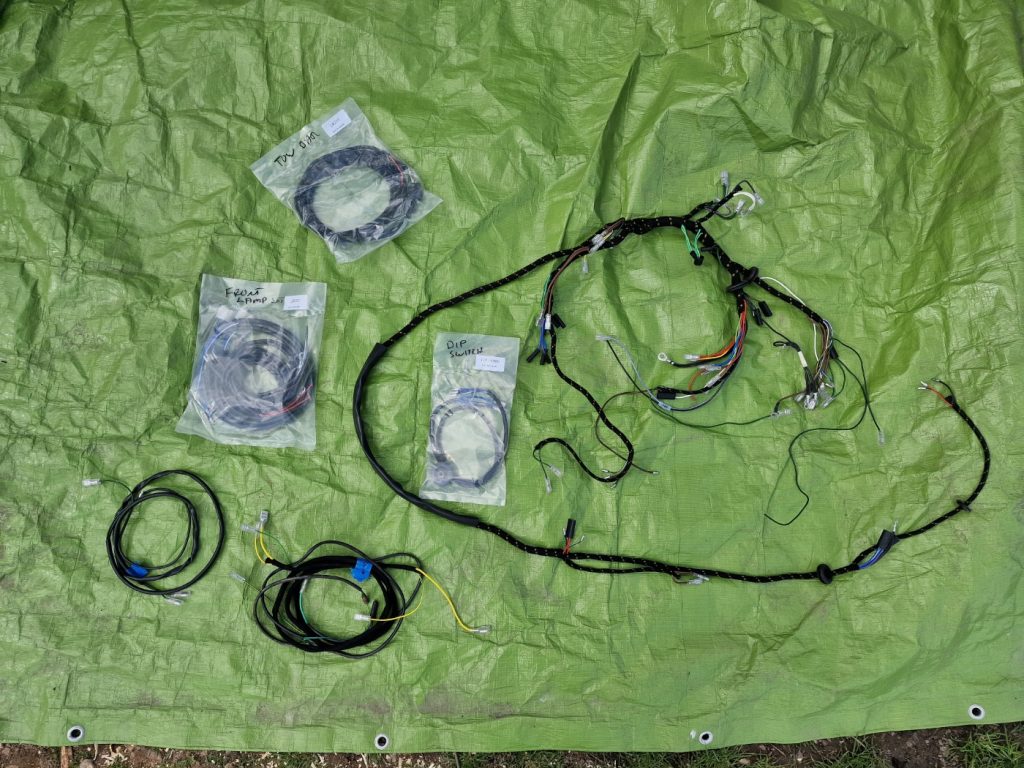
I’ve decided to take the loom back into the house, and as soon as I am done writing this, then spending more time correcting spelling errors (or not if I cant be bothered) , I will see if I can start labeling it up.
I finihsed up the day, putting the choke mechanisum back together and fitting it to the lower dash panel.
Sorry, forgot to take pictures of that before I covered isobel back up for the week, so will add some next time.
Lastly, I have a bit of what I think is dash panel, but have no idea where it goes. It does kind of fit behind the lower dash, but then it would interfear with the choke mechanisum, so not sure, anyone have an idea let me know.
Thats it, actually a little longer than I thought. Back to work tomorrow, and hopefully through the week I can make sense of the wiring loom and start properly fitting it next weekend.
Leave a Reply