The next part was going to be the Gearbox and Engine, and thats still true, I have started to strip down the Gearbox, and so far that looks pretty good. But have been side tracked onto keeping the wife sweet, and promised to do some decorating before Christmas, so the Gearbox will have to wait. But that doesn’t stop me working on some of the smaller jobs, like some of the electrical accessories. Namely the Windscreen Wiper motors (Lucas type), the Indicator stalk (Magna Tex) and the Headlight dip switch.
I will cover each of these off in separate sections, so lets start with the easy one, the Tex Magna indicator stalk. First off some pictures and the insides before I started work.
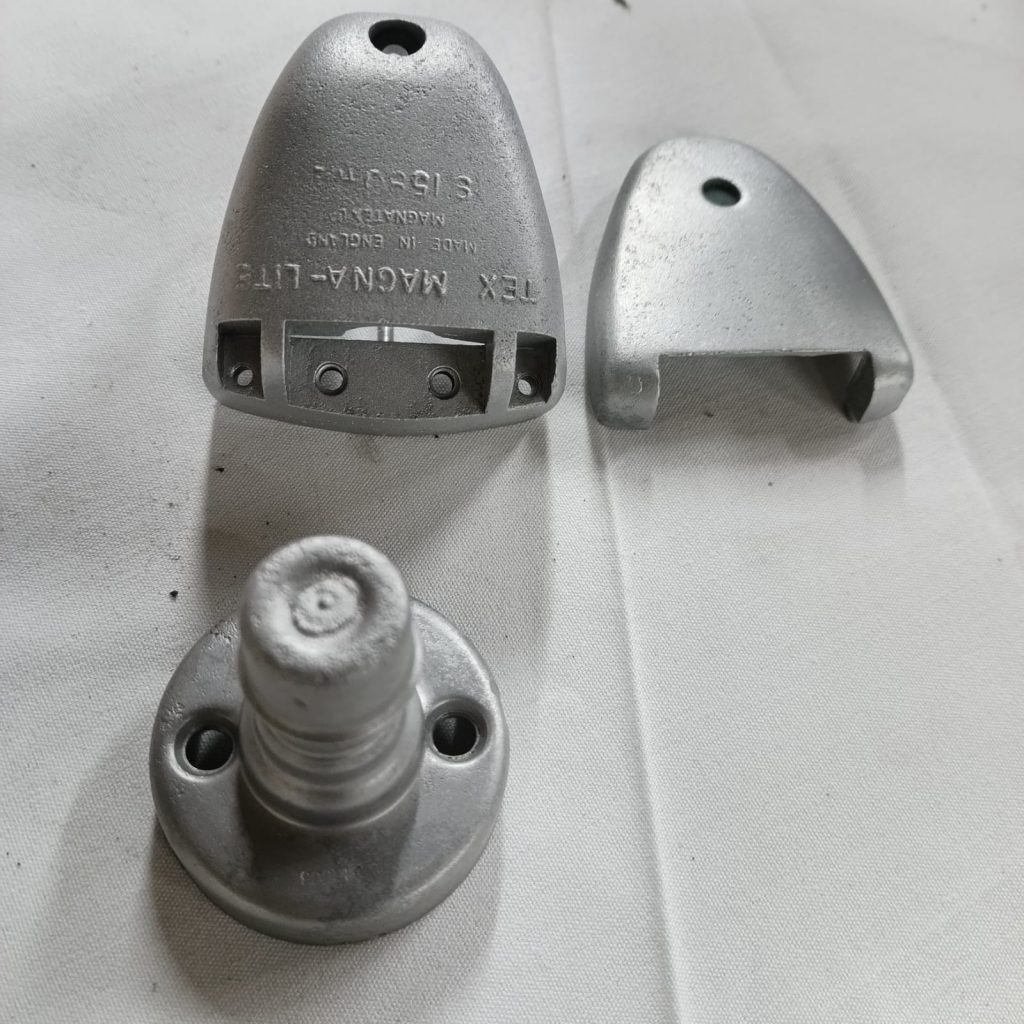
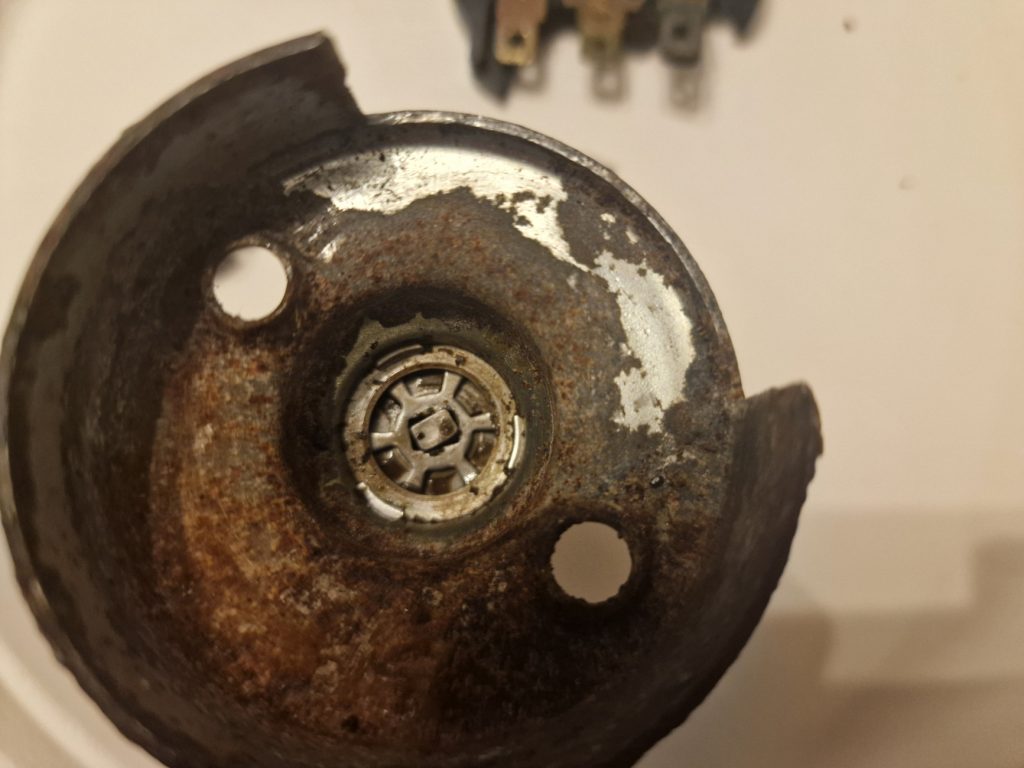
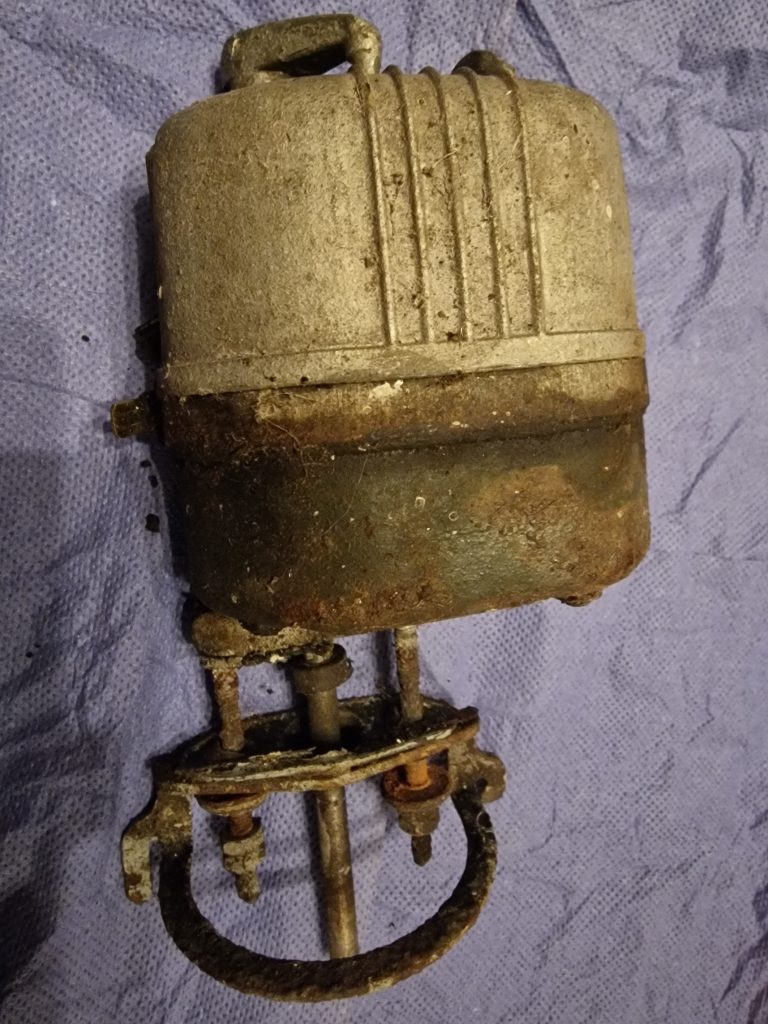
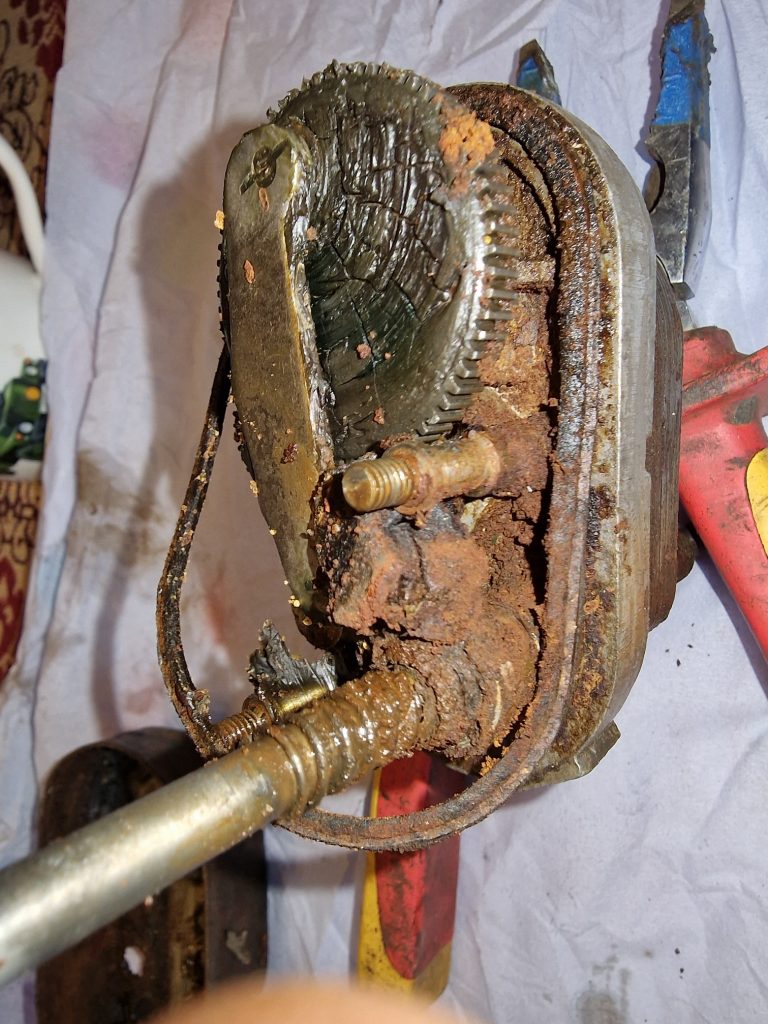
Tex Magna Indicator Switch
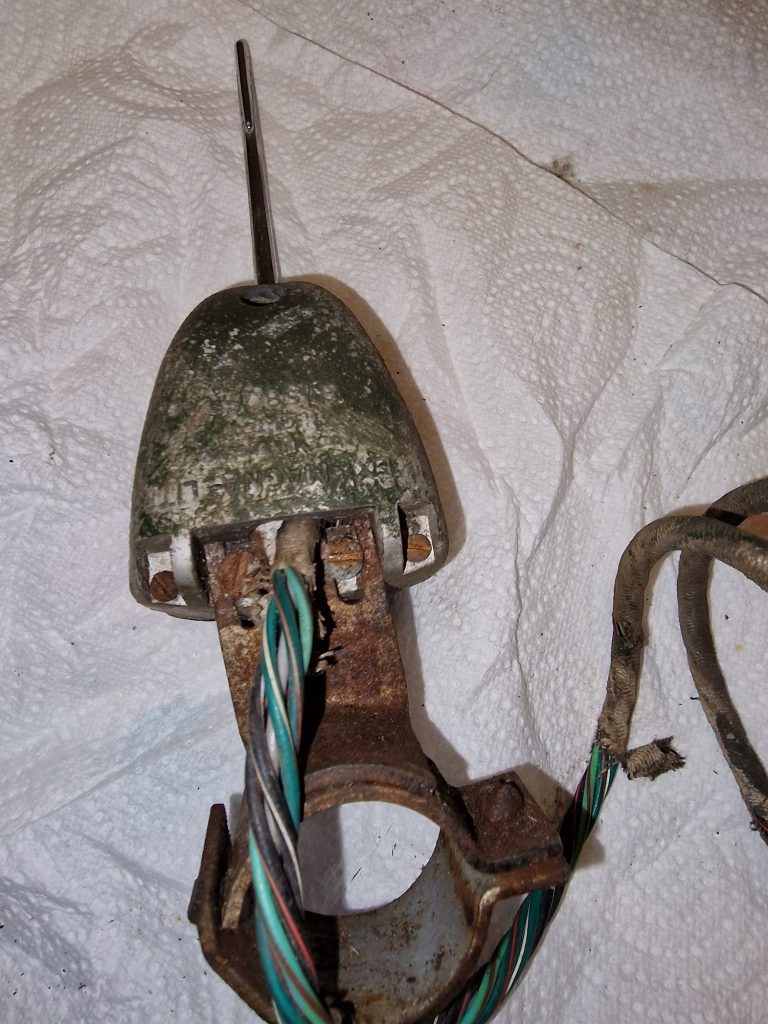
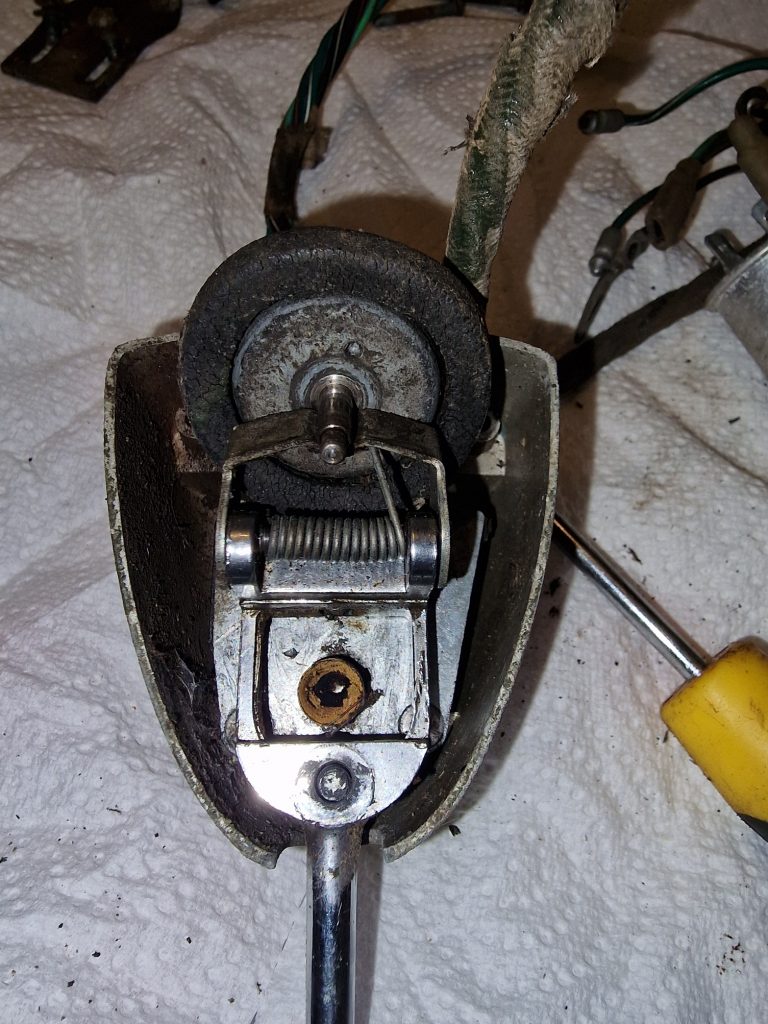
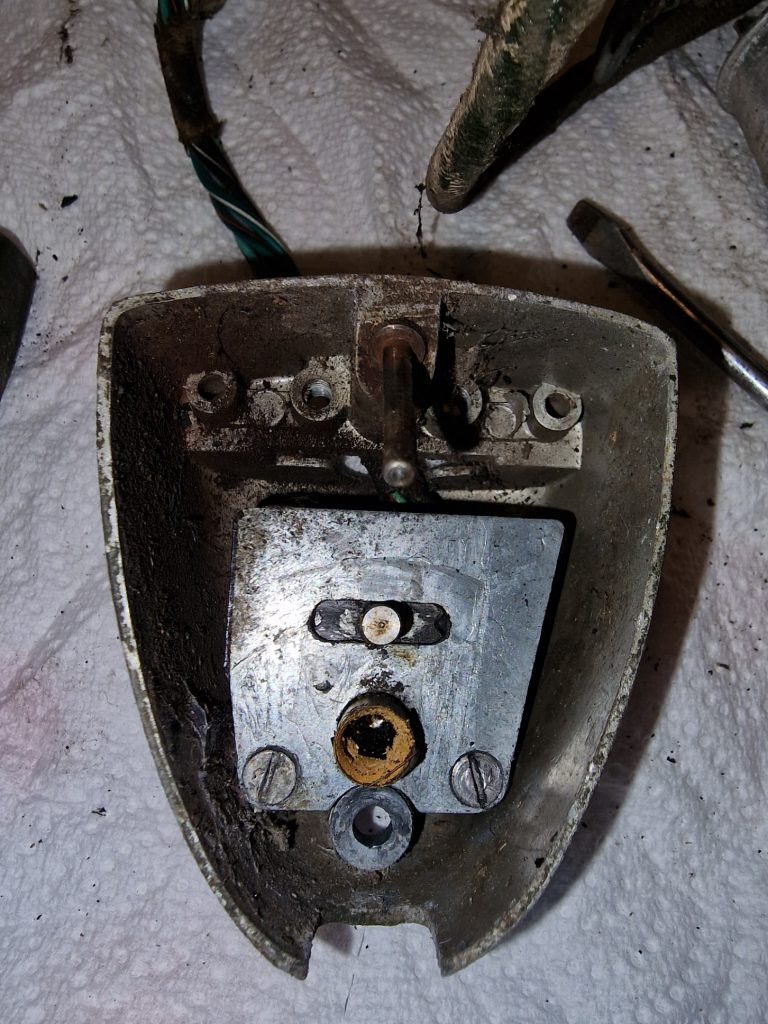
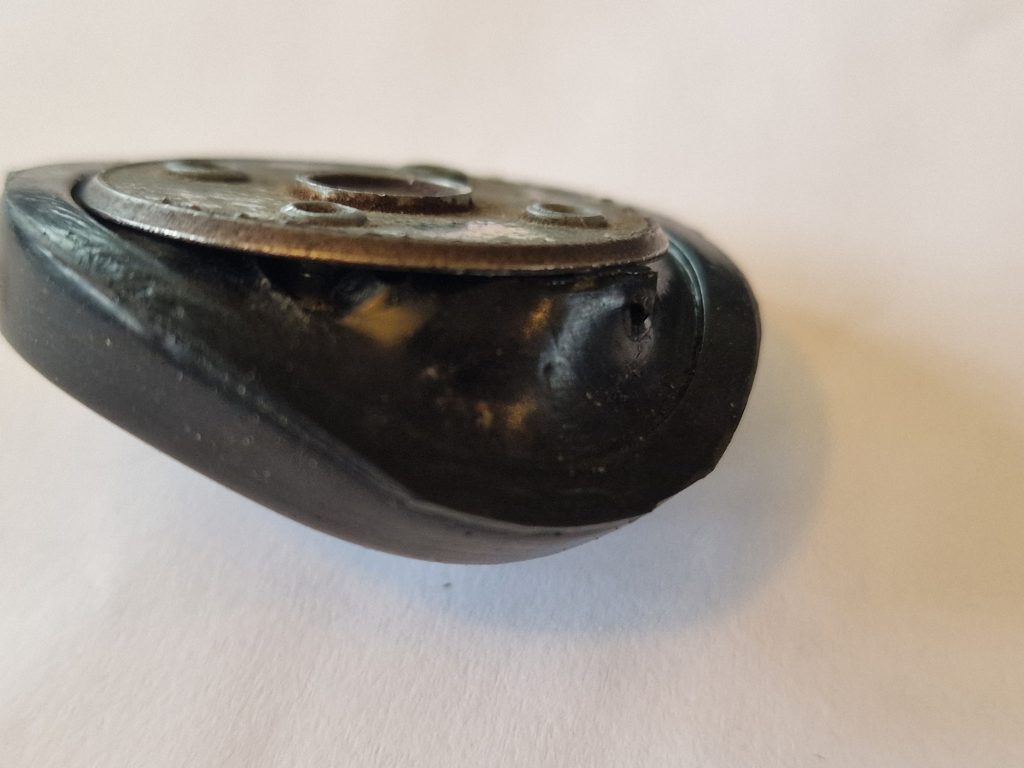
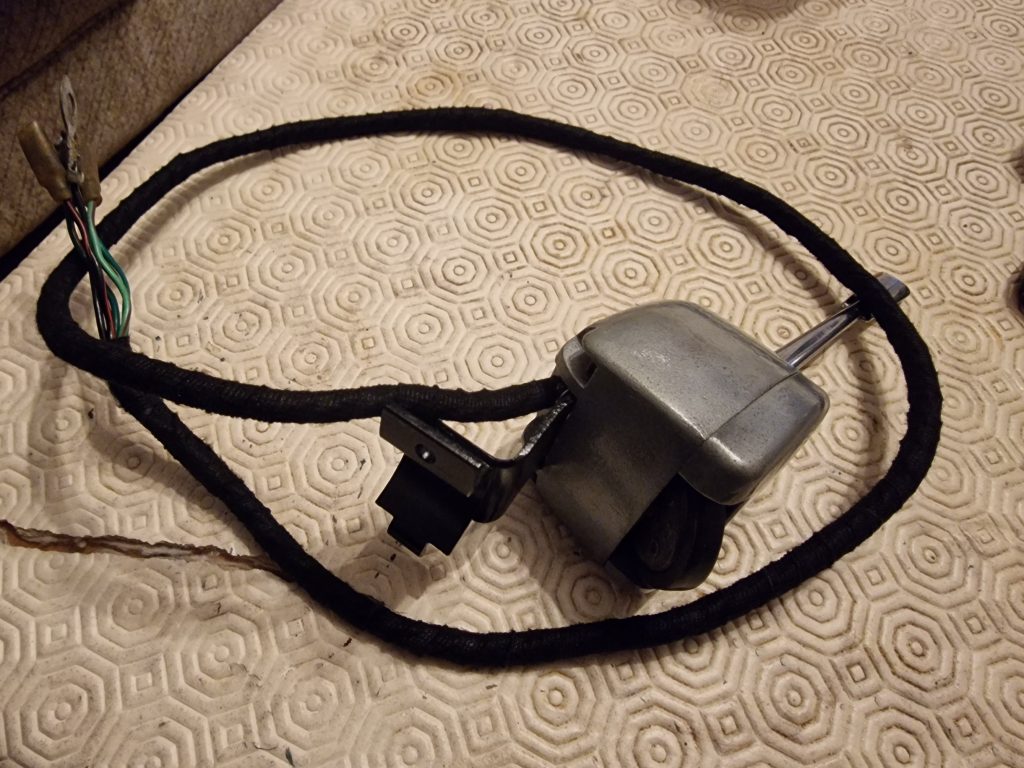
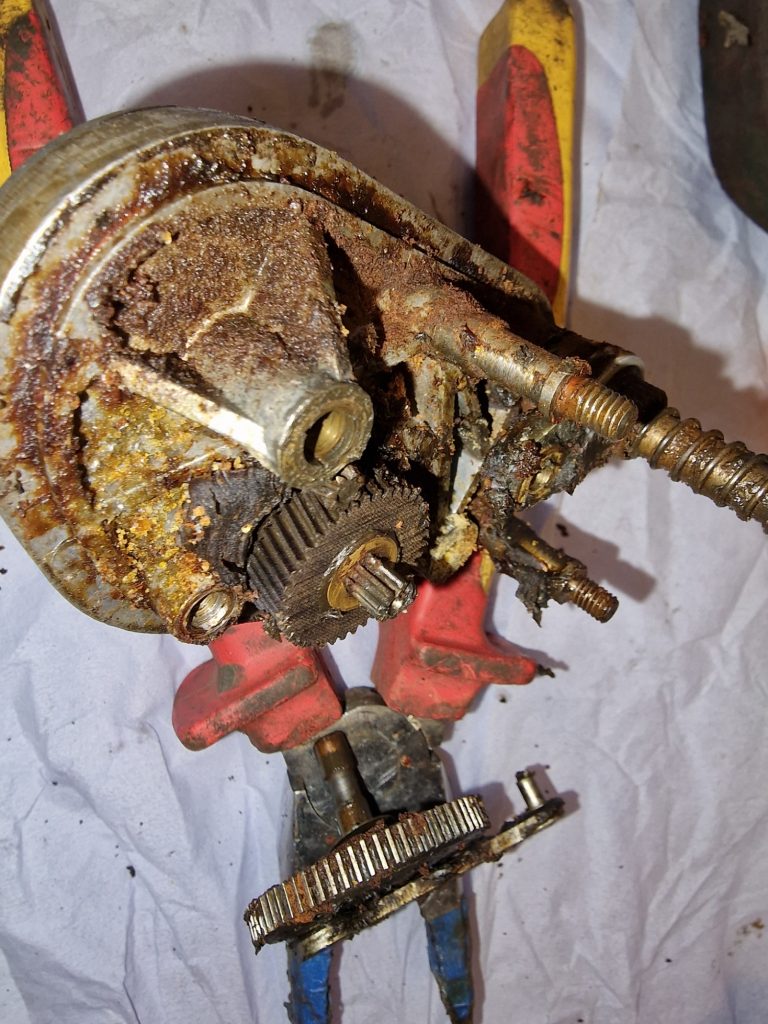
In the images above, left to right, the unit as it came off the Land Rover, not pretty, painted case, worn cables, rusty bracket. The next is the inside, showing the switch, and the remains of a bulb, which I have to say took me a while to figure out what it was! The last image shows the rubber surrounded wheel, which had started to disintegrate. This wheel runs on the outer case of the steering wheel, so when to centralise the steering, it rotates this wheel, turning off thee indicator. Simple but effective.
Before going too far, tested the switch, which worked, but worked even better after a spray with some switch cleaner.
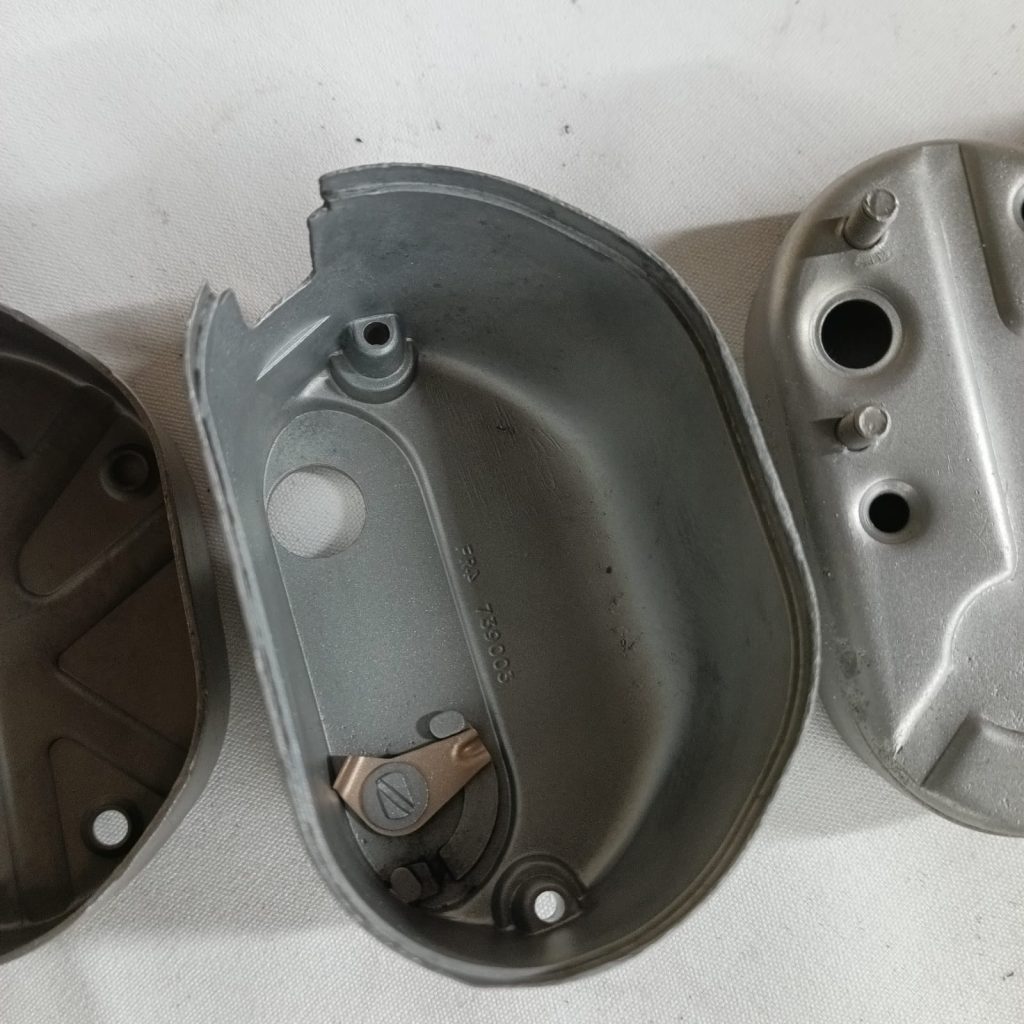
First thing, get the case (shown is the headlight dip switch also) off to JC Vapour blasting for some gentle, but very effective cleaning.
What a fantastic job he did, they came back looking amazing.
Next, dig out the old rubber wheel, and replace with a new one. Apparently, the way to do this is to drill out the rivets (you can just about see them on the top), separate the two parts, put the new rubber in and use bolts, nuts or screws to re-attach them. I didn’t do that! I cut the rubber wheel, in line with each of the rivets, and gently eased the rubber into the gap. Worked perfectly, with no damage to the actual wheel.
Cleaned up the bracket and painted them a nice shiny gloss black, re-assembled and re-wrapped the cable with a cloth wrap. Not exactly the same as original, but pretty close.
Fitted a new bulb also. Job done, cant wait to get it back on the Land Rover, but for now, will be stored away nice and safe, and importantly somewhere I can remember where I put it.
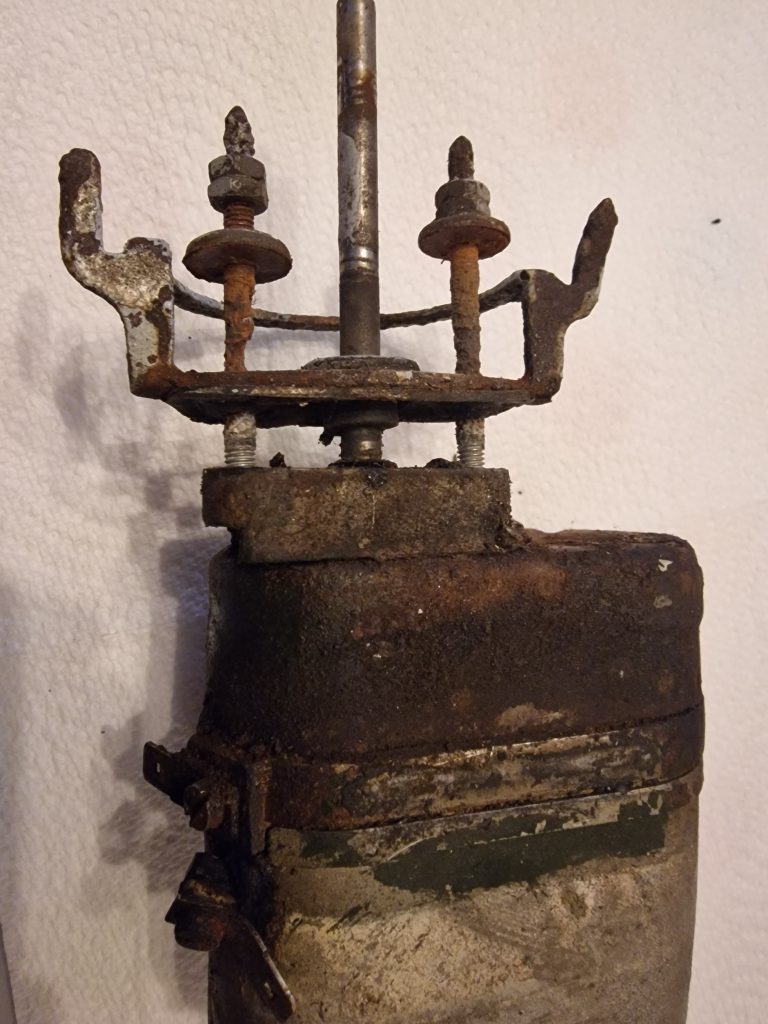
Headlight Dip Switch
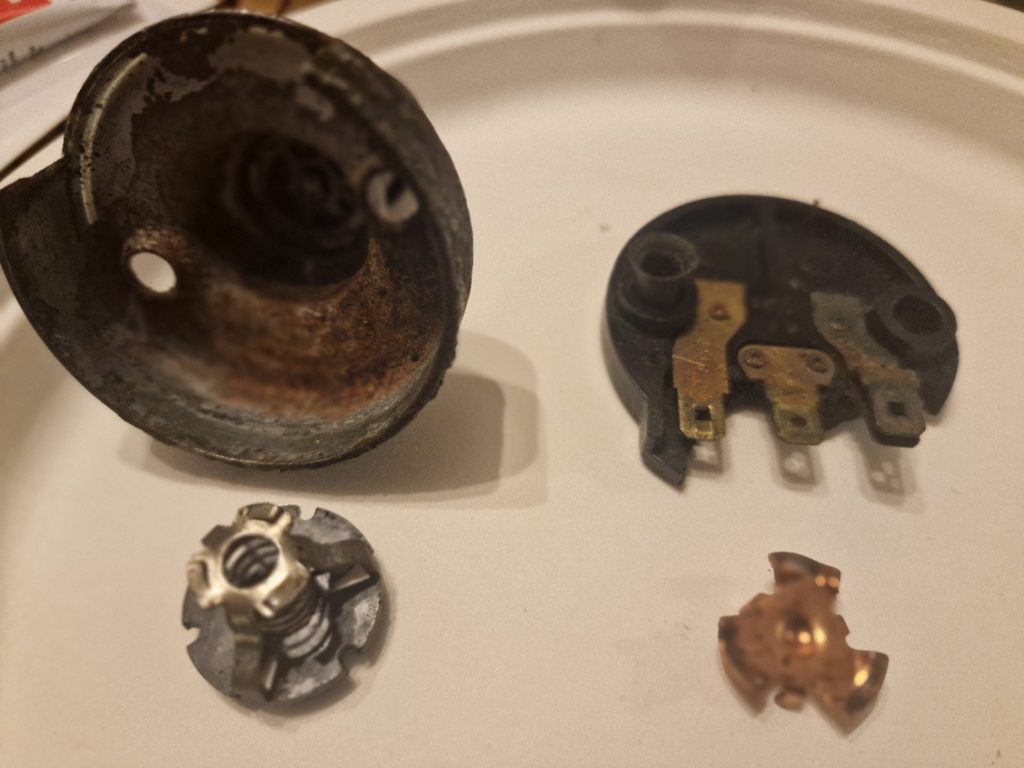
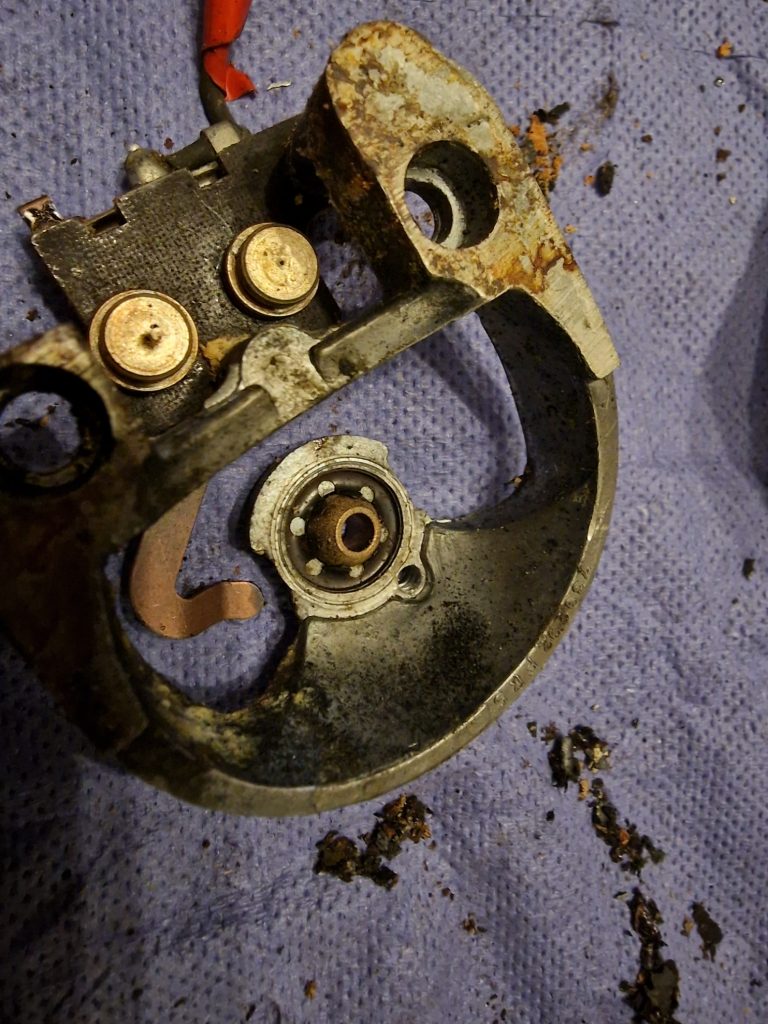
This switch was not really working very well, and wanted it cleaned up in any case so I set about, rather roughly taking it apart. Its much easier to know how to take something apart properly, after you have done it once, and broken it! The black bit, with the connectors on, I broke into many many small pieces.
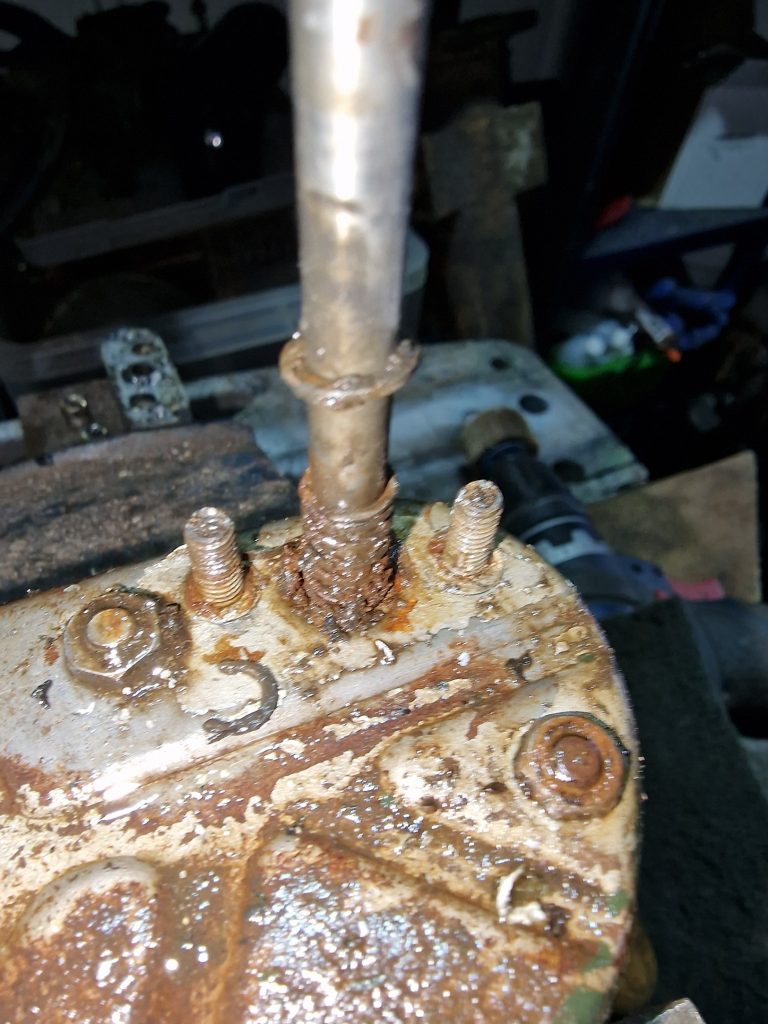
With these 2 images, you can work out how it works, you press the button on the top, which rotates the star piece (Right image) which in turn rotates the two parts at the bottom of the top image, which switches between the three connectors on the black base. Sorry, really crap explanation!
Finally got it back together, although the vapour blasting did cause a slight issue (another lesson learned) it came back full of cleaning material, my mistake not Josh’ from JC vapour blasting. The damaged black connector base, I glued all the little bits back together with JB weld, sanded it and painted it. You will never know I broke it. So how should I have taken it apart, well there are two bits of metal tube to “rivet” the case and black base together, that are rolled over, I should have taken the top of these of before trying to force the black base out, hey ho, I know for next time 😉
Anyway, I got all the cleaning material out, fixed the base, cleaned all the contacts, sprayed it with a clear lacquer, so thats also ready to be fitted later.
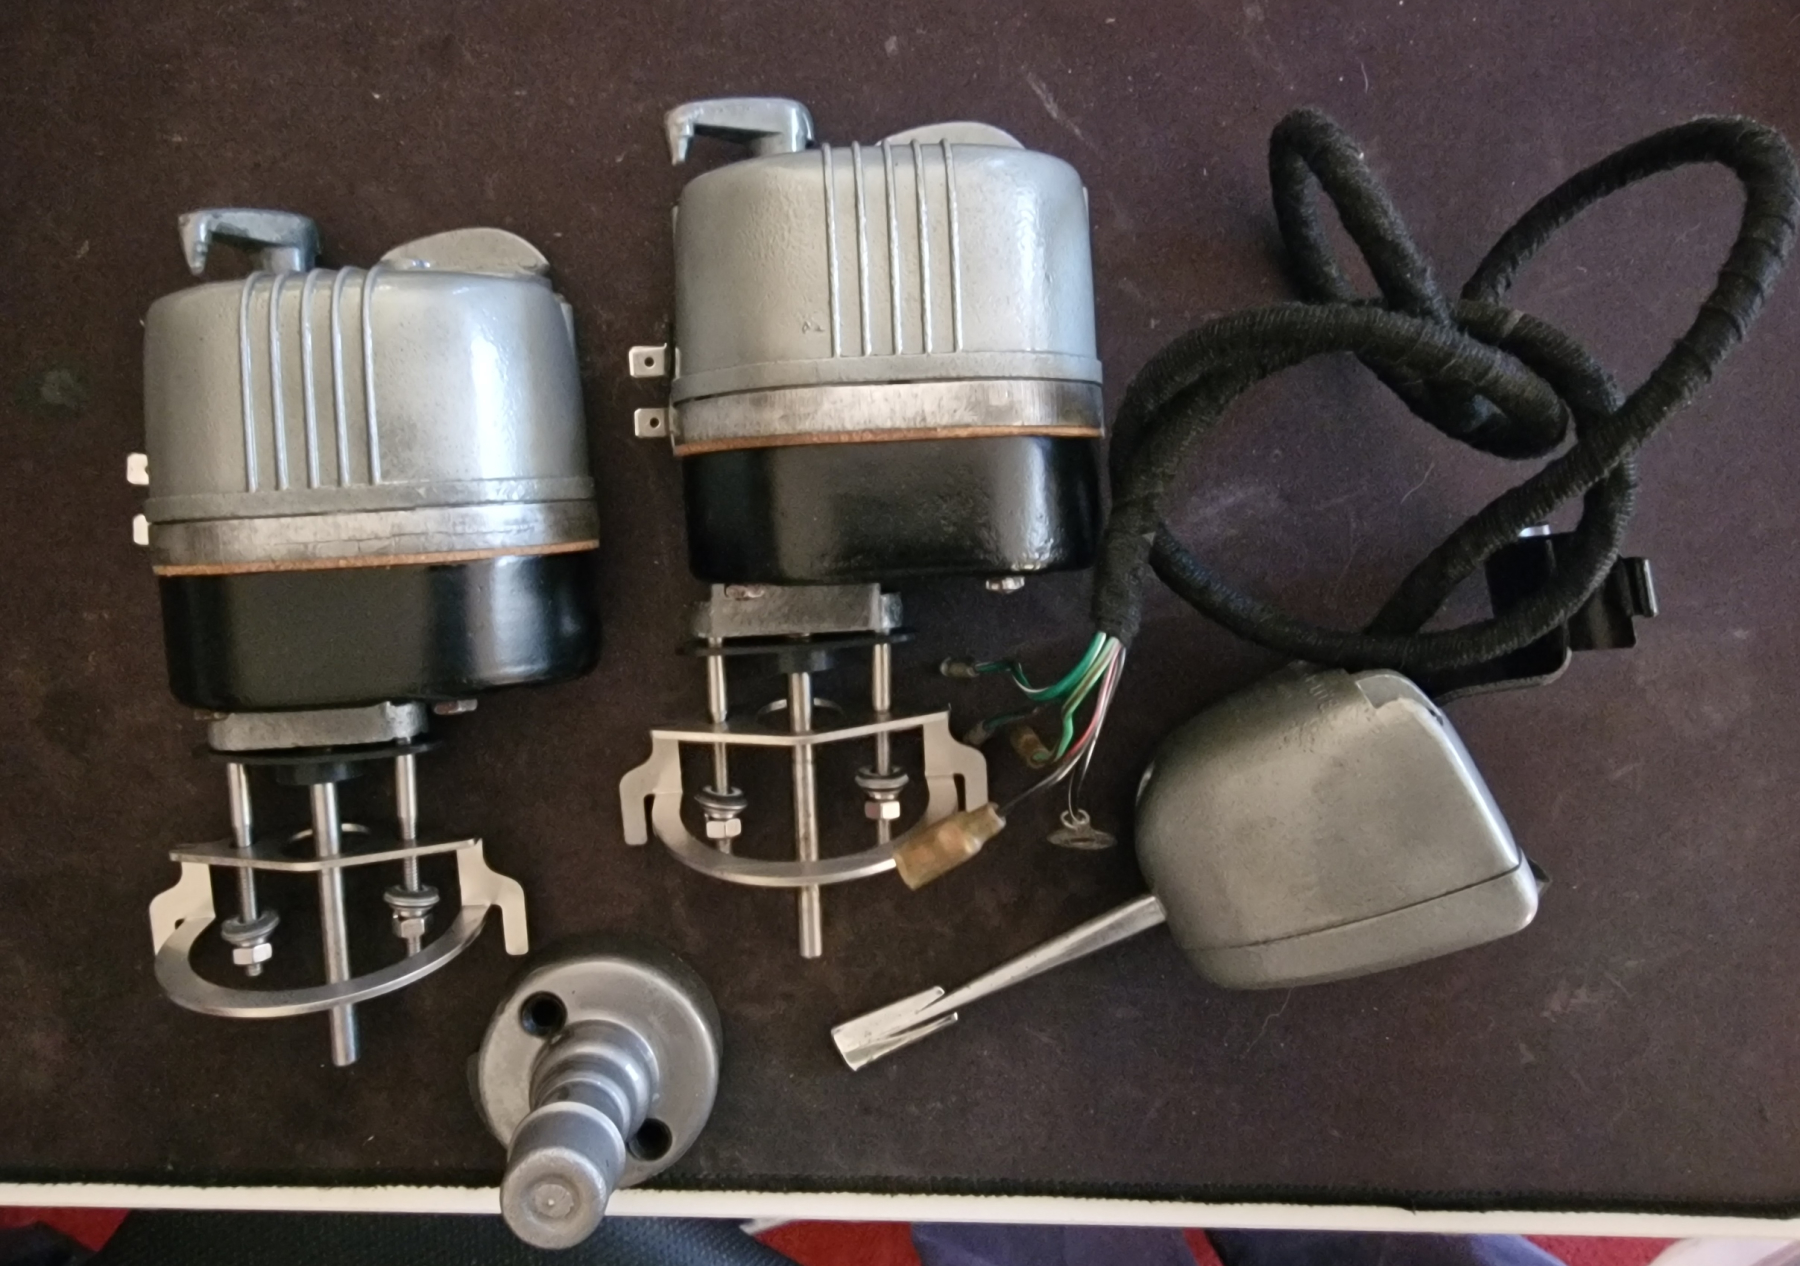
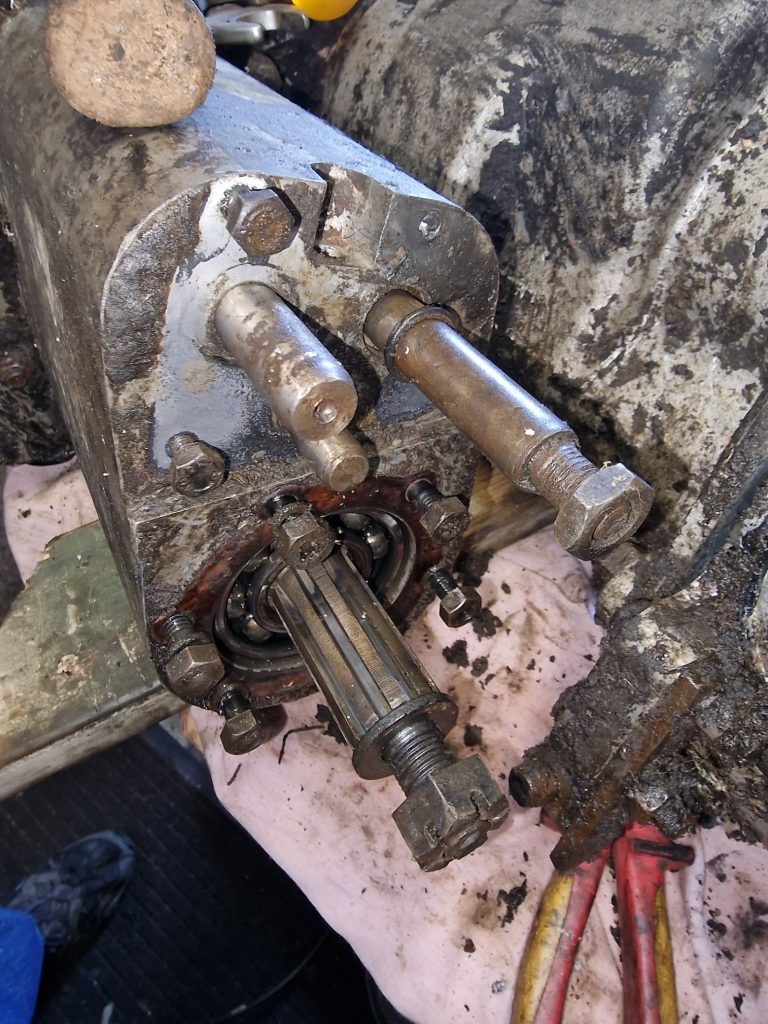
Lucas Wiper Motors
Now this is the interesting part, my Land Rover has two, separate wiper motors, which if you look on eBay are being sold for stupid money, £200+ each.
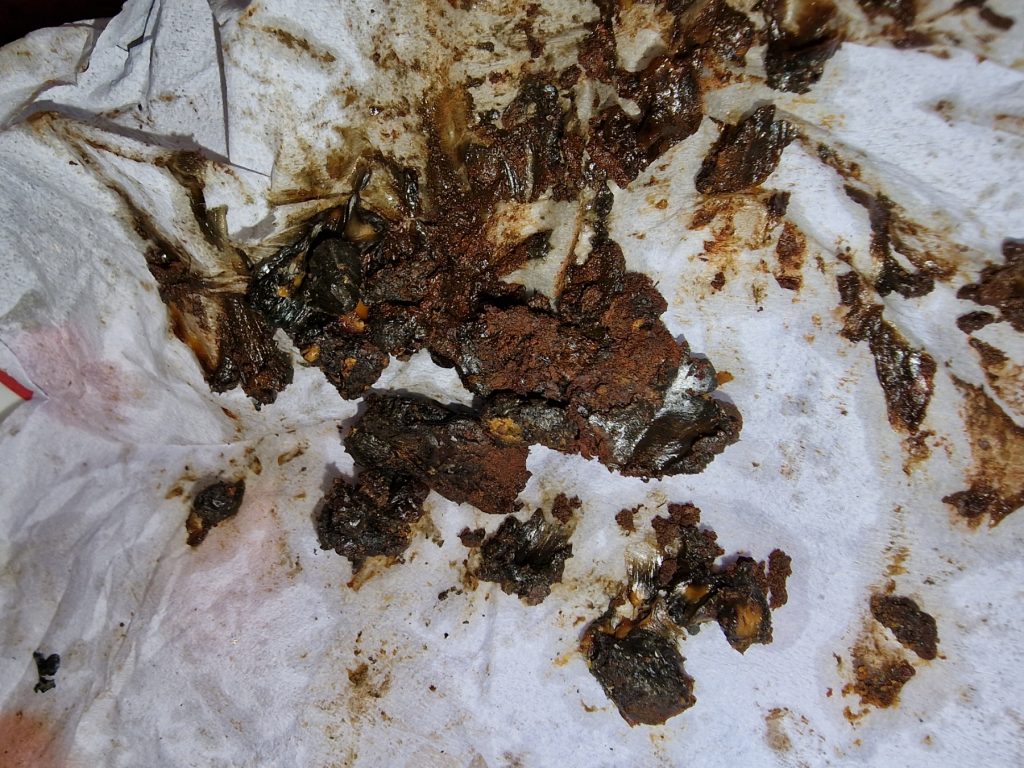
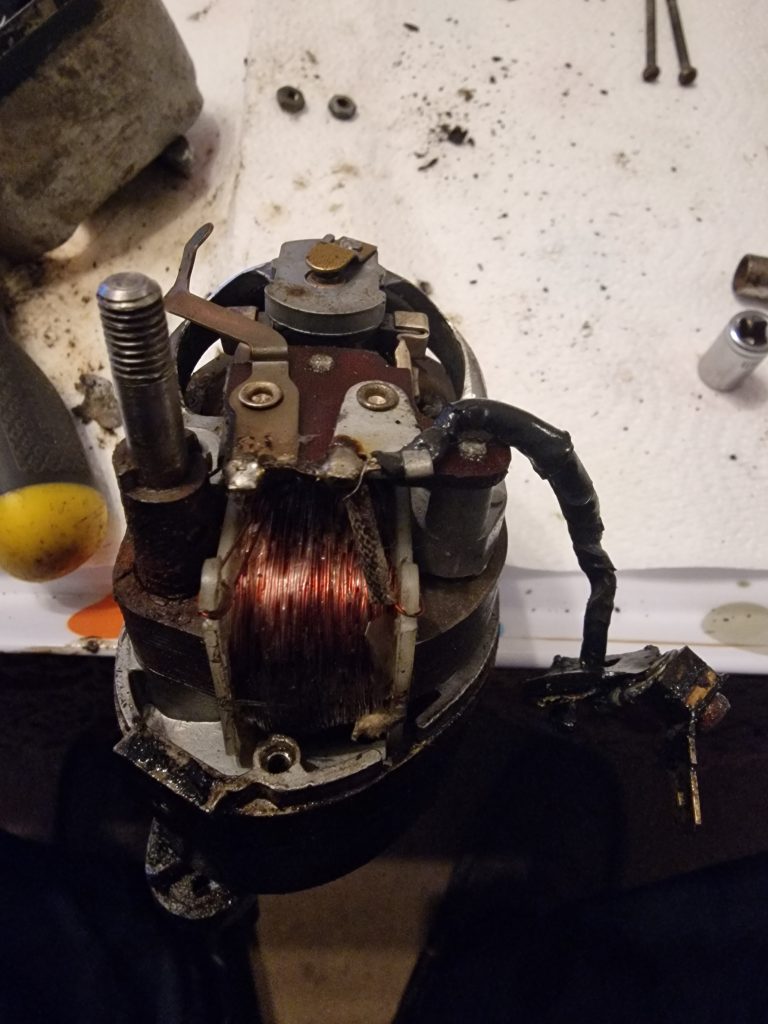
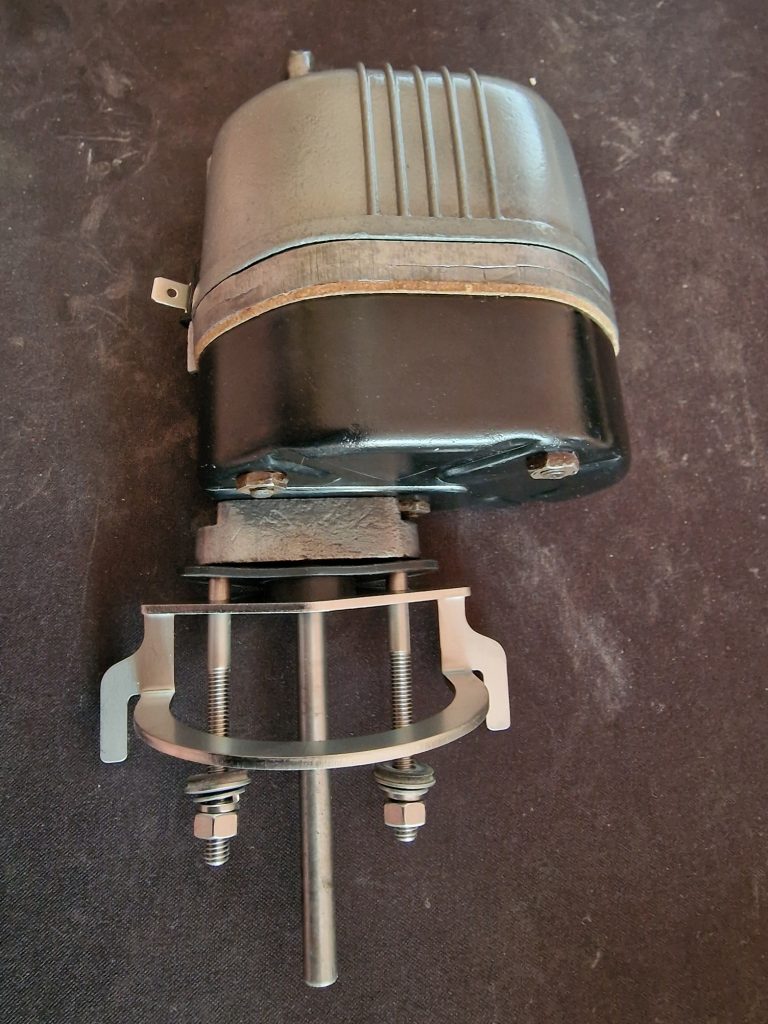
So, lets get to it. The images below show what I had to work with. 1st issue, neither of them actually worked, and it soon became obvious why.. Seized up, rust and lots of almost solid grease. Fortunately, after taking them apart, I tested the motors and they both worked, so they are good, as such, they are both serviceable.
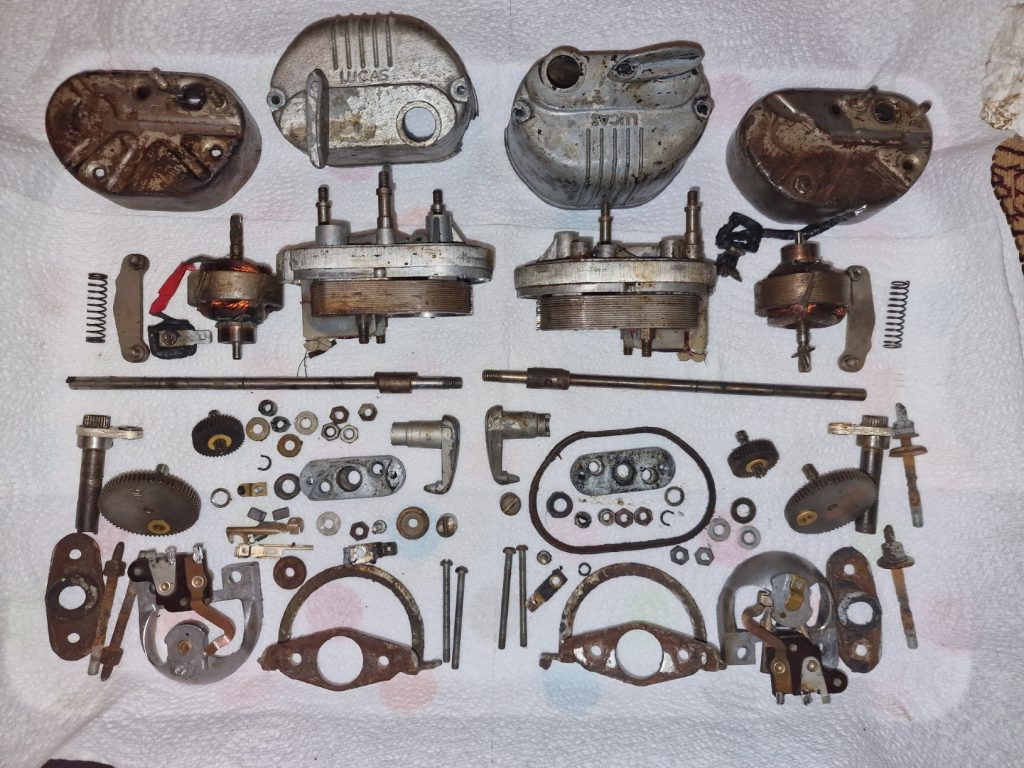
So, here we have both of the motors, in their component parts, lots and lots of parts.
All were degreased, cleaned and inspected to see what needed to be replaced.
Spent some more money and ordered a service kit for all the bits that need replacing.
As with the Indicator stalk, the cases were vapour blasted, inside and out and they came out perfectly.
The internal wiring needed some attention, so renewed with new connectors and insulating block
Cleaned all the internal contacts, internal cases and added some lubricant to the brass bit in the middle (that supports the motor shaft).
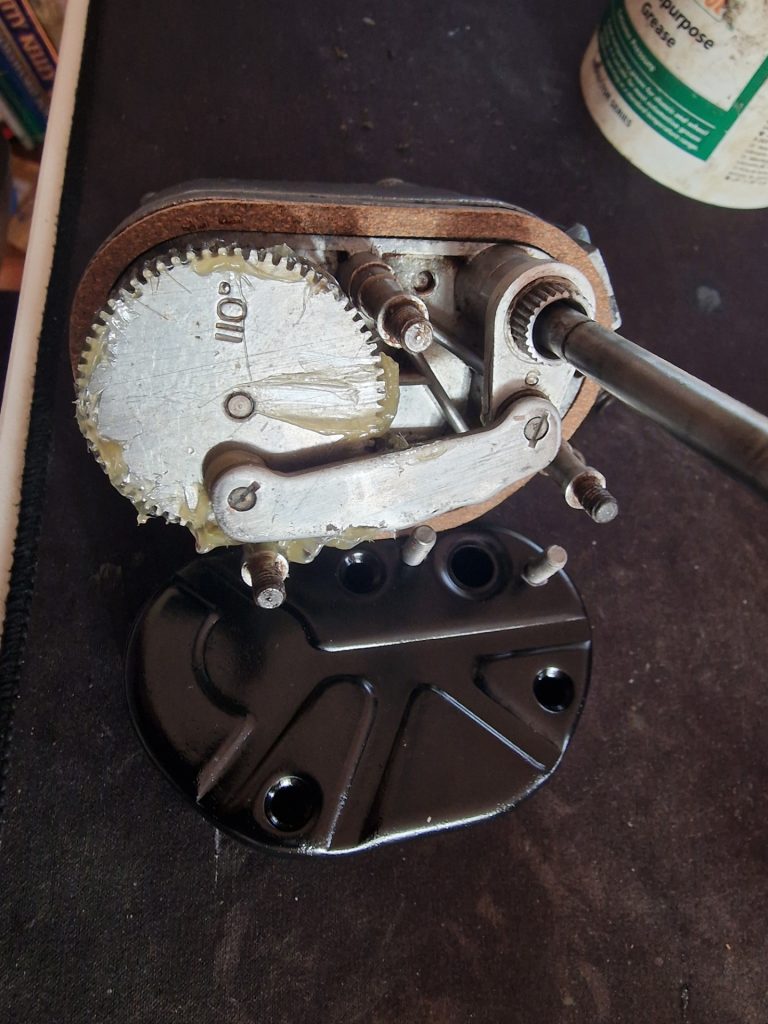
Re-assembled the gearing after a good clean and some fresh grease.
And you can just see the front part of the casing, which I painted gloss black.
I applied a clear lacquer to the rear of the case, new gasket and new stainless steel components and seals for the front.
New connectors and there we have it, or them, two beautiful wiper motors, that in my opinion look amazing, and importantly as you can see below, 2 working Lucas FW2 Wiper motors.
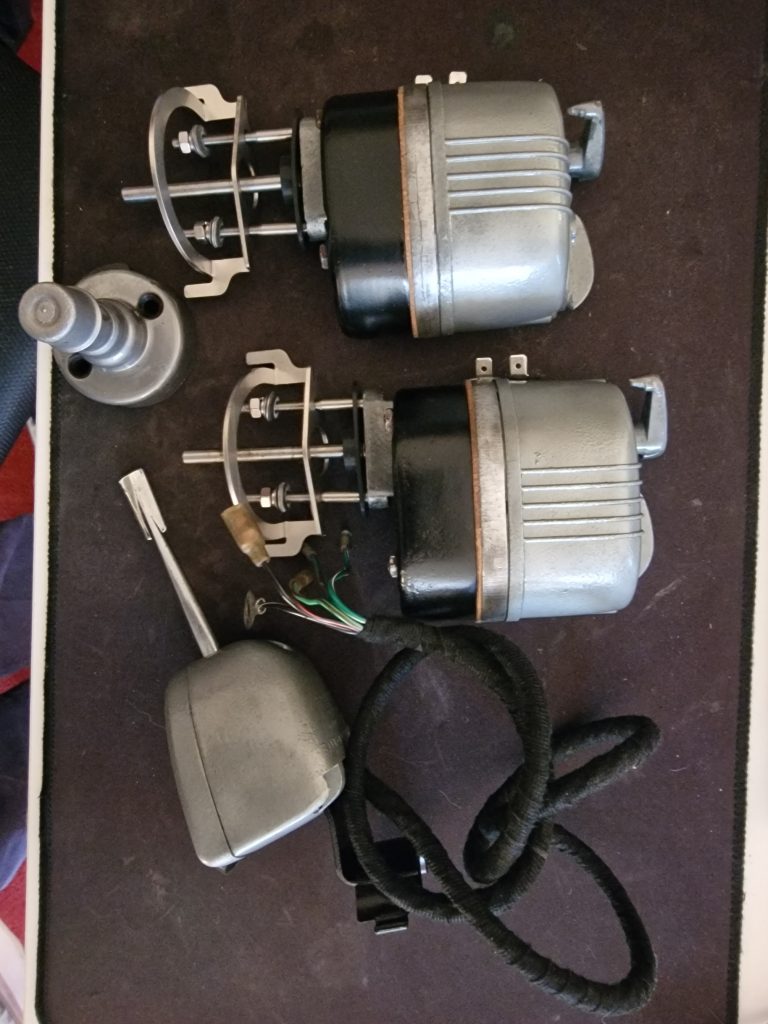
So, thats three important items ready to go, but all will be stored until they can be fitted.
Now on the electrical side, something all of these things need, is to be connected up to the main wiring.
The wiring loom on the vehicle, was basically falling apart, and had lots of non-standard modifications.
So waiting in the wings, is a brand new Autosparks wiring loom, ready and waiting to get fitted.
Also, latest news, for my upcoming birthday, a new set of side, indicator and rear / brake lights are on order from Emberton Imperial.
Thanks Kim.. Exciting times to come, perhaps more for me than Kim.
That will pretty much be it now until the New Year, stuff will be done, namely the Gearbox, but not much else completed to write about.
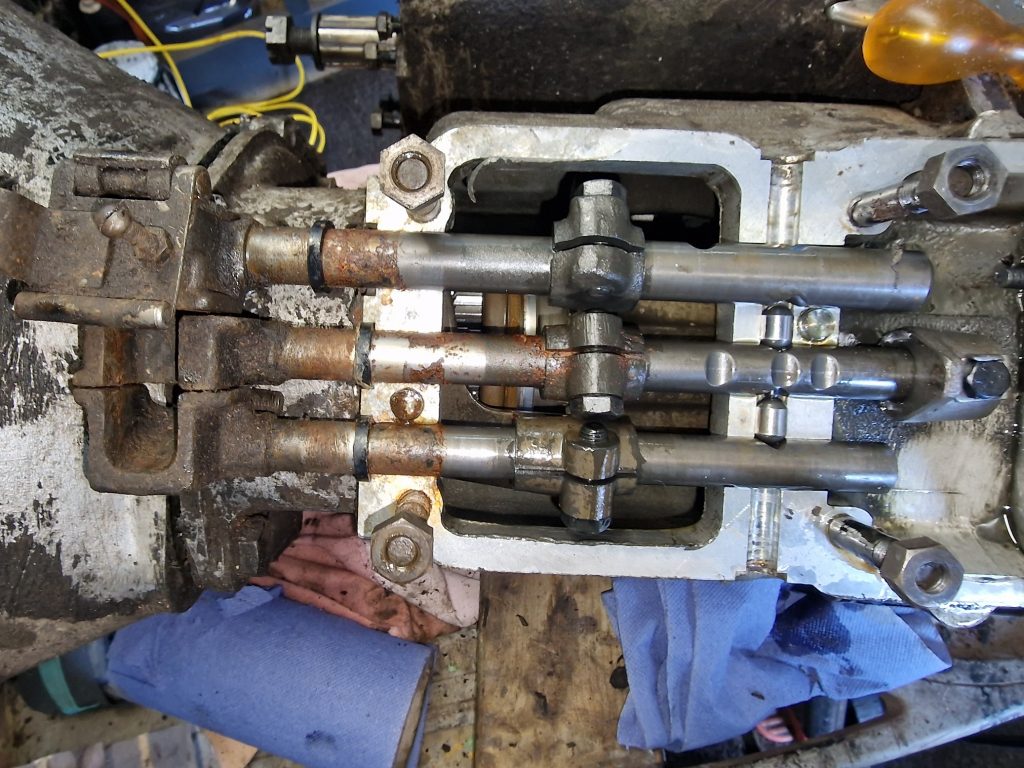
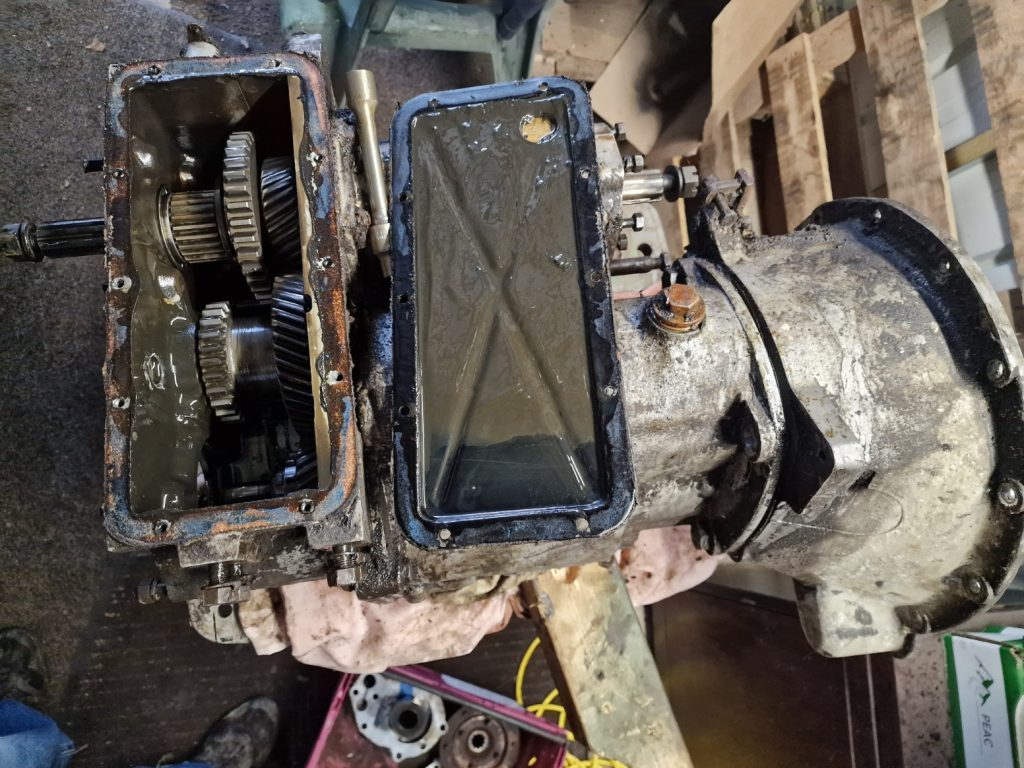
Just a sneak preview to whats going on with the Gearbox.
Never, ever have I done anything like a gearbox before! Wish me luck.
I have a decent break over Christmas, so assuming I dont drink and eat too much, much much more to come in the New year. Now this is important because the plan was to get Isobel on the road in 2025 for her 60th Birthday. Its going to be tight.
Until then, have a great Christmas and Happy New Year, and thank you for being patient with my sometimes long, miss-spelt, rambling posts.
One Comment
Simon Carter
Thanks for capturing your journey so far; I’m really enjoying reading your articles and they’re a great source of information for when I get around to starting a 63 plate series 2a in the New Year.