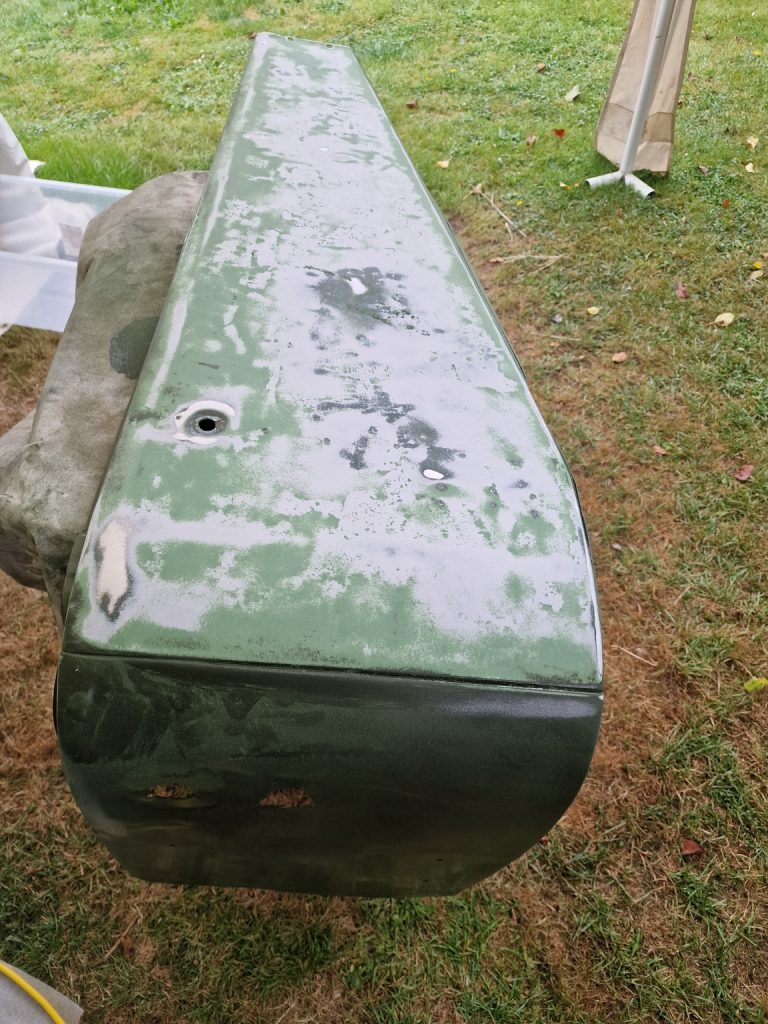
After working on the bodywork as best I can, its time to put some colour onto Isobel. I previously mentioned I knew what I wanted and where I would get it from. Most of that stayed true, except for 1 thing, the colour. When preparing the bodywork, it was clear there were two tones of green, so which to go for? one of the existing tones, or something new. I knew it would be green, but looking at Paintman Paints, the people I decided to buy the paint from have 26 different tones of green. On the registration documents it just says Bronze Green, so that makes it easy, yes? actually no, there are 2, Mid Bronze Green and Deep Bronze Green, also called Bronze Green and Ascot Green. I thought this part would be easy!!


I dont know which one you prefer, but I originally decided on Mid Bronze Green, until I started placing the order when I changed my mind to Deep Bronze Green. I will let you know if I think I made the right decision later in this, rather long article.
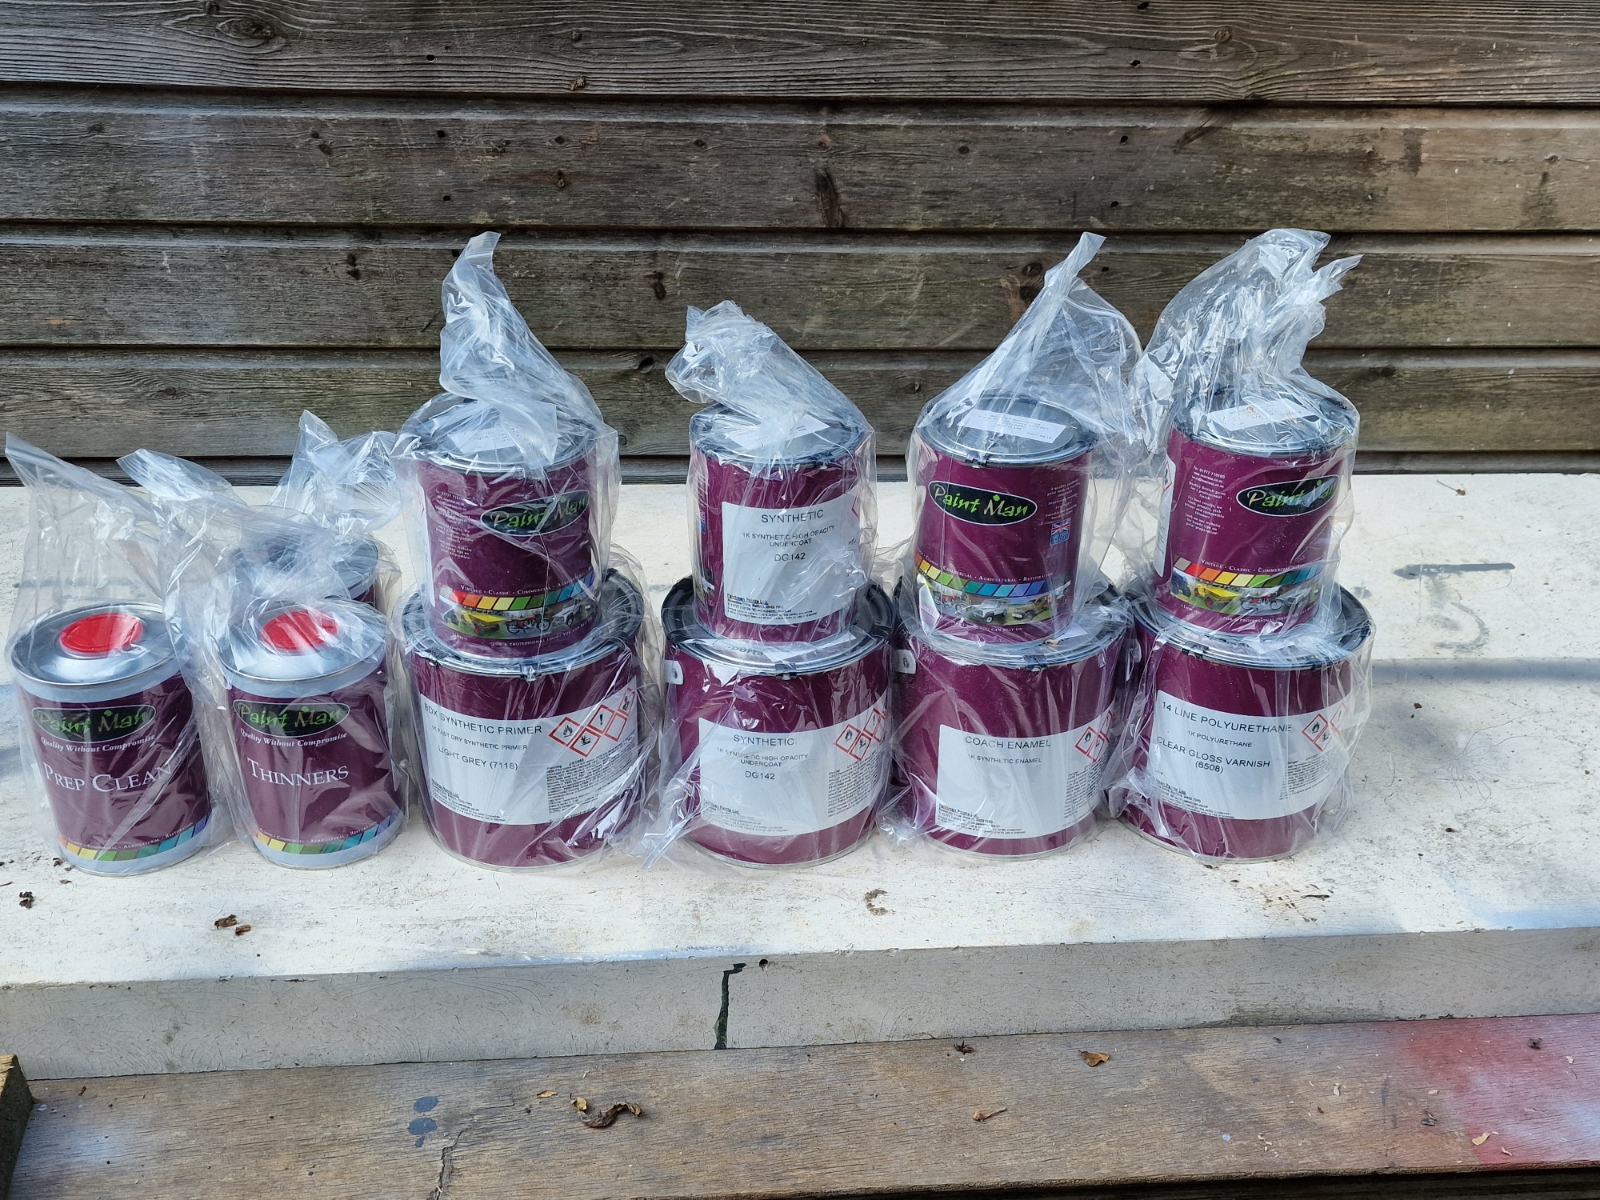
So what exactly did I order, well, in terms of money, quite a lot.
- 3.5 Litres of Light Grey Coach Enamel Primer
- 3.5 Litres of Green Undercoat
- 3.5 Litres of Land Rover Deep Bronze Green LRC001. I actually ordered another 2.5 Litres afterwards. Better too much than not enough.
- 3.5 Litres of Clear Coat (Kind of like a varnish)
- 2 Litres of Thinners
- 1 Litre of Prep Clean 2800 (to clean the surface before painting)
That was all the paint, but also needed some other bits also. - Scotch bright pads
- Various grades of sanding disks for my orbital sander (which I also bought)
- 600 grit wet and dry
- Tack Rags and finally some lint free cloths
- Oh, one last thing a new LVLP (Low Volume, Low Pressure spray gun)
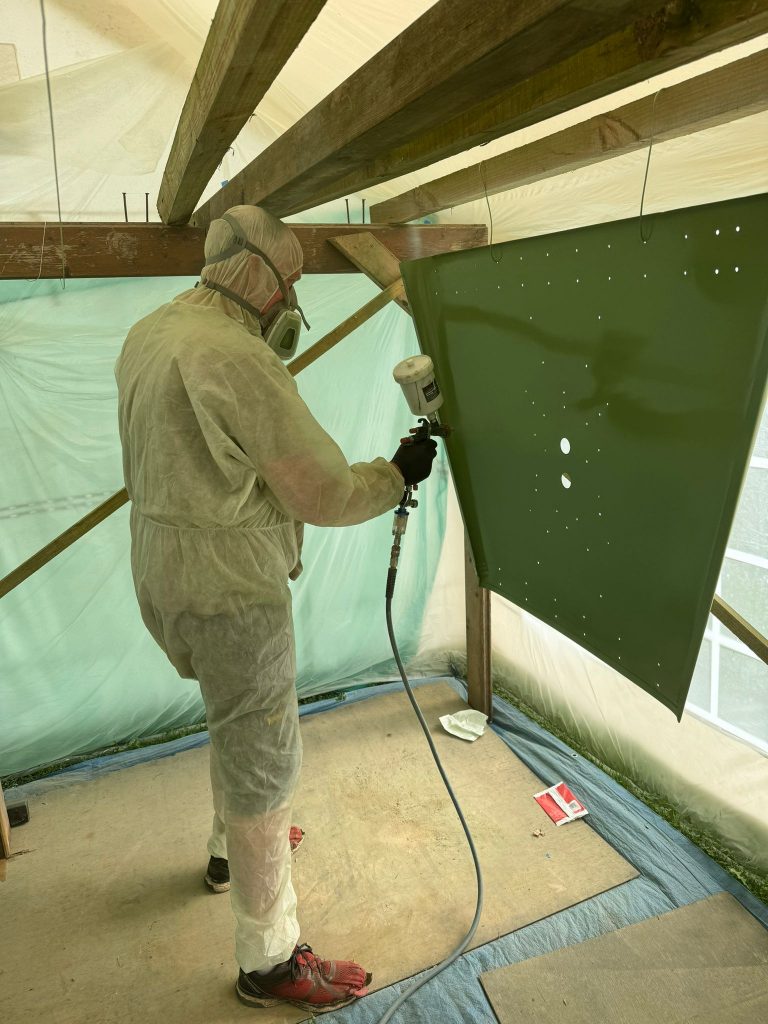
I got this as I only have a 50Ltr, 14cfm compressor and anything other than a LVLP gun, It will struggle. - Respirator mask (Not my normal dust mask. The reason will be come clear later)
- White disposable suite, that made me look like I was cooking up some illicit substance.
So, to plan the work, I watched loads of videos on how to spray a car, some of the best were from Paint Society on Youtube. There were many more but these were the best in my view. Now there is one big challenge with these videos, most if not all focus on modern painting techniques, using 2K paints, which as far as I can tell need some serious safety equipment. I didn’t buy 2K paint, I bought Coach Enamel, and most of the videos covering this type of paint are about painting by hand, which is the traditional way to paint Coach Enamel. I’m not going to paint by hand, I’m seriously not that good with a roller and brush just ask the wife! and certainly not good enough to paint a car, without any brush marks in the paint, which did actually prove to be true!
So armed with a little knowledge, lots of paint and equipment I booked 2 weeks off from work, and started praying to the weather gods for, wait for it, 2 weeks of not too hot, not too cold, not wet, not windy and not too humid weather. What are the chances? Well as it turned out apart from 1 day at the beginning being way too hot and a couple of the days at the end that were wet the weather gods were kind.
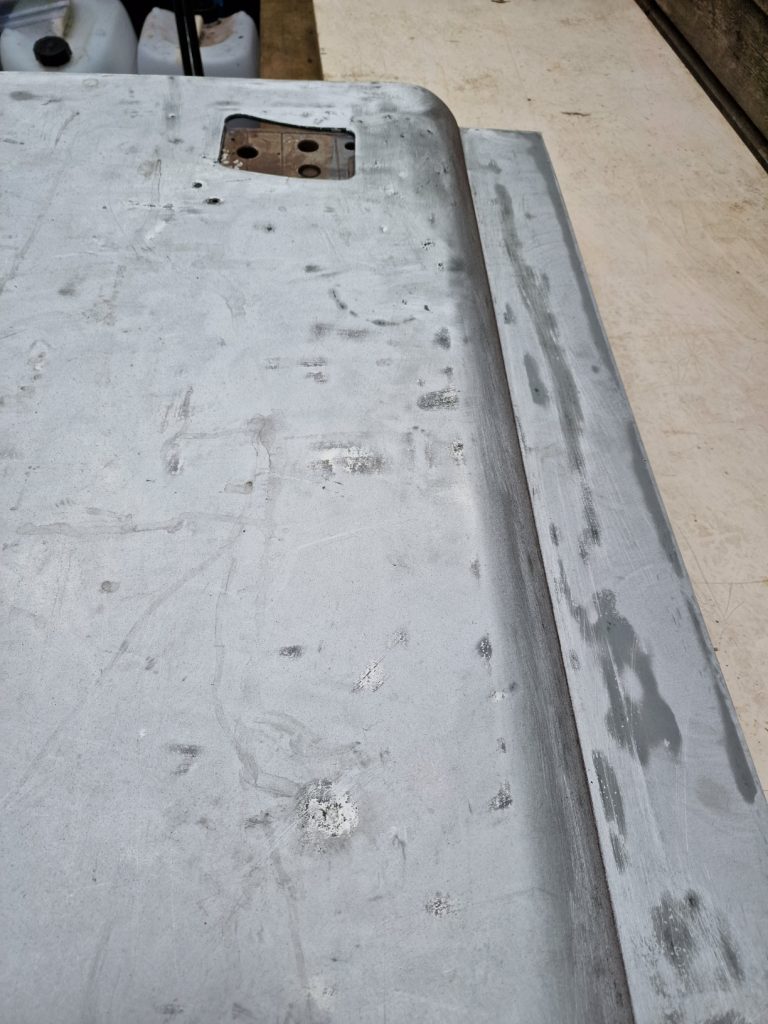
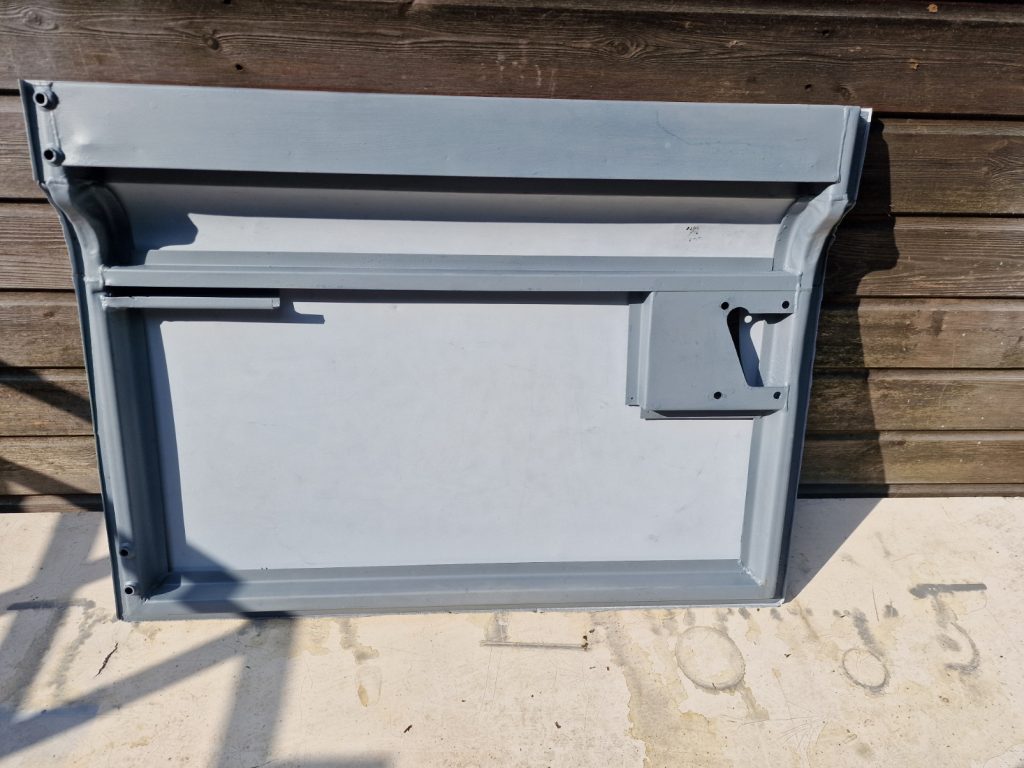
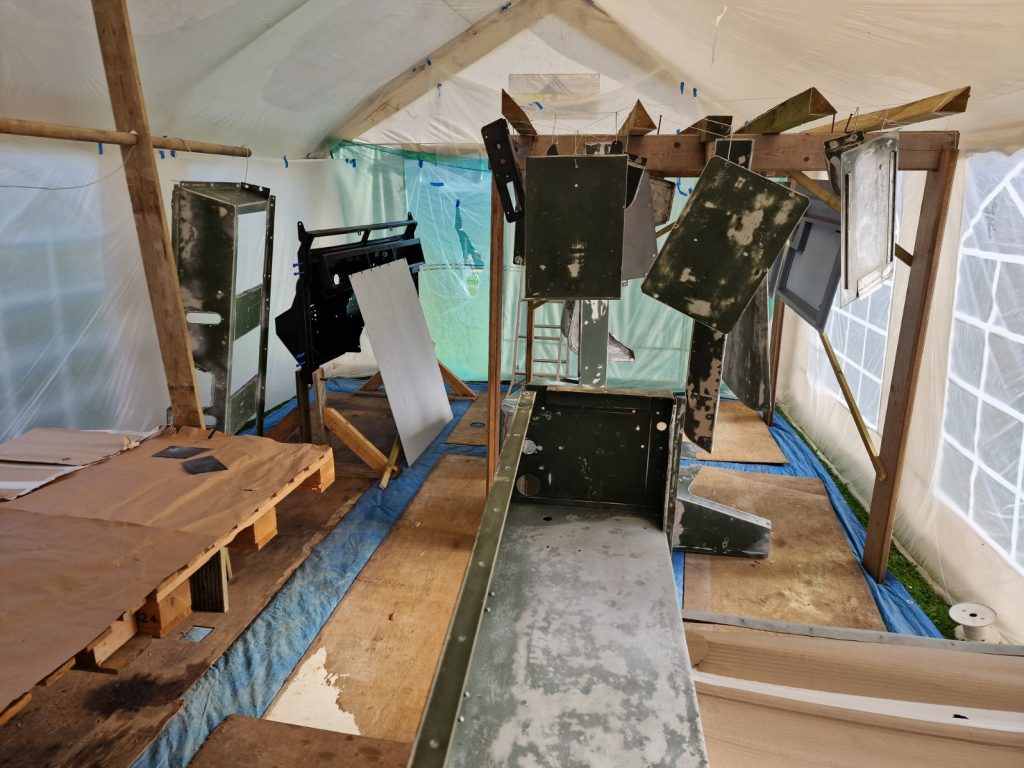
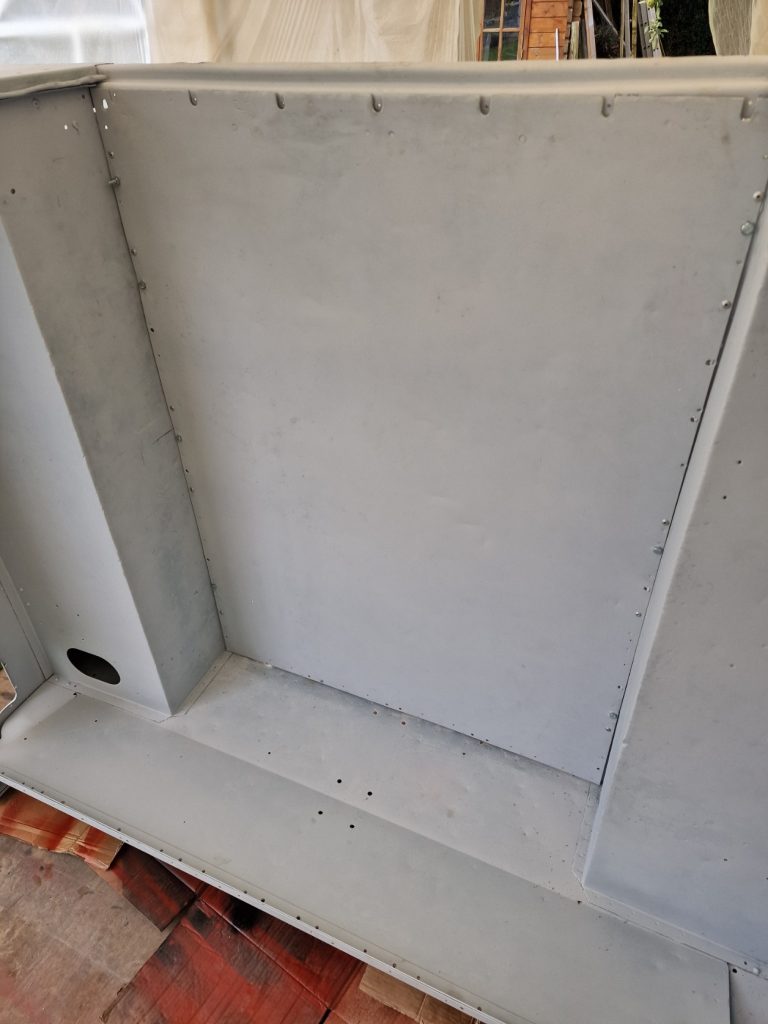
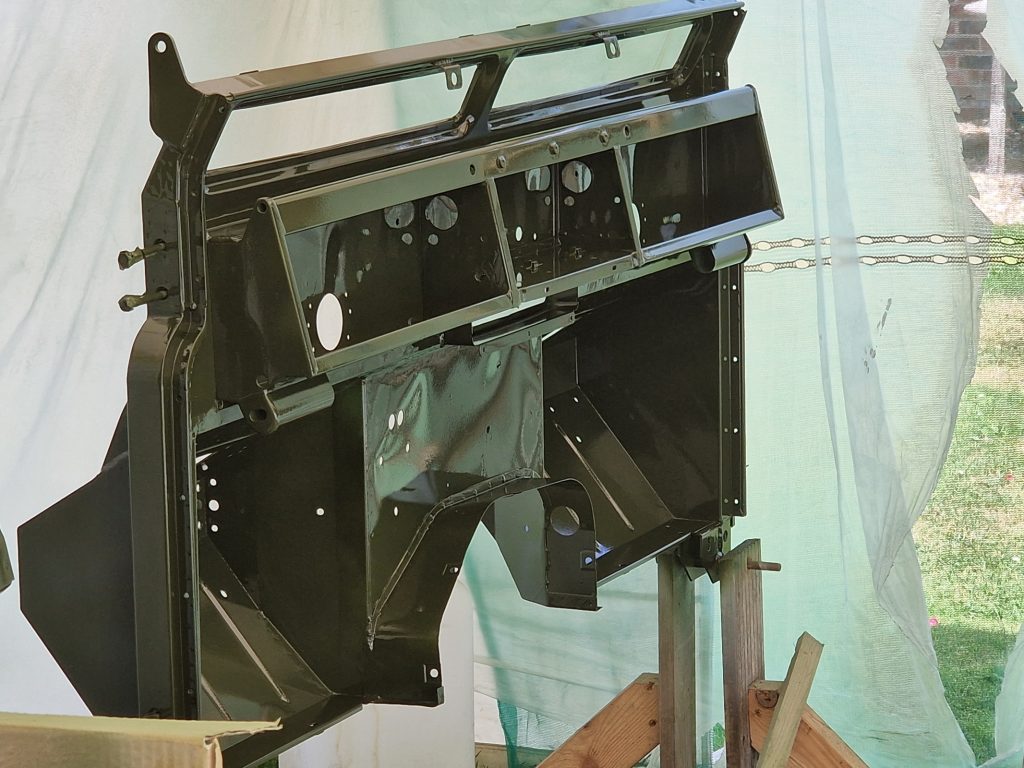
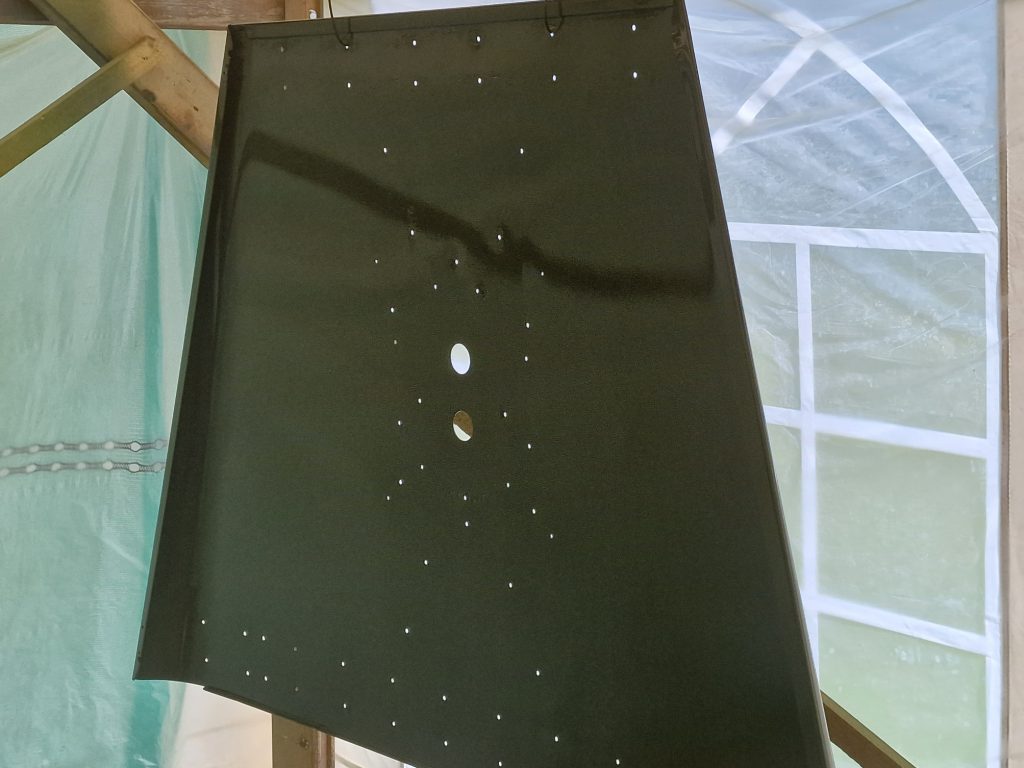
1st thing was to get all the panels sorted, lots and lots of sanding, a little bit of filler here and there and more sanding. These panels are never going to be perfectly straight, without more skills than I am never likely to have, so got them the best I could. Started by Etch Priming some of the panels where they had gone back to bare aluminium, put the door skins back on the frames with the help of a little PU sealer and adhesive and put the floor back into the tub with some adhesive and some new rivets.
Just quickly on the rivets front, much to the amusement of some of my newly found Land Rover friends, I bought pretty much a complete set of original rivets! Much more on those in later articles.
Onto the painting. The last car I painted, more than 40 Years ago, on my own was a mk1 ford escort in light blue and it has to be said, it was a disaster. The two previous cars, a Morris Minor and Ford Cortina Mk3 were much better, but then I had my Dad doing it.
So whats the routine, normal modern paints you spray, leave the paint to Flash Off, and then do another coat. With Coach Enamel, not so easy! Paint and then wait a minimum of 24 Hours before the next coat, so the plan will be Paint in the Morning, leave it until the afternoon the next day to sand back and then spray the next coat the morning of the following day. Now each coat, Primer, Undercoat, Topcoat and Clear Coat needs 2 coats of each. Do the math, 2 full days for each coat = 16 Days! thats pretty much my entire 2 weeks holiday accounted for. Will definitely need to make up for this with my family.
Now the other thing they say you need to spray a car, is a clean environment, well ventilated and temperature controlled. What do I have, well a rather large gazebo (8M X 4M). Spraying creates lots and lots of spray dust, well would if you do it properly, so lined the entire thing with plastic decorators sheets, and strategically placed a large fan at one end to try and extract lots of the lovely smelling fumes! Made a hanging thingy (used the same for the chassis) and a bench type thing to spray on.
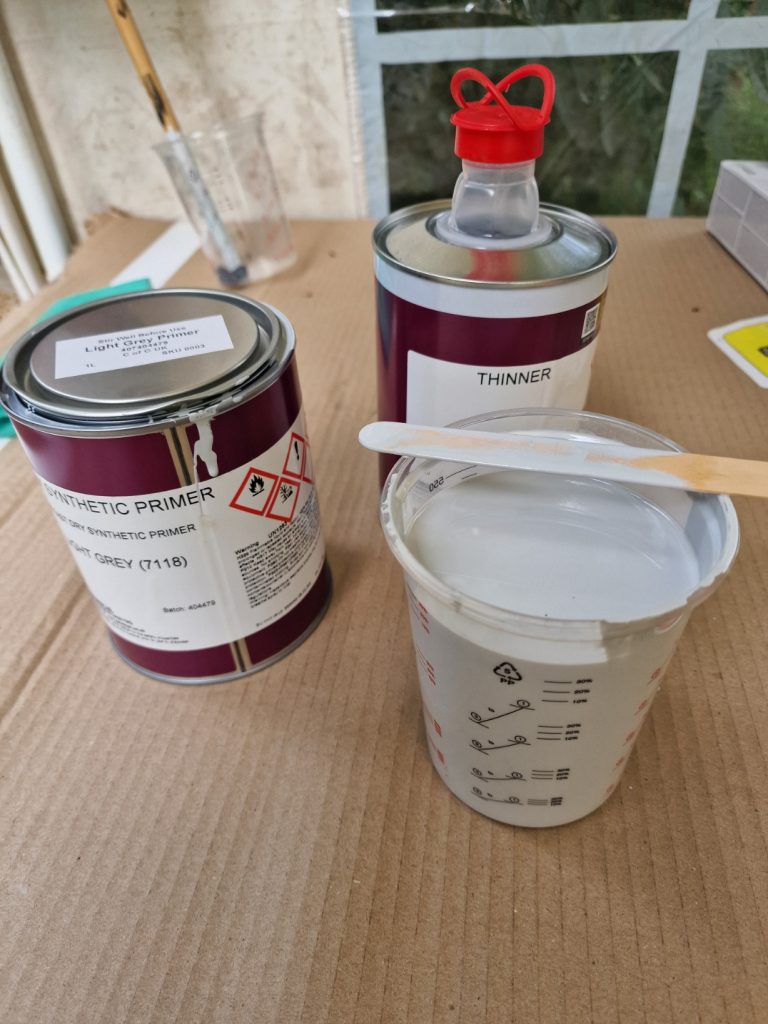
Because I am spraying, the paint needs thinning. According to Paintman, anything between 5% and 10%, depending! Depending on what? seems everything, temperature, air pressure and and and. So I started at about 5%.
Loaded up the gun, with the Air pressure set to about 25psi cleaned all the panels with Prep Clean and tack clothed each one before painting, and off I go.
Oh, forgot to put the white suite on, didn’t forget after, I had paint dust everywhere!

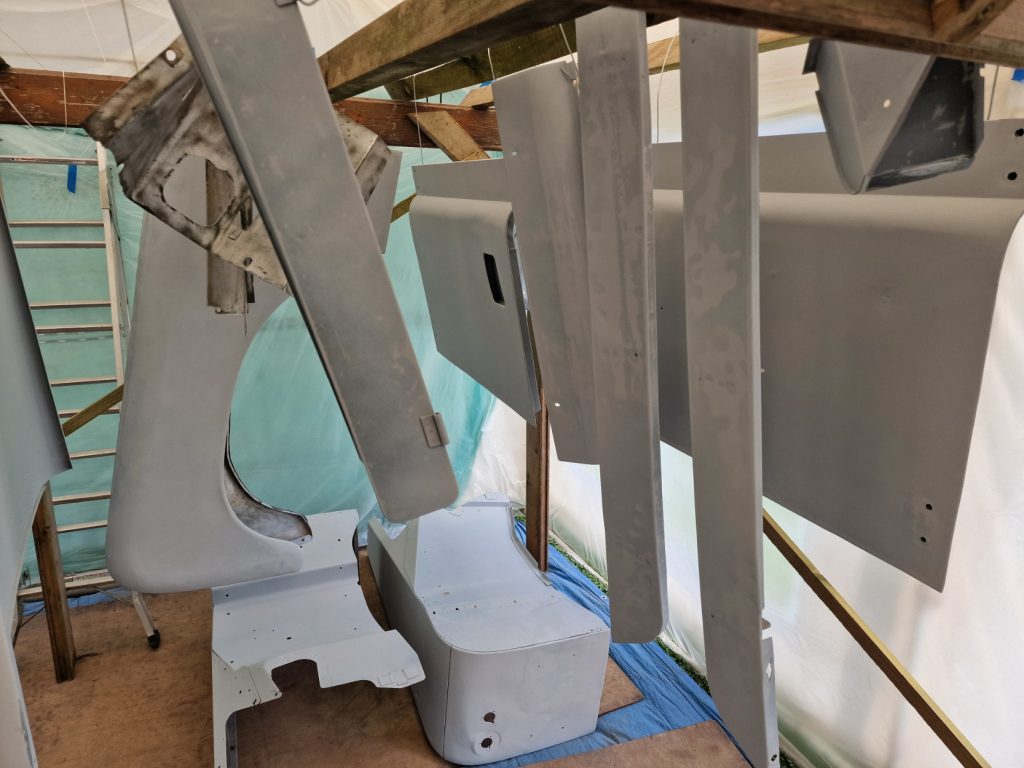
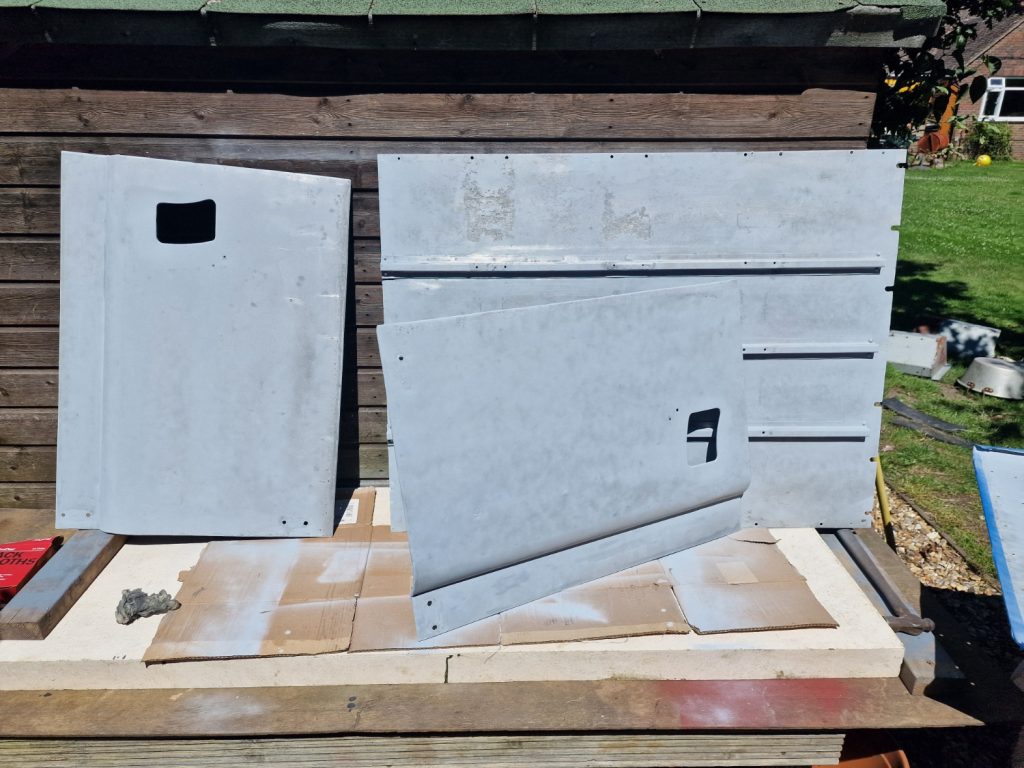
1st coat on, looks ok but there were issues, the biggest being that it went on a little dry. Once it had dried off for 24 hours, rubbed it down and checked that it had stuck properly. Second coat went on much better after re-watching a number of videos about how to avoid dry paint. Seems there were two issues. Not thinned quite enough and spraying technique, i.e. being too far from the panels, allowing the paint to dry a little before it hits the panel.
5 Days later, its time to apply the undercoat. Exciting, its going to go green! This time I thinned the paint to about 10%, the weather is still perhaps a little warm, which is why the first primer went on a little dry. This worked so much better, but introduced some other issues.
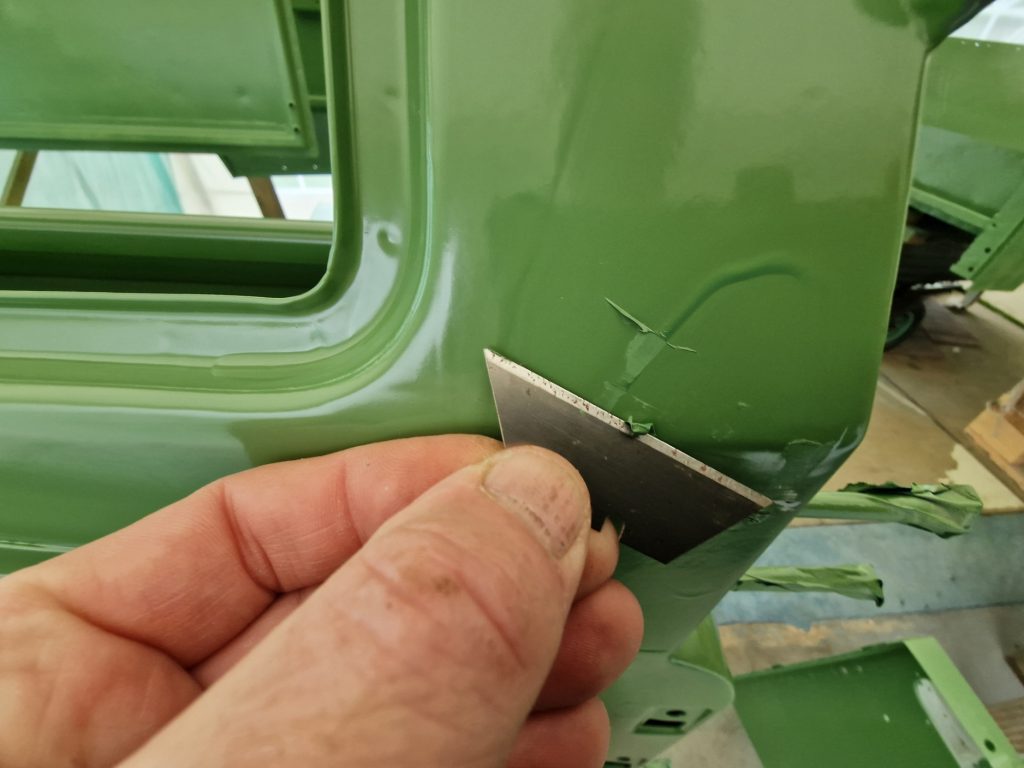
One of the issues was that more paint went onto the panels. Thats a good thing, except it opens up the opportunity for runs and sags, and I had a couple.
Waited for the surface to start going off, and then with a sharp blade very carefully took the top of the runs off, allowing the paint beneath to dry.
With a little wet and dry, plenty of patience I was able to remove them all, back to a nice smooth finish.
Thats 2 coats of primer, 2 coats of Undercoat and every little bit of every panel rubbed down, cleaned with prep clean and tack clothed off in-between every coat.
Onto Top coat. This is exciting. And while this article is becoming quite long, its not as long as the process took to get to this point!
Mixed up some paint and set about spraying, again Thinned to about 10% and increased Air Pressure, upto about 30psi at the gun.
Oh, look at that, it actually looks good and thats only the first coat.
As with the undercoat, had a few runs and sags so addressed them in the same way.
BUT! had another issue when I got to look at the results, the top of the front wings! Looked like absolute crap. Gloss paint shows up everything.
Clearly I had not done a good enough job with the old paint, it was patchy and lumpy.
Had to deal with this, as when people get to see the finished car, this will be the first place they run there hands over, and would inevitable lead to “Humm, thats a bit rough”
Sanded it back down and spent some time doing my best to make sure the lumps and bumps were all gone.
Not wanting to waste too much time, cleaned up the wings and hand painted some undercoat, and then sprayed a top coat.
All OK, except some brush marks are slightly visible on 1 wing, told you I cant hand paint properly. Will deal with them when I tackle the final top coat.
Onto the final top coat. I mentioned I had bought clear coat, this is like a varnish that is applied in a very similar way to the other coats, giving a deeper shine and providing some protection for the paint. The final colour coats are supposed to be high gloss, and this got me thinking, does the final top coat need sanding before applying the clear? I sent a message off to Paintman with that very question and the answer somewhat surprised me, which was no, leave it un-sanded but still allow the 24 hours before applying the clear coat. With modern paints they flash off in a few minutes and can then be re-coated, but Coach Enamel doesn’t work this way. The problem I see is if I paint clear over un-sanded top coat, will it actually stick properly, and if I do sand the top coat, with those scratches show through the clear?
What to do? I searched endless forums, watched endless more videos but didn’t really find an answer. It was then, purely by chance, Facebook showed me a group I might be interested in? Funny, isn’t it how apps know what you are even thinking about! Anyway, I looked at the group and applied to join. The group is a Coach Panting Old Cars group. Seemed a great place to ask the question, albeit with some apprehension as Coach Painting is painting by hand, not spraying, and wondered if my question would be frowned upon, given that I am not strictly Coach Painting.
Seems not, had some great answers, and was sent a few pics of what others have achieved using Paintman paints and clear coat. One answer got my attention, mostly because the picture he sent me was incredible, the car, an old Austin 7 looked absolutely amazing. So how did he do it? Well, according to him, mix the final top coat 50/50 with clear and thin as normal, really? will that work was what I was thinking.

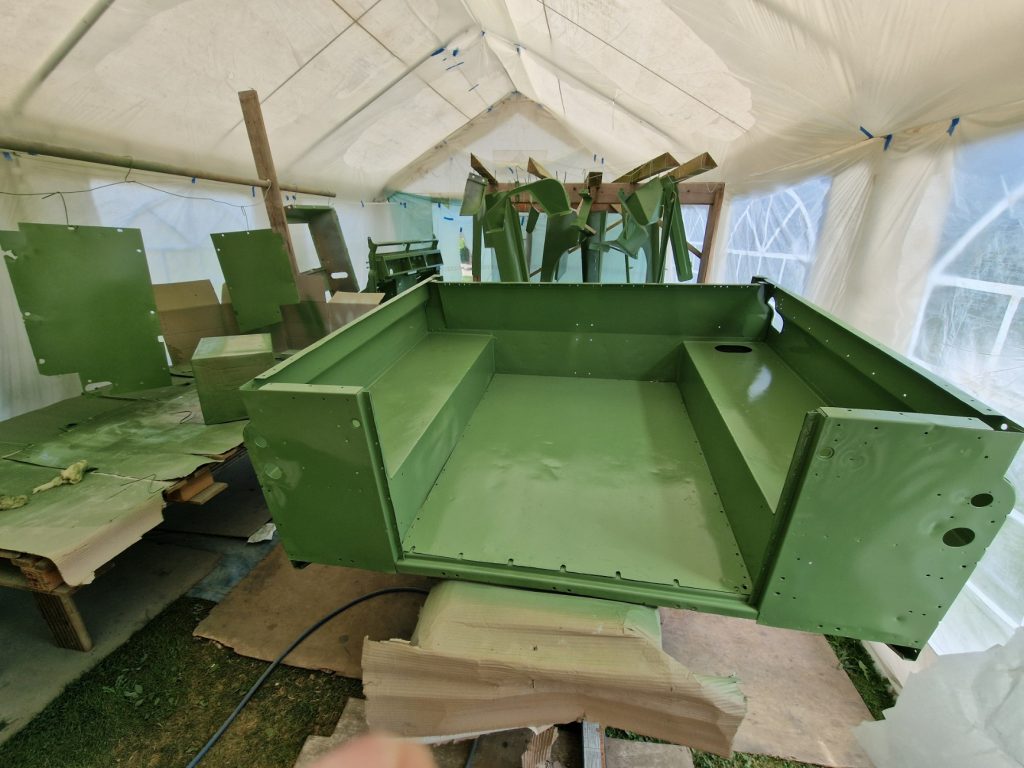
Well, does it work I think is answered with this picture!
Simple answer, yes it does, works an absolute treat. what you cant see from this picture is the colour, too shiny.
While it looks amazing, well I think so, there were some issues I had to deal with after the 1st top coat. In addition to thinning properly, technique I realised also that while my Air Compressor should keep up with the spraying, I do need to wait sometimes for it to top-up the air tank.
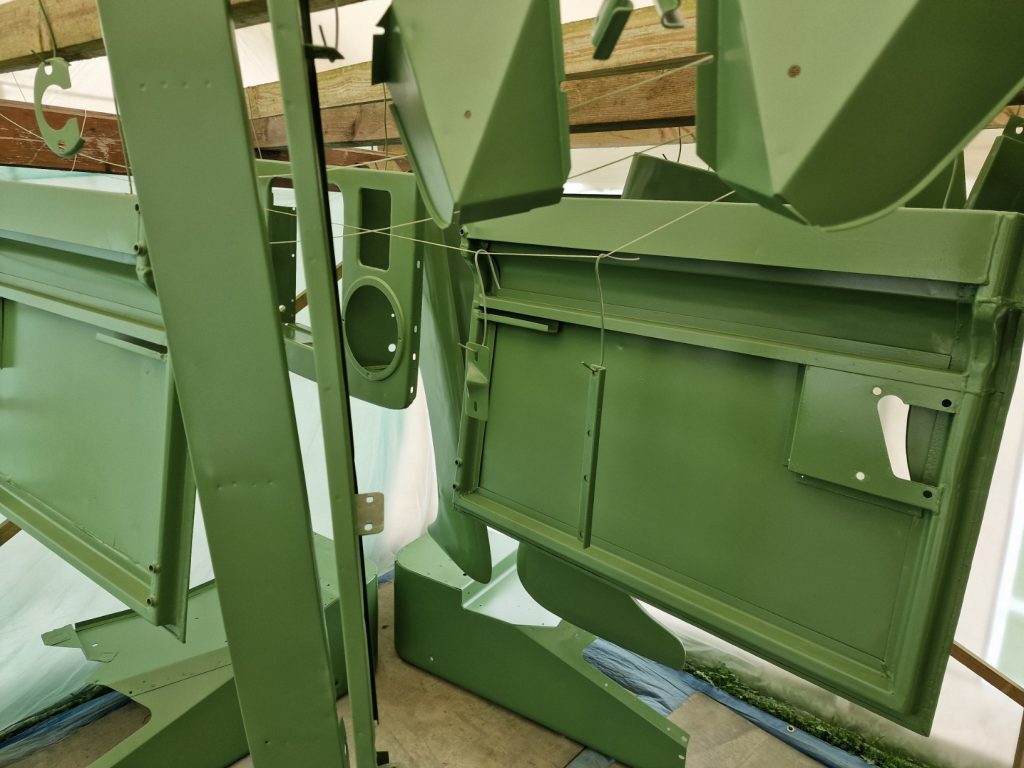
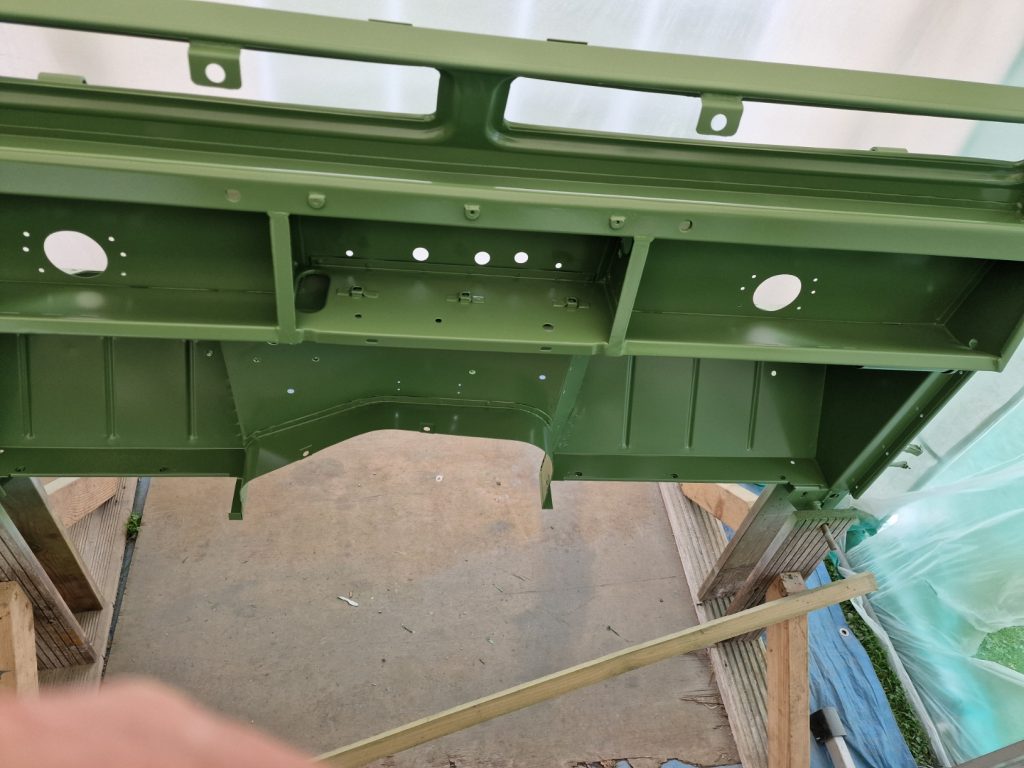
Also, if you look really closely, you can see some orange peel effect. Not so much I feel inclined to re-do another coat, I’m not a car sprayer, that is clearly an art form, but I’m super happy with it. And to that end some more of the finished panels.
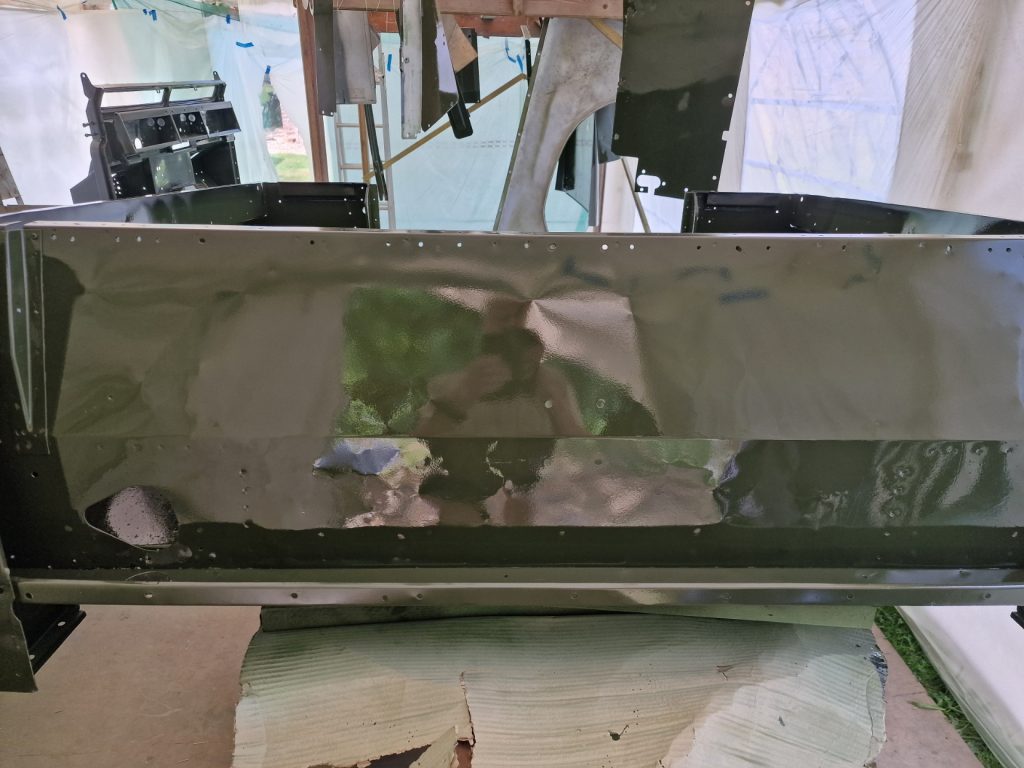

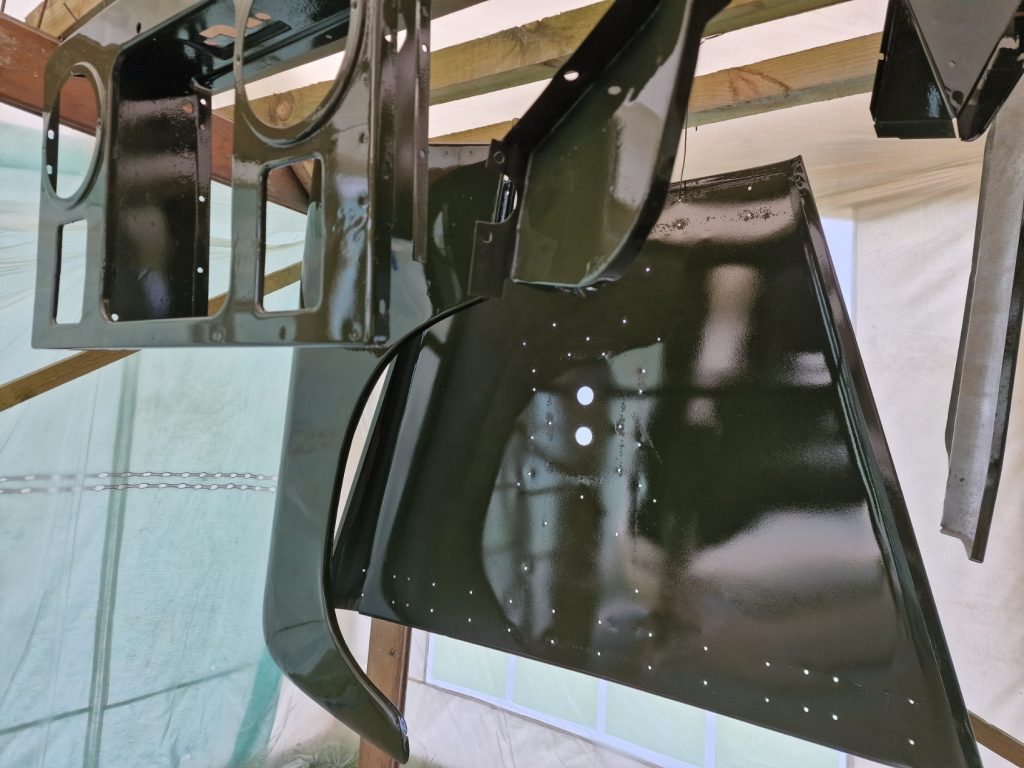
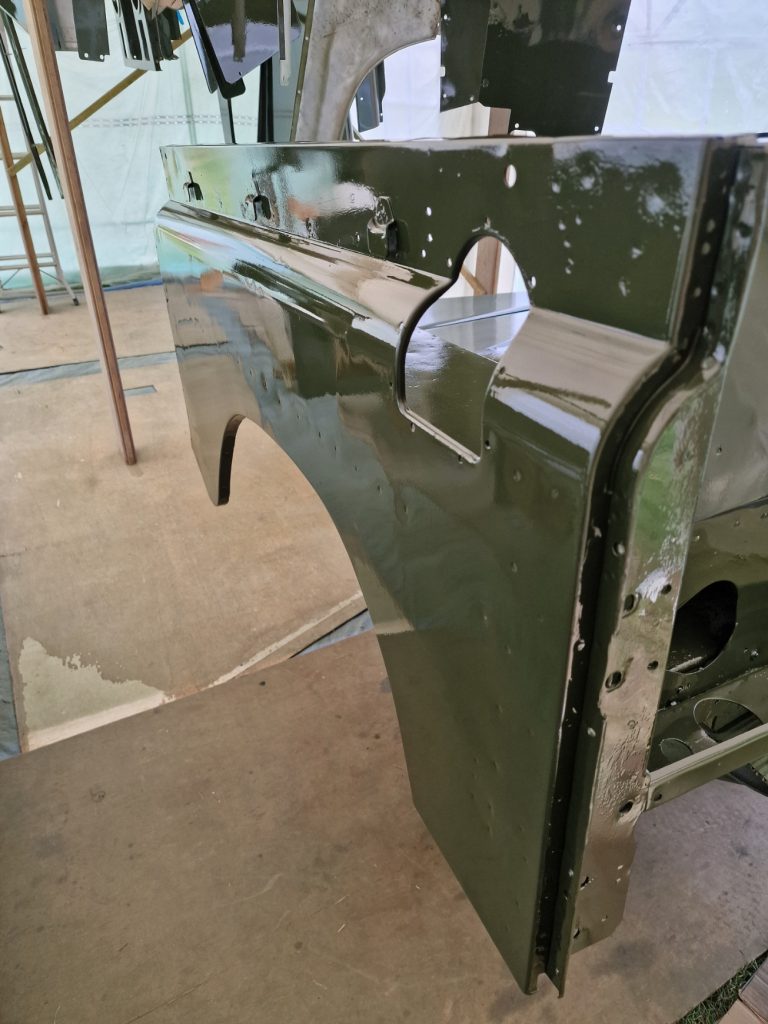
I think they look pretty good, and now you can see the colour I went for, Deep Bronze green, and I love it!
At the time of writing this, I am not completely finished, I still have the 2 wings to finish and paint, the bulkhead and the two doors, but we are expecting some crappy weather in the next day so, so I will get to those when thats passed.
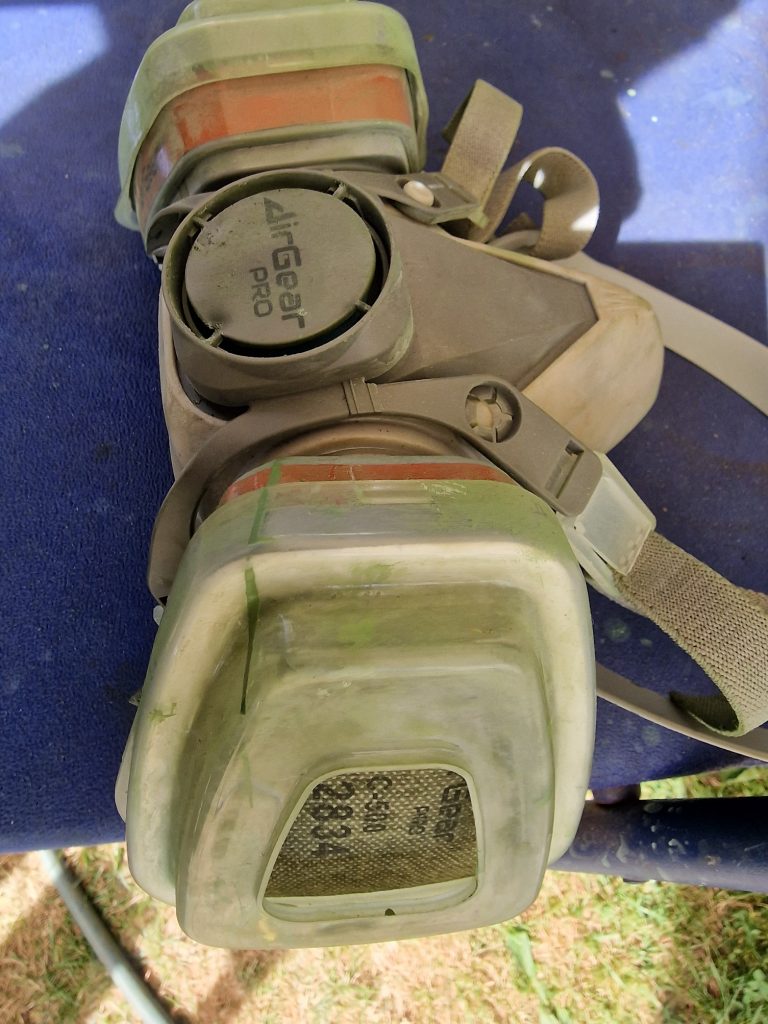
I mentioned my new respirator, well here it is, several filters later and after 2 coats of paint!
If not for this, all that green on the filter would be in my lungs! not the healthiest option I would say.
Oh, and my nice white suite, well thats now a rather pleasant shade of green! Certainly saved me turning into the same colour as the Hulk. Not a good look, same colour, but not the same body shape.
So, what next. Well this paint will need some time to cure properly, weeks, if not months so once it is hard on the surface, it will all get wrapped up and stored until it needs to be fitted, hopefully sometime next summer. All apart that is the bulkhead, that will need to go on as lots of stuff needs to be attached to it, such as pedals, electrics and a few other bits, so that will go onto the chassis in a week or 2, being super careful not to scratch it.
As for the project, taking break for a few weeks but when I get back to it I will be sorting out the troublesome front axle, suspension, torque up all the stuff thats already on the chassis and then move onto brake pipes, exhaust and over winter tackle the engine and gearbox with the plan to start to put Isobel back together during next year, drivable for her 60th Birthday.
Thanks for reading, hope you enjoyed it, maybe learned something and hopefully like what you see. Until next time, bye for now.
Leave a Reply