
In the last article, I looked at all the bodywork issues that I would need to look at. In this article, most of those challenges have been sorted, kind of! This is a really long one, so sorry for that!
Before continuing, let me be clear, there are certain skills needed that I dont posses, and also needed to be conscious of budget and to keep as much of the original as I reasonably can, to try to avoid more comments like “Its turning into Triggers Broom!”. So what does this mean in reality? we’ll some might say I have bodged certain parts of this process and would prefer to see things done in a different way, for example weld the body panels, but I cant weld and certainly cant weld aluminium, and dont know anyone that can, so took an alternative route! Hey Ho! have to work with what I’ve got. I have also never done any serious bodywork, yes, used filler in the past, and painted a few cars before, with varying results, but nothing like this will need.
So here goes, and please be kind!
Doors
first part to look at was the doors. there was two challenges here, a smallish dent in one of the doors, and the door frames of both doors rotted out at the bottom.

First thing was to separate the door panel from the frame, its not too difficult, you just need to unfold the edges of the panel away from the frame and prise the frame off. Being super careful, as the aluminium can split, and did in a couple of places.
First up the door frame. I bought 3 lengths of replacement frame from Paintman Panels.
These need welding on, so a quick phone call to my Nephew Lee, and off they go along with the Front Panel and the sills to be welded.
Lee is a quality mechanic, working partly in a garage and on on his own, mobile.
LG Mobile Autos FB Page here.
While the welding was being done, I cracked on with the rest of what is needed to be done.
Tried my best to gently beat the dent out of the door panel, and while not perfect, much better. Had to anneal the panel to make it workable, and used very gentle taps with the panel beating hammers and dollys.
I got a new panel beating kit for fathers day, uncanny how Caleb and Reuben knew exactly what Dad needs, even after a few weeks of very gentle, subtle and some times not so subtle hints.
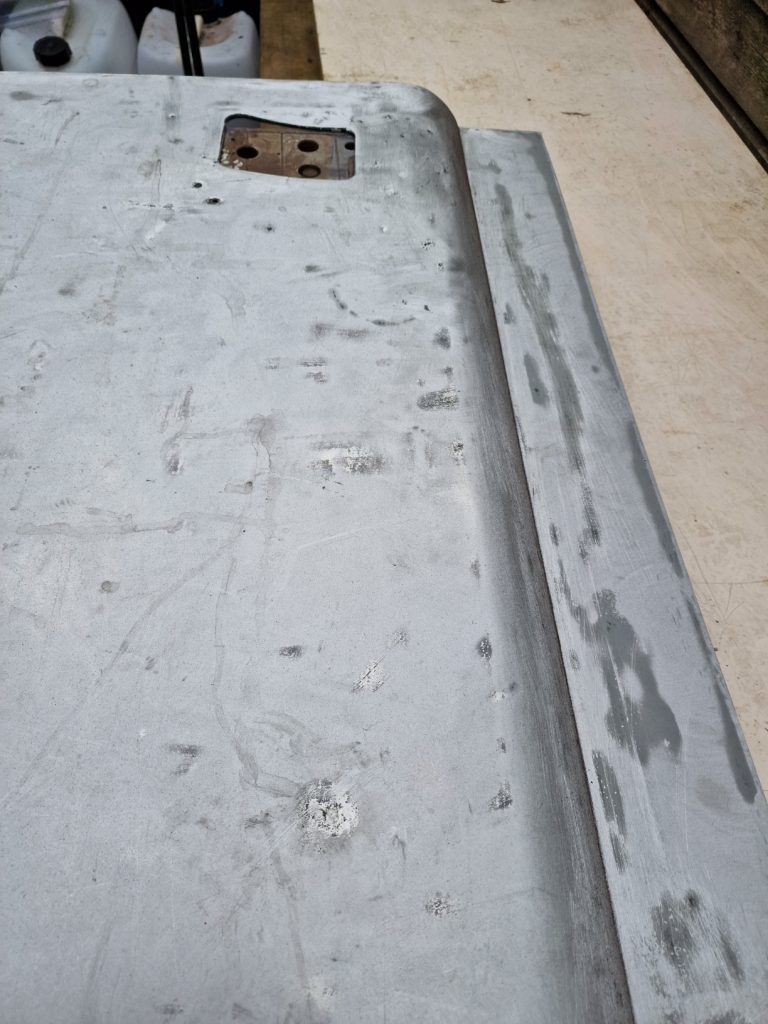
Also, stripped all the paint off these panels, will talk about that in a later article.
I didn’t think I was making too much noise. But after bumping into a friend at the monthly Spur car meet, who lives opposite (Chris I know you waste plenty of time reading these, thank you 🙂 ), commented he could hear I was upto something! Humm, maybe got some not very happy neighbours now 🙁
Front Wings
Onto the front wings, which also needed some attention.
The mud guard brackets were completely rotten, due to galvanic corrosion between 2 different metals. Using a piece of 5251 grade aluminium, which is the closest grade to the original Birmabright aluminium, a new piece was cut out, with the original spot welds drilled out, all the way through. Counter sunk pop rivets and a little bit of JB-Weld, and a new bracket is in place, minus the holes needed to mount the mud guards, the holes will come later.
Bit of filler across the top and it will look like the original spot welds, until you look underneath.
Another issue with the wings were the other mud guard holes, they had rotted through also, so cut out the corrosion and formed a piece of 5251 to sit in the behind and in the holes, again JB-welded them in, will probably add a little filler to tidy them up a little.
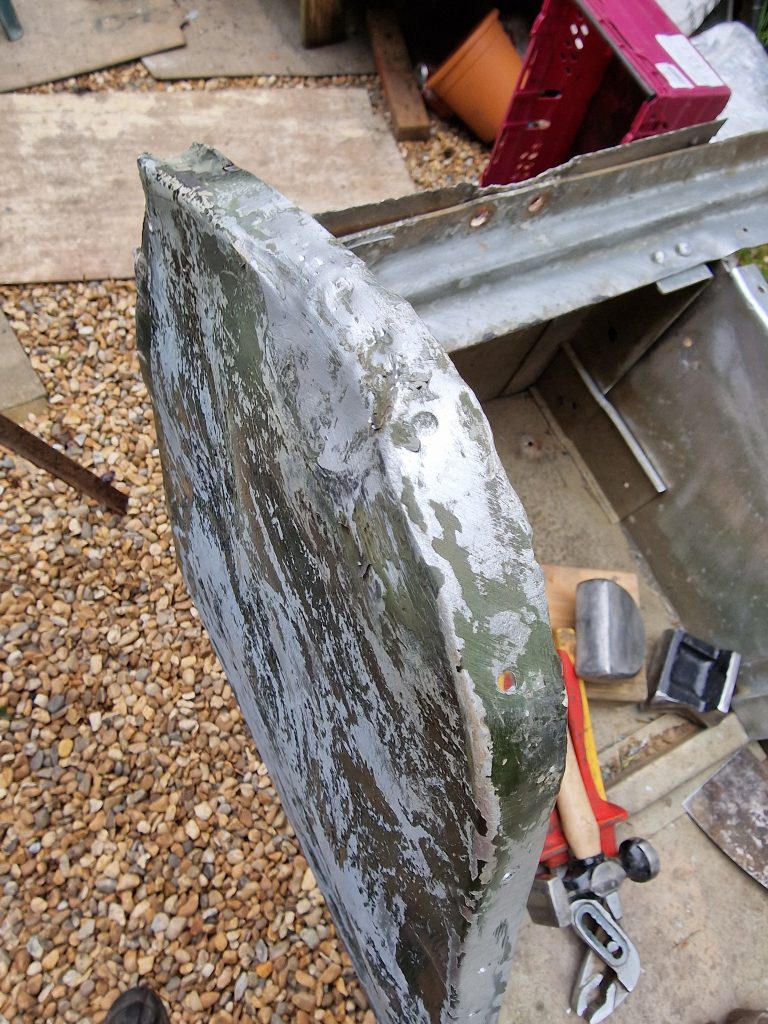
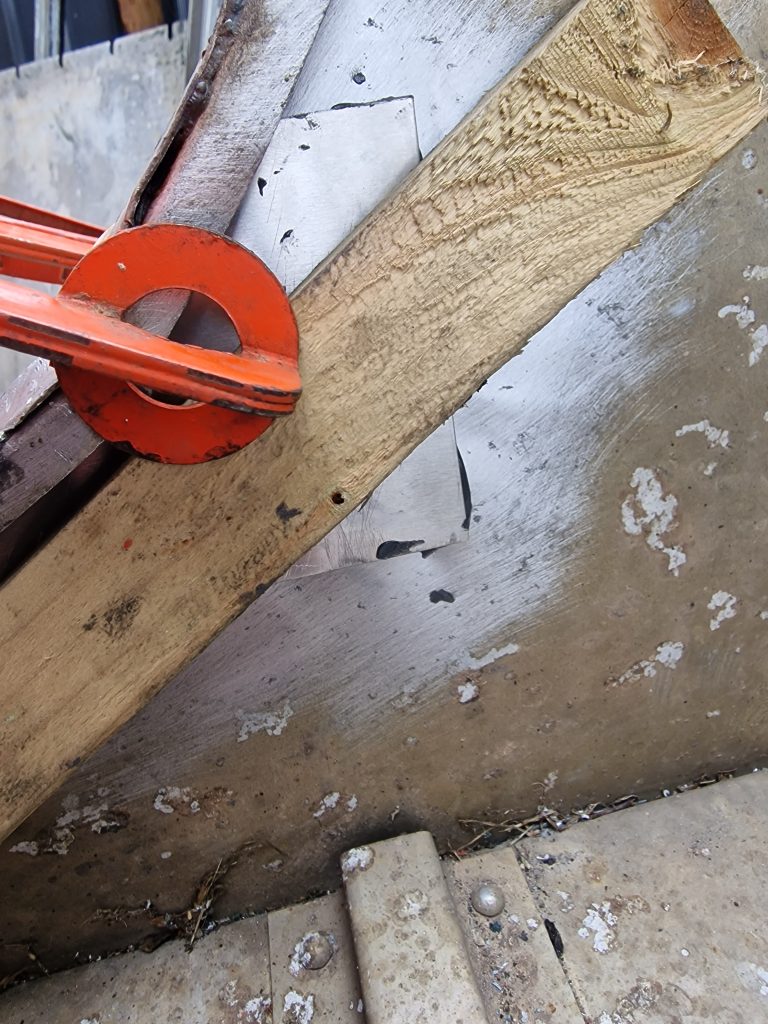
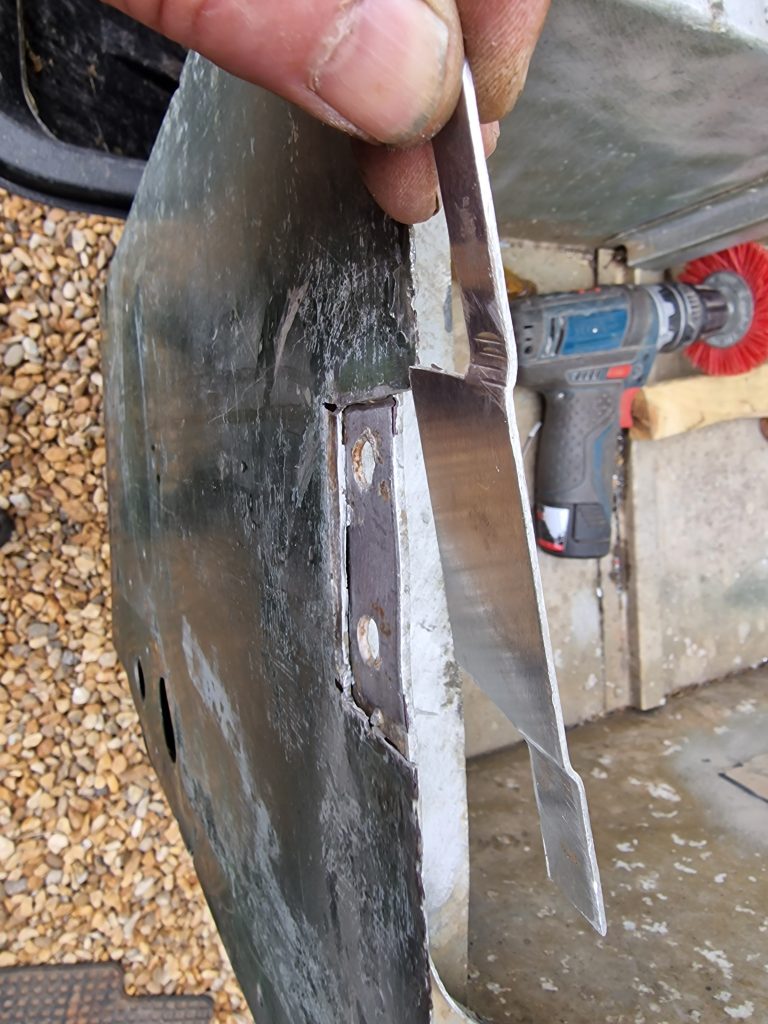
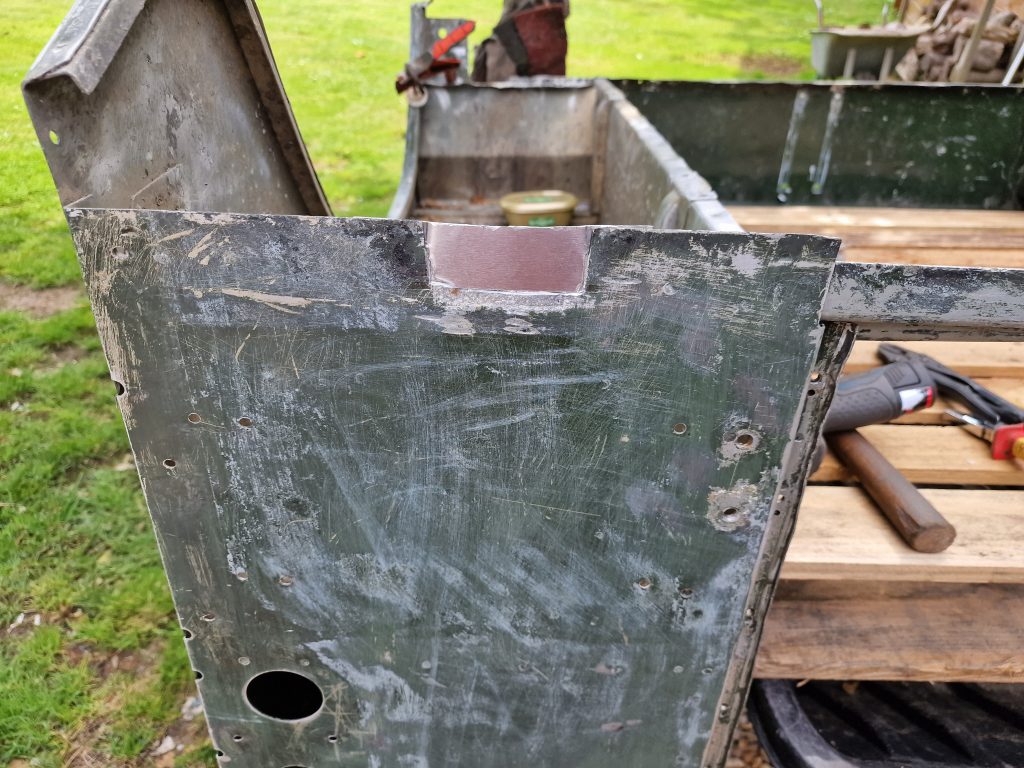
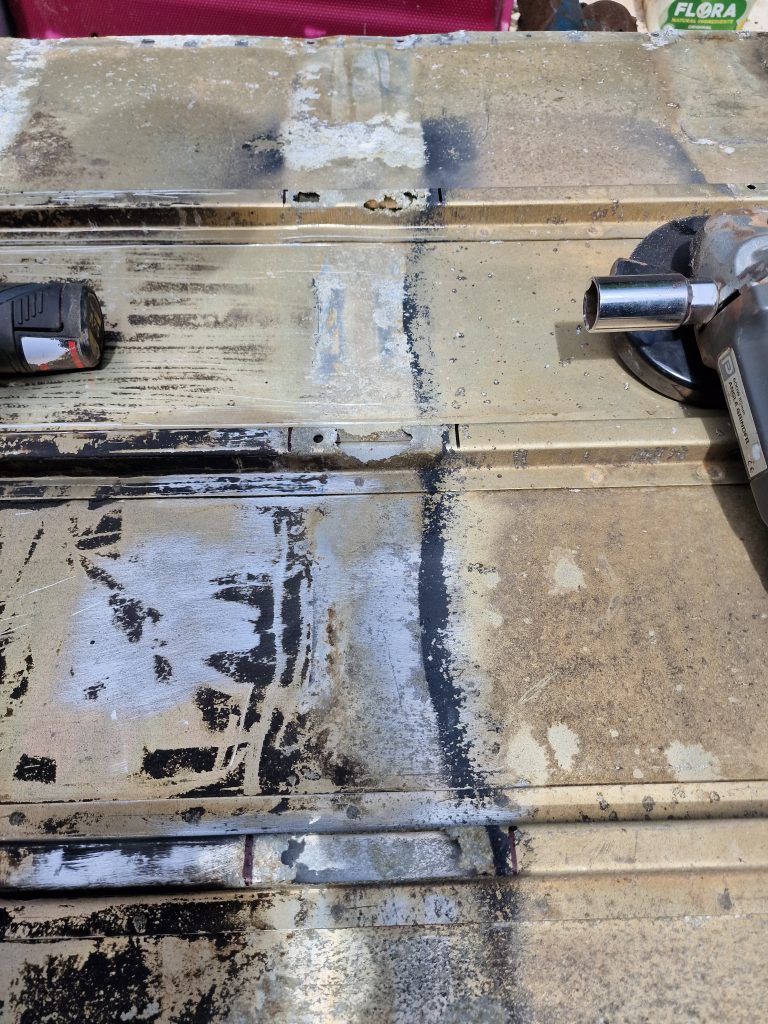
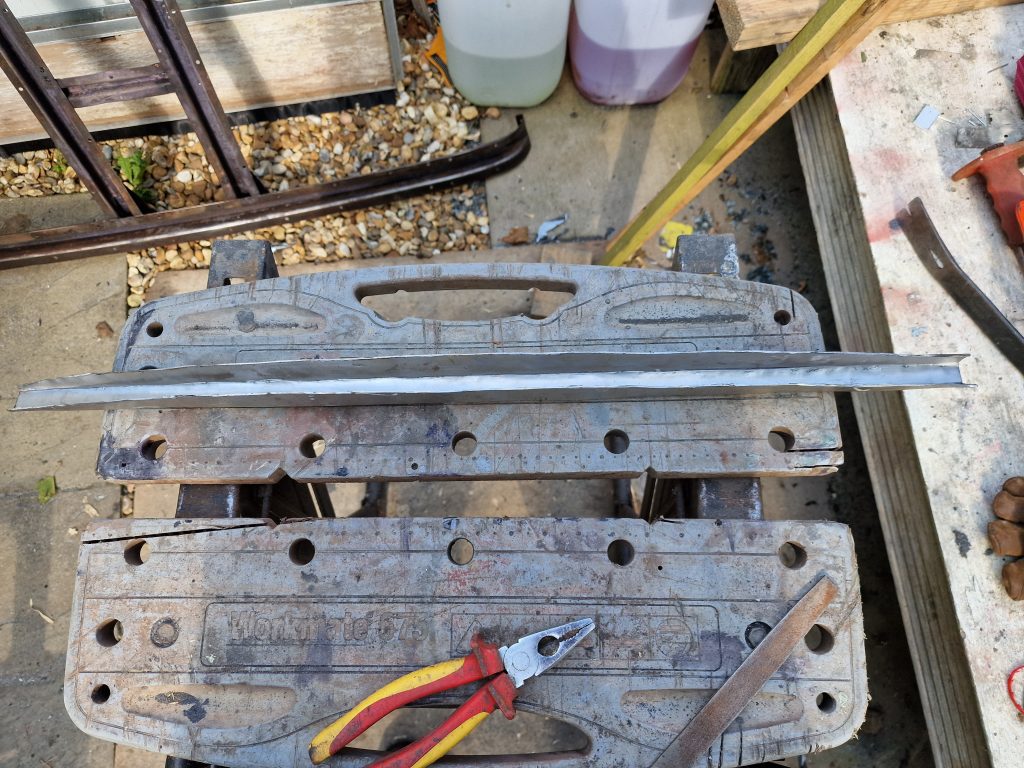
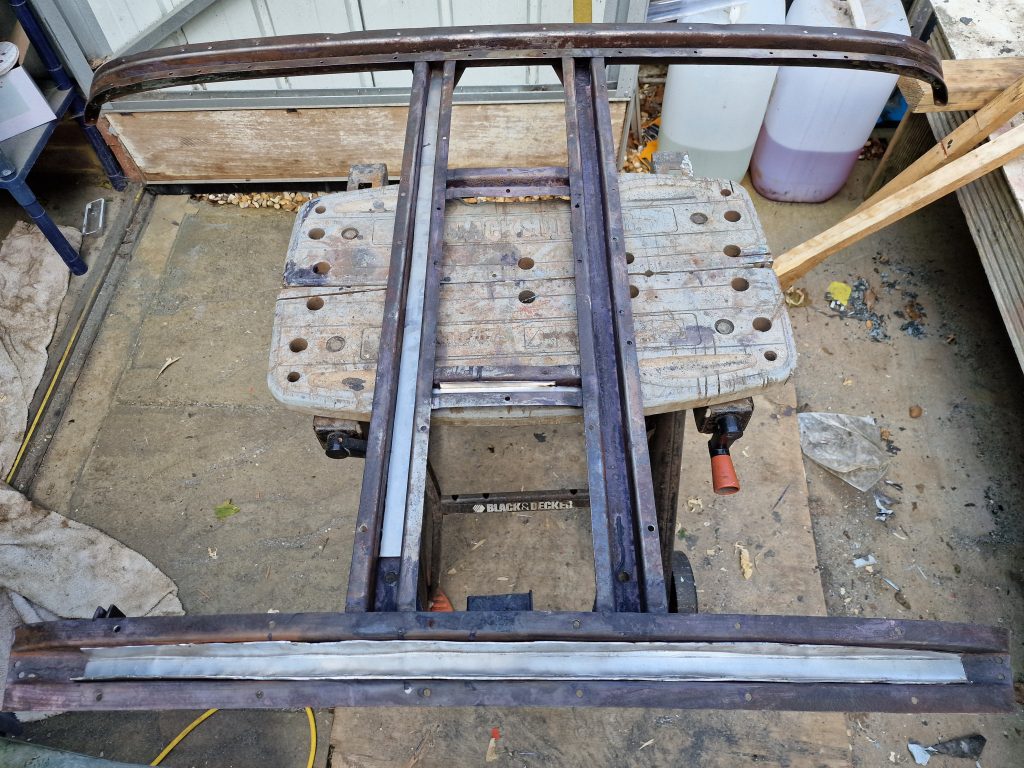
Finally, the last issue with the wings was damage to the outer wing panel, the bit everyone sees. Here there were two issues, 1 being the panel was quite badly bent, and second, a re-enforcing part on the inside of the wheel arch was damaged.
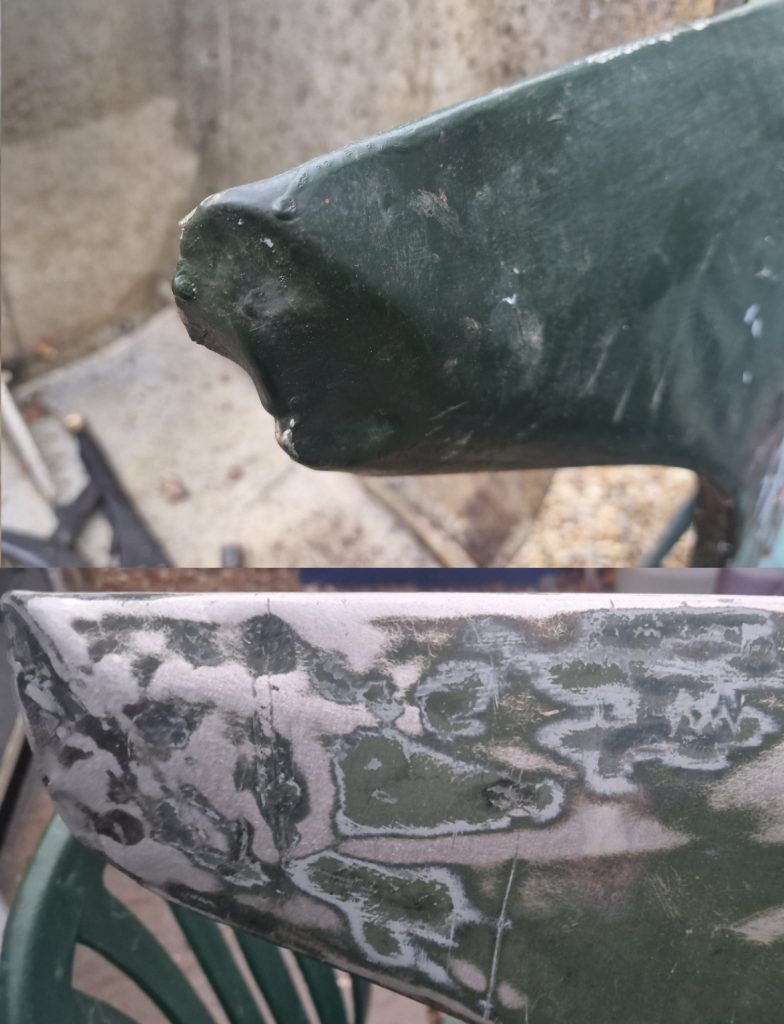
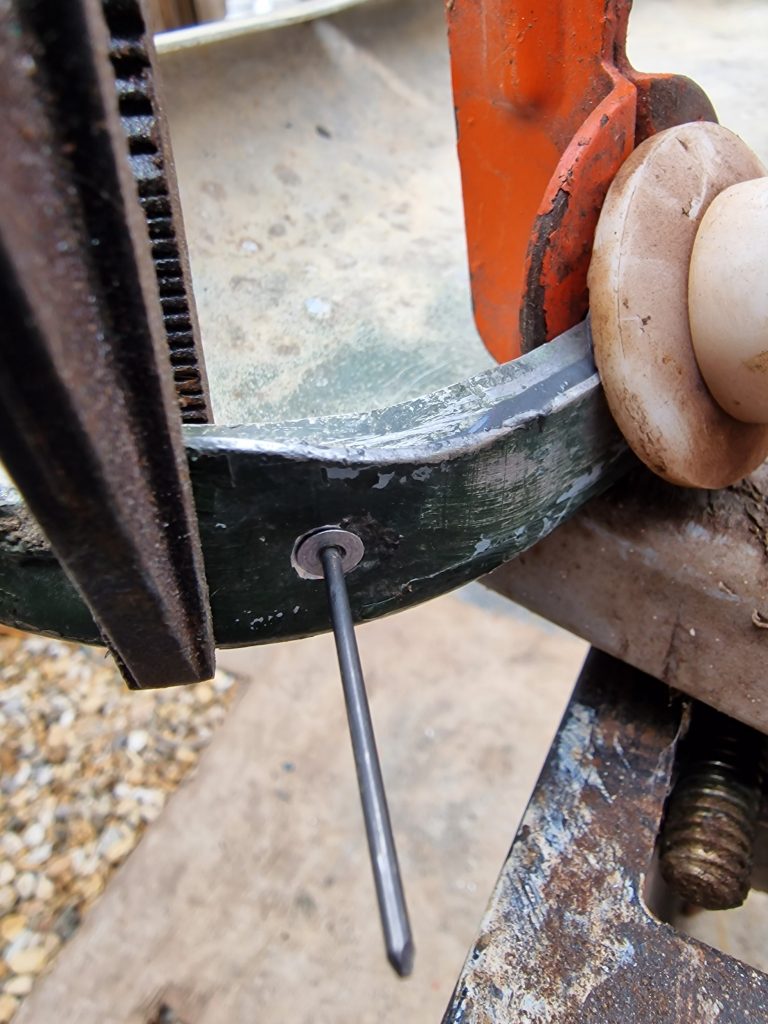
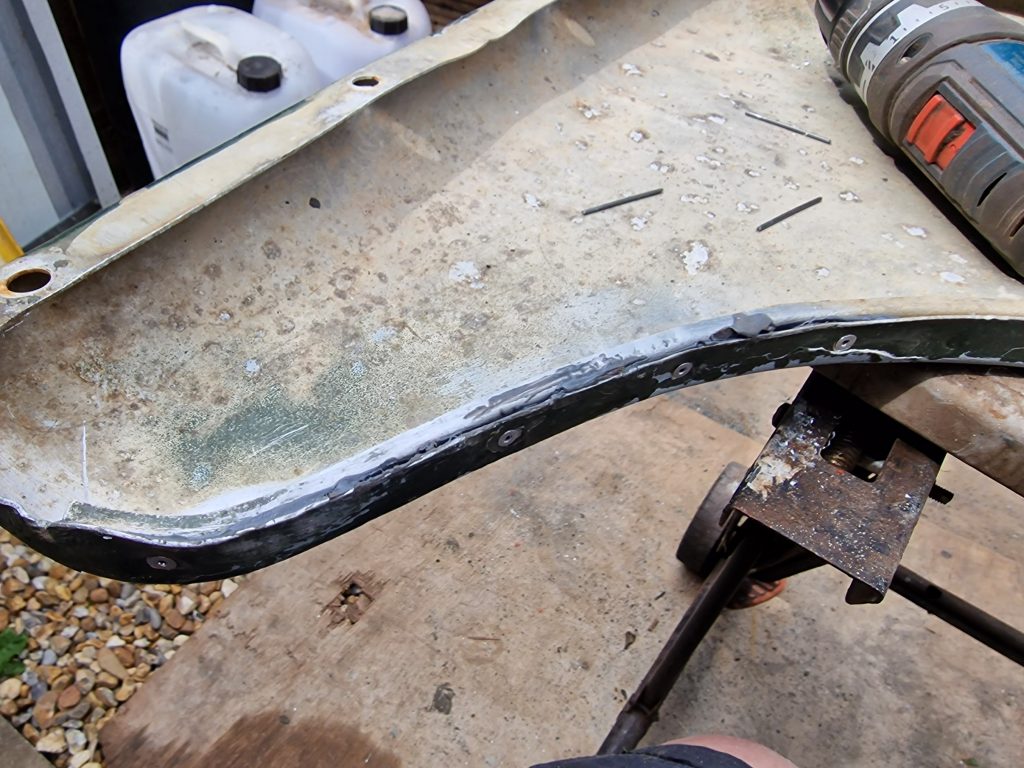
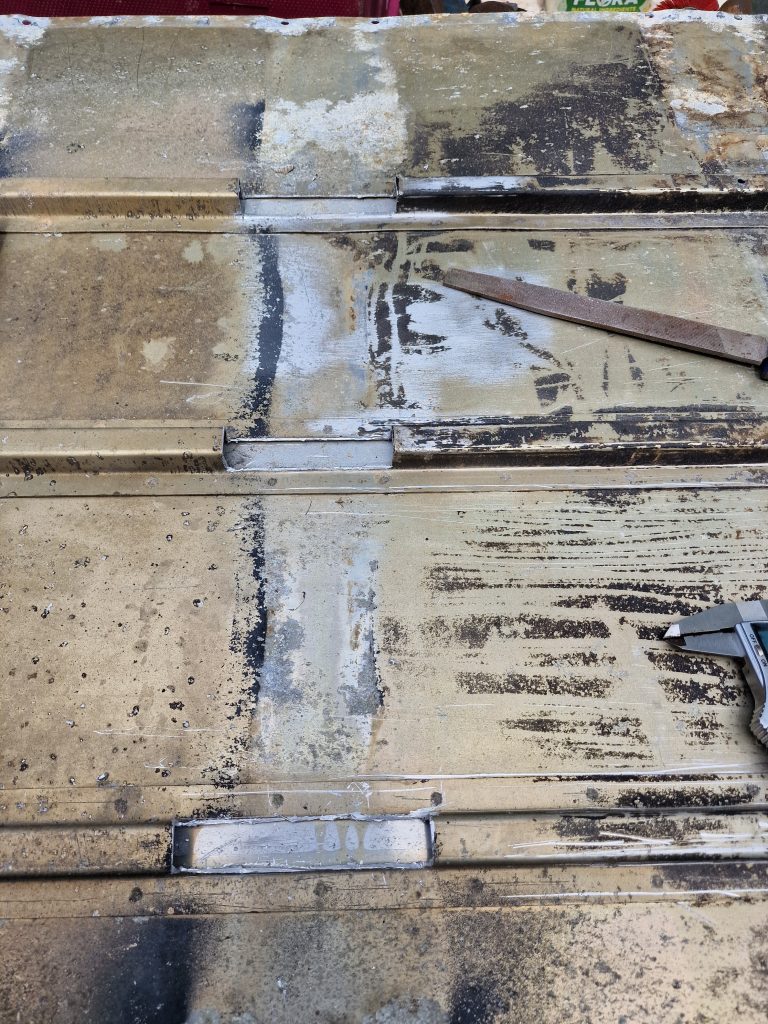
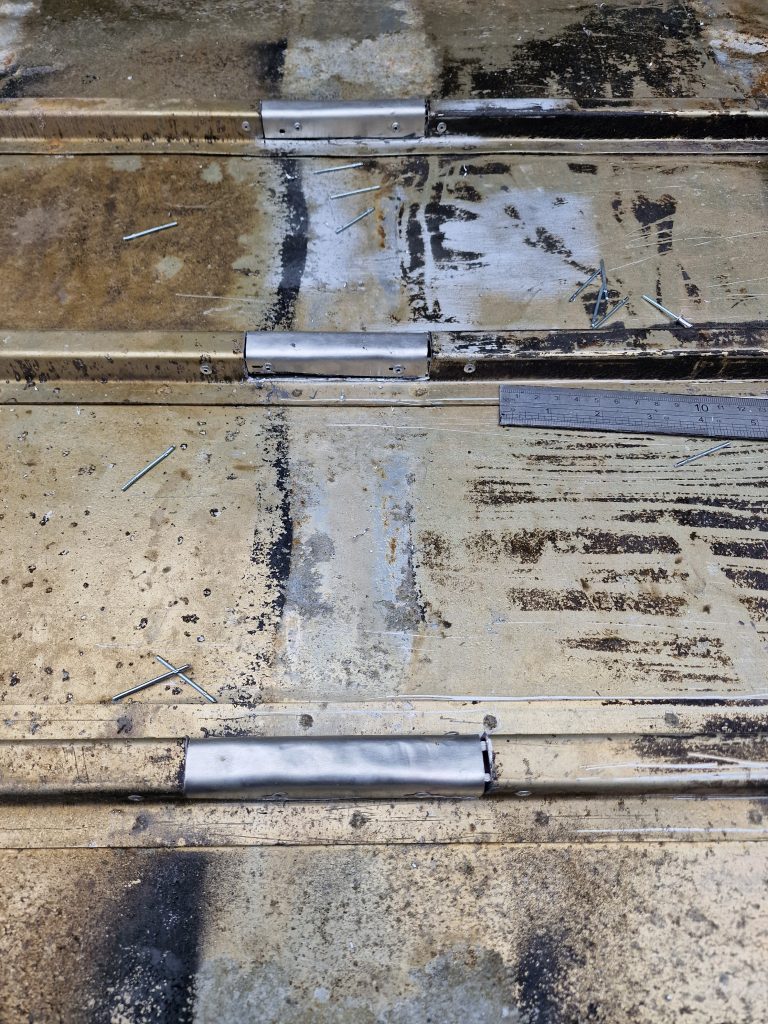
In the top part of the first image, you can see the damage, the bottom half of the image my “suspect” attempt at panel beating. Its along way from perfect, but it now resembles the shape it should be. The process for PB is not entirely straight forward. The Birmabright work hardens, so the more you work it, the more brittle it becomes, so needs to be annealed often, which means heating it up and allowing it to cool, beat some more and repeat. I could keep going with this but took the view I am more likely to make it worse rather than improve it significantly. The second and third images shows the re-enforcing bit, which had become bent and detached from the panel. This was re-shaped, spot welds drilled out and again, using JB-Weld and countersunk pop rivets re-attached.
Rear Tub
Seems every panel needs something doing!
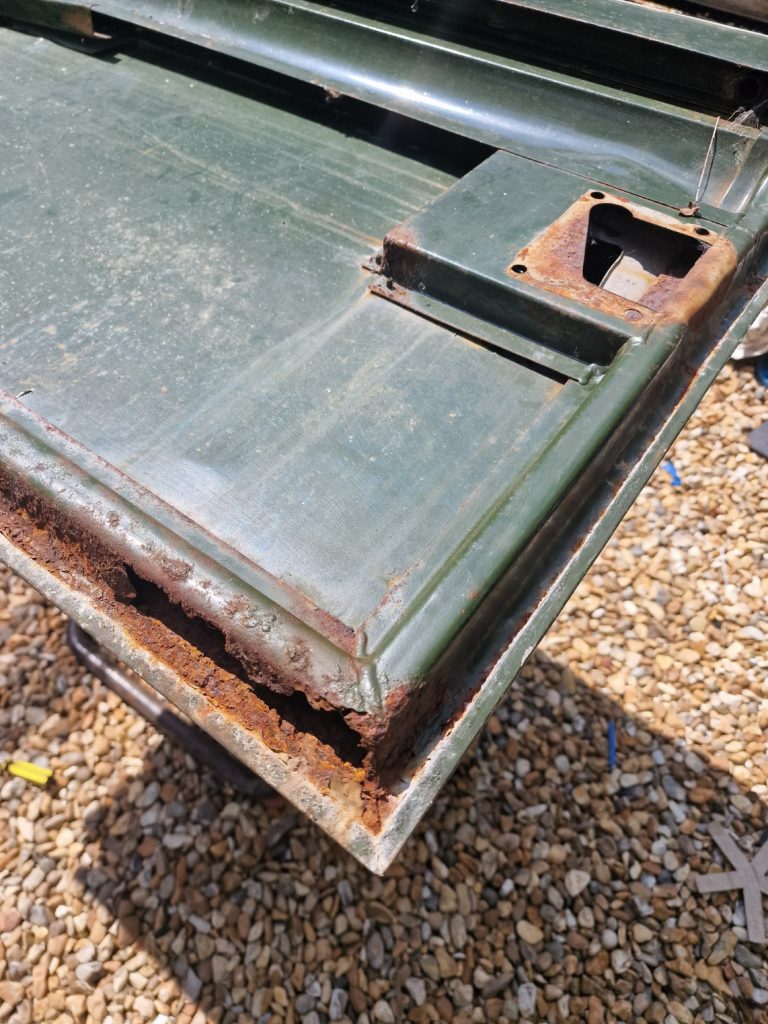
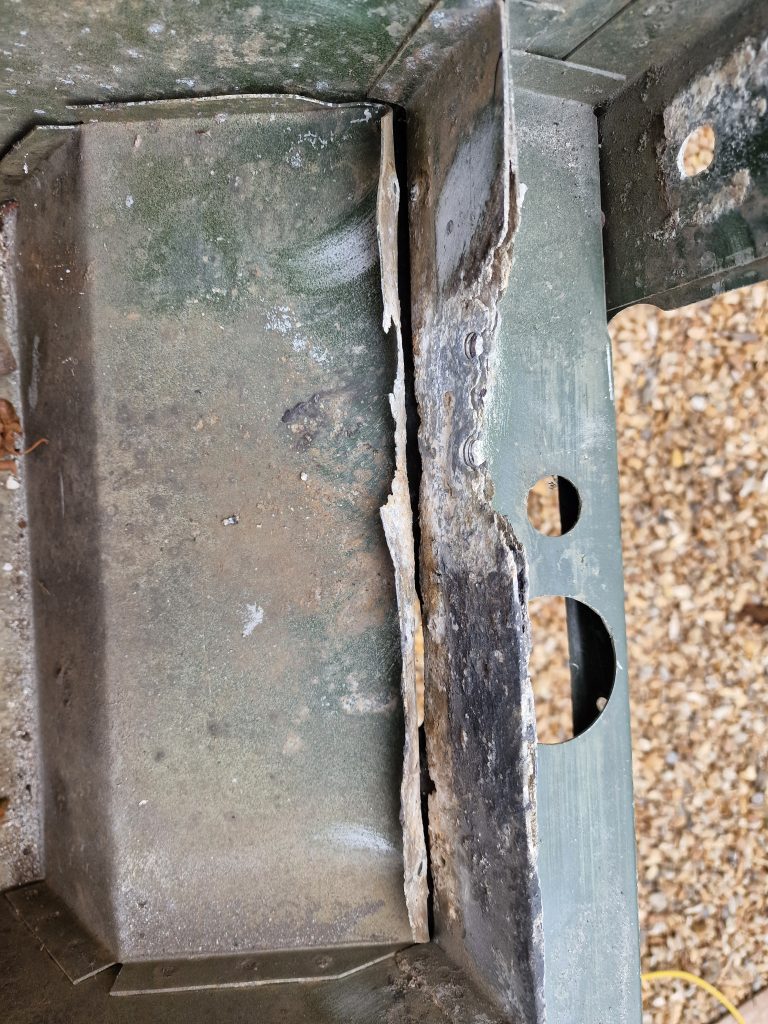
The tub had a few issues, the rear quarter and also the fixings where the tub bolts onto the chassis.
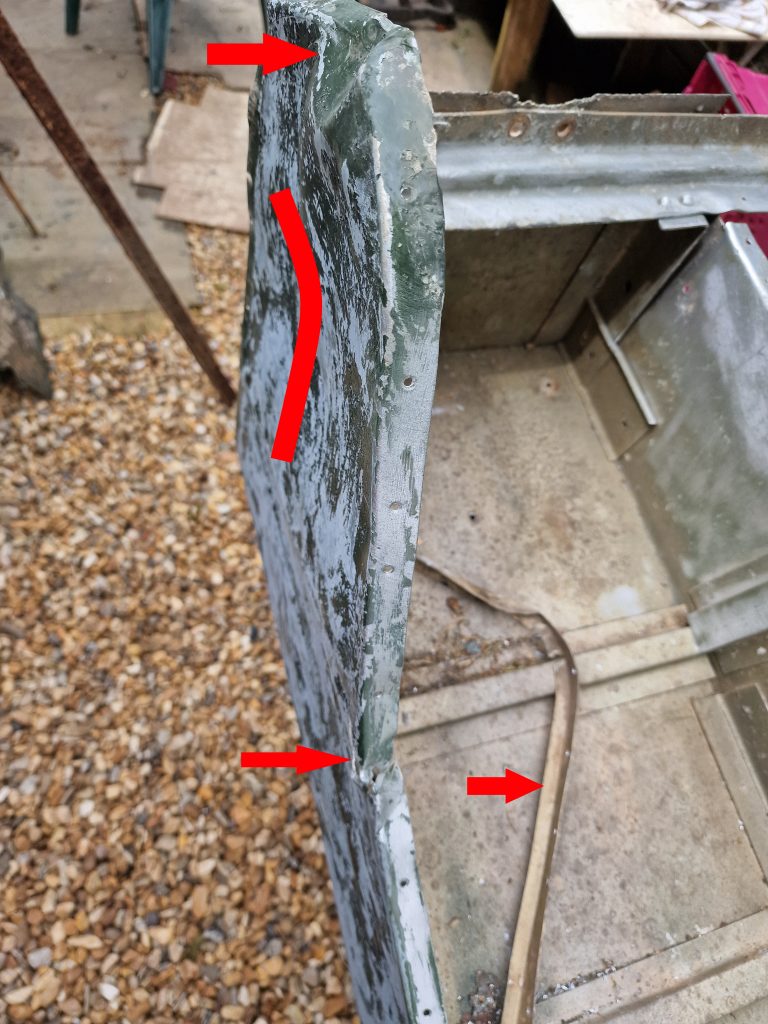
The rear quarter of the near side has clearly taken a whack at some point in its life, which has caused the panel to be creased, bent and stretched. The stretching can be seen by the panel bulging in one area and when pressed it pops in and out, the re-enforcing strip had also become badly bent and there was a small split in the wheel arch.
The bottom (top in the picture) profile was also badly bent, completely out of shape.
Beat the panel out to something that resembles the right shape, again, not perfect, but OK, I think.
Also JB-welded a patch behind the split after drilling a small hole at the end of the split to stop it splitting even more.
The only other options to doing this was to buy new tub panel… expensive, or get a proper panel beater, also very expensive, so will see how this turns out later when painted.
With the panel beating, I also had to try to solve the stretching of the panel. So, I tried my hand at shrinking the metal. Heat it up to not too far way from the melting point, beat around the stretch and then cool it rapidly with a wet cloth. To my surprise, no more, or much less bulging and no more Bing Bong of the panel, I would call that a result.
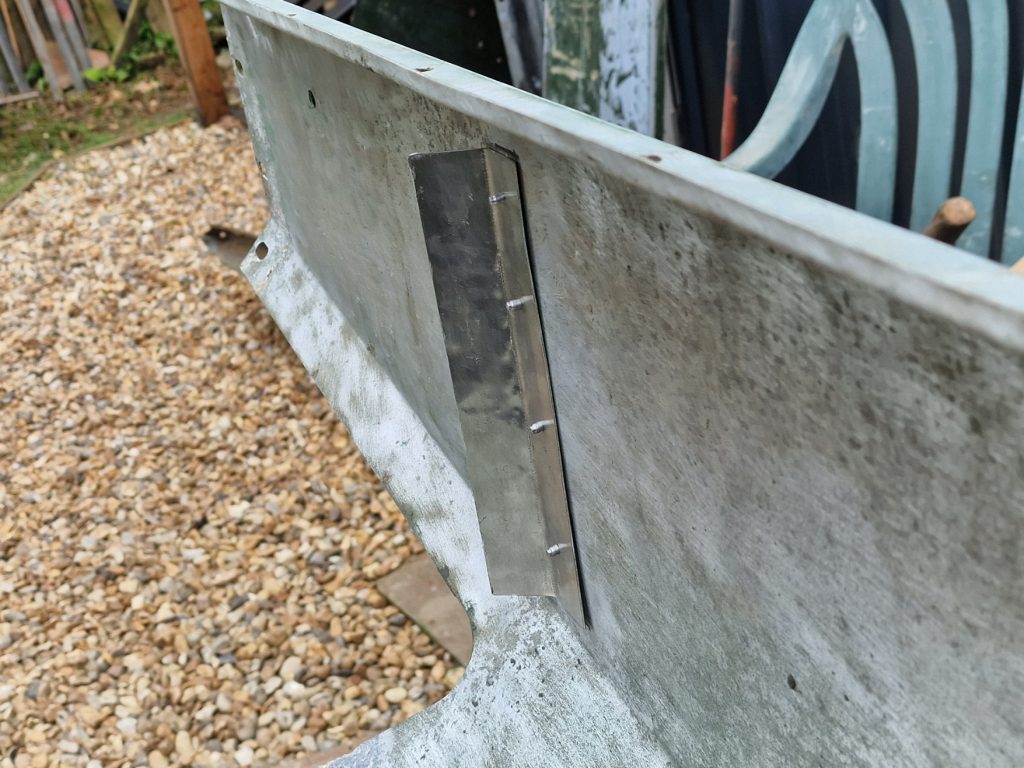
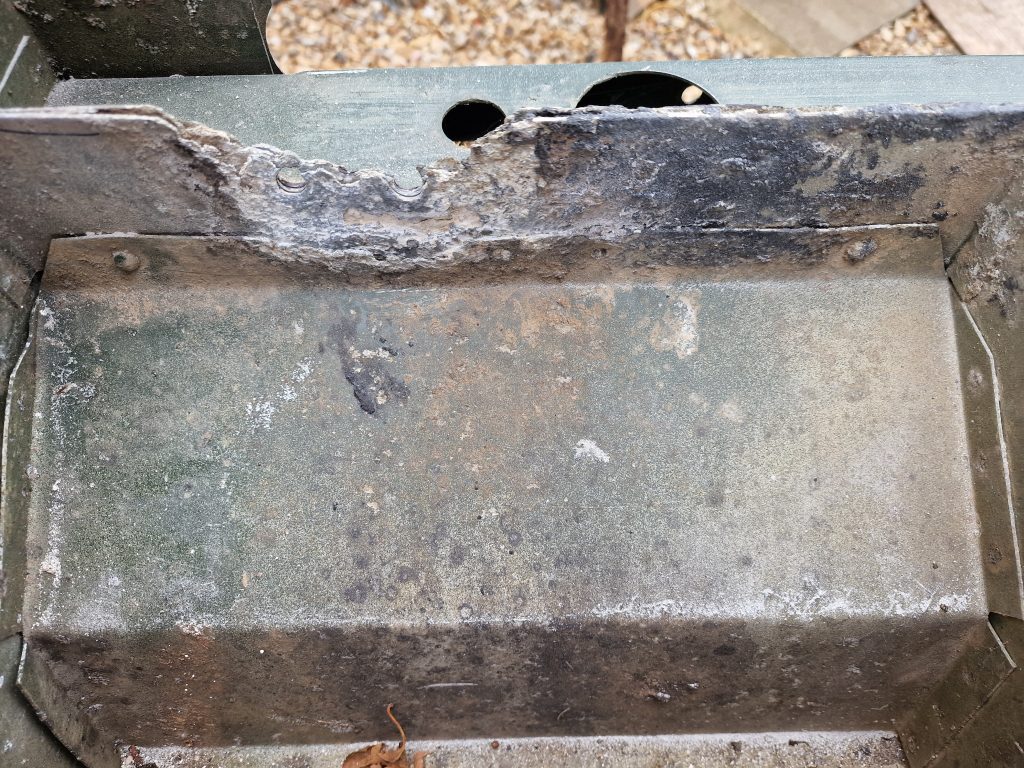
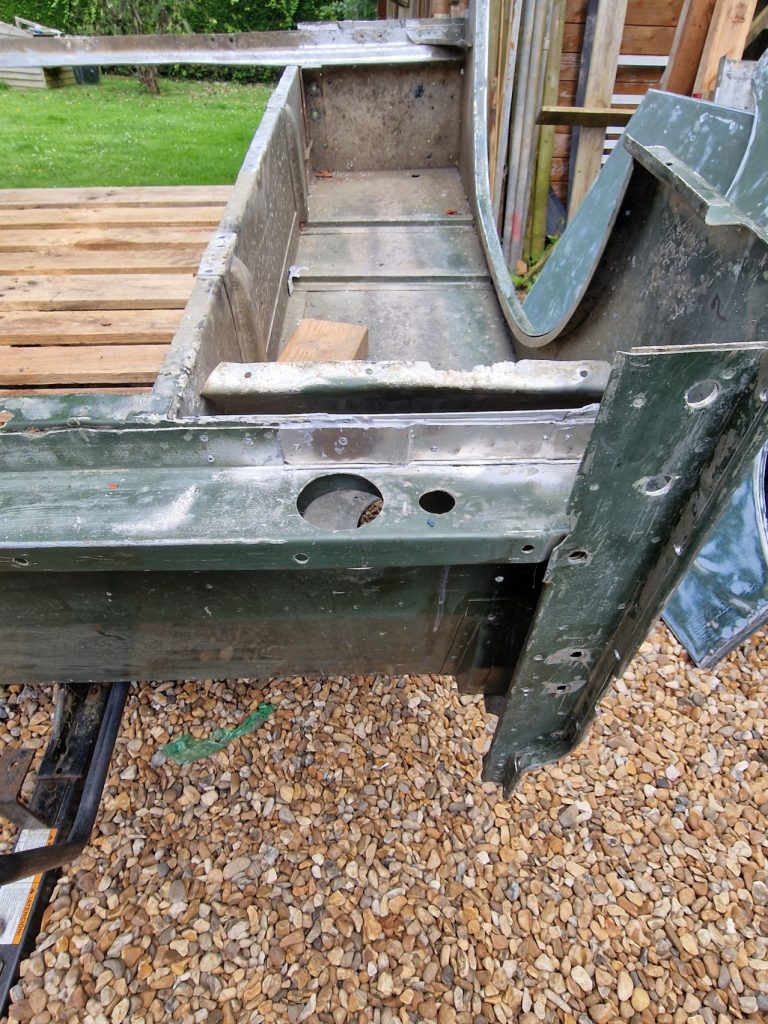
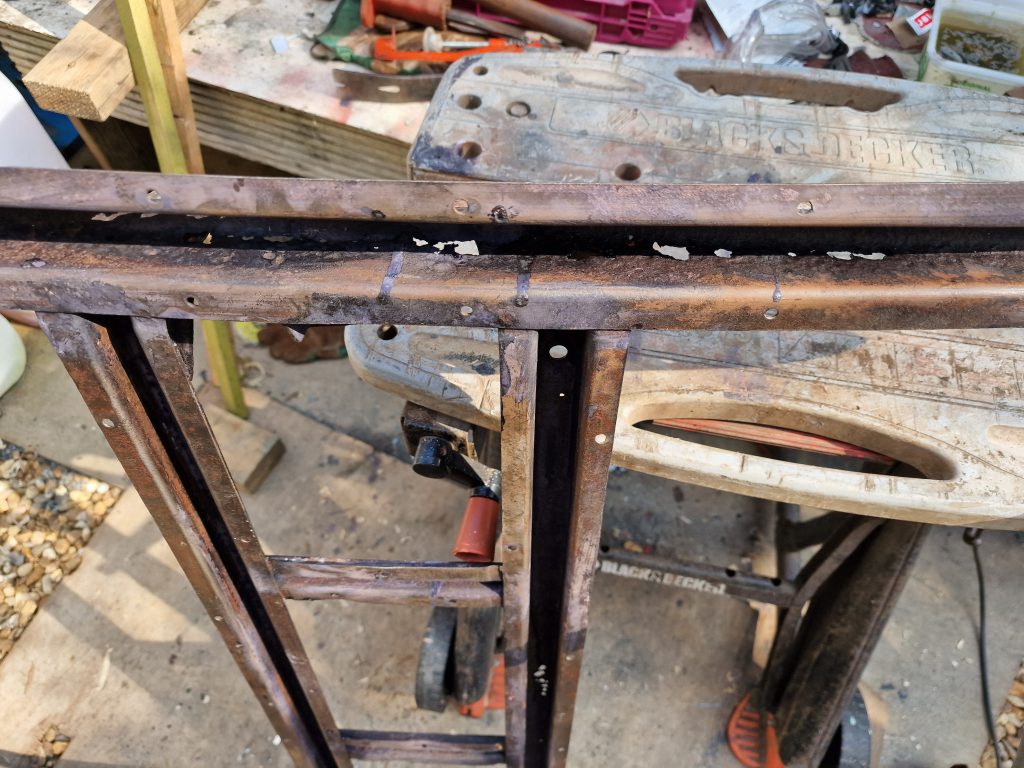
The next part was where the Tub attaches to the chassis, i.e. holds it in-place.
This is an example of what is there to be dealt with.
There are 2 points of attachment (to the chassis) at the front of the tub and 5 across the back. 2 of the back ones are also through the body work, which have corroded. basically, because these are aluminium and they are attached to steel they corrode.
I used the same basic process for both the front and back, only real difference the front ones (in the picture above) have three layers of ally, with one layer being thicker, 2mm, rather than the normal 1.2mm.
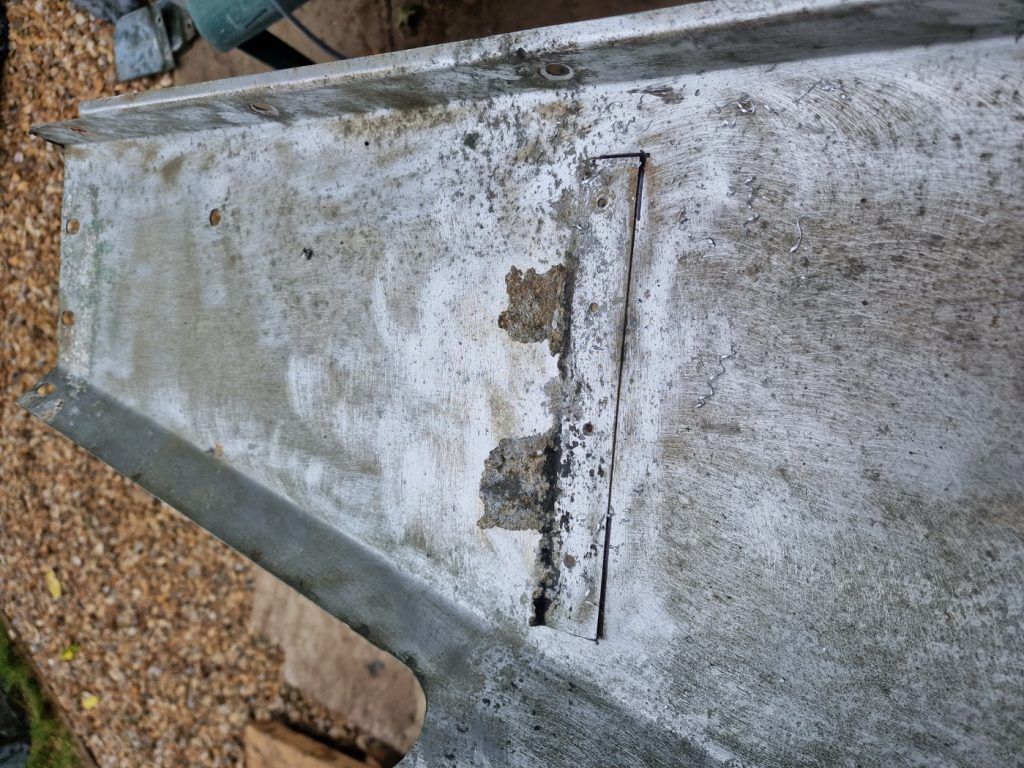
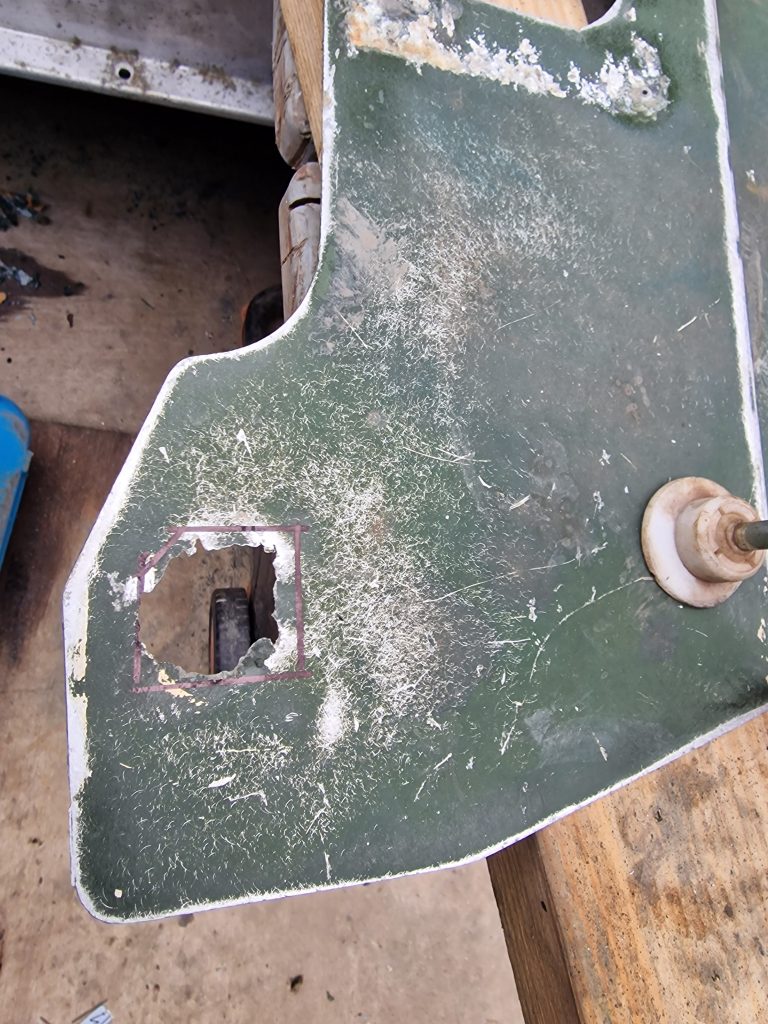
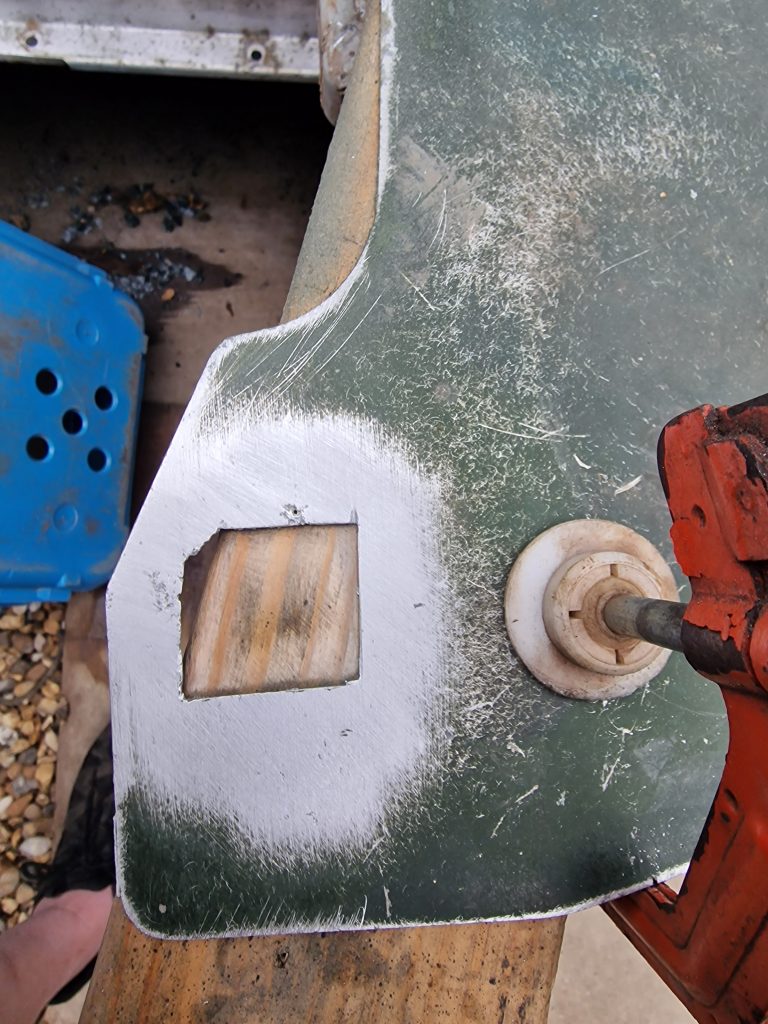
First, get rid of the corrosion, so it was all cut out and cleaned. I also read somewhere that soaking the corrosion area with white vinegar neutralises the corrosion. I guess we will see if that works in a few years time.
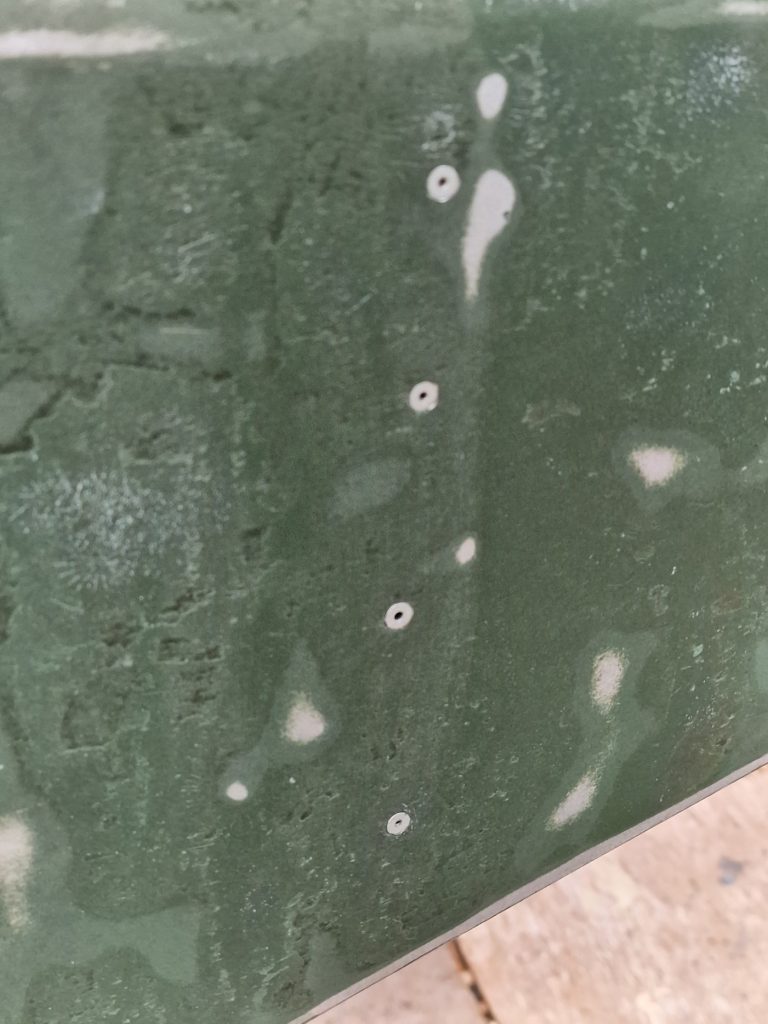
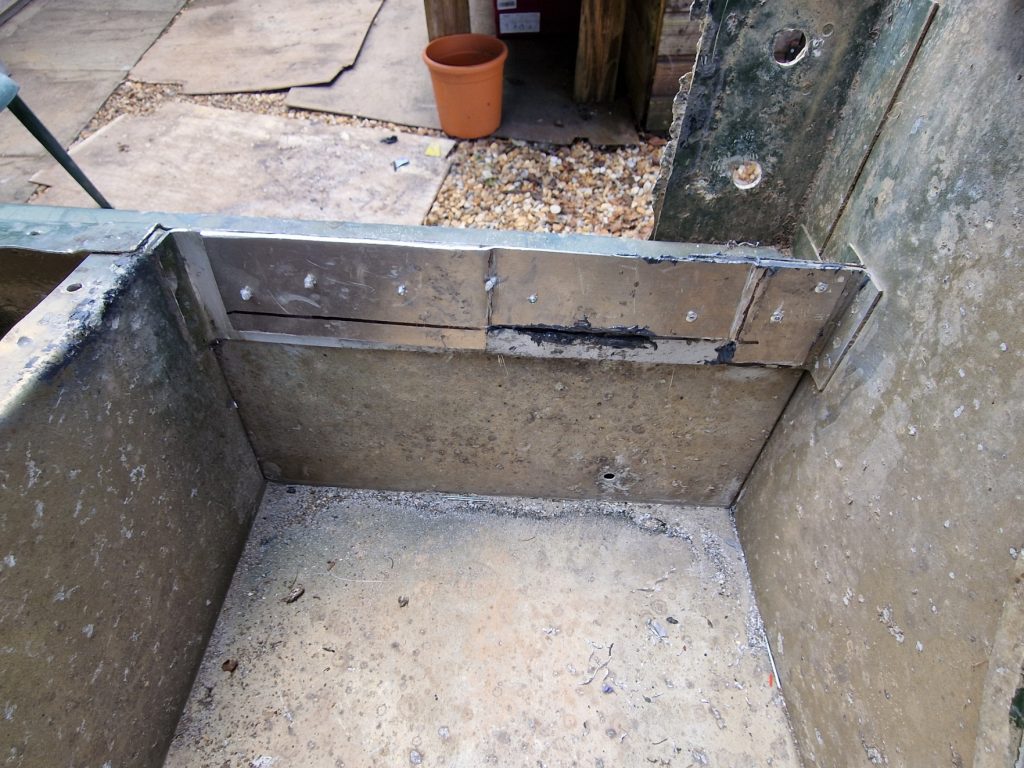
Excuse the finger nails, need a trip to the Nail shop to get them sorted. Anyway, for the rear two, created a patch to slot into the cut out area, and sit behind the panel. These were cold welded in, not rivets as they are visible.
For the front, did the same thing with the thicker material and also for one side inserted two other pieces where they were corroded. Also, the front two were riveted for added strength.
I would love to have the skill to weld these in, but I just dont, and need to keep an eye on budgets. While many I am sure will cringe at this, I’m pretty happy with the results. I guess there is an argument to make to make repairs visible, its a part of the character and history of the vehicle. I’m convinced by the argument, and the repairs will be mostly invisible unless you look underneath.

Last issue with the tub, for now was the floor. Will keep this one simple. basically there are 3 supports that help support the floor, These supports are steel, the floor is aluminium, hence the corrosion of the middle support. the corrosion was cut out, strips of aluminium were cold-welded and riveted in and a piece formed to sit over the top, which was also cold welded and riveted on.
Nearly there. In fact, will keep these final 2 parts shorter and sweeter.
Bonnet
The bonnet is pretty simple, much like the doors, it is made up of a skin and a frame that sits underneath. I decided, thankfully, to take the frame off the skin to clean it up, which revealed lots of little holes. I considered a couple of options here, but you can only, as far as I know buy a replacement H section, not the two end parts, one of which was like a piece of holey cheese. The other option was to buy a complete bonnet and hope the frame was in better condition. I considered asking Nephew Lee to weld it up, but to cut out all the rust and corrosion would leave nothing left. So, what I did, and please dont ridicule or judge me, was to form some pieces of mild steel to sit inside the frame and cold weld them in. I did this after taking off as much rust as I could and treating it with rust converter. The fix, you wont see when its all back together.
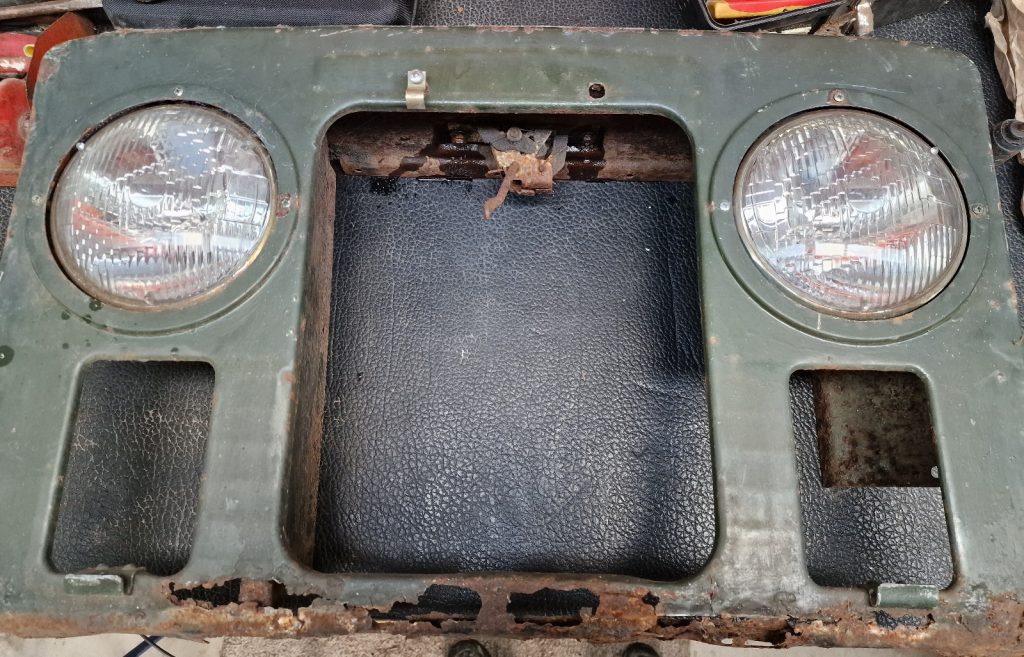
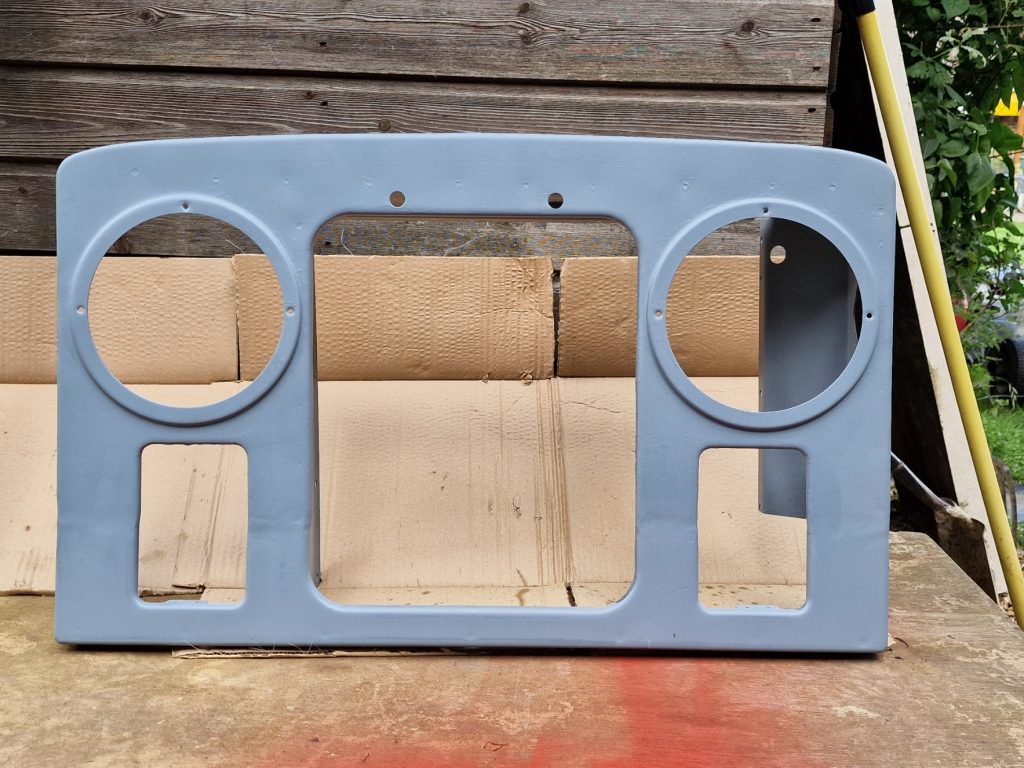
So final part, the front grill. This is the part, when Isobel is on the road, most people will see in their rear view mirror. The bottom of the panel was basically falling apart. Another repair panel from Paintman Panels, off to Lee to have the rot cut off and new panel welded in, really happy with the results. Little bit of fettling to make the welds invisible as much as I can, but a massive improvement.
Ok, so a really long one this time, if you get here well done, and thank you.
Next up there will be lots of sanding, cleaning and perhaps a little filler (but not much I hope). All with the goal of getting everything ready for some paint at the end of August 2024.
Now I have painted 3 cars in my life, 2 with my Dad, a Morris Minor and a Cortina Mk3, which turned out pretty good and one by myself an Escort Mk2, outside, down the side of the house with a rather suspect compressor which to be fair, was a really crap job! So hoping for a much better result when I tackle this one with a newly purchased LVLP spray gun.
So, I have the list of paint and stuff I need, I know where I am getting it from, I know what it will cost me, all I need now is a bit of good weather, a bit of luck and you might, just might, be seeing some nice shinny, Mid Bronze Green body work in the next article.
Thanks for reading and as mentioned, with a little good fortune, some decent weather Isobel might have a body to be proud of.
Leave a Reply