As I thought, its been a while since the last post, for many reasons, ordering parts, buying some new equipment for the workshop, weather (not ideal when its pissing with rain in the workshop) and finally, my Mother In-Law being poorly, and sadly passing away just after New Year.
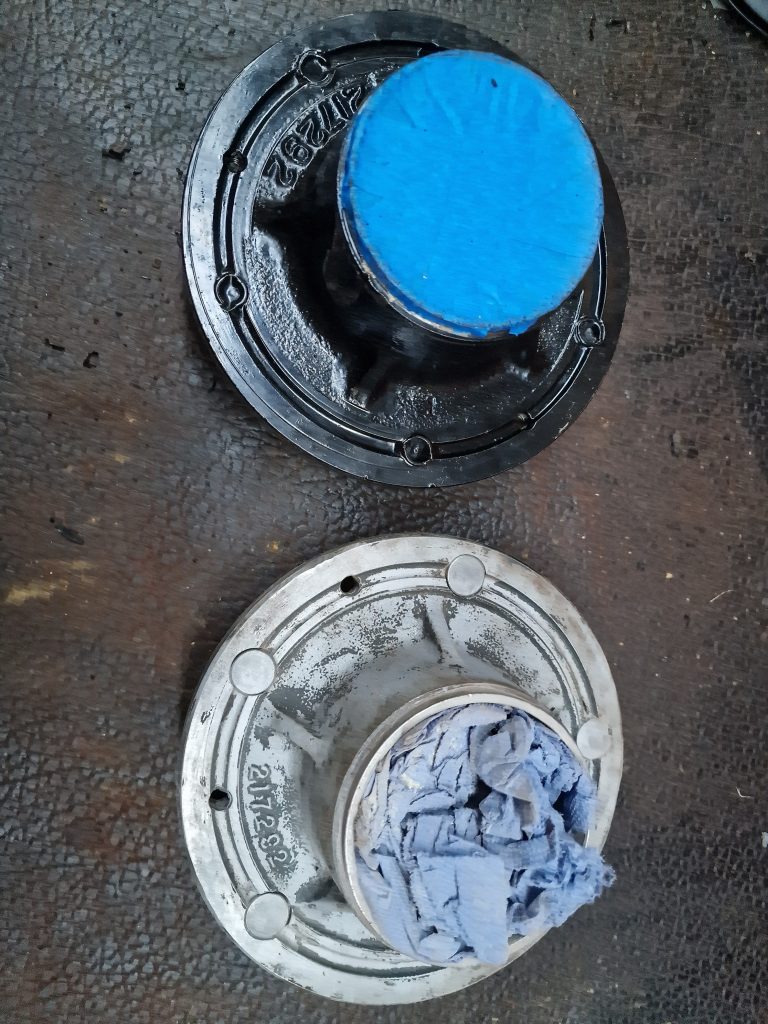
The last article was about the strip down of the Front and Rear axles. One of the major things I wanted to sort out from that was the Hubs, I had a real mix, some, actually all bar one with some studs pulled out, one that didn’t look original and one that had the studs welded in at the back.
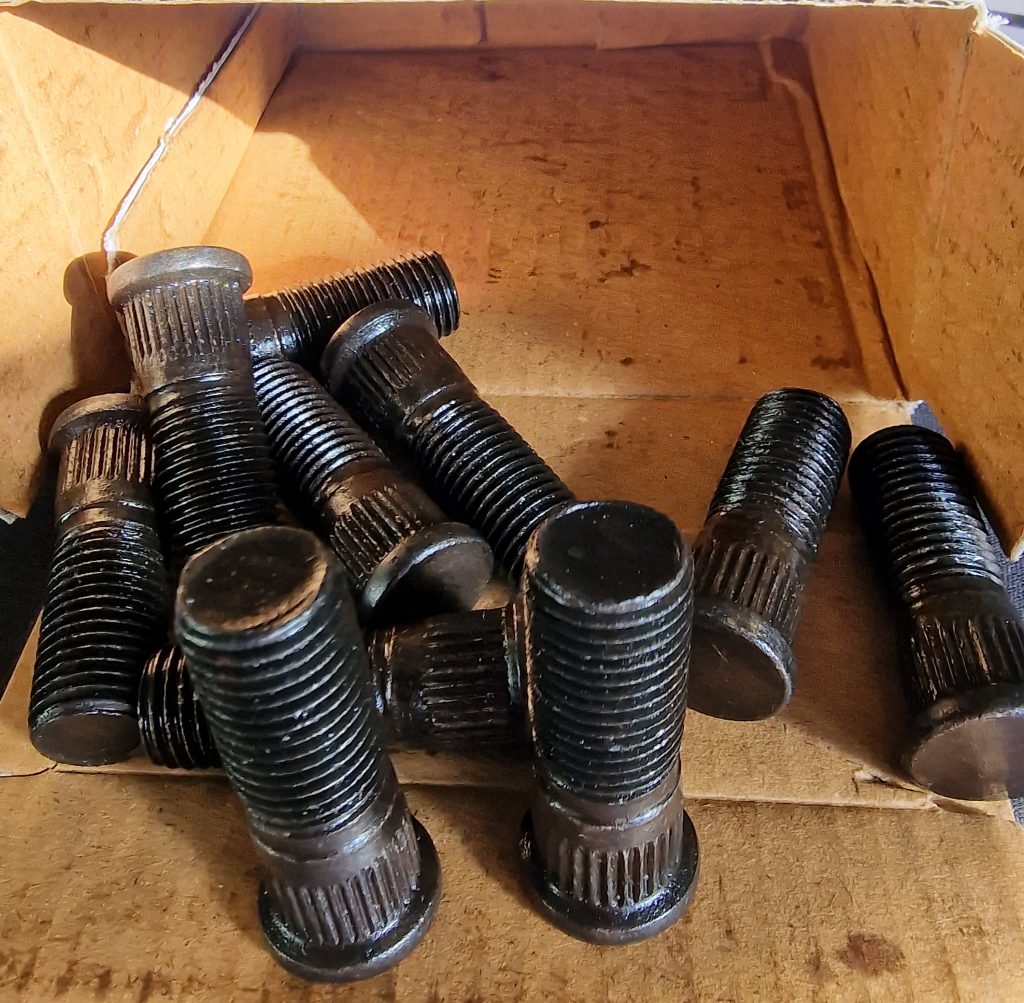
So my first purchase of new parts was some new studs. Pull in ones with original thread size.
In my excitement at getting a Land Rover Series 2a, I joined the Series 2 club, which among many, has some side benefits, such as discounts from suppliers.
I bought enough for all 4 hubs, now all I need is to get them fitted, which requires the old ones taking out, the holes slightly widened and a flat countersink the back of the hub. Beyond my skills, and certainly beyond my toolbox.
These studs were purchased from Paddock Spares Pt No. 561886
Now, I’m fortunate enough to have a Son, who went to School with and continues to be a friend with, a chap who is passionate about classic and custom cars and has recently set himself up with an engineering and vapour blasting business. A side benefit, he lives at a Pub, who serves a great Pint. So a bit of blatant promotion of Josh and his new business, the Pub (Great Food and Beer) and the Spur Classic Car Club, run by Josh and others.


Josh went about working on my hubs, after several chats over a Pint or 2. 3 of the 4 were a great success, the welded one however was beyond saving. What to do with that one, replacements are not easy to find and expensive. So another benefit I have found with owning a Series Land Rover, is that everyone on FB groups and the Series 2 club forum are super helpful.
Cut a long story short, I posted a plea on the Series 2 club forum for anyone with a 1965 Series hub they were prepared to let go. To my amazement, a chap came back to me with “I’ve got 2 from a 1966, if they are any use”. Umm, let me think about it! Yes please. As it turned out one was complete with all studs the other with one stud out, so that one went back to Josh @ JC Vapour Blasting to fit the final 5 new studs, leaving me with 4 original hubs, all with all studs fitted. RESULT!
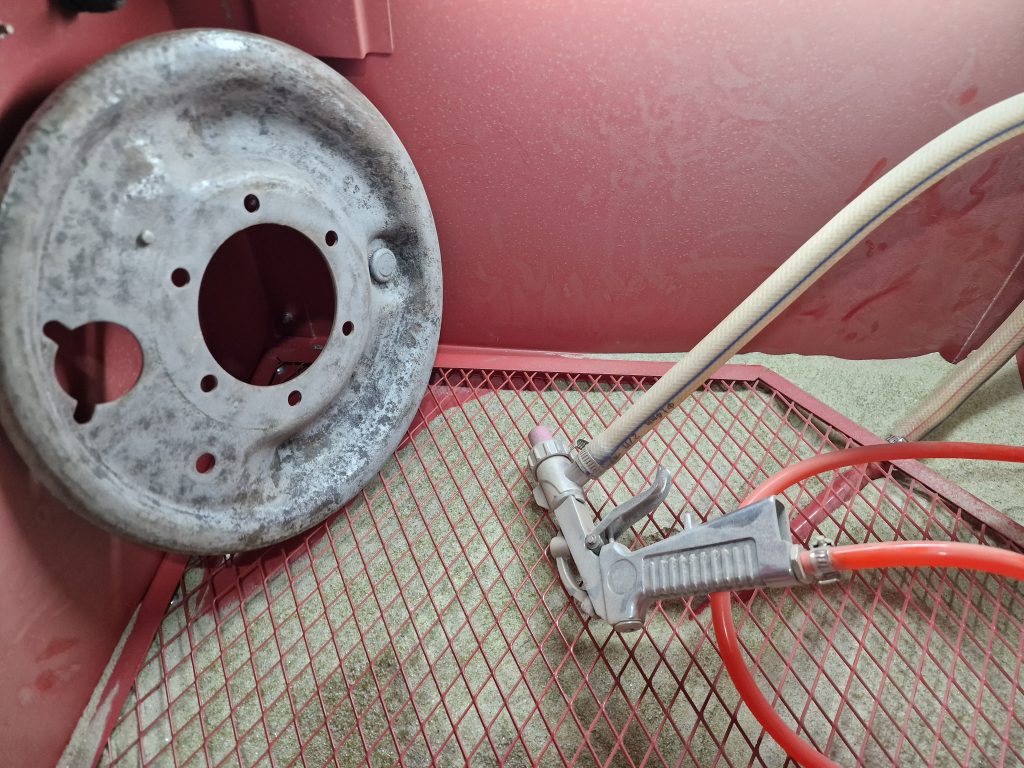
So, onto the next part, cleaning up all the parts I had dismantled, so I got my wallet out again and went and bought myself a Parts Washer and a Blasting Cabinet and an accompanying Compressor. It was at this point I had to drop tools for a while for lots of reasons while constantly thinking about all the stuff that needed cleaning up and all my new toys that I couldn’t use yet.
So along with the Blast Cabinet, Parts Washer and Compressor, I also splashed out on loads of new parts, all from Paddock Spares (So far so good with these guys, quite happy with the service). Below is a list of the parts, which in total were an embarrassingly large amount of money (my wife doesn’t read this blog, so I should be ok), mostly because I have gone for all OEM or Genuine stuff where it counts, and some aftermarket where it doesn’t matter so much (or could not justify the expense).
| Item | Part No. | Qty |
|---|---|---|
| Brake Back Plate Locktab | 277311 | 10 |
| Aftermarket Brake Drum | 10 S2 & 2A | 591661 | 4 |
| Axle Case Breather | 515845 | 2 |
| Axle Case Front Oil Seal | OEM | 217400G | 2 |
| Bearing For Halfshaft | 244150G | 2 |
| Brake adjuster kit (set of 4) | RTC3176 | 1 |
| Drain Plug Washer | FRC4809 | 2 |
| Front Halfshaft Collar | 90217398 | 2 |
| Front Halfshaft Distance Piece | 244151 | 2 |
| Wheel Bearing Lock Washer | 217353 | 4 |
| Wheel Hub Bearing Kit – OEM | RTC3534G | 4 |
| Lock Plate | 236995 | 1 |
| Item | Part No. | Qty |
|---|---|---|
| Front OEM Brake Kit | SWB Pre June 1980 | DA6042G | 1 |
| Full Kit With Swivel Housing (LATE) | DA3181 | 2 |
| Joint Washer | 232038 | 2 |
| O Ring for Swivel Pin Bottom Bearing | 531433 | 4 |
| Rear OEM Brake Kit | SWB Pre June 1980 | DA6043G | 1 |
| Split Pin | 1/8 x 1 1/4 Long | PS608101L | 10 |
| Stub Axle Collar | 599698 | 6 |
| Swivel Lock Stop Plate | 508175 | 2 |
| Swivel Pin Bearing | 217268G | 2 |
| Wheel Bearing Locknut | FRC8700 | 8 |
| Front halfshaft universal joint OEM | RTC3690G | 2 |
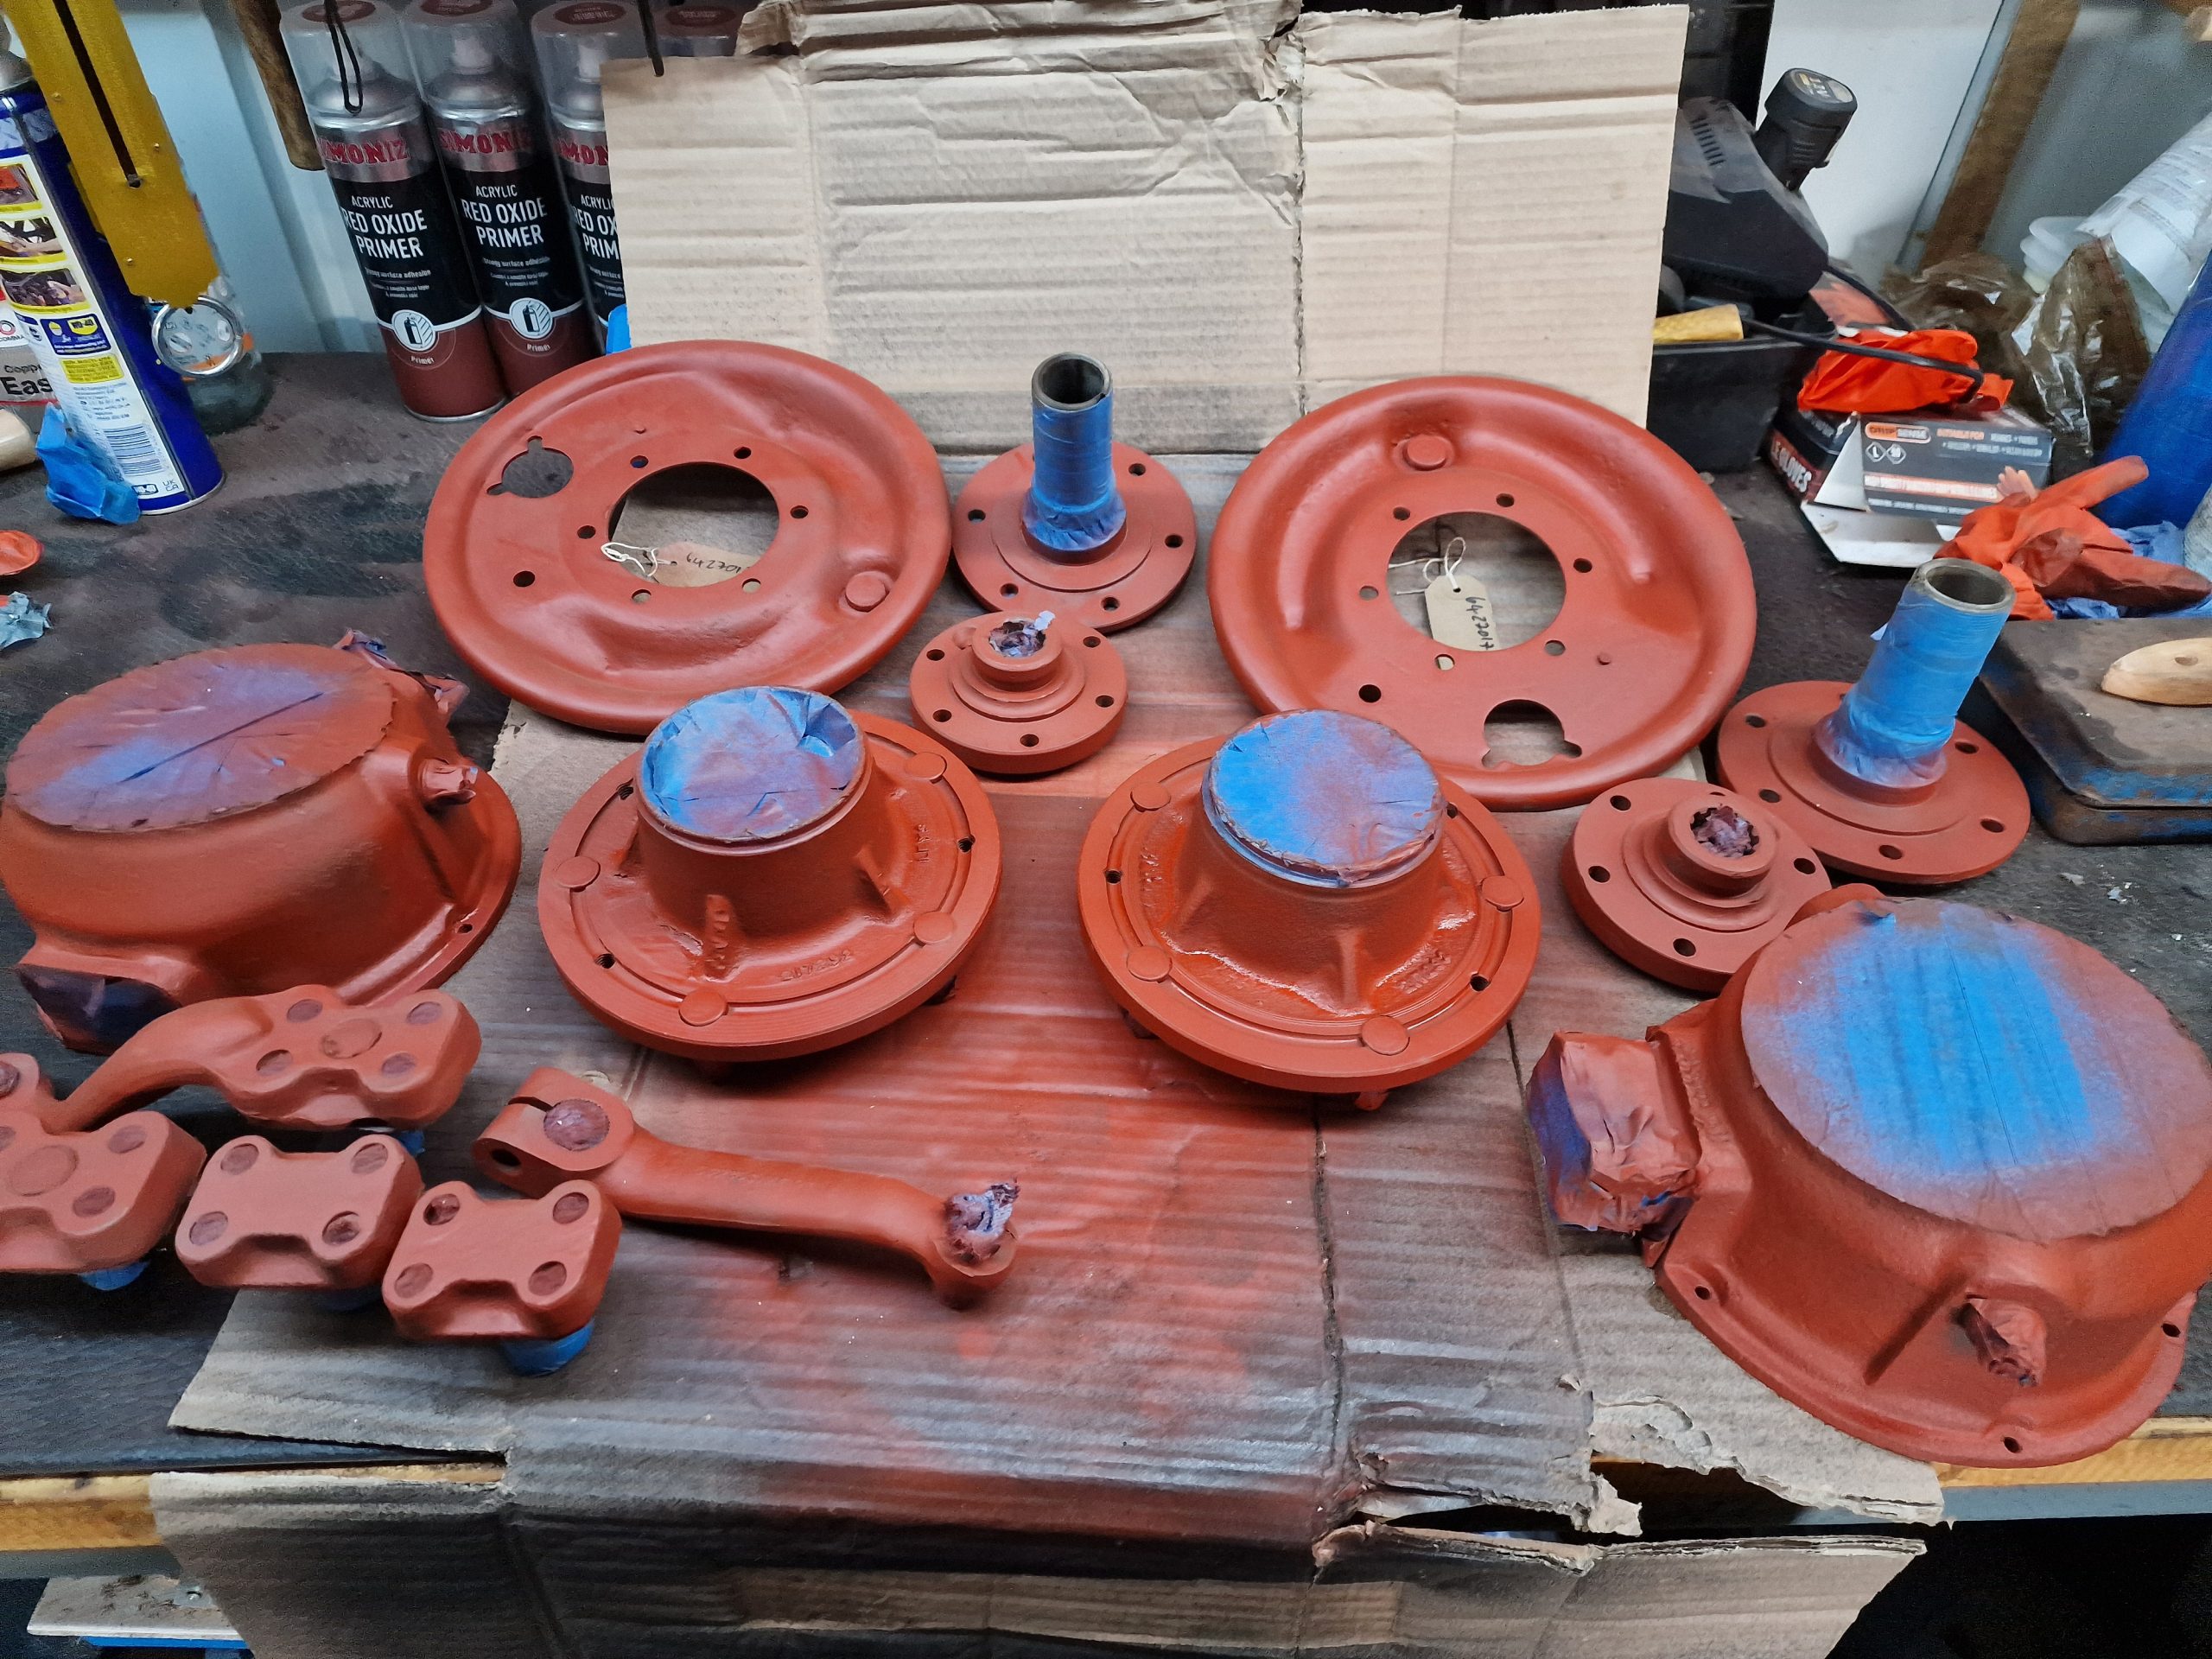
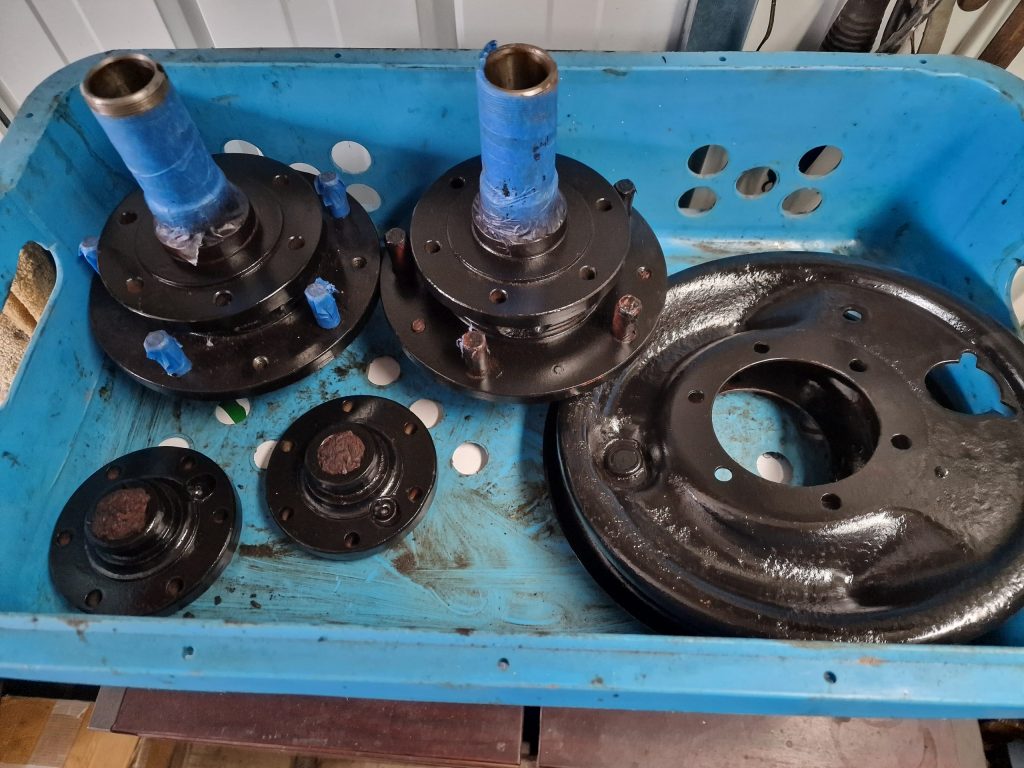
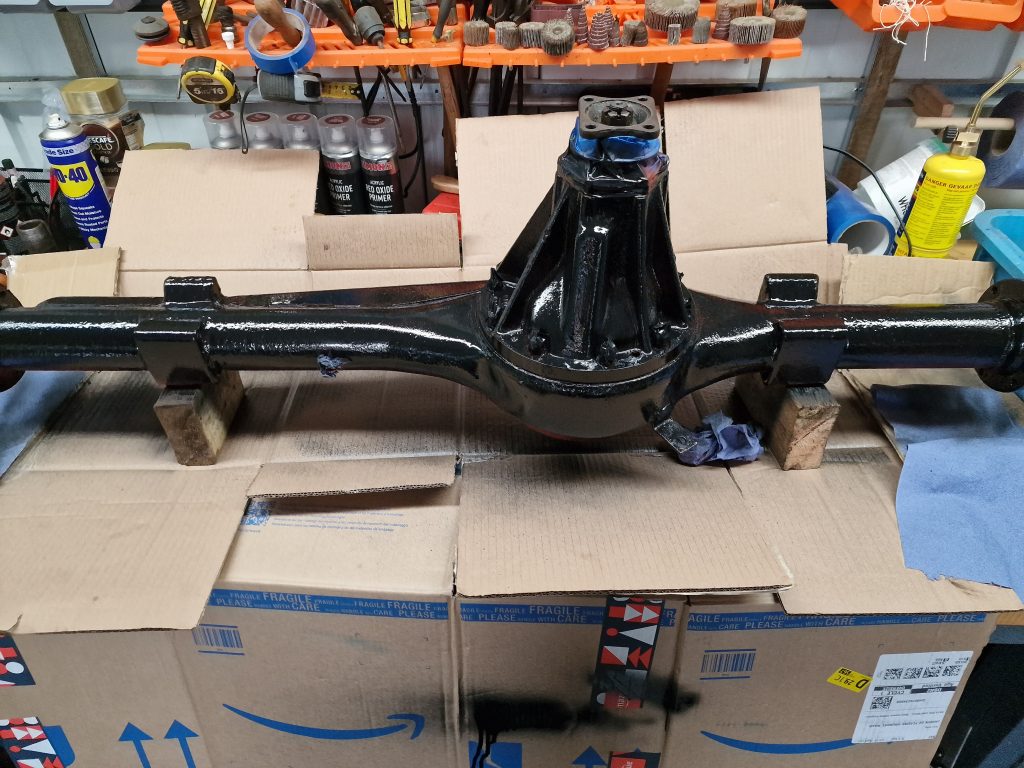
Before starting to fit them, and have still not started with that as I write this, my focus has been on cleaning all the parts and getting a fresh coat of paint on them, so hours at the parts washer, wire brushes and even more time at the blast cabinet I’m pretty happy with progress. Here are some before and after pictures, with some half way.
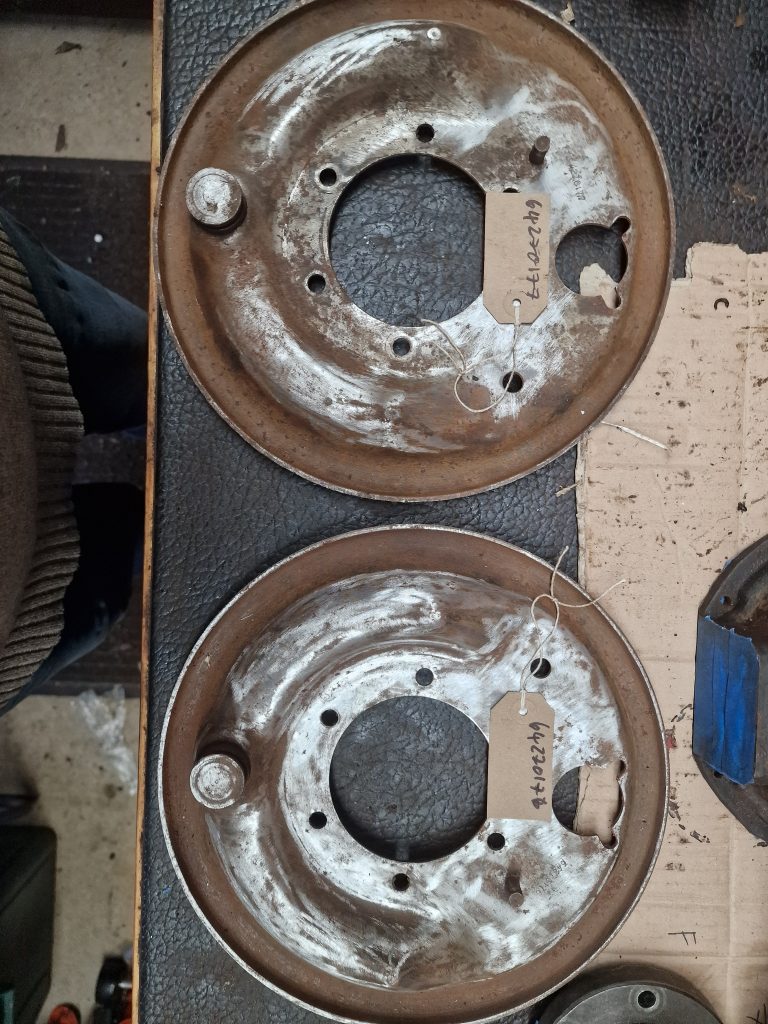
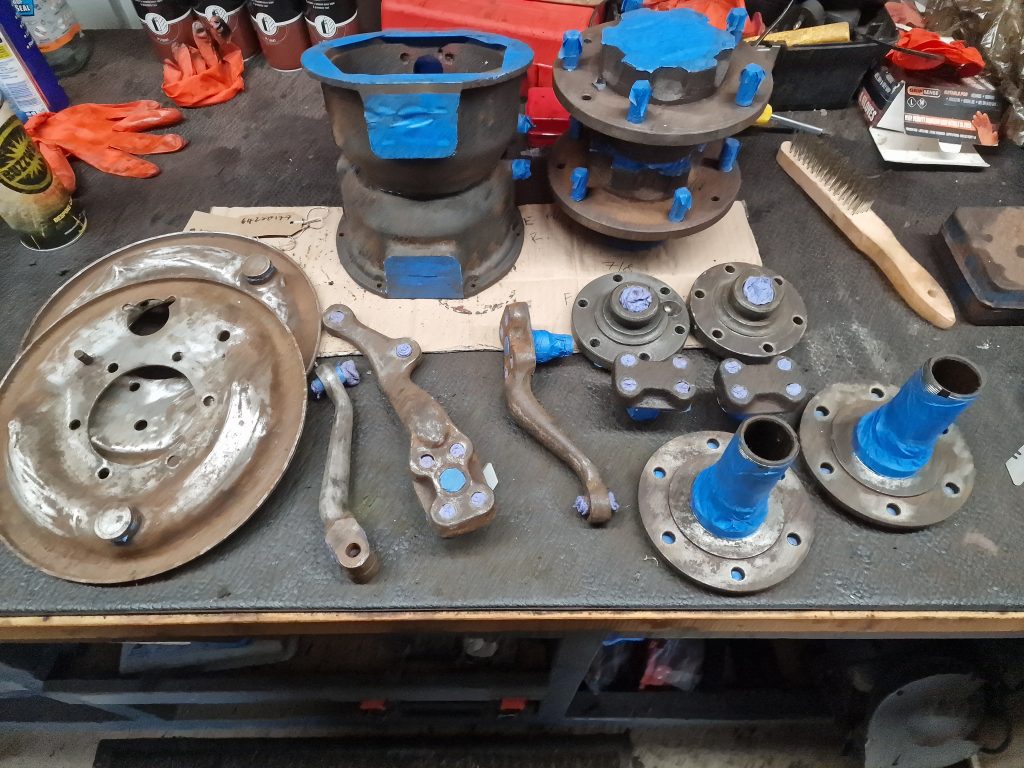
To paint, I am sure this will cause some tut’s and oooh’s, “I wouldn’t have done that” but I painted everything with 1 or 2 coats of red oxide, and then finished with Chassis Black from Buzzweld.

The next step, before assembly will be to check and clean up all the Nuts & Bolts. I did consider buying all new, but wanted shinny! Don’t want to fork out for Stainless, so am going to give Zinc Plating a go along with some new where necessary.
Update on how that goes in the next article.
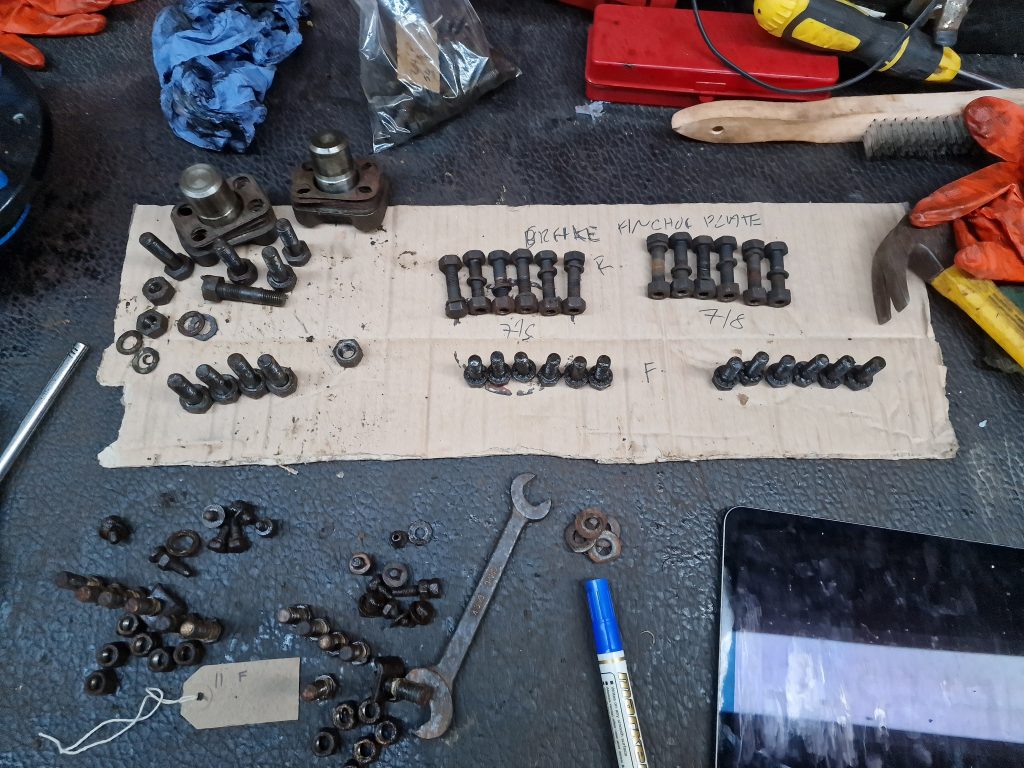
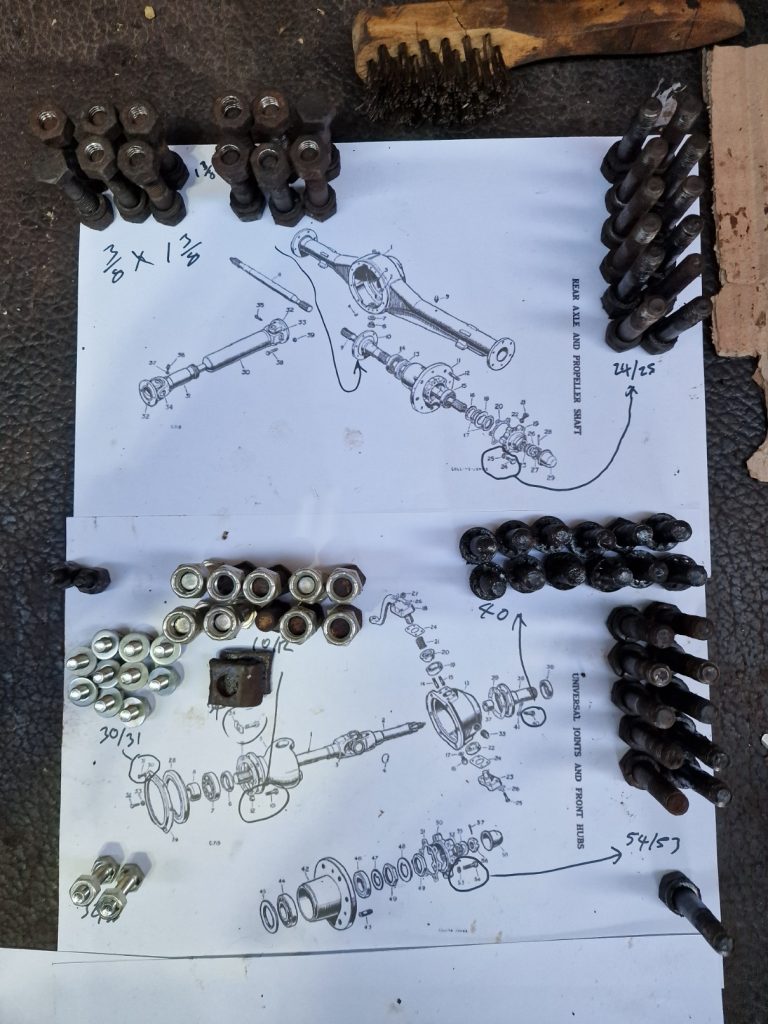
Quick add…
I have gone through all the bolts, nuts, washers and matched them up to the parts diagrams.
So, another order with Paddock Spares for some replacements, where the thread does not look ideal, where the wrong bolts have been used, nuts damaged etc.
The parts diagram mostly has Nuts with split washers, except in a few places where lock nuts are specified. Question, should I replace with all Nylocs or keep it original?
Also, some ordered are Zinc plated, some not, so all that are not will be stripped and plated.
Thanks for reading, hopefully the next one will not take so long.
Leave a Reply