
It was sometime ago I wrote about a failed attempt at re-building my Land Rover Series 2.25 engine, more precisely the Camshaft Bearings. I mentioned I was taking the block to Turner Engineering for them to do it. I also mentioned it needed a good wash inside and out, as recommended, so that was done.

To the re-build, but first, a quick look at all the new parts.
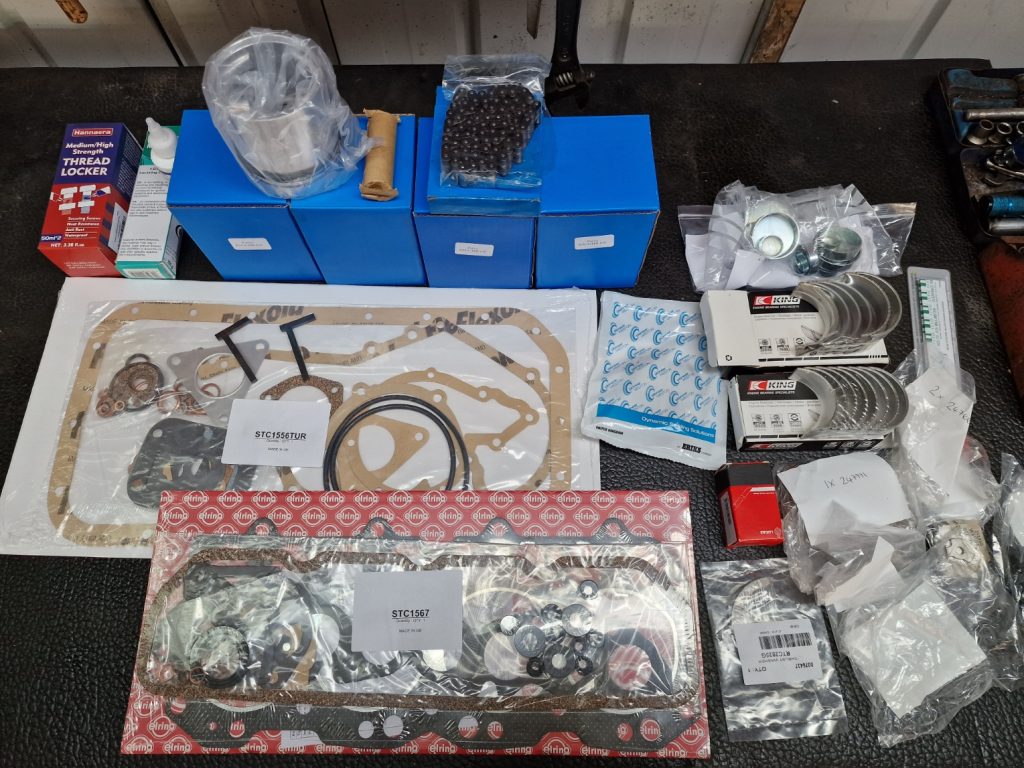
CRANKSHAFT
1st job was to make sure the bearings and everything else was in spec. For info, the Crankshaft has 3 Main Bearings, some engines are 5 bearings, but mines a 3.
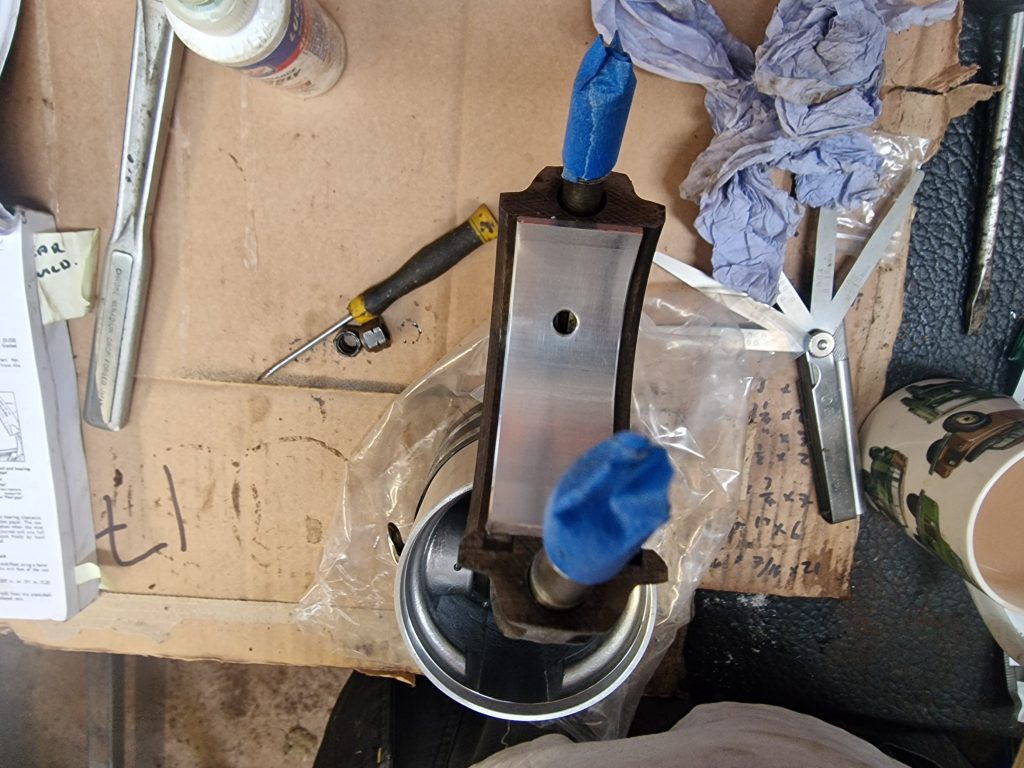
First thing is to make sure all the bearing caps fit correctly, which means putting them on, tightening to the correct torque, and then loosening one side. A feeler guage is then used to measure the gap on the loosened side. No Pictures of this, but did do something similar with the piston connecting rods, which is shown later.
Next is to make sure that the gap between the bearings and the journals are within spec. To do this, the lower (or when the engine is up the right way, top bearing) is put in-place and carefully locate the crankshaft onto the bearings.
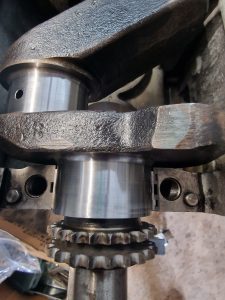
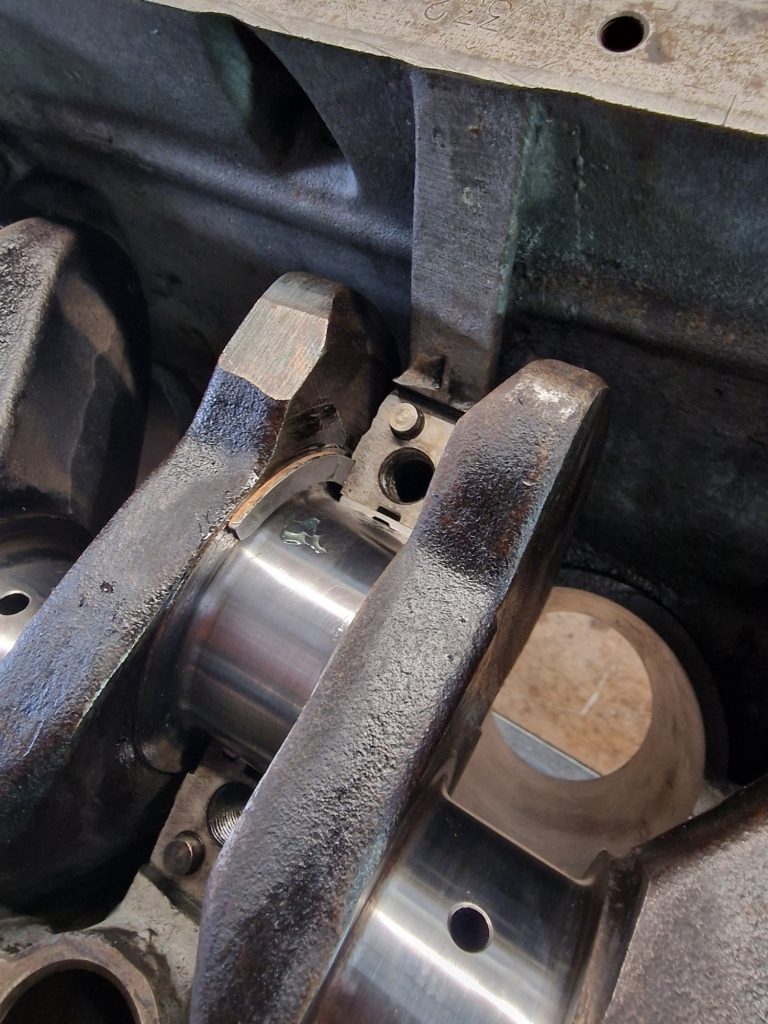
This is the front bearing journal, and you can just see the bearing sitting underneath it.
A small piece of Plastiguage is placed onto the journal and then the cap and bearing located and torqued to the right setting.
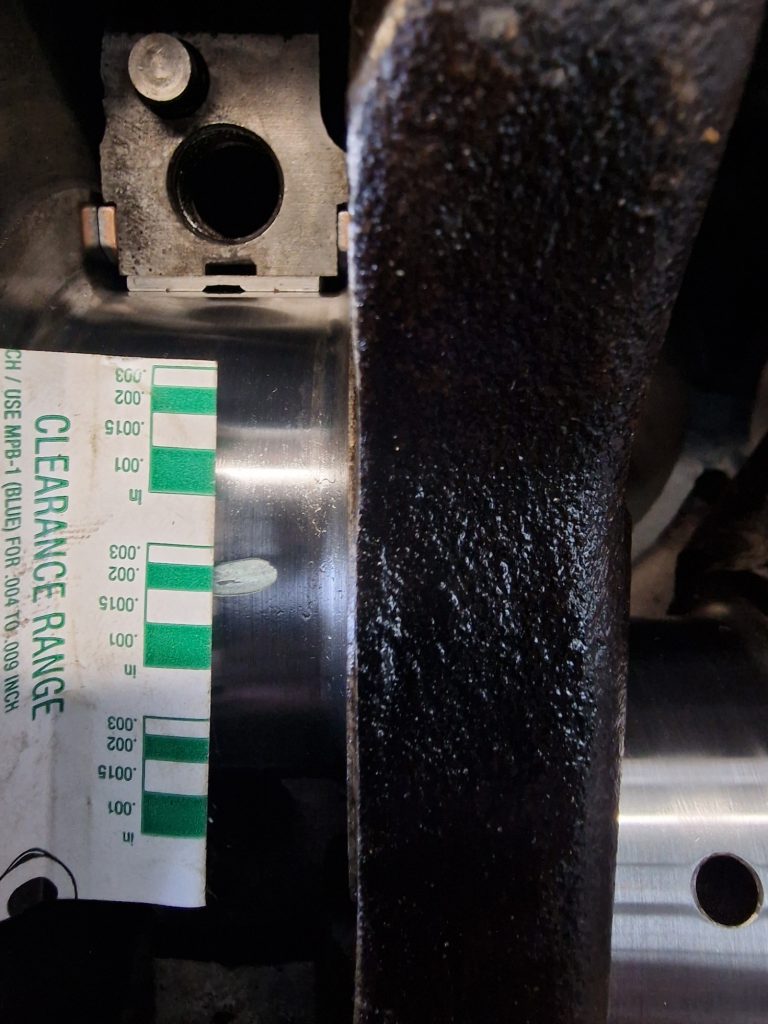
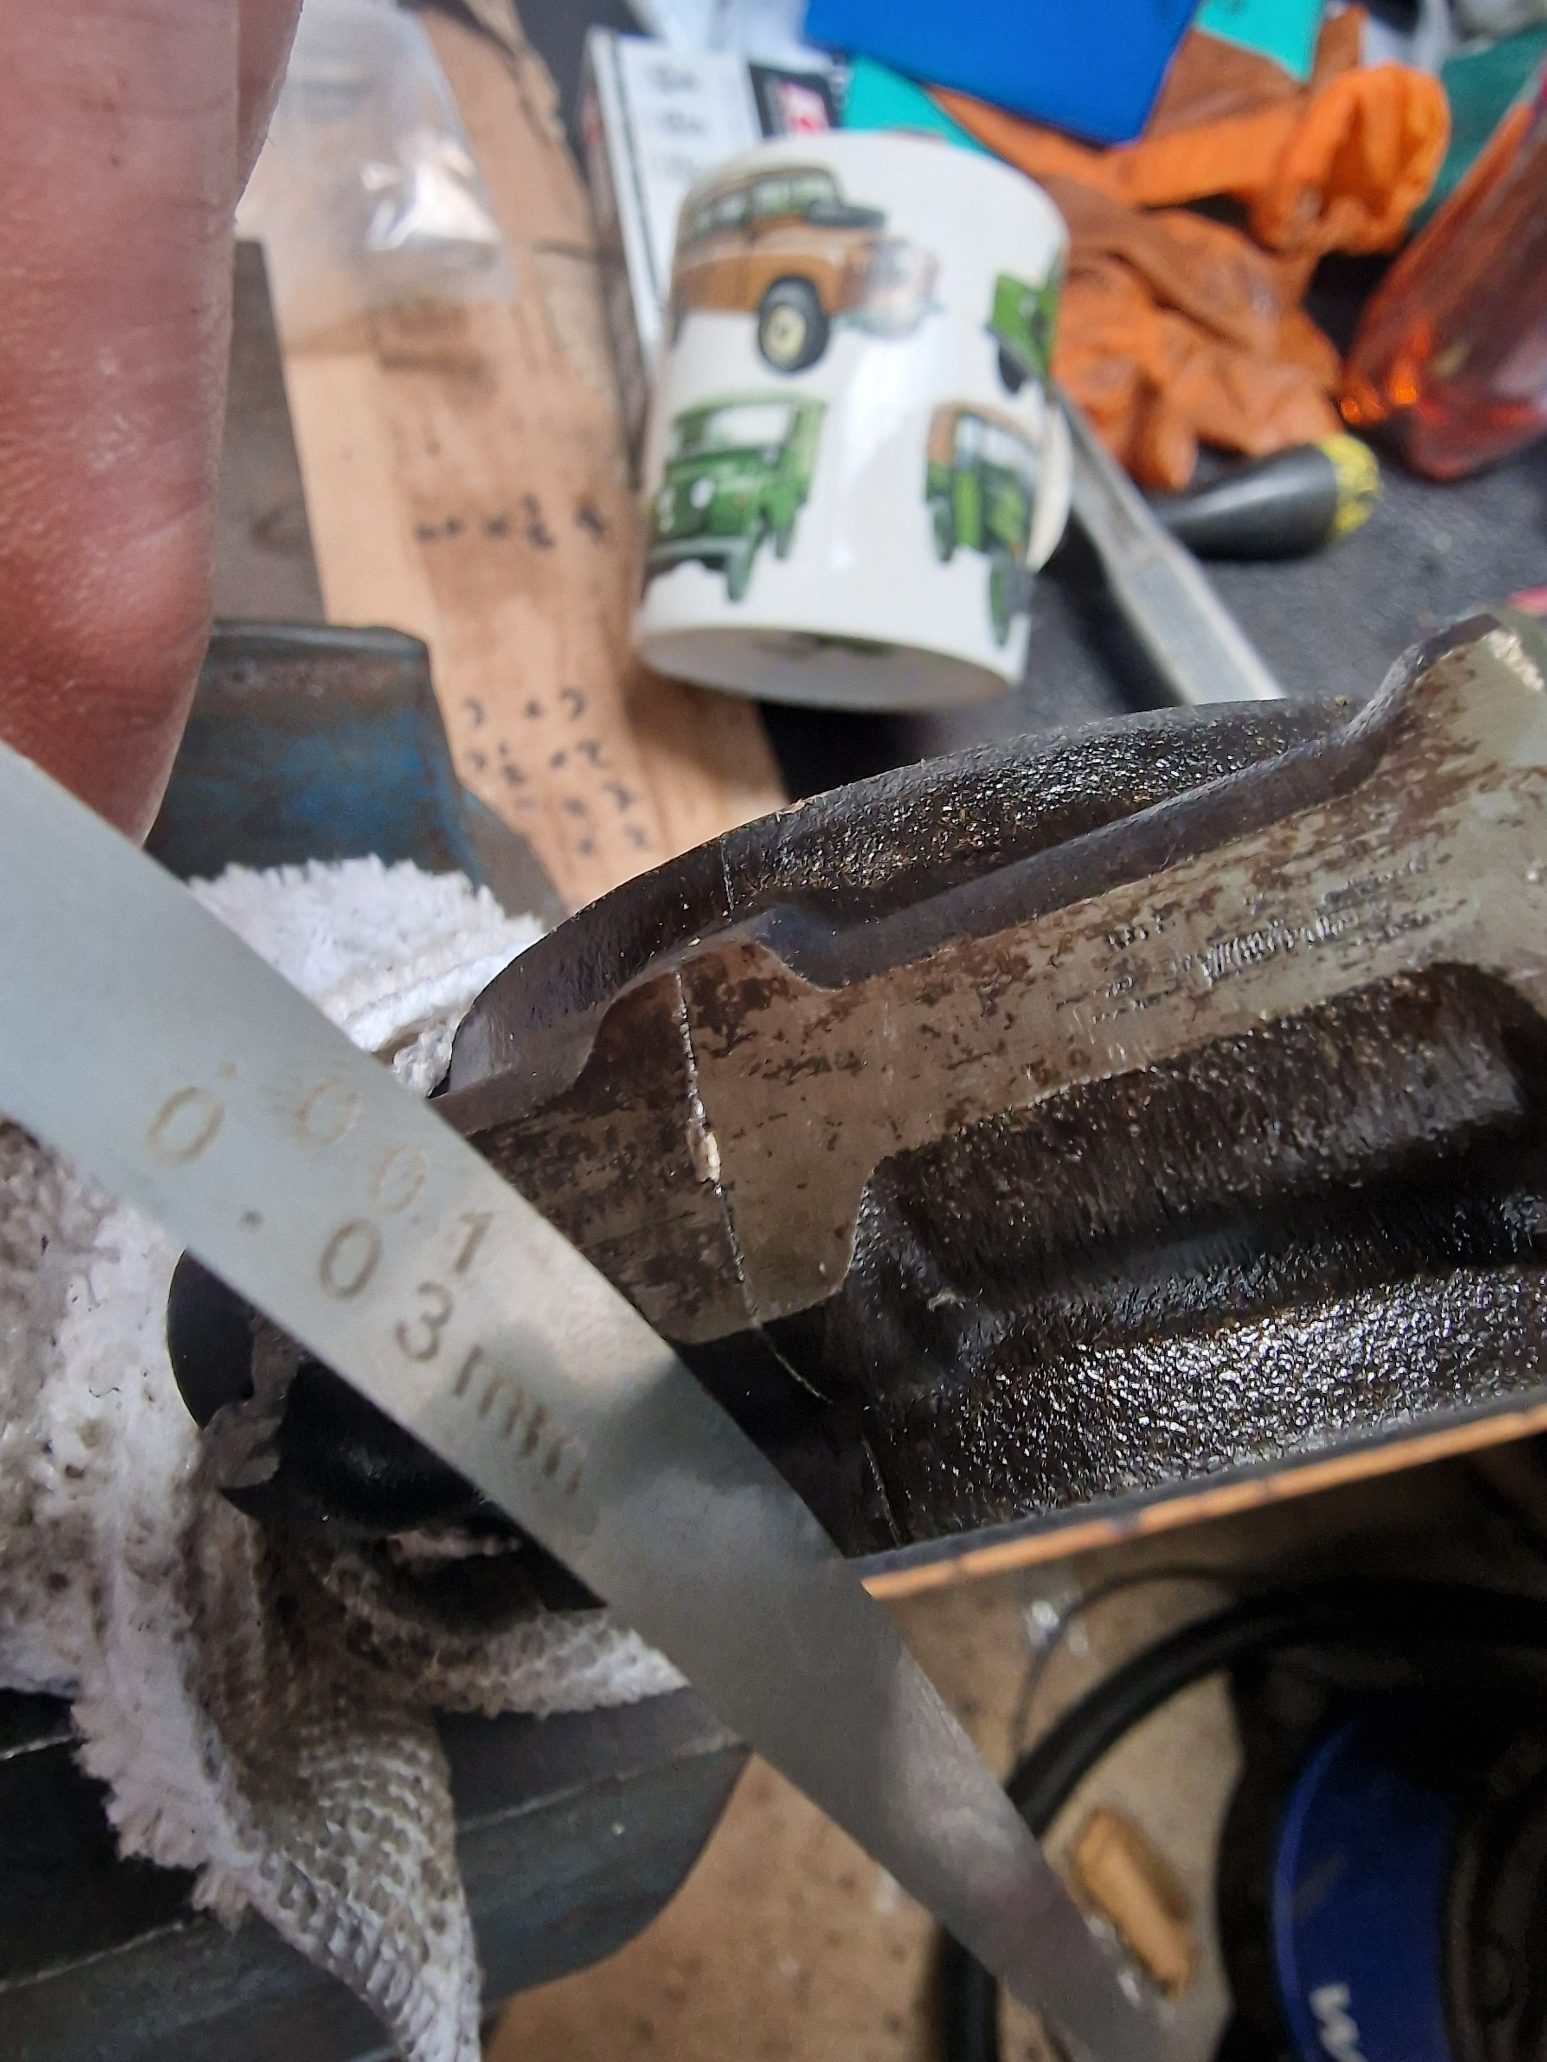
The image here, is after the bearing cap was removed, allowing the expanded Plastiguage to be measured, checking the tolerance, which should be .001″ to .0025″. Did this on all three journals, all within spec.
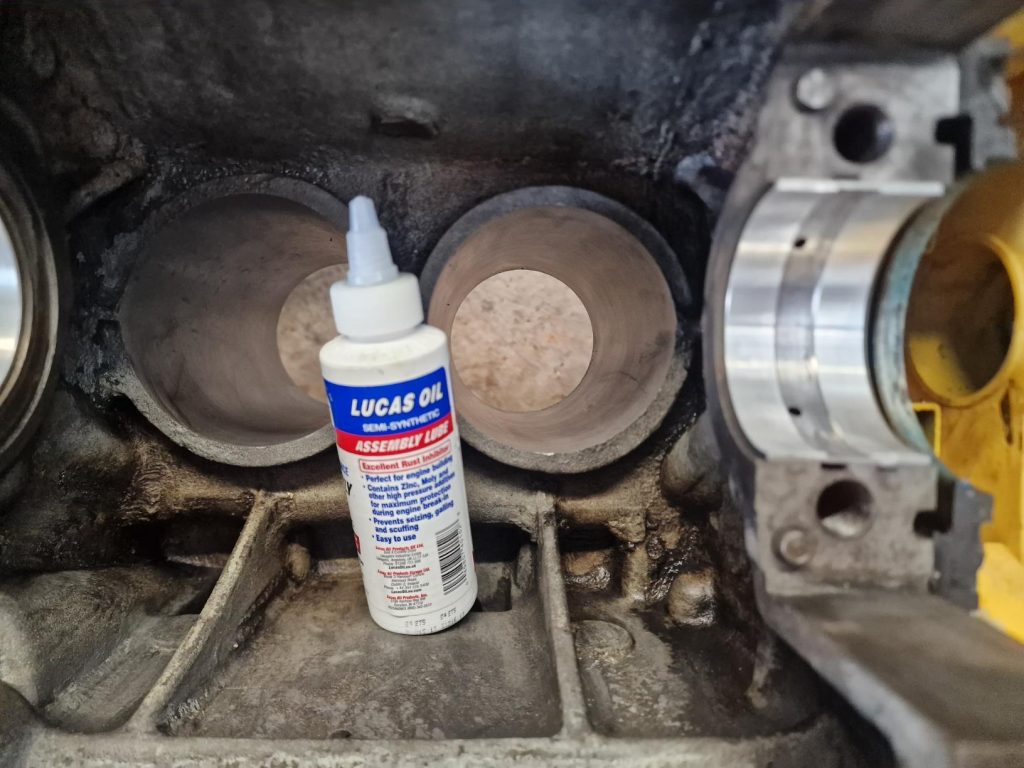
After it was all checked, time to put the crankshaft in properly, which simply meant remove it, clean the journals and bearings with brake cleaner and then apply liberal amounts of Assembly Lube, and re-fit the bearing caps.
Assembly lube is a very sticky oil, that does not run off, which means it can be left a while before getting oil circulating the engine when its running.
All the time during fitting, tested to make sure that the crankshaft didn’t lock up and felt smooth in rotation.
Bearings 1 & 2 are relativly straight forward, however the rear bearing cap incorporates some oil seals.
There are 2 seals and a seal retainer that all need to be put on.
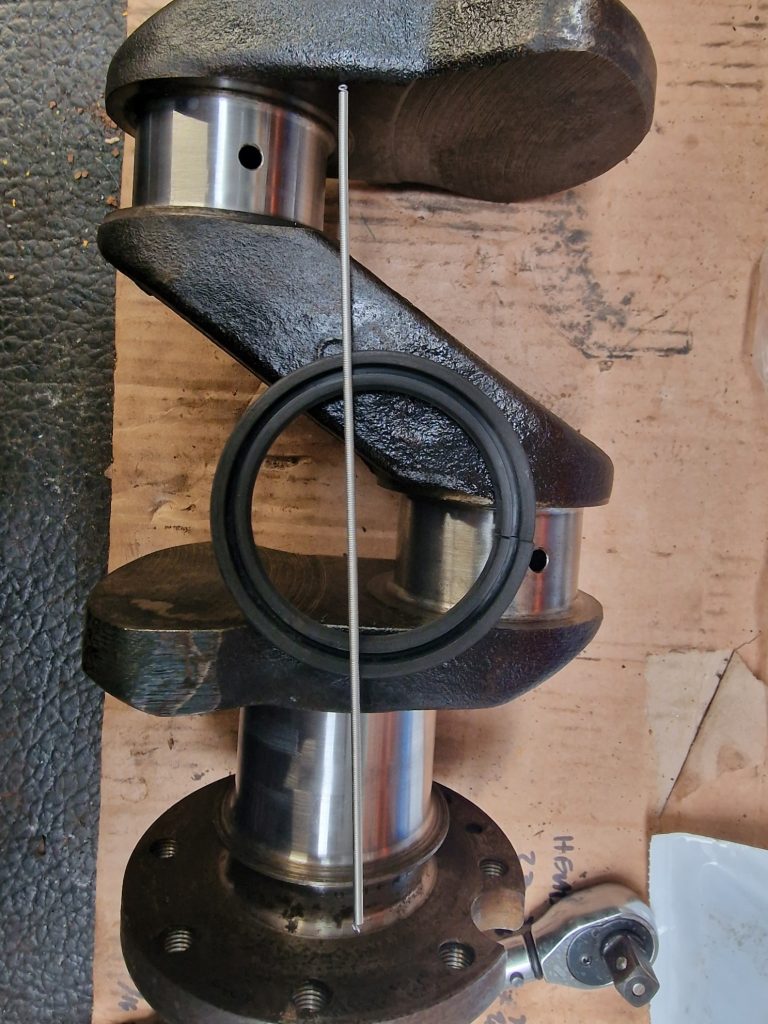

This is the rear seal, which comes in two parts, the seal itself, which is split to allow it to be located over the crankshaft journal, and a spring.
The seal is opened up gently, and placed over the Crankshaft. The sprint is then connected together and gently inserted into the back of the seal.
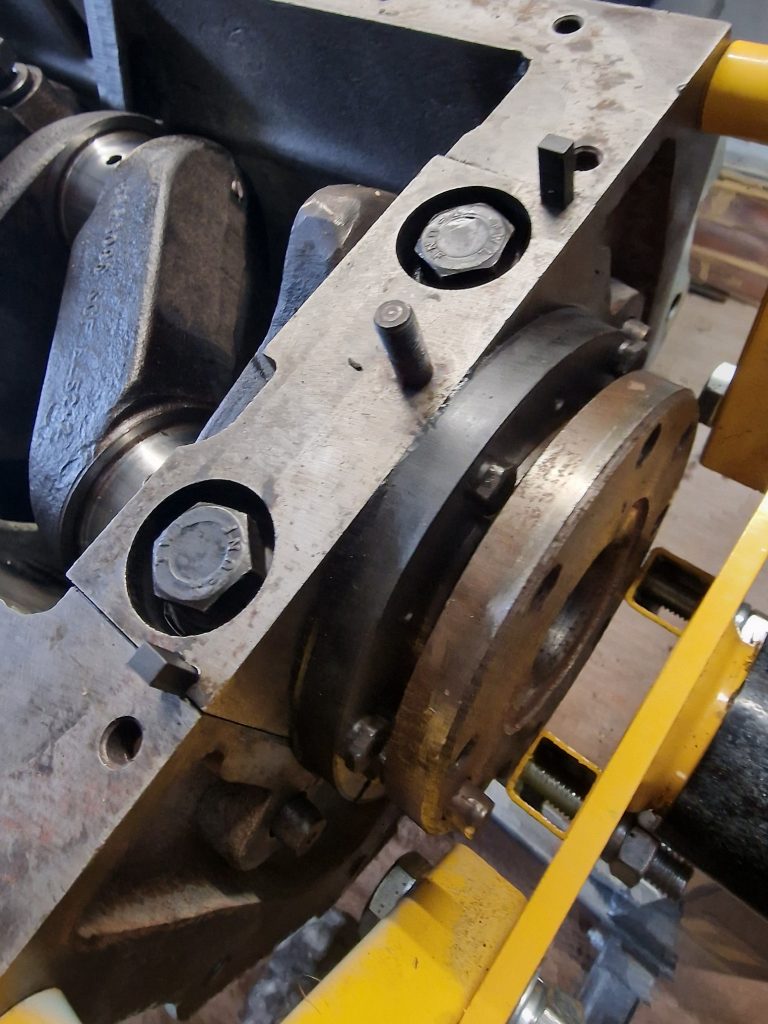
This is the rear bearing housing, and you can see the top of the T seals poking out ( a real challenge to get the bearing housing in, with these seals in-place). Attached to the bearing cap, you can see the Oil Seal retainer.
I have to be honest, I had a couple of goes at doing this. the first attempt, I used rubber T seals, which didn’t go well, it locked up the crankshaft. Removed them, and put in cork T seals instead, which went much better.
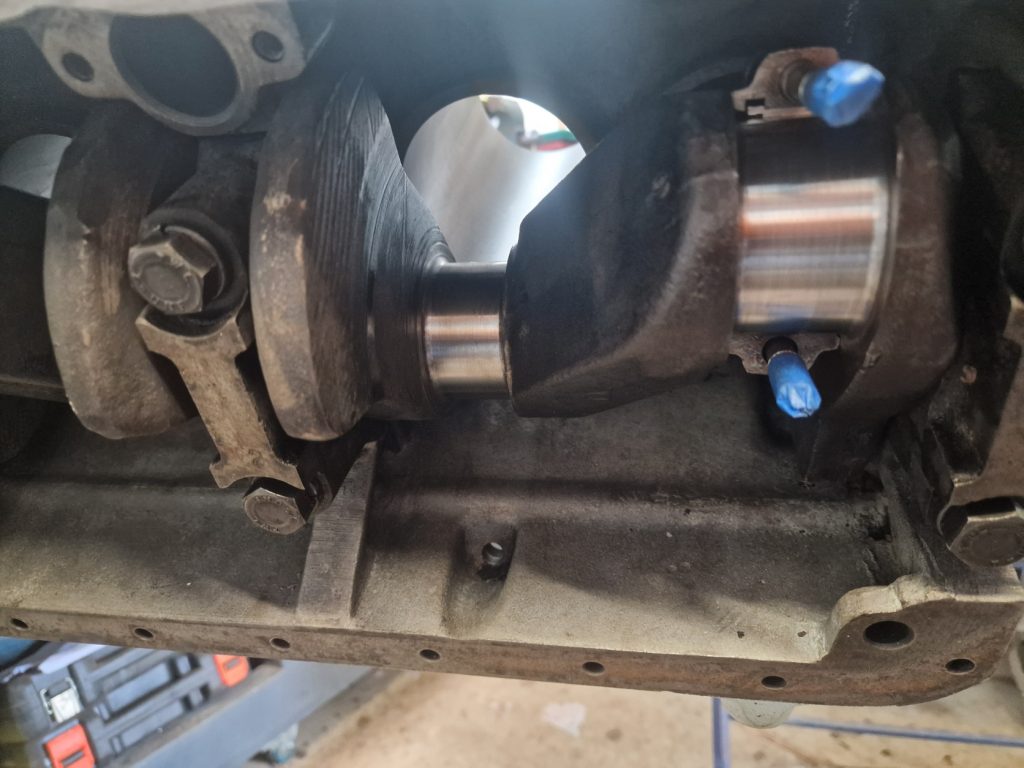
Thats the crankshaft in and turning nicely.
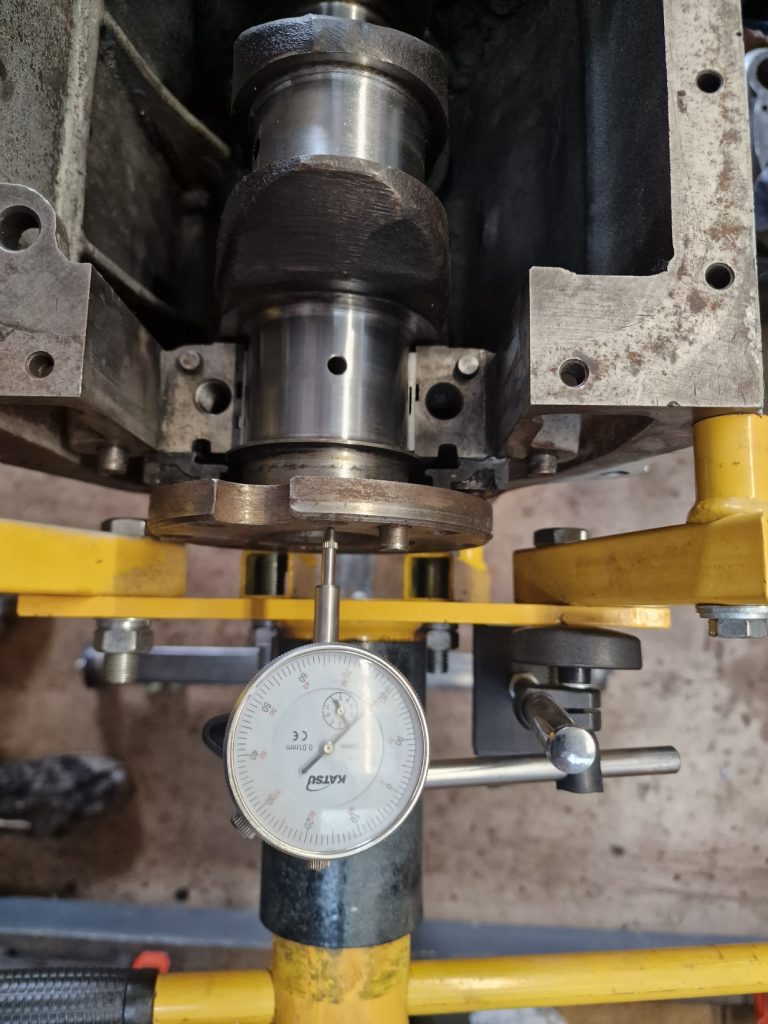
Couple of things I didnt mention above, was that Bearing 2 (middle one) has two shims, one either side, this is to manage end float of the crakshaft, which must be measured and shown to be in tolerance. (the image measuring it, is not the actual method!!! )
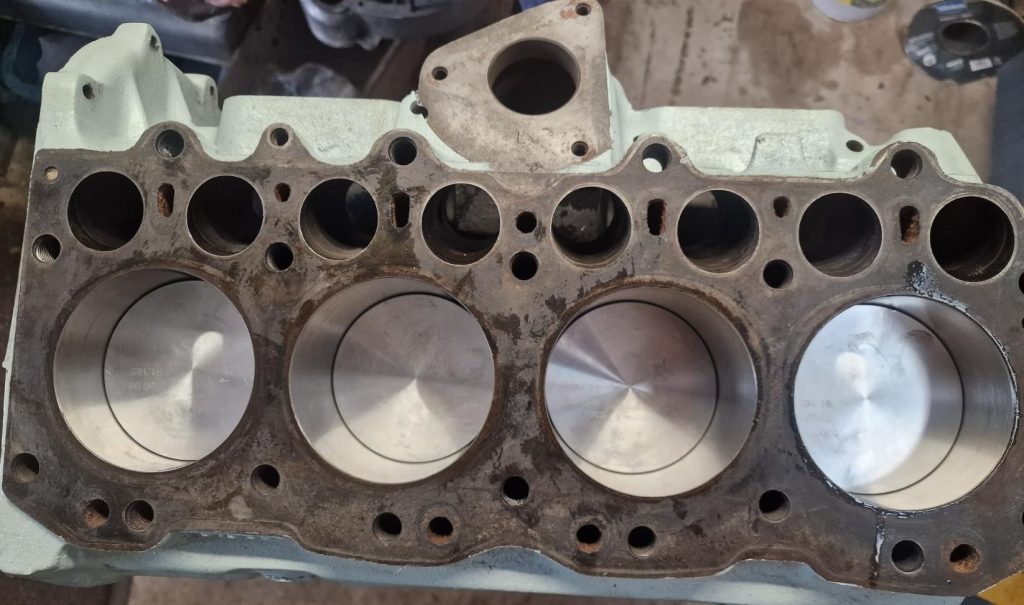
PISTONS
The engine block was re-bored to 30 thou, so new pistons needed. I mentioned earlier measuring the gat between bearing caps.
This is the basic principal, to make sure that the housings join up correctly.
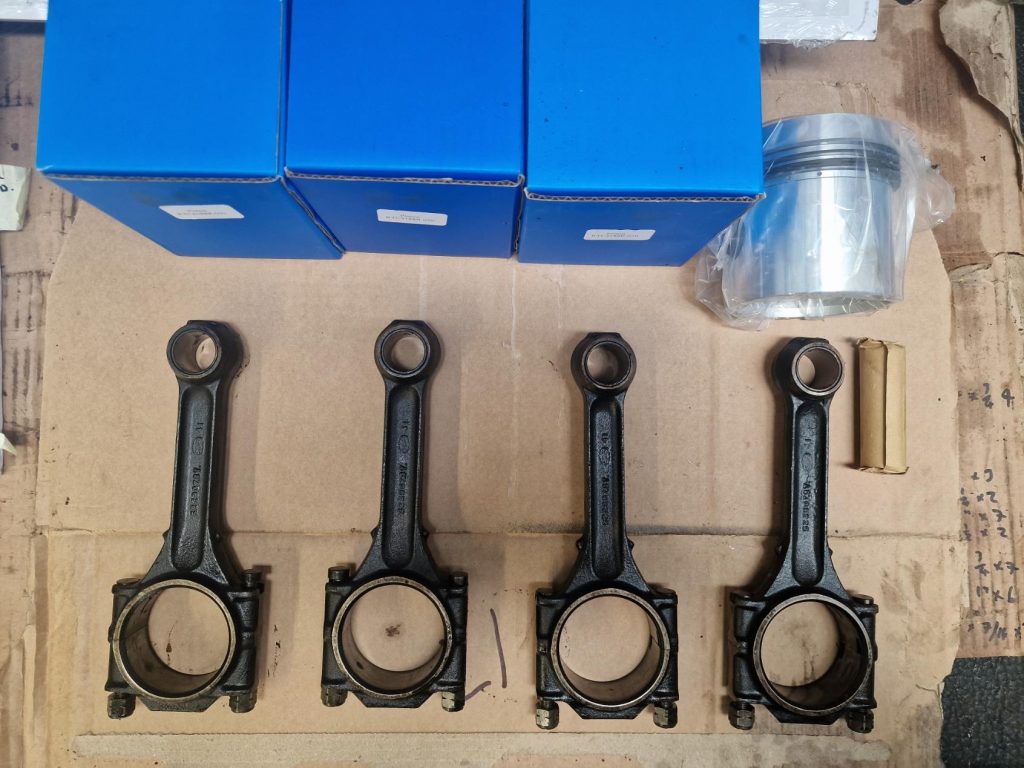
The new pistons come with new Gudgeon pins (the pin that holds the piston onto the connecting rod, often referred to as the small end), and are already fitted with piston rings, so no need to worry about them.
I used the existing connecting rods, after checking them as above.
Stricly speaking there are a couple more checks that should be done, 1st is to fit the piston rings in the bores and check gaps, the 2nd is to check that the connecting rods are not twisted at all.
Didn’t do either of these, 1 because they are new pistons and rings, and has had a proper re-bore (so they should be OK) and 2, because I dont have the equipment to test the straightness.
Same procedure as before, clean and put the bearing in, and generously cover in assembly lube. Also, taped up the ends of the bolts, to stop the bolts marking the crankshaft.
Each piston done in turn with a ring compressor, and gently tapping the piston into the piston bores from the top. Caps fitted as I went, until all 4 pistons were fitted.
Again, checking rotation of the crankshaft as I went.

Thats it, Crankshaft fitted, Pistons in, new bearings and plenty of Assembly Lube.
A closing note, totally un-related to this post. I wrote about the last bit of painting, where I had, had the wheels blasted before I painted them. This has left Isobel stuck on two spare wheels and a couple of axle stands, so need to get those wheels back on sooner rather than later. So, need some tyres.
I like to mention people that have helped me out, and the picture over is a new business just started by one of my closest friends Son, Matty who has sourced some new rubber for me. Just need to get them down from Yorkshire now.
The colour, and name of his Business is very special, so here’s wishing Matty all the very best with his new venture.

Cant link to his web site, he doesn’t have one, yet!! working on that for him, but here’s his Facebook Page.
Thats it, next up Camshaft and Timing gear.
Leave a Reply