If you look at the Plan, I was supposed to do the Engine and Gearbox first, which seemed to make sense when I wrote it. But I also say, the Plan can change but the goal stays the same, well the plan has chaned.
I will “try” to get as much of the body work cleaned, prep’d, repaired and painted before the end of summer 2024, so I can focus on the Engine, Gearbox and other bits over the winter. So, lets get started.
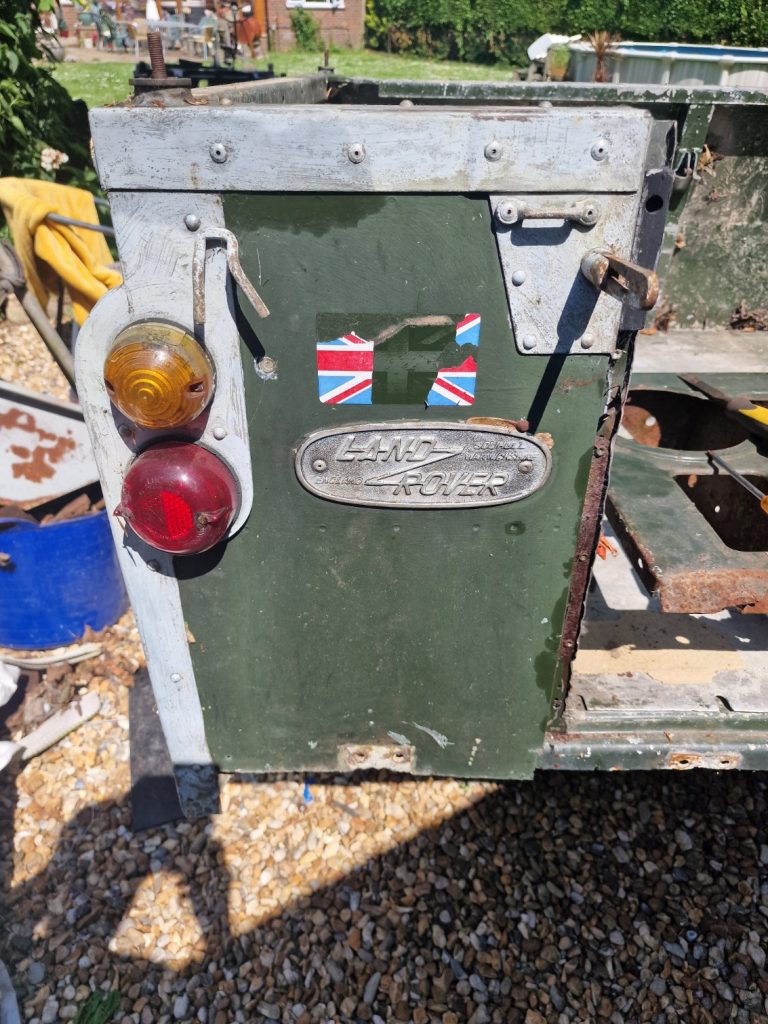
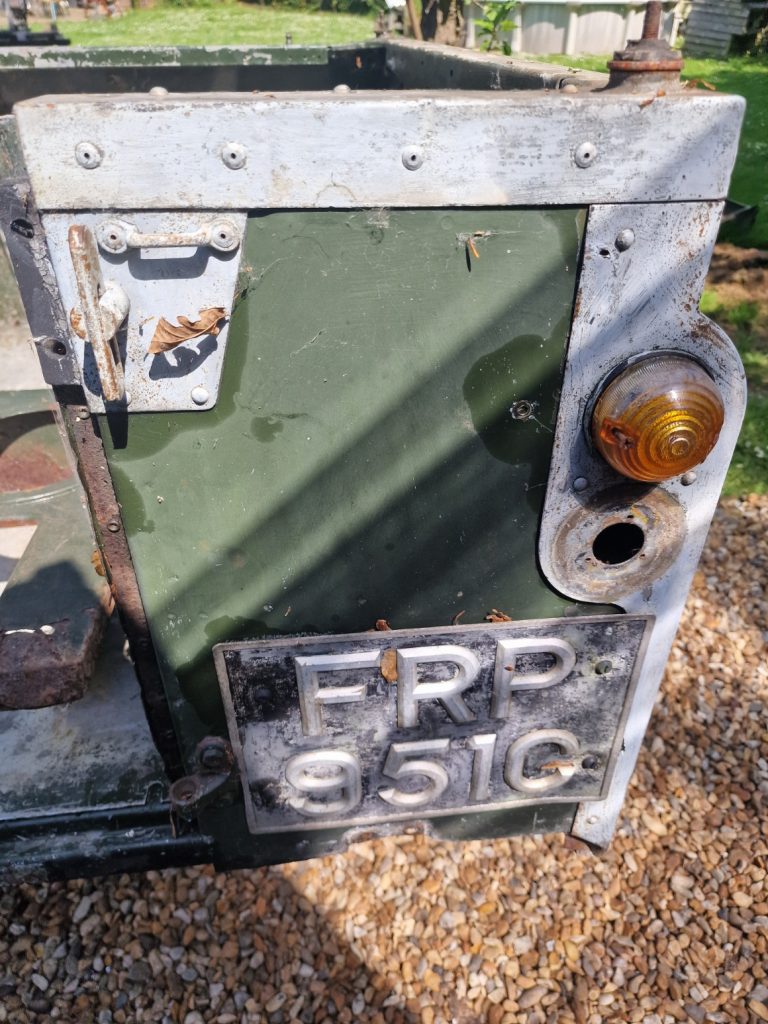
First thing was to strip down all the final bits of the body work, Number plates, Lights and all the galvanised capping’s and other galvanised bits, they will go off to be re-galvanised at some point.
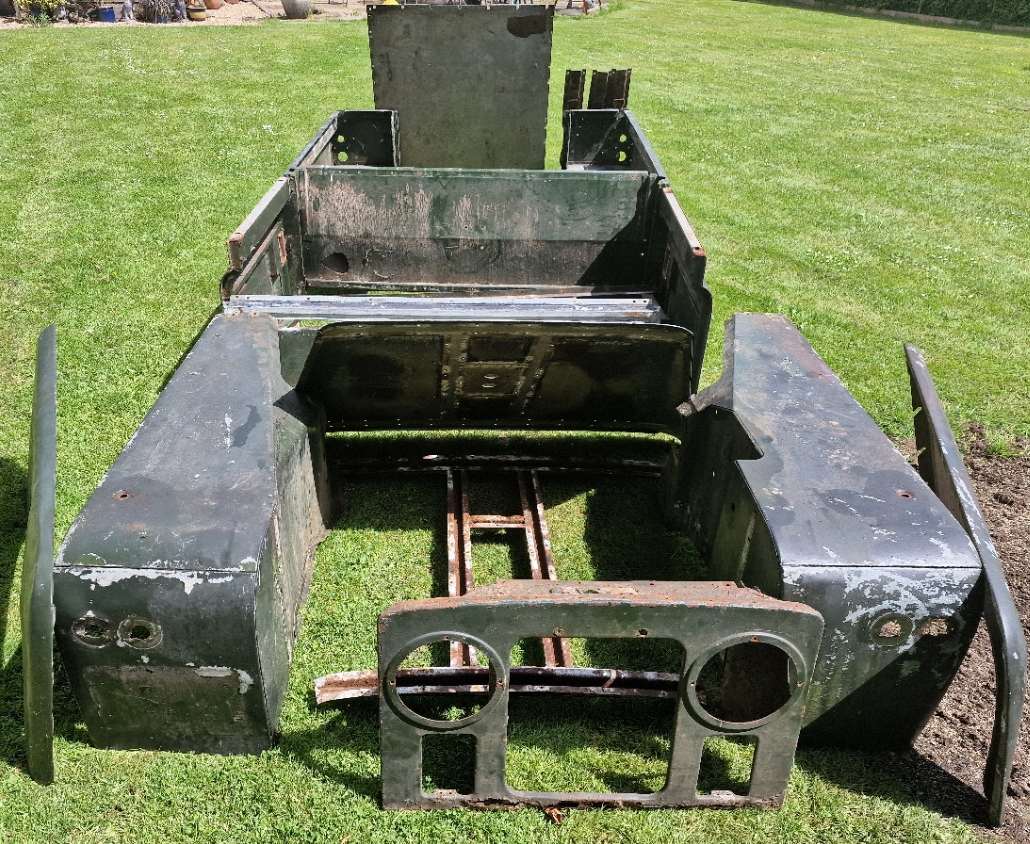
Next step, get everything together, give it all a good jet wash and take a proper look at what needs doing.

Onto the examination, which soon made it apparent I had a shed load of work to do to get this into a reasonable state. As I have said before, this will not be a concours restoration, but I want it to look good, even with a few blemishes. So what needs to be looked at?
Looking at each part in turn, starting with the doors, but in the picture above, the front grill needs a new piece at the bottom, bought one of those, and that, along with other bits have gone off to be welded on.

Couple of things here, the door frames are rotten at the bottom, both doors, so the frames needs to come off the door skin, which helped with the next problem, there is a big dent in one of the doors.
It is hard to believe sometimes, but there is a huge market for Land Rover spares, so purchased new pieces of frame to weld in. I cant weld, so that went off to someone, will talk about that more later.
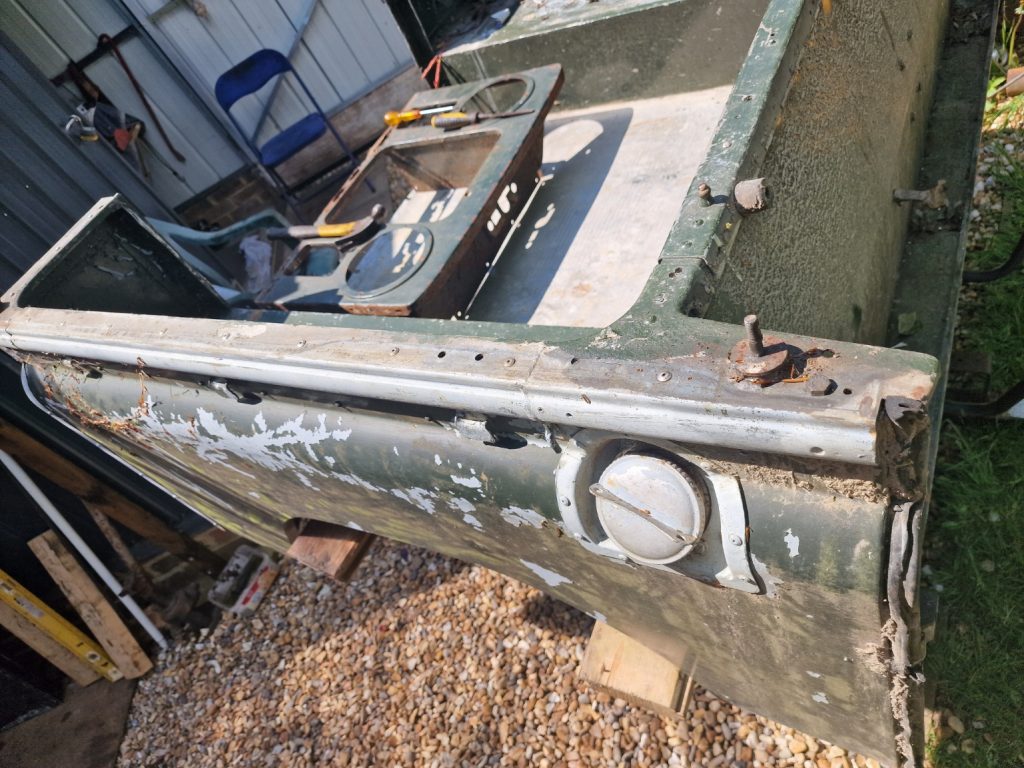
Next part is the wings, and as with the doors, a few bits to look at.
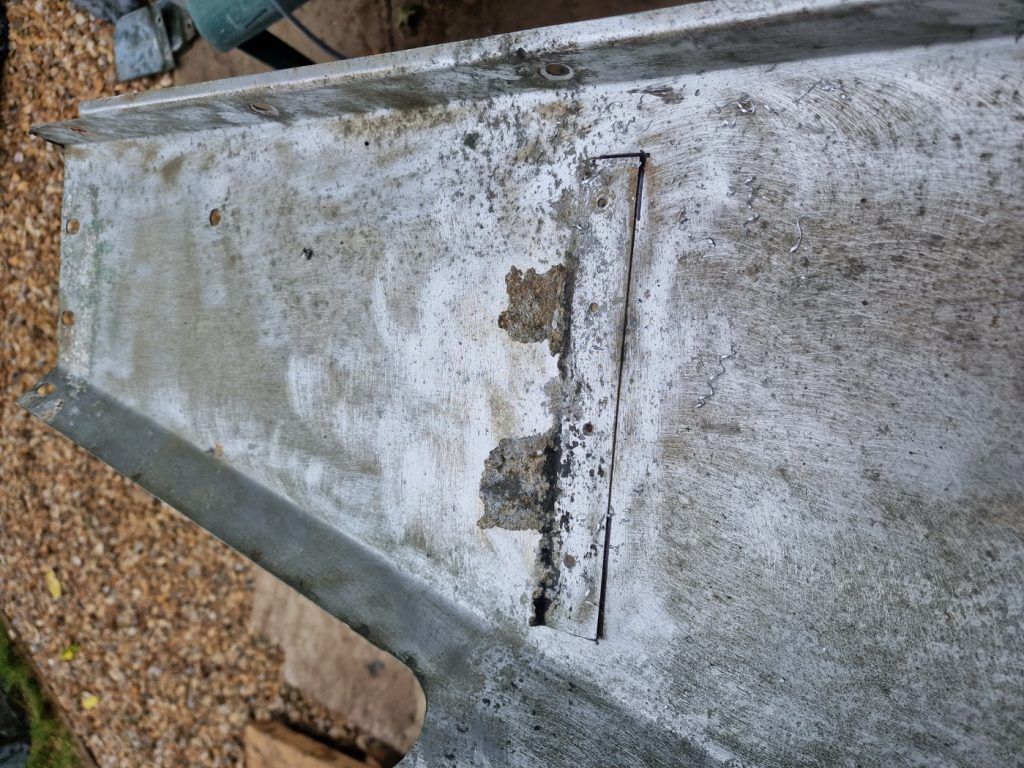
First, mud guard supports have corroded. The body panels are made out of Birmabright, which is a type of Aluminium. Aluminium doesn’t rot/rust! But… when in contact with another type of metal it does corrode as can be seen. They need fixing.
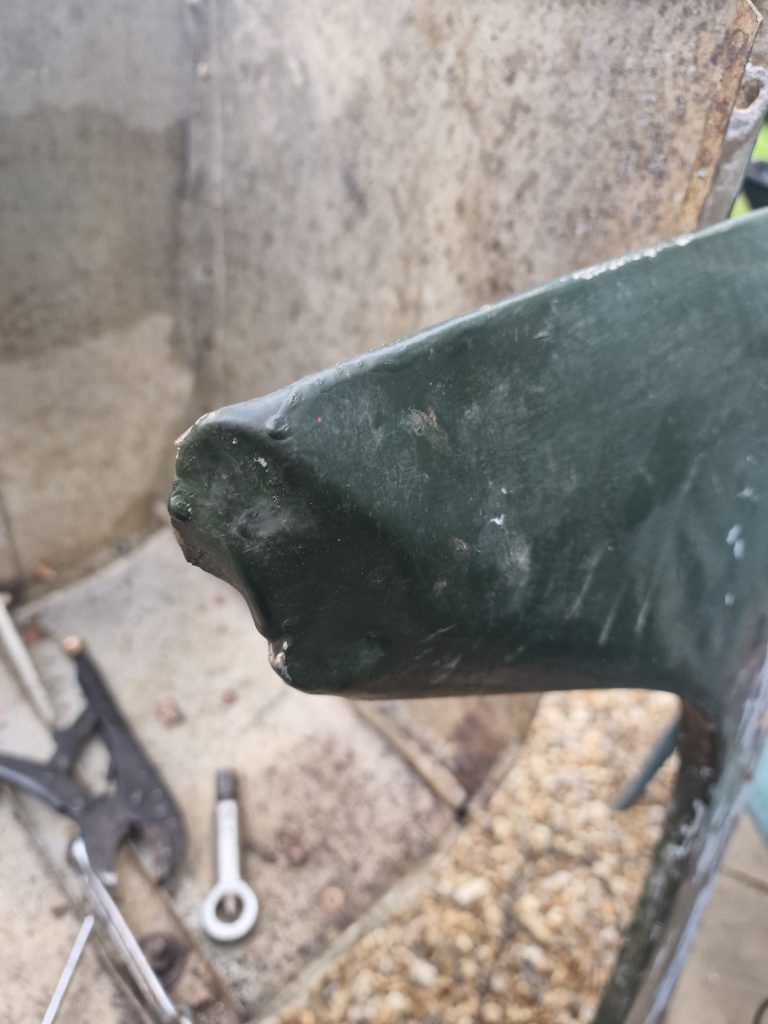
Bottom of one of the wing outers is quite badly miss-shaped / bent. This will need sorting.
One of the wind outer panels is a little bumpy, worth a look, but will probably need more skills in panel beating than I have, we’ll see.
Best way to do all of this I think is to take the wing outers off, will be easier to work with.
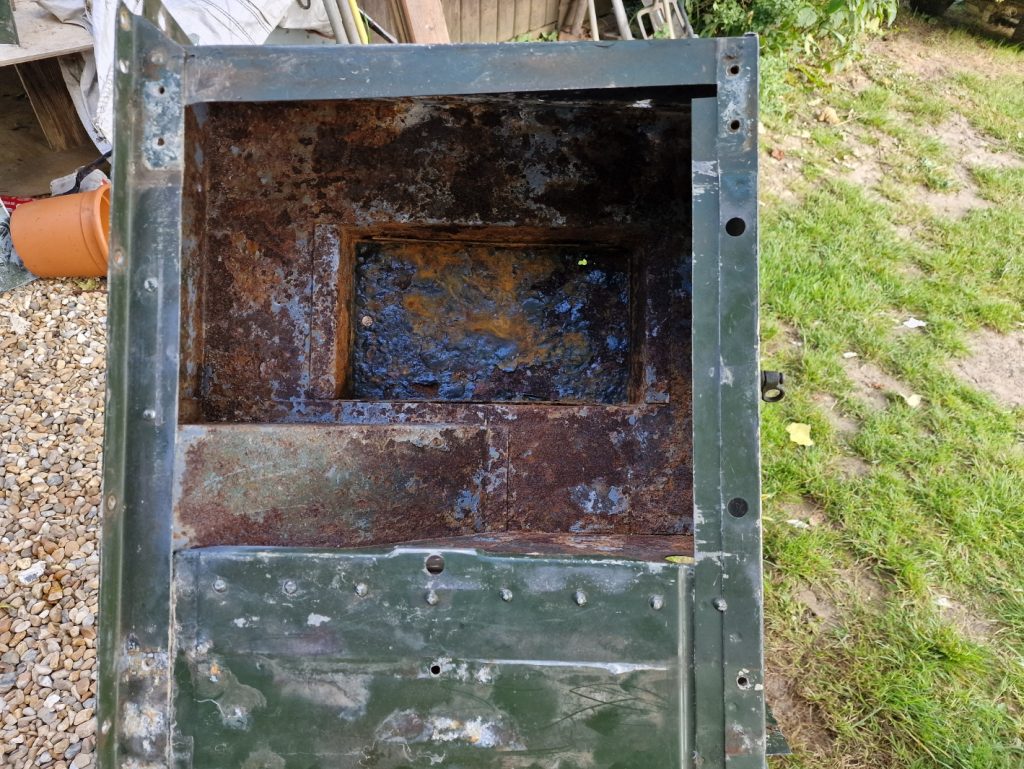
Seat box! mostly OK, but needed to remove a few more bits and pieces and looking at the tool tray, which is steel, not aluminium its pretty nasty, so that comes out.
The plan at the moment is to make a new one, so ordered some mild steel for when I feel like giving that a go.
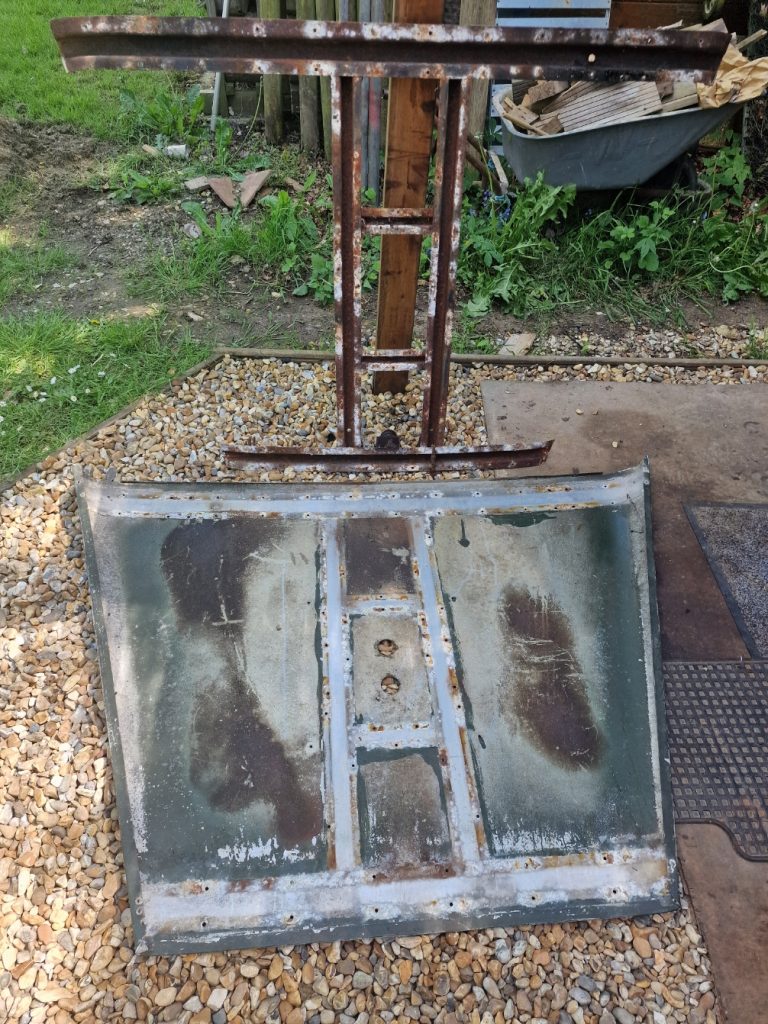
The bonnet is in pretty good shape, so only intended to remove the spare wheel carrier on the top, which I did, but when I looked at the framing underneath and started to clean it up a little, lots of holes appeared, so that comes off to be repaired.
One thing to think about, taking off all these bits is that there will be a shed load of rivets to put back in, Pop Rivets as well as solid rivets, that’ll be fun and also gives me something to think about, like rivet before painting, rivet after so they stay aluminium colour or more likely a combination of both.
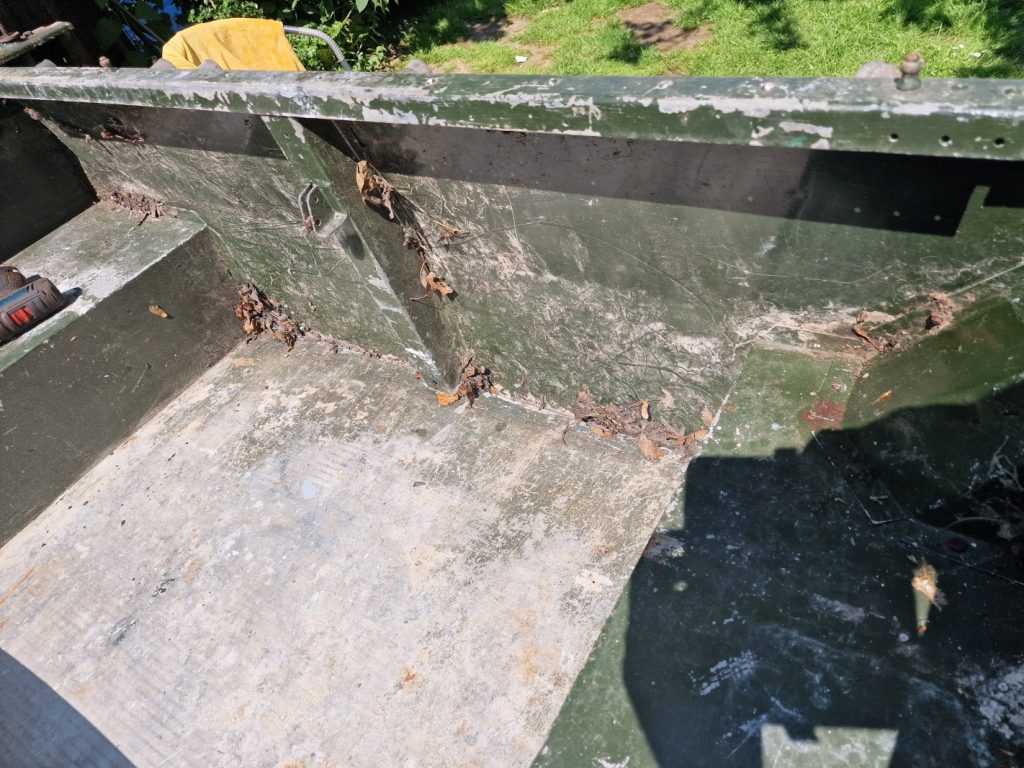
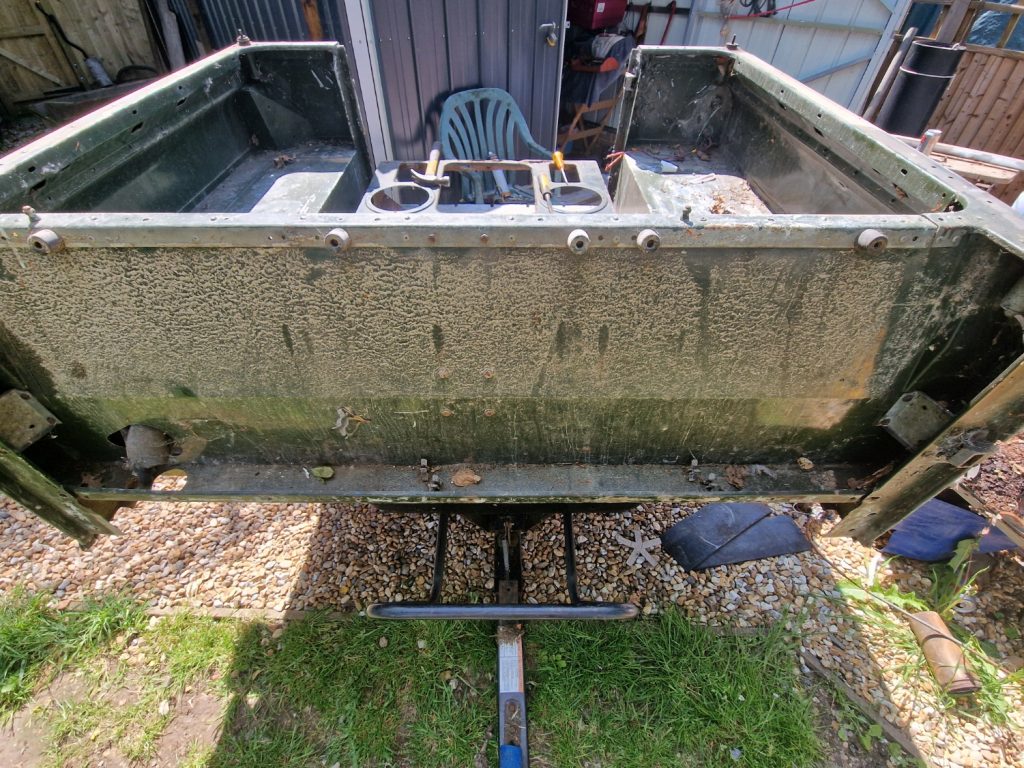
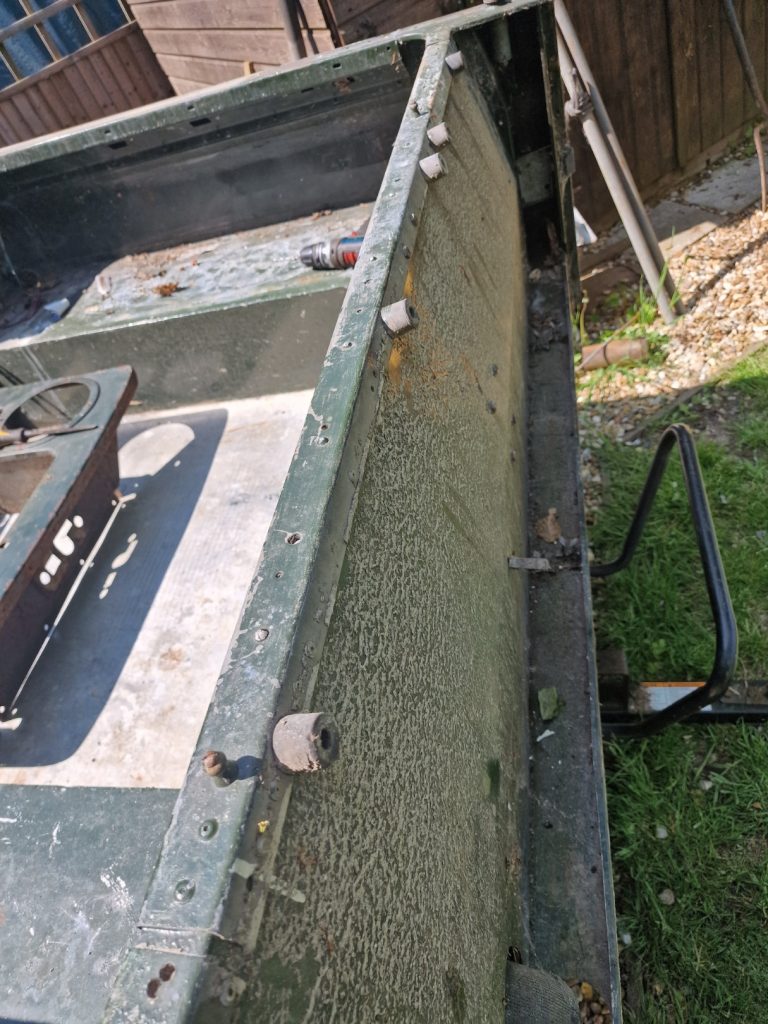
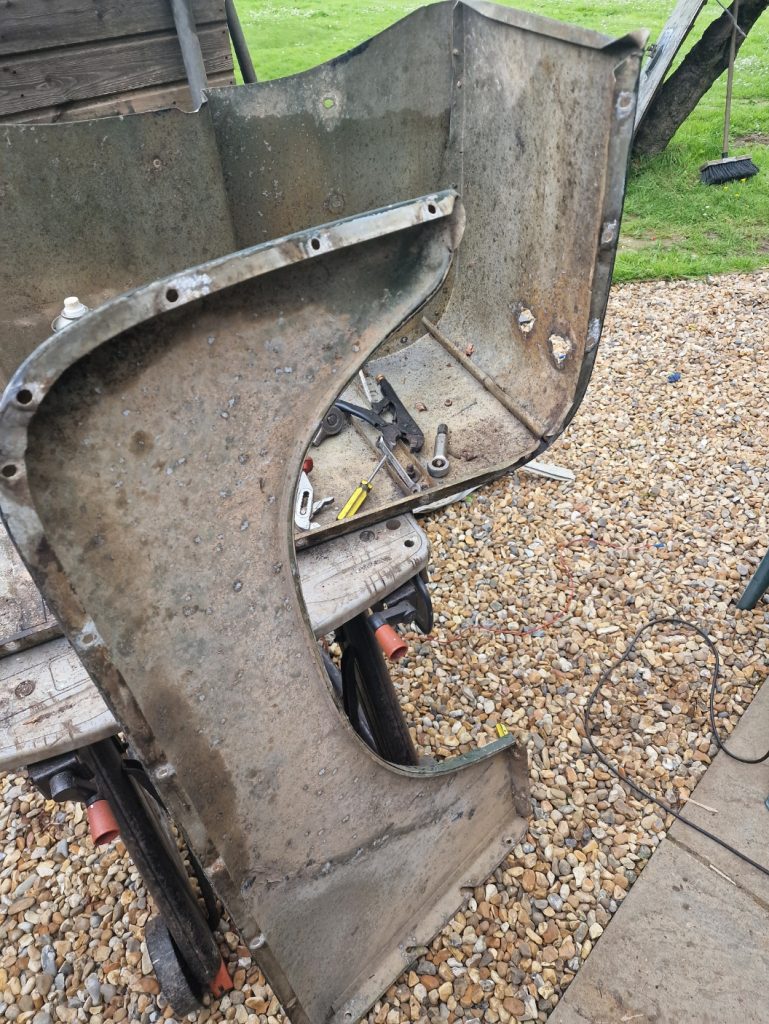
Final part to look at is the Rear Tub.

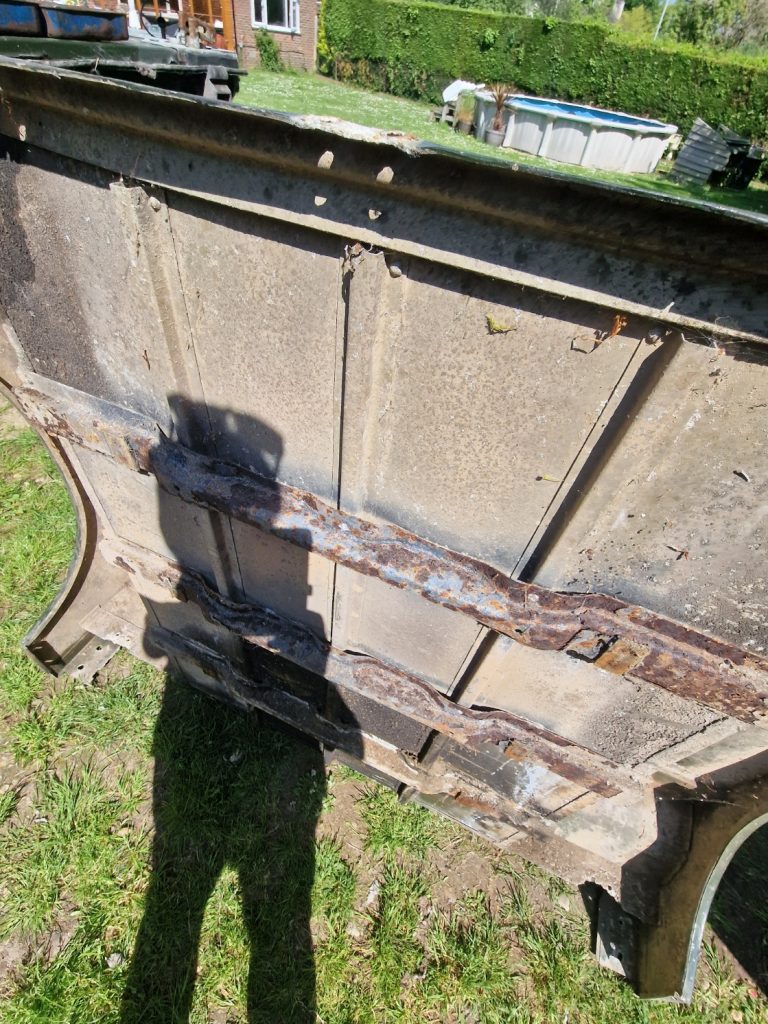
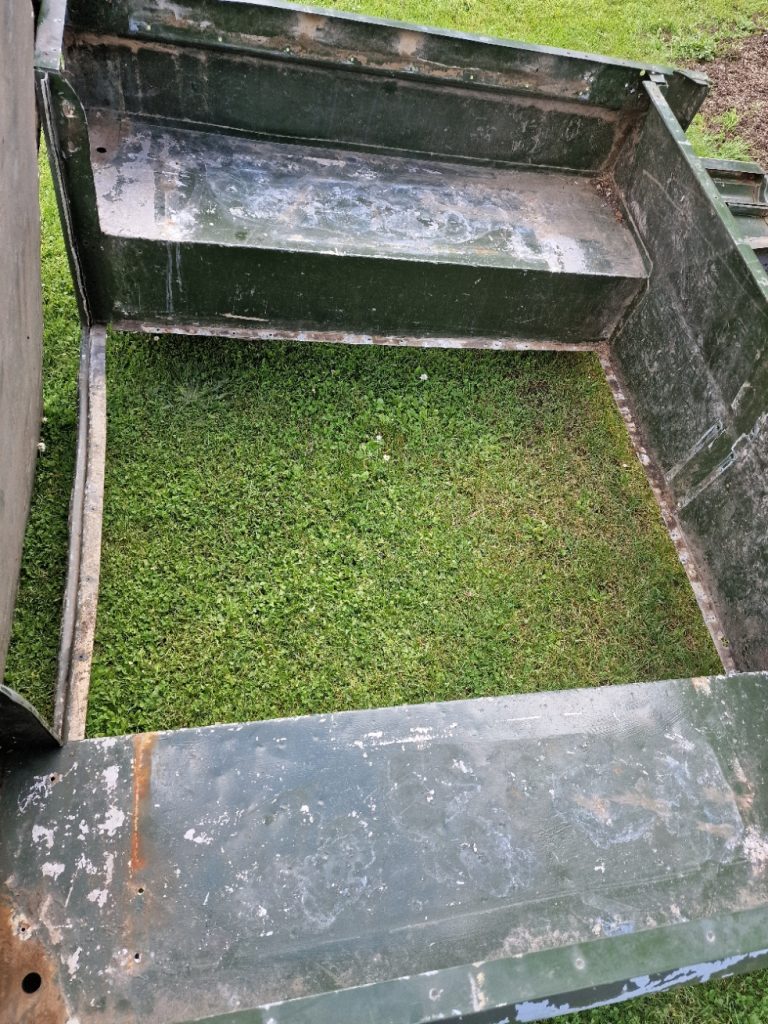
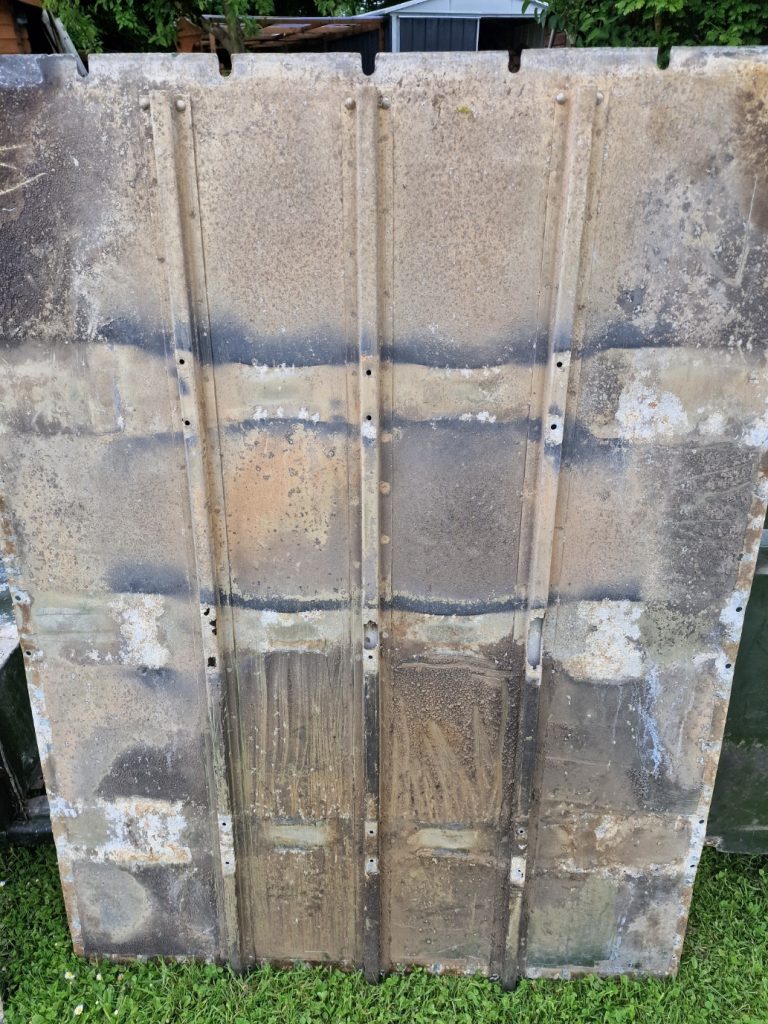

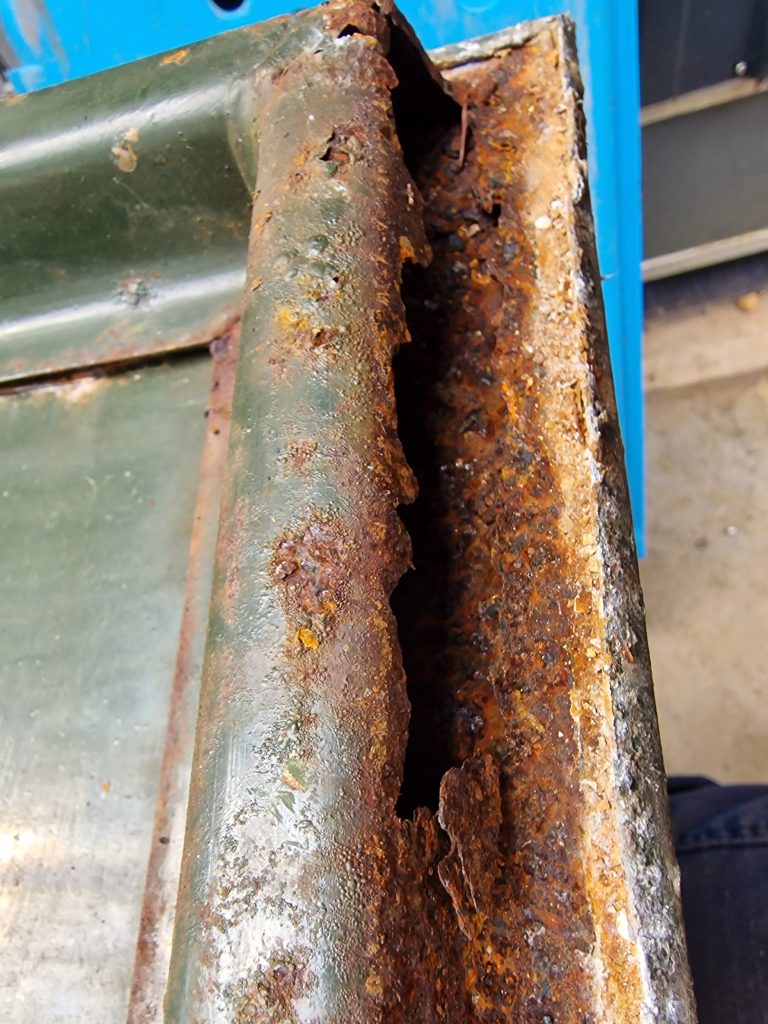
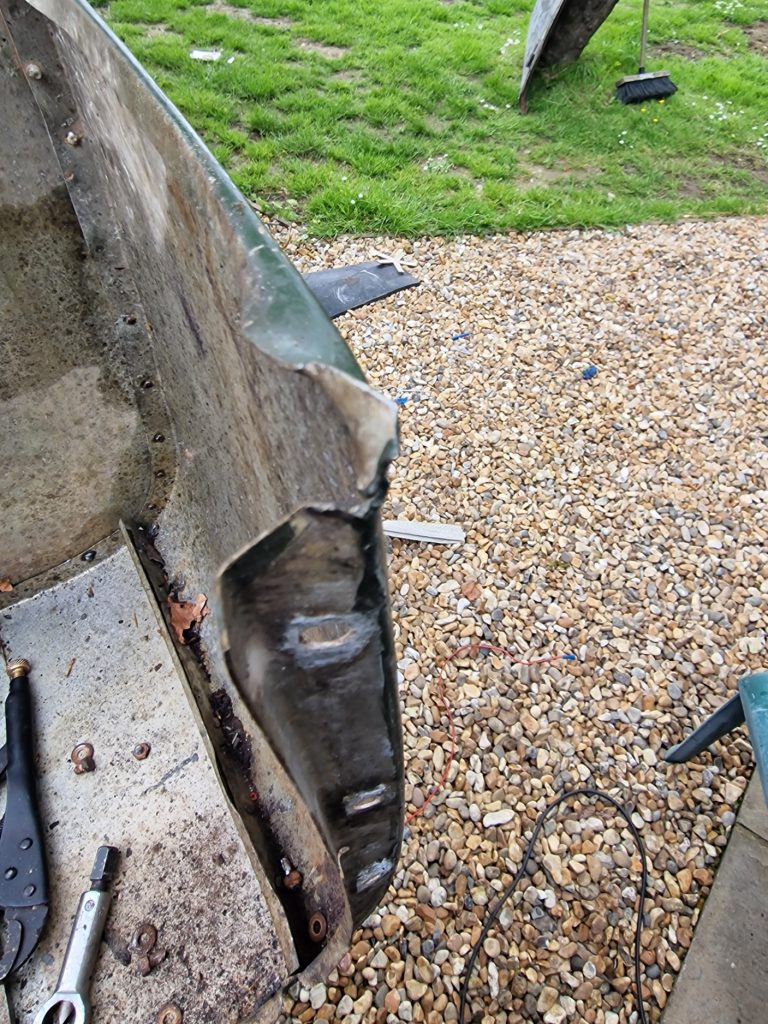
A few things with the tub. Took the floor out and the braces off, which showed up some corrosion in the floor supports, that will need sorting. the Offside rear quarter of the tub is badly bent, and has several small splits so that will also need sorting. Finally the areas where the tub bolts to the chassis is also badly corroded, they need cutting out and repairing.
All in all, there is loads to do, which is why I have decided to write this part up separately. Next one will be about the repairs. What I wont cover is my failed attempt to strip the paint off. Used some strong paint stripper “professional use only”, which took the top layer off, but noting else, so sanding will be the way.
Next we’ll look at some of the repairs, where a myriad of new skills will be needed. Panel Beating, Annealing, Shrinking, Riveting, Gluing and maybe even a little aluminium welding/brazing.
Leave a Reply