The final job before my holiday concludes, and am back to work Monday, and as I dont yet have what I need to wash the block I decided to clean up and fit the glass into the door tops that I painted last week.
The door tops were new from Paintman Panels. Same company I bought all of the paint from, and seem to have a pretty good reputation. Why change them, well heres why!
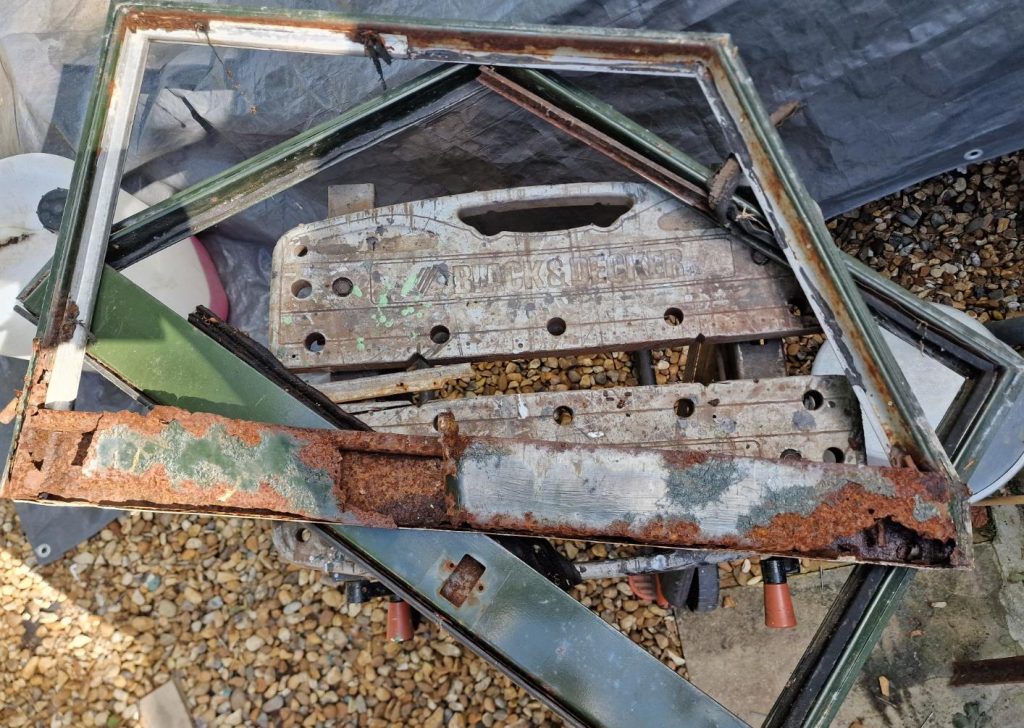
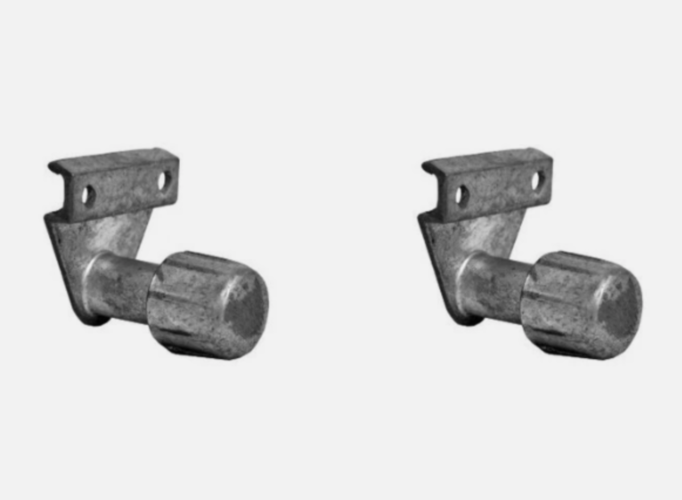
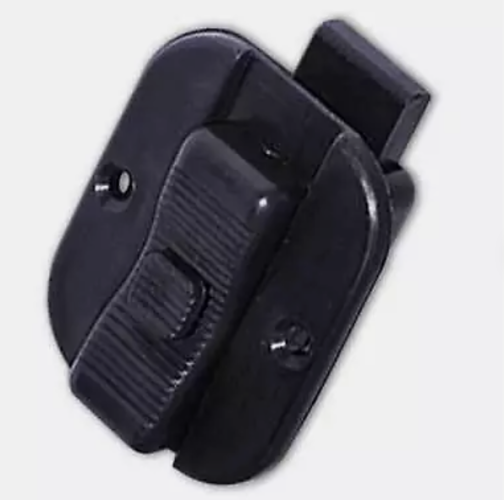
When I bought the new door tops from Paintman Panels, I also bought a glazing kit for each side. did’nt need the glass as I was happy with the glass that I took out. On the glass, there is some details etched into the glass, both sides are different, and one side is dated, 1967, which is two years later than Isobel. I am wondering if that is also why they had the window catch in the body of the frame, rather than the earlier version that sites at the top of the frame. Anyway, I ordered the earlier type, without the holes for the window locks. On the left, the early type and on the right the later type.
So to start the glazing. The kit comes with very easy to read instructions, so much so, there are none!
I did find a video, where one of my goto youtunbe channels shows how to fit the kit.
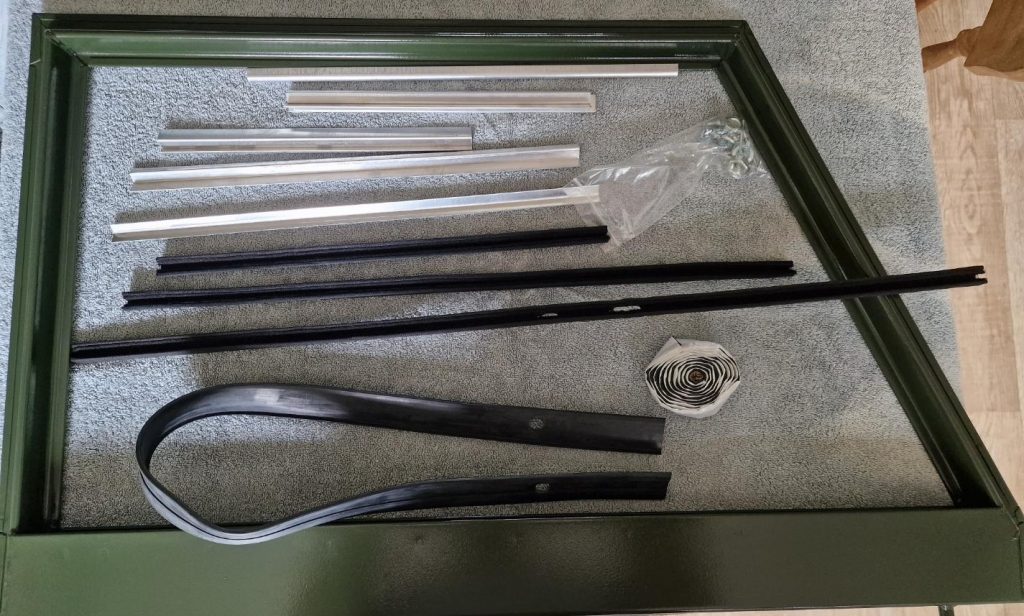
Its all pretty straight forward, and the kit comes with everything needed. The glass runners, aluminium spacers, window seal, screws, nuts and washers.
First job is to fit 3 strips of sealer for the front window to sit on, bottom, side and top. Need to pay attention as this sealer can be seen from the outside of the door frame, so care needed.
I did get some a little out of position, its very sticky, but cut the excess off after all was fitted.

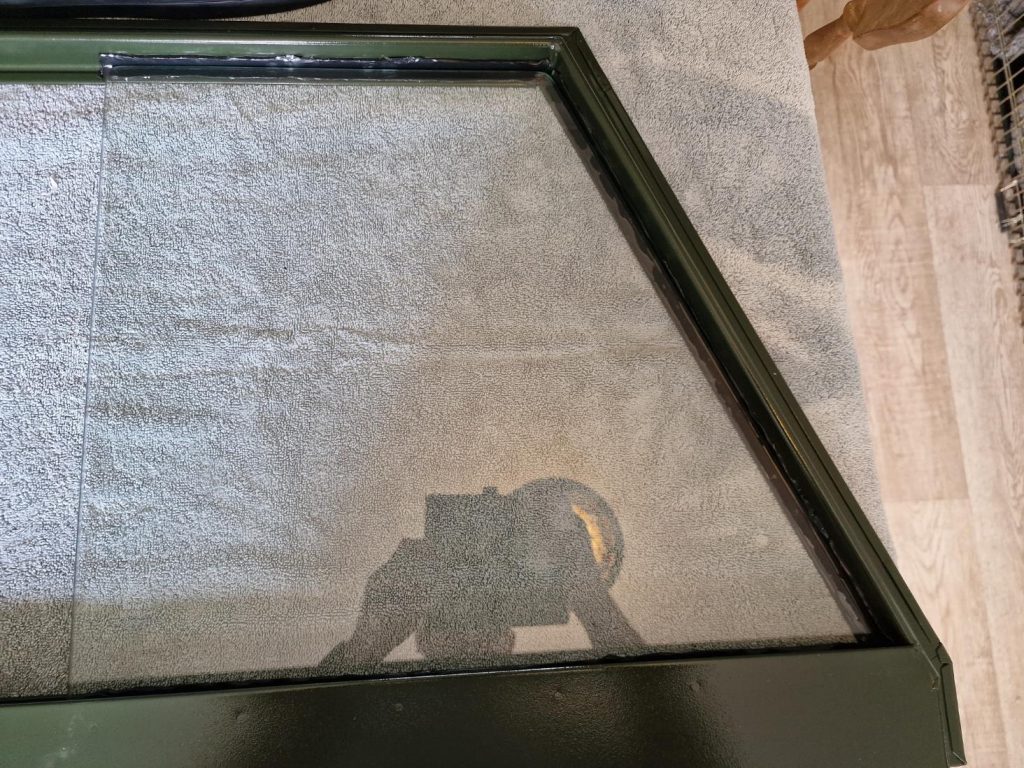
After the sealer is positioned, time to put the front glass panel in, gently, but firmly pusing the glass into the sealer.
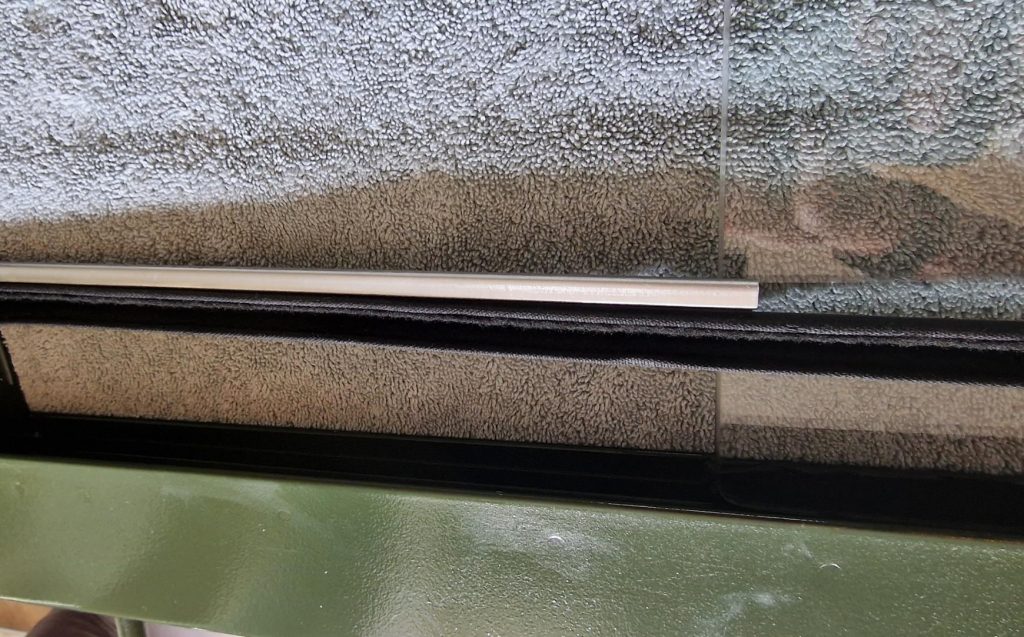
Once the glass is seated, time to put in the bottom runner, with one of the spacers. This is for the rear pane of glass to allow it to slide foward. The Runner is secured with 2/3 screws.
No electric windows this this thing!
Same for the side frame, both a spacer and runner are positioned and screwed into place.
Cant do the top one until last, as the rear glass panel needs to be in first.
Also, before putting the rear glass in, a rubber seal and aluminium strip needs to be attached to the end of the glass. This proved a bit of a challenge to keep in-place.
Might come back to this latter and use some adhesive to hold them in-place

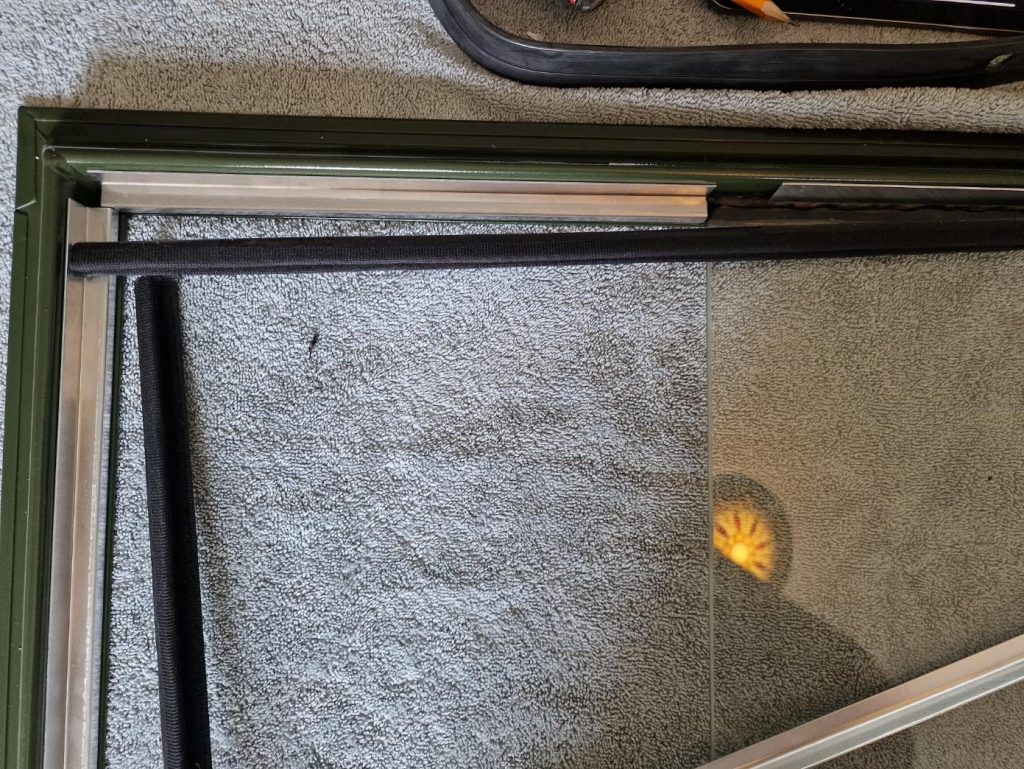
So with the rear glass located in the bottom runner, the top runner can be put onto the glass and along with another spacer located in the top of the frame. Again, securing with 3 screws, making sure that the screws are tight enough not to interfere with the glass as it is sliding.
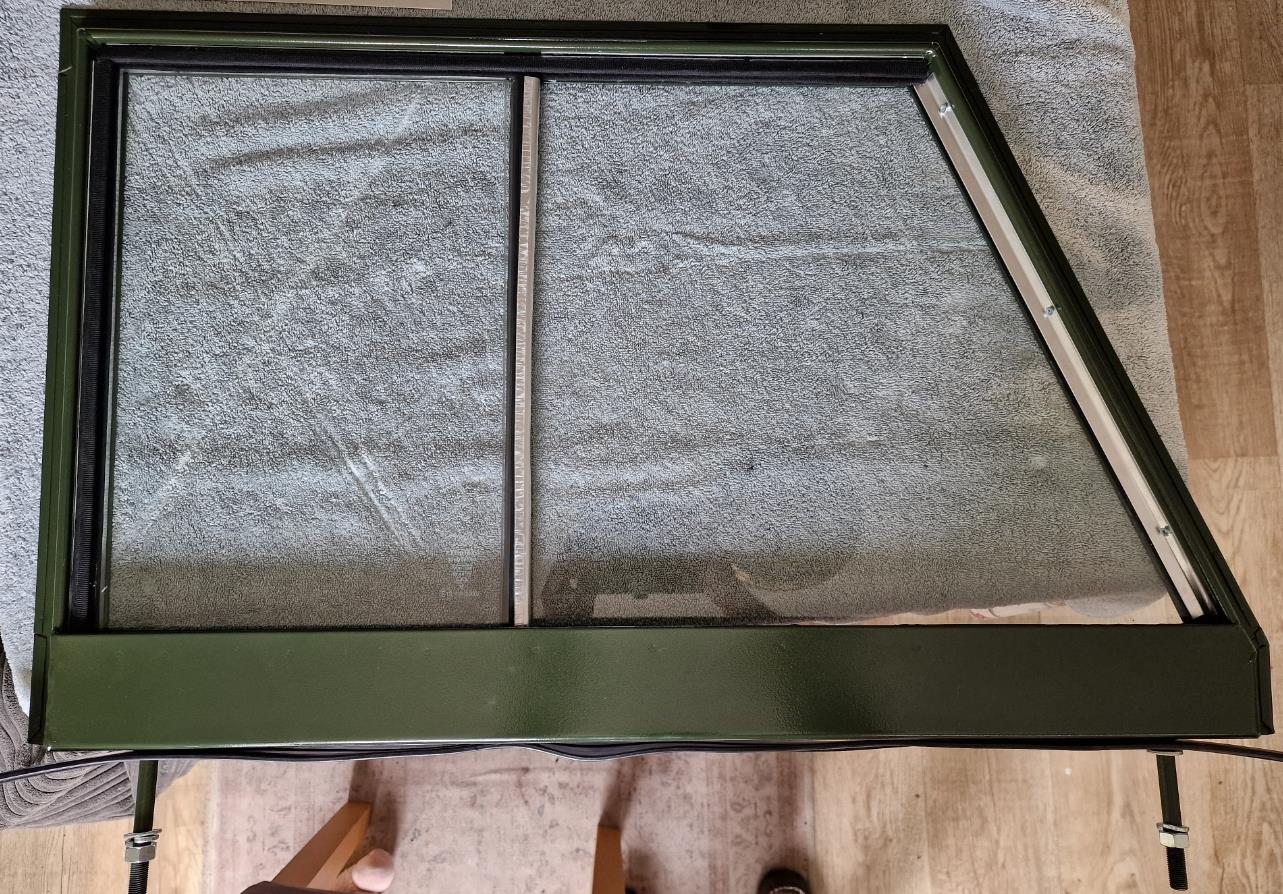
Final part is a aluminium strip secured with screws down the front of the frame, further sealing and securing the front glass panel.
Simpe job, bit of care needed, but the results are nice.

The rubber strip along the bottom shoud be riveted into the frame and trimmed. I will do this later when the door bottoms are ready with the galv cappings.
As with most things on this project, door tops now put away for later!
Leave a Reply